Introduction
Data protection in TMC is provided by Velero which is an open-source project that came with the Heptio acquisition.
When data protection is enabled on a Kubernetes cluster, the data backup is stored external to the TMC. TMC supports both AWS S3 and Custom S3 storage locations to store the backups. Configuring the AWS S3 endpoint is pretty simple as TMC provides a CloudFormation script that does all the backend tasks such as creating S3 buckets, assigning permissions, etc.
AWS S3 might not be a suitable solution in some use cases. For instance, a customer has already invested heavily in an S3 solution (MinIO, Cloudian, etc). TMC allows customers to bring their own self-provisioned AWS S3 bucket or S3-compatible on-prem storage locations for their Kubernetes clusters.
In this post, I will be talking about how you can use on-prem S3 storage for storing Kubernetes backups taken from TMC Data Protection.
If you are new to TMC data protection, I would recommend reading my earlier blog post which explains the concepts and provides an overview of how backup/recovery of Kubernetes workloads works using TMC. In my previous post, I demonstrated using AWS S3 as a backup endpoint for the applications running in your TKG clusters.
For the purpose of demonstration, I am using MinIO which offers high-performance, S3 compatible object storage.
Install and Configure MinIO
Step 1: Install MinIO
|
1 2 3 4 5 6 7 8 9 |
[root@linjump ~]# wget https://dl.minio.io/server/minio/release/linux-amd64/minio [root@linjump ~]# chmod +x minio [root@linjump ~]# mv minio /usr/local/bin/ [root@linjump ~]# minio --version minio version RELEASE.2022-02-26T02-54-46Z |
I have also created a 250 GB partition and mounted it to /data directory. This is the data partition where backups will be stored.
Step 2: Export MinIO Credential
As a next step, you have to export the MinIO credentials in a file from where MinIO can read the credentials. In my lab, I am using the bash profile for storing MinIO credentials.
|
1 2 3 4 5 |
[root@linjump ~]# echo 'export MINIO_ROOT_USER="admin"' >> ~/.bash_profile [root@linjump ~]# echo 'export MINIO_ROOT_PASSWORD="VMware1!"' >> ~/.bash_profile [root@linjump ~]# source ~/.bash_profile |
Step 3: Start MinIO Server
|
1 2 3 4 5 6 7 8 9 10 11 12 13 |
[root@linjump ~]# minio server /data --console-address 172.19.10.3:80 API: http://172.19.10.3:9000 http://127.0.0.1:9000 RootUser: admin RootPass: VMware1! Console: http://172.19.10.3:80 RootUser: admin RootPass: VMware1! Command-line: https://docs.min.io/docs/minio-client-quickstart-guide $ mc alias set myminio http://172.19.10.3:9000 admin VMware1! Documentation: https://docs.min.io |
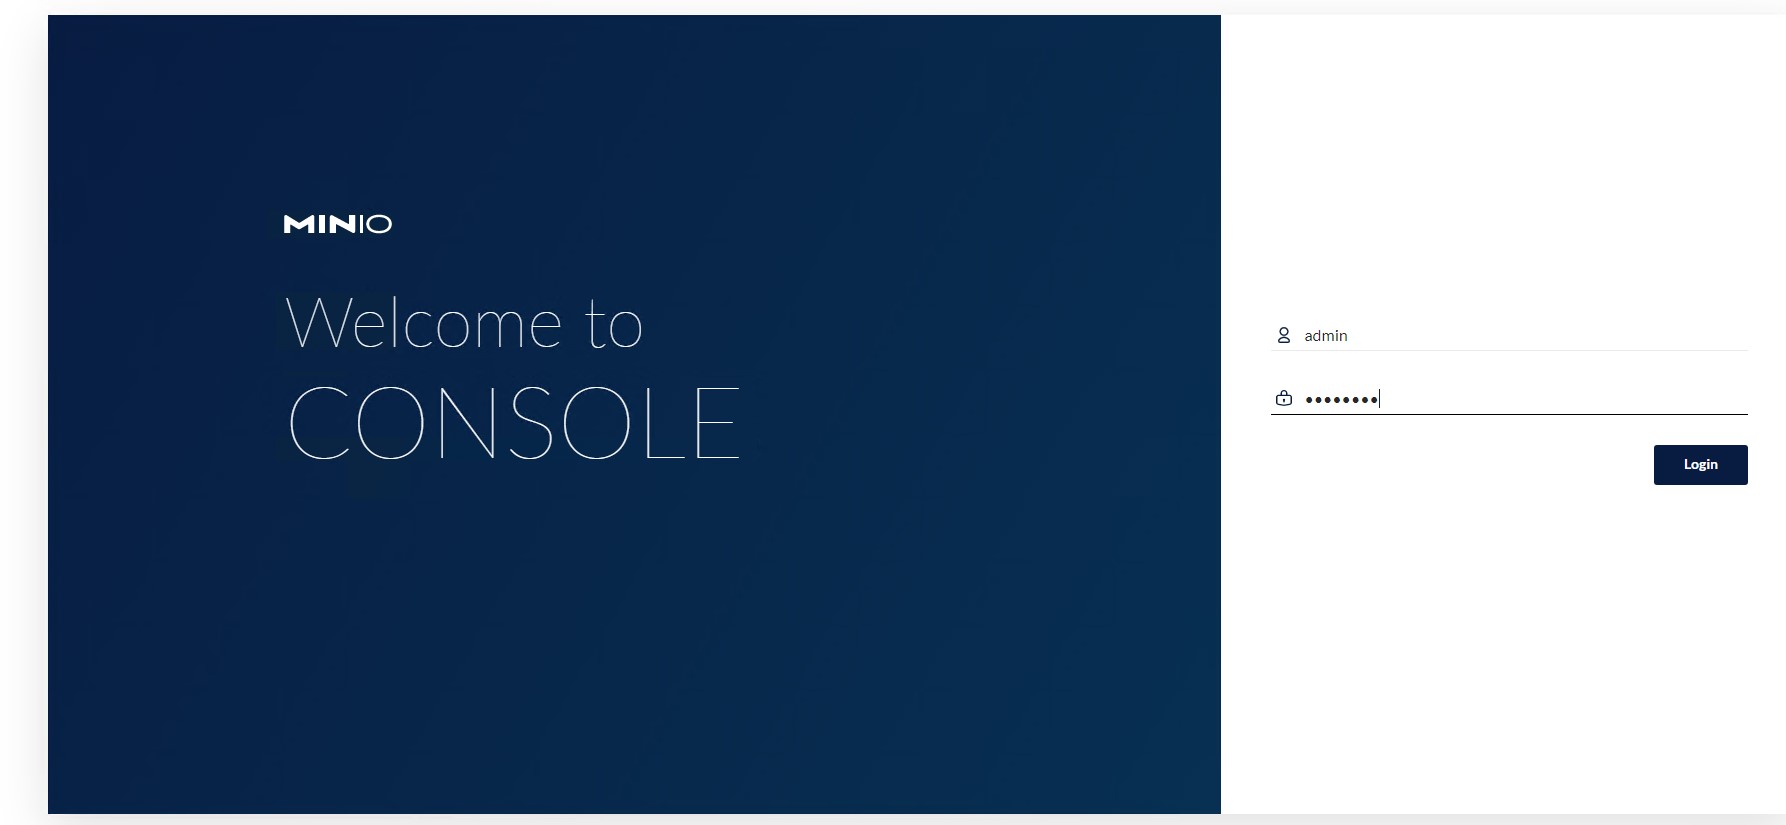
Login to MinIO by typing http://<minio-ip>/ and using the credentials that you have configured.
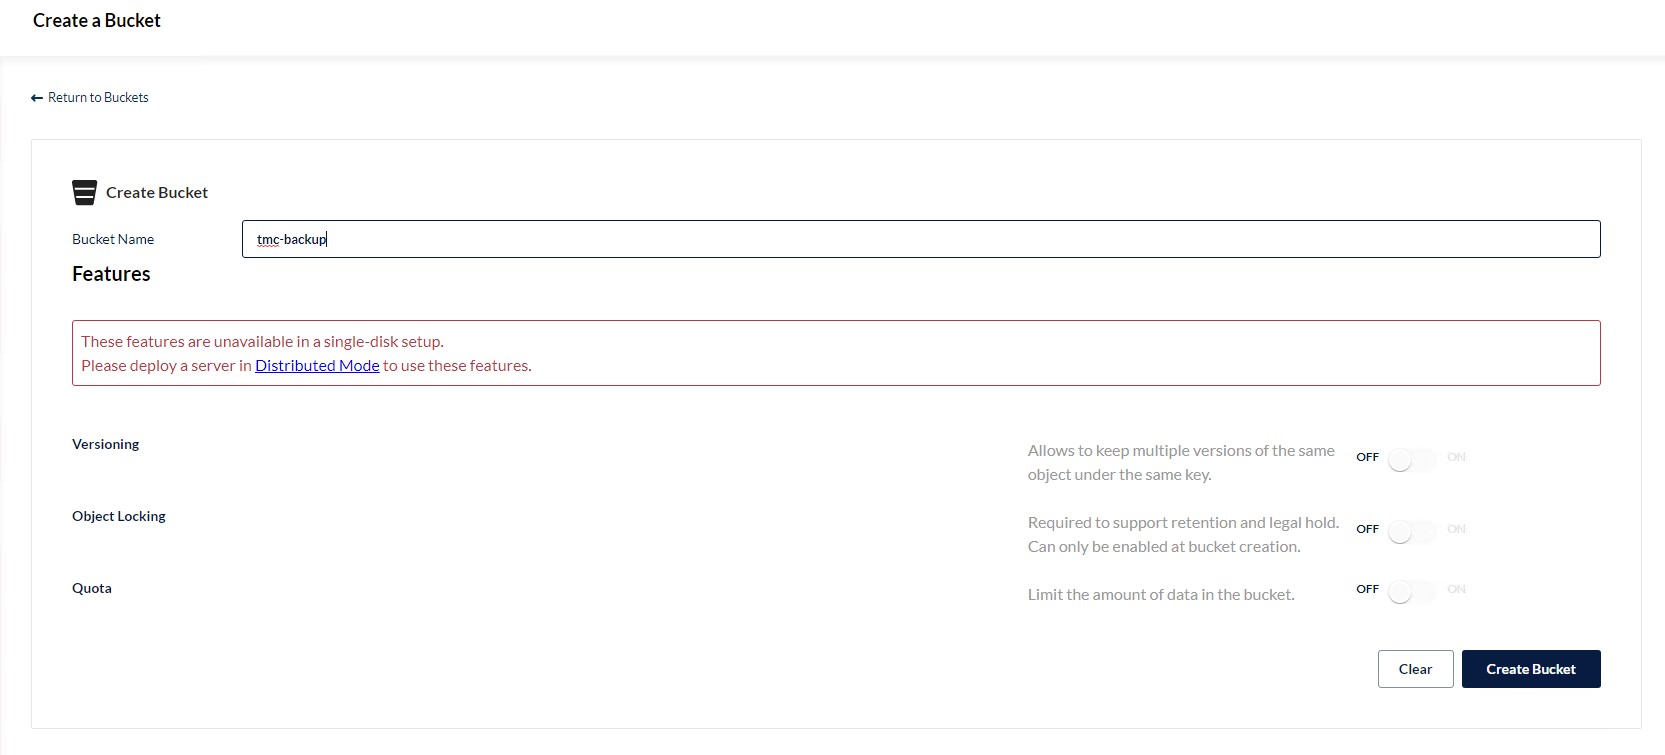
Create a new bucket by clicking on the Create Bucket button.
Provide a name for the bucket and click on the Create Bucket to finish the bucket creation wizard.
To manage bucket settings, click on the Manage button.
Change the Access Policy of the bucket by editing the bucket settings.
Set the Access Policy to Public and click on the Set button.
And we are done with the MinIO configuration. These are the bare minimum settings required in the lab.
Configure TMC to use MinIO
Create Account Credentials
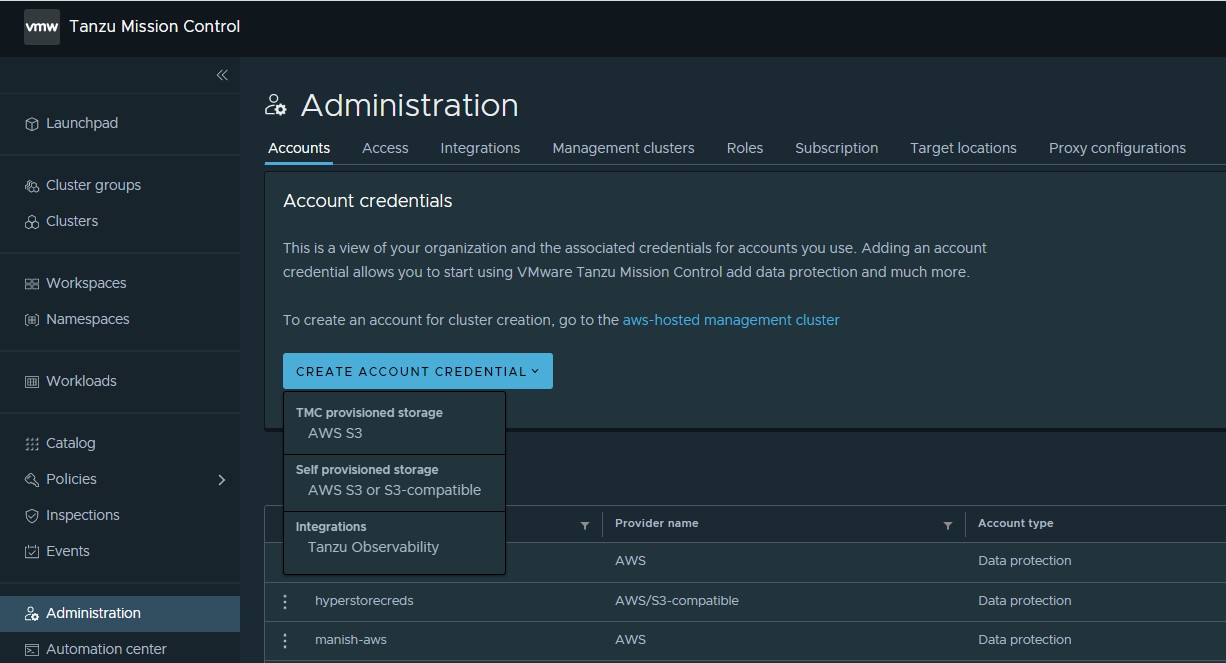
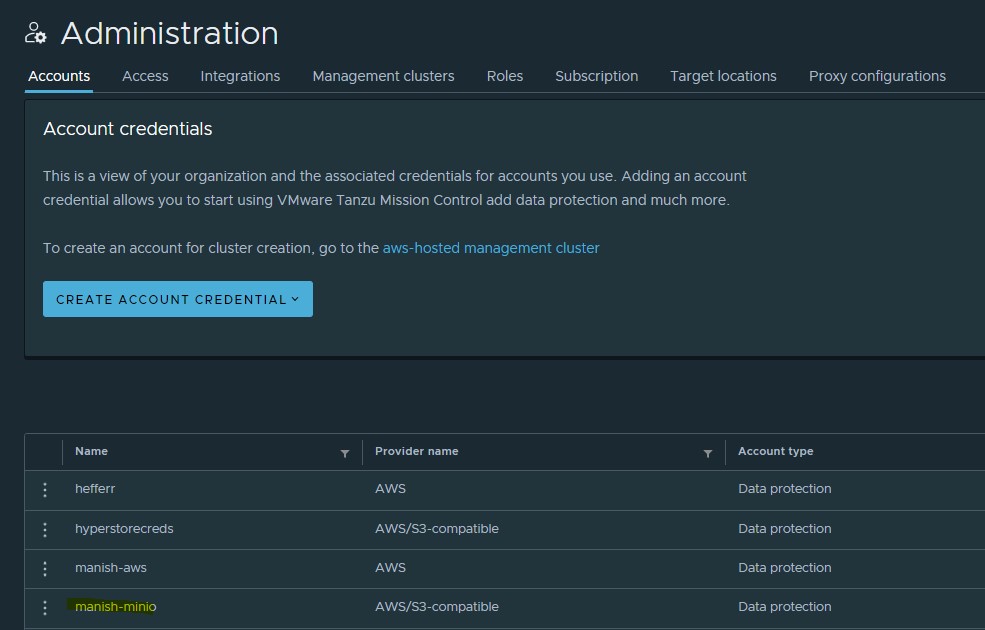
Login to the TMC portal and navigate to the Administration > Accounts page and click on the Create Account Credential and select AWS S3 or S3-compatible storage
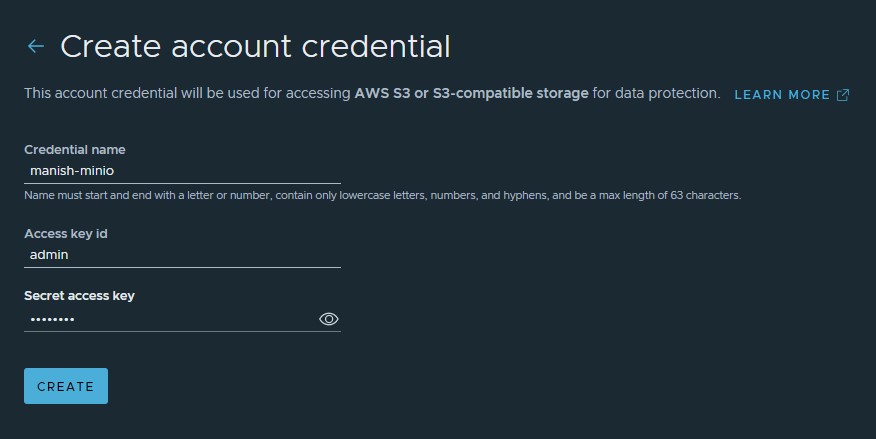
Provide a name for the credential and username/password that you configured in MinIO.
The newly created credential appears under the Accounts tab.
Configure Target Location
Now TMC knows how to connect to the MinIO S3, but it doesn’t know where it should store the backups. By configuring target location, we are specifying which S3 bucket to use when an application is backed up using TMC Data Protection.
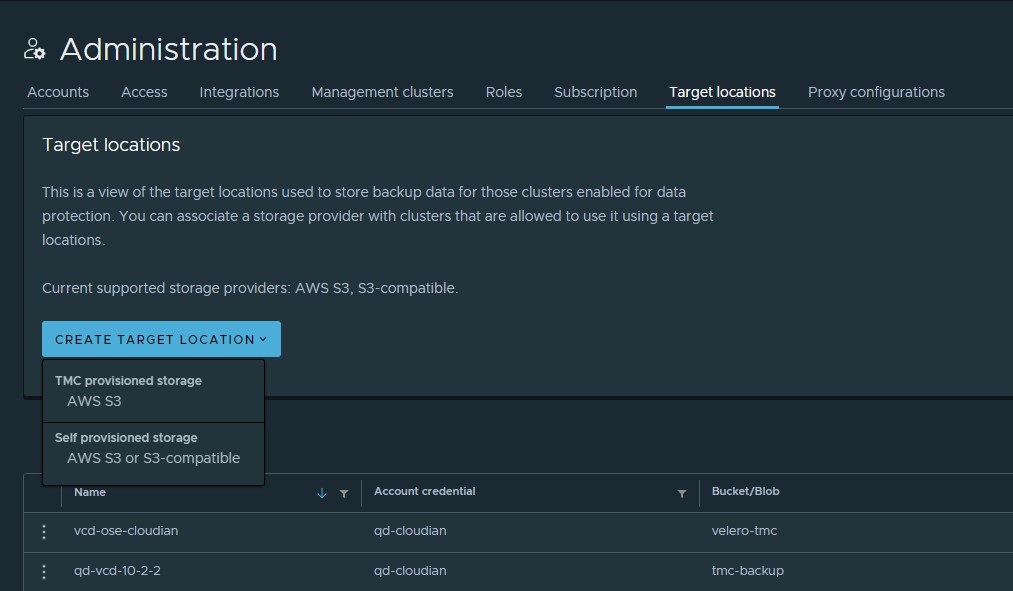
To create a target location, navigate to the Target locations tab and click on the Create Target Location button and select AWS S3 or S3-compatible option.
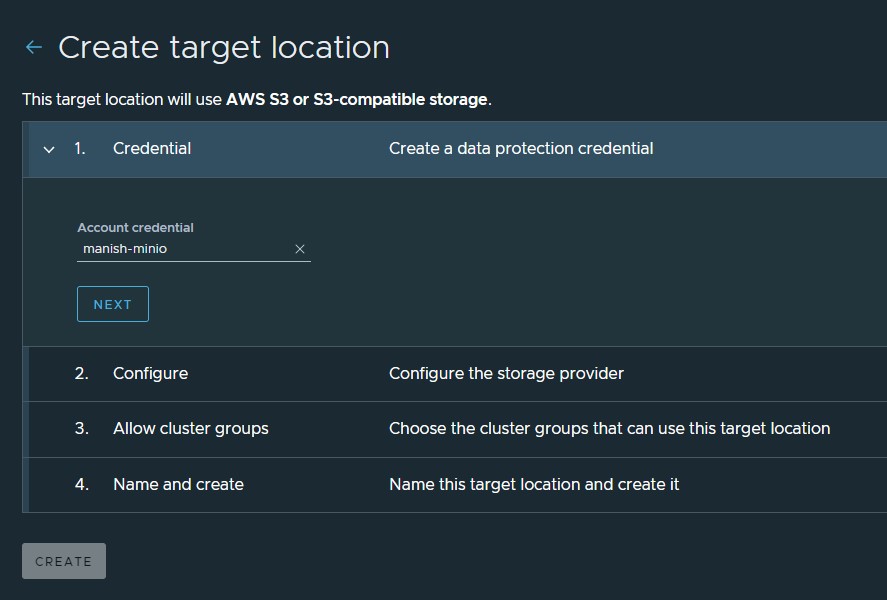
Select the credential that you created in the previous step.
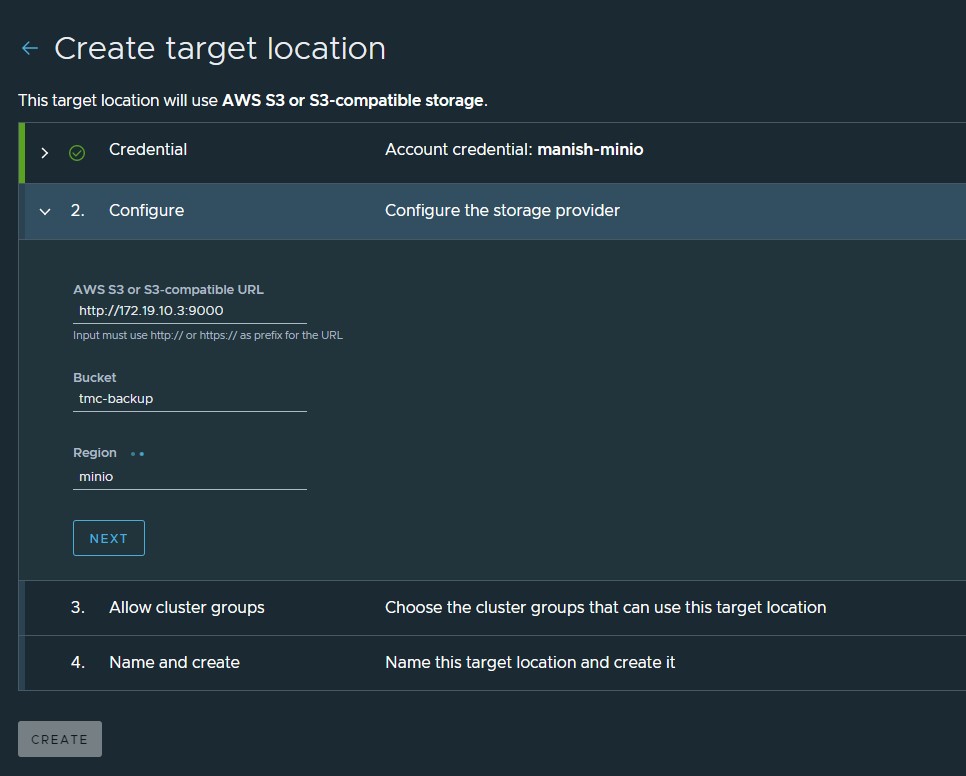
- Specify the S3-compatible URL. This is the API URL of your MinIO installation.
- Provide the name of the bucket that you have created in MinIO.
- For specifying Region, just type minio. The concept of Region doesn’t really work with MinIO but it is required for Velero to work.
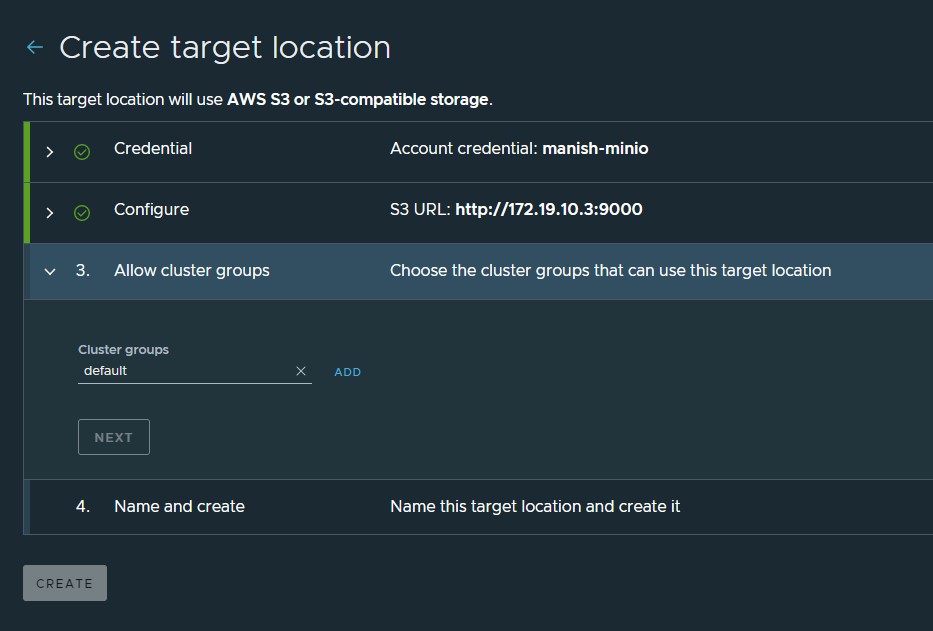
Select a Cluster Group whose member clusters can use this backup location for storing K8 backups. Click on the Add button after selecting the Cluster Group.
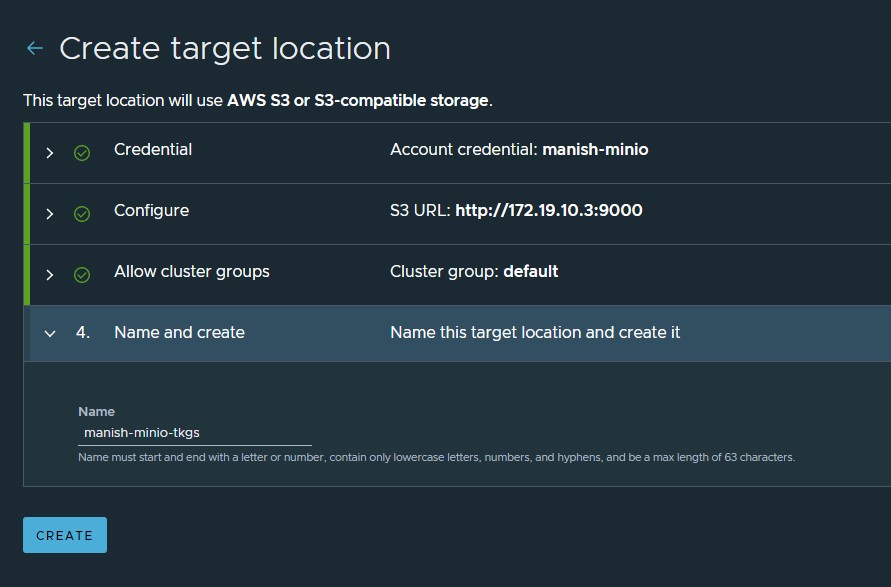
Provide a unique name for the Target Location and click on the Create button to finish the wizard.
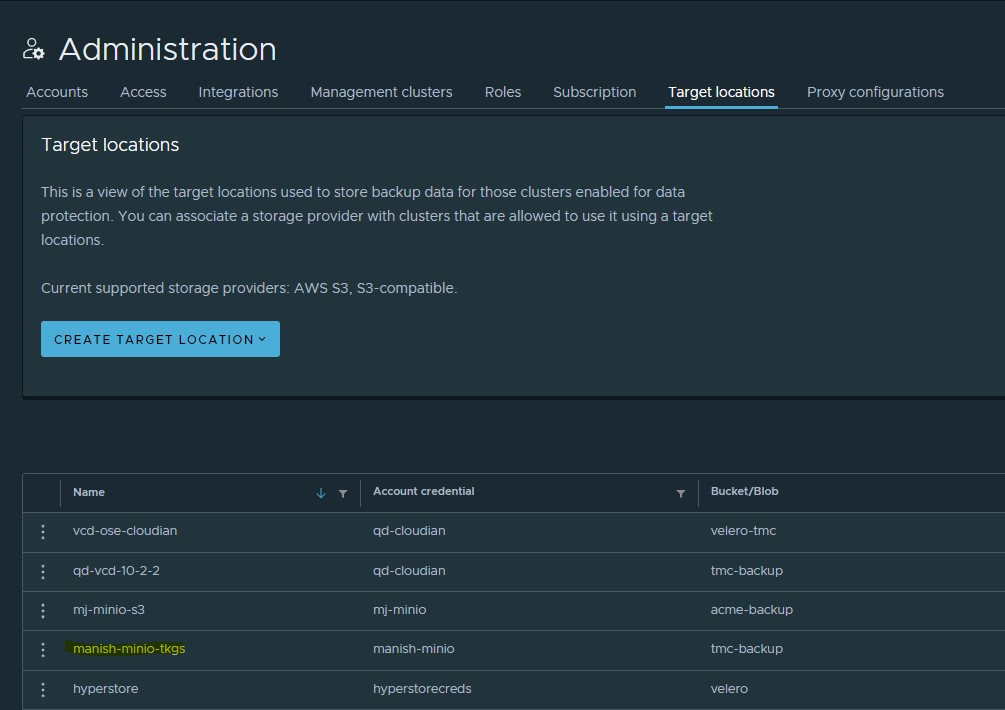
You should now see the new Target Location present on the Target Locations tab.
And that’s it for this post. In the next post, I will demonstrate how you can leverage on-prem S3 storage to backup your K8 applications data.




One thought on “Using Custom S3 Storage (MinIO) with TMC Data Protection”