
Welcome to Part-3 of the getting started with Tanzu Mission Control. In this post, I will discuss how you can leverage Tanzu Mission Control to protect your Kubernetes workloads that are deployed on the Tanzu Kubernetes Grid cluster.
If you are new to Tanzu Mission Control, I would encourage you to read previous articles of this series before diving into data protection for K8 workloads.
1: Tanzu Mission Control – Introduction & Architecture
2: Managing Tanzu Kubernetes Clusters with TMC
Tanzu Mission Control & Data Protection
Data protection in TMC is provided by Velero which is an open-source project that came with the Heptio acquisition.
When data protection is enabled on a Kubernetes cluster, the data backup is stored external to the TMC. TMC leverages AWS S3 functionality to store the backups.
Note: Data protection is not enabled on the Kubernetes cluster by default. In this post, I will demonstrate the steps of enabling data protection and the process of backup and restoration of K8 data.
Environment Walk-Through
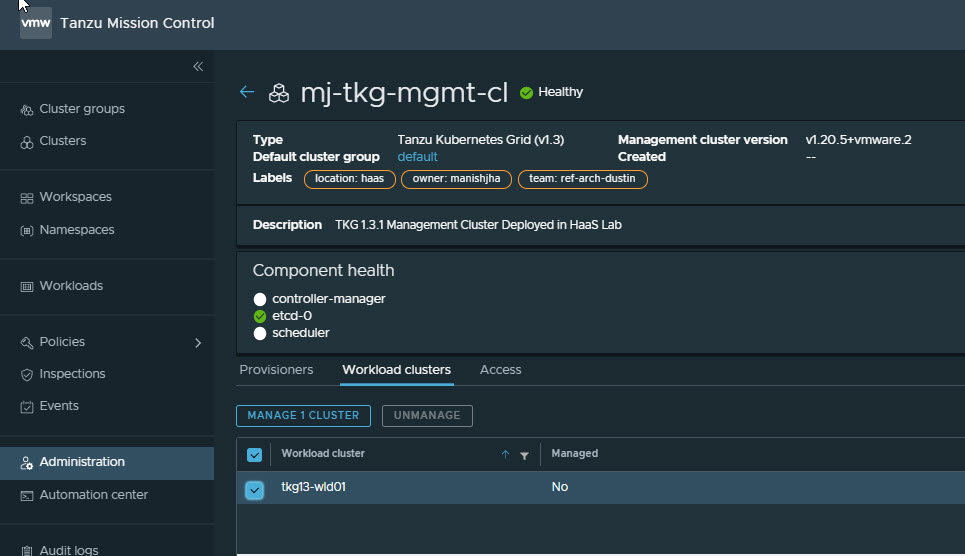
I have deployed a Tanzu Kubernetes Grid 1.3.1 Management & Workload cluster in my On-Prem environment.
The workload cluster is running a Yelb application which comprises the components as shown in the below screenshot.

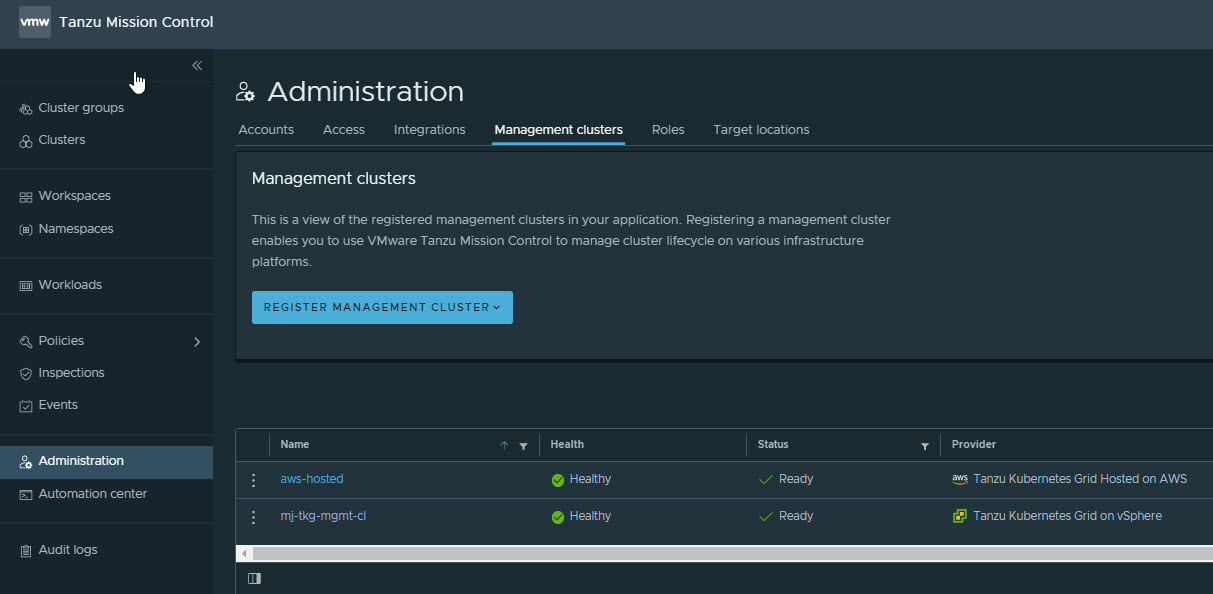
TKG management and workload cluster is registered in the TMC portal.
How to enable & use TMC Data Protection
Create an AWS Data Protection Credential
AWS credential is needed to establish communication between TMC and AWS so that TMC can store the data backups in the AWS S3 bucket.
Navigate to Administration > Accounts > Create Account Credential and select AWS data protection credential.

Provide a name for the credential and click on Generate Template button. A template will be generated and downloaded automatically, which can be then fed to the AWS CloudFormation to configure the stack.

Next, you have to perform the AWS configuration.

Login to your AWS account and search for Cloud Formation service.
Click on the create stack button to start the configuration.

Select the Template is Ready option and upload the template file that TMC has generated for you in step 1 of creating credentials.

Provide a name for the stack, and then click Next.

On the Configure stack options page, accept all of the default values and click Next.
On the Review page, select the checkbox that acknowledges the creation of IAM resources, and then click Create stack.

The creation of the CloudFormation stack takes a couple of minutes to complete. After the stack is created, retrieve the role ARN by navigating to the Outputs tab.
The role ARN is needed to connect this CloudFormation stack with Tanzu Mission Control.

Return to the TMC console to finish creating the data protection credential. Paste the ARN that you copied earlier and click on Create Credential.

Your data protection credential is now created.

Configure Target Location
Next, we have to specify where will TMC will store Kubernetes backup. Navigate to the Administration > Target Locations > Create Target Location and select the TMC Managed AWS S3 storage.
Note: If you have an existing S3 compatible storage and want to connect that storage with TMC, you can do so by selecting the “customer provisioned s3-compatible storage” option.

Select the data protection credential that you have generated earlier and hit next.

Select the cluster groups for which you are configuring the data protection target location.

Provide a name for the target location and click on create.

The target location has been configured now.

In the backend, TMC interacted with AWS using the data protection credential and automatically created an S3 bucket and IAM roles.
You can verify this by navigating to the S3 service in AWS and looking at the bucket name showing in the TMC portal and the one that got created in AWS.

Enable Data Protection on TKG Workload Cluster
Now it’s time to enable data protection on the workload cluster and perform backup and restore of the K8 workload.
Navigate to the workload cluster and click on Enable Data Protection.

Click on the enable button to initiate the automated installation of Velero on your TKG workload cluster.

Enabling data protection takes a couple of minutes to complete. In the backend, TMC creates Velero related Kubernetes objects in the workload cluster.
|
1 2 3 4 5 6 7 8 9 10 11 12 13 14 15 |
# kubectl get all -n velero NAME READY STATUS RESTARTS AGE pod/restic-7cdtf 1/1 Running 0 47h pod/restic-hkctl 1/1 Running 0 47h pod/restic-lzc9z 1/1 Running 0 47h pod/velero-67554fd54-xshbs 1/1 Running 0 47h NAME DESIRED CURRENT READY UP-TO-DATE AVAILABLE NODE SELECTOR AGE daemonset.apps/restic 3 3 3 3 3 <none> 47h NAME READY UP-TO-DATE AVAILABLE AGE deployment.apps/velero 1/1 1 1 47h NAME DESIRED CURRENT READY AGE replicaset.apps/velero-67554fd54 1 1 1 47h |
Backup & Restore TKG workload
Click on Create Backup to start with data backup for the K8.

TMC Data Protection allows you to create backups of the following types:
- all resources in a cluster
- selected namespaces in a cluster
- specific resources in a cluster identified by a given label
In my example, I am using the second option to backup a specific namespace ‘yelb’.

Select the target location where the backup will be stored.

Configure the backup schedule and hit Next.

Specify the backup retention period and hit Next.

Provide a name for the backup schedule and click on Create button.

Backup status can be checked under the Data Protection tab.

You can verify the presence of backup in the S3 bucket in the AWS portal. 
To validate the backup process, I deleted the ‘yelb’ application that I have backed up.

To restore the application, select the backup image and click on the Restore button.

Select what you want to restore. In my case, I have selected the entire backup.

Provide a name for the restore image and click on the Restore button.

Data restoration can take a bit of time depending on how heavy your K8 application is.

In the backend, I can see my application was restored completely. The Age column shows the application is spun recently.

Conclusion
Selecting the backup type is very important and the choice of backup type might vary with the organization’s needs. For example, backing up individual namespaces rather than protecting the entire Kubernetes cluster might be a good fit for you as deploying a new workload cluster is quicker than restoring the entire workload cluster as you already have the necessary deployment/configuration files handy.
If you have deployed the workload clusters and have labels applied, backing up clusters just by specifying the label name in the create backup wizard is more efficient than individually selecting the clusters/namespaces.
References
Tanzu Mission Control Data Protection Documentation
Protecting Kubernetes Data with Tanzu Mission Control
And that’s it for this post. I hope you enjoyed reading this post. Feel free to share this on social media if it is worth sharing.