My HCI Lab with Nutanix Community Edition-Part 3: Deploy Single Node Cluster

In last post of this series we discussed about lab setup that is needed to deploy the Nutanix CE platform. In this post we will learn about how to deploy a single node cluster.

If you are not following along this series, then I recommend reading earlier posts of this series from below links:

1: Nutanix Community Edition Introduction

2: Lab Setup

In last post we converted our centos VM to a template to save deployment time. I deployed a new VM from the template and booted it. 

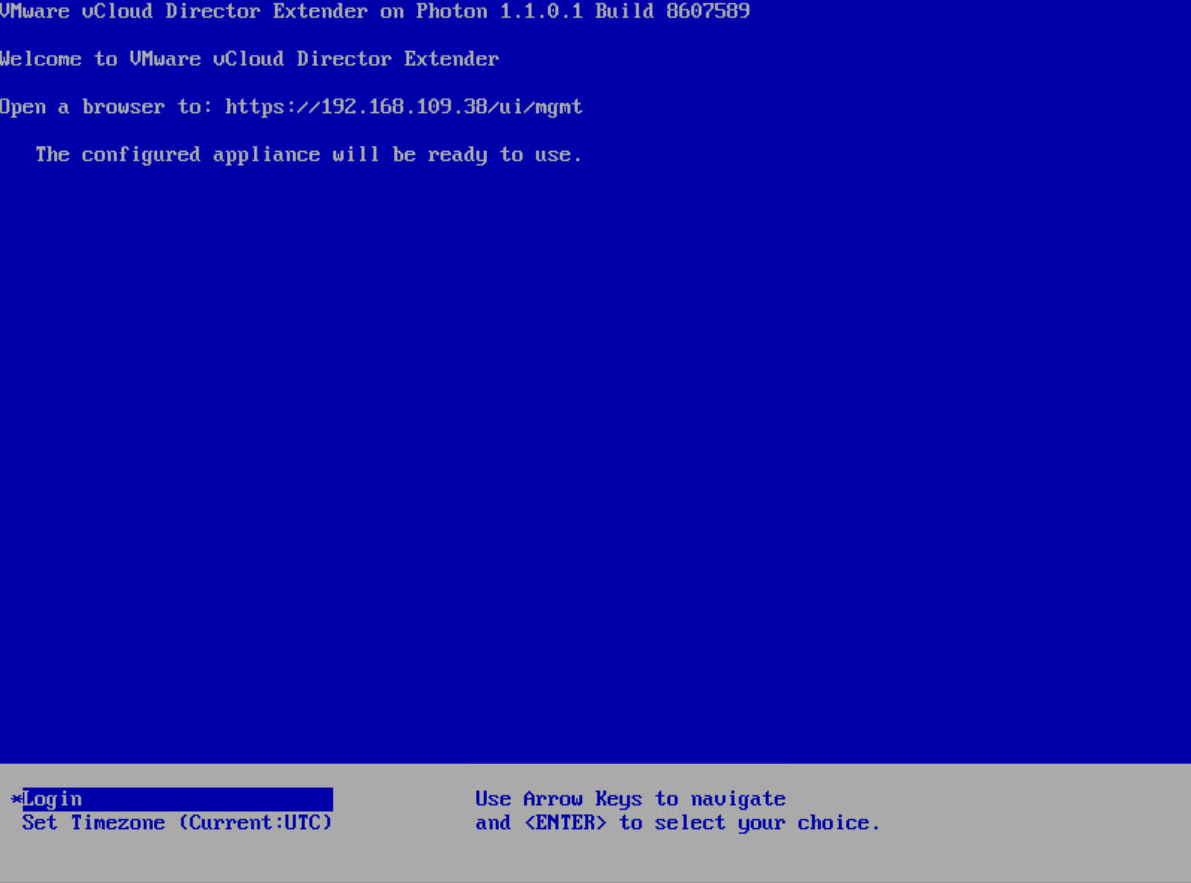
Once the “init image” is loaded at the login, type “install” command to proceed.

ce-install-1.PNG

Select your keyboard layout and hit proceed. 

ce-install-2.PNG

The installer will now show the disk drives namely sdb and sdc since they are connected to SCSI(0:1) and SCSI(0:2).

ce-install-3

The install wizard script will then detect the performance of the disk attached.

ce-install-5.PNG

If the installer is able to detect the required number of IOPS (as specified in sysUtil.pyRead the rest

My HCI Lab with Nutanix Community Edition: Part 2: Lab Setup

In last post of this series we discussed about what Nutanix CE is what does it offer and we talked about limitation of the product. In this post I will walk through my lab setup which I used to deploy the Nutanix CE.

Recommended Hardware

Before planning your deployment, make sure to refer to below spreadsheet which lists all necessary piece of hardware you need to have in place. 

Nutanix CE-HW Specs.png

In my lab, I don’t have a dedicated hardware server for deployment, so I went ahead with Nested virtualization technique. But if you are interested in deploying CE on dedicated piece of hardware then I would recommend reading this article.

Step 1: Download Nutanix CE bits

Before starting deployment, you need to first register register yourself on Nutanix Next Community . Fill in all the needed details and hit submit.

nutanix-next-registration.PNG

You will get an email with download links and Getting Started docs. Read the rest

My HCI Lab with Nutanix Community Edition: Part 1: Introduction

Till the time I was working on VMware products, I thought there couldn’t be a better piece of technology than this. However, since I started learning about Nutanix, my thoughts have changed, and I must admit that I am in awe of this product.

To learn any new product, a home lab is the best place where you can learn things from scratch. Since I don’t have dedicated hardware pieces to deploy Nutanix, I tried my hand at Nutanix Community Edition.

In this post, I will outline some basic considerations to keep in mind when planning to use Nutanix CE and walk through the steps needed to create a lab. Also, I will discuss the possibilities and limits of using this product.

What is Nutanix Community Edition (CE)?

Nutanix Community Edition is the free version of Nutanix OS, which is used to test drive the main features of Nutanix. Nutanix CE can be deployed using existing hardware in your infrastructure or as a virtual machine in a nested virtualization platform.Read the rest

Learning vRNI 3.9: Part 3:User Management in vRNI

In the last post of this series, we learnt to change the default retention period for events in vRNI.

In this post, we will learn about user management.

If you are not following along this series, then I recommend reading earlier posts of this series from the links below:

1: Adding Data Sources in vRNI

2: Changing Default Data Management Policy

The default installation of vRNI allows you to login with the admin@local user, and this user can add new users (local and LDAP) and configure memberships and other settings of the existing users.

Adding Local User

For security reasons, you might want to delete the default local user and create a new one as per your organization’s access standards. To add a new local user login to vRNI and navigate to Home > Settings > User Management > Local Users, and click on Add New User.

Provide a name for the new user and login ID (username@email format), and select an appropriate role for the user and a complex password.Read the rest

Learning vRNI 3.9: Part 2:Changing Default Data Management Policy

By default, the data retention policy in vRNI is one month. However, if you have an enterprise license, then you can change this policy.  The data is divided into the following categories:

vrni-data retention

You can change the value of any category and set it to the maximum value specified in the above table.

To change the default data retention policy, login to vRNI and navigate to Home > Settings > Data Management. 

Click on the configure button to change the values.

From the drop-down menu, select the new value for each category that you want to change and click the submit button.

vrni-dm-2

I hope you find this post informative. Feel free to share this on social media if it’s worth sharing. 

Learning vRNI 3.9: Part 1:Adding Data Sources in vRNI

By default, when vRNI 3.9 is installed, it starts in the NSX assessment mode, and in this mode, you will only see the option to add a vCenter server as a data source.

If you click on the Add Data Source, the only options available to you are vCenter, Infoblox, and Netflow Collector.

To add other data sources like NSX Manager or Cisco devices, you need to change the evaluation license and then click the “Switch to Full Product Evaluation” button in the bottom right corner of the vRNI homepage.

Once you have switched to full evaluation mode, you can add various data sources to analyze traffic flow and generate reports. 

To add a new data source, go to the settings page from the gear icon menu and navigate to the Accounts and Data Sources option.

Click on the Add Source button.

You will see options to add various types of data sources.Read the rest

vCloud Extender-Part 4: Cloud Provider Registration and VM Migration

In the last post of this series, I covered the steps needed to configure the on-prem environment to connect it to a cloud provider site.

In this post, I will demonstrate how to register a cloud provider and initiate vm migration using vCloud Extender.

If you are not following along with this series, then I recommend reading earlier posts of this series from the links below:

1: Introduction to vCloud Extender

2: vCloud Extender-Cloud Provider Setup

3: vCloud Extender-Tenant (On-Premise) Setup

Let’s start with Cloud Provider registration.

Login to the On-prem vCenter server webclient and click on the vCloud Extender plugin and navigate to the Provider Clouds tab. Click the Add a Provider Cloud button.

Specify Cloud Provider name and Provider Cloud URL. This should be in the format https://provider-url/cloud/org/tenant-org-name.

Also specify the vCD Extender cloud service URL. 

Clicking the Test button verifies that the supplied info is correct and the on-prem vCenter can connect to the cloud environment successfully.Read the rest

vCloud Extender-Part 3: Tenant (On-Premise) Setup

In the last post of this series, we covered the deployment/configuration steps on the cloud provider side. In this post, we will learn how to configure the on-premise (tenant) environment.

If you are not following along this series, then I recommend reading earlier posts of this series from the links below:

1: Introduction to vCloud Extender

2: vCloud Extender-Cloud Provider Setup

To connect the Tenant environment with the cloud provider, we need to deploy an instance of vCloud Extender on-premises. Deployment is similar to the service provider side, but with a difference that we select the deployment type as “cx-connector“.

After the appliance is deployed and boots up, you connect to the appliance URL for configuration.

Connect to https://CX-Appliance-FQDN/ui/mgmt and login with the admin credentials.

On the home page click on Setup Wizard button to start configuring the appliance.

Register the appliance with the on-prem vCenter server lookup service. Read the rest

vCloud Extender-Part 2: Service Provider Setup

In the last post of this series, I discussed vCloud Extender architecture and its capabilities. In this post, I will walk through the steps of configuring vCloud Extender on the cloud provider side.

vCloud Extender is deployed as an OVA, and deployment steps are straightforward, as shown in the slideshow below. Select the deployment type as “cx-cloud-service” on the template customization page.

Once the appliance is deployed and boots up, it will show the browser link to access the appliance for further configuration.

Connect to the appliance by typing https://appliance-fqdn/ui/mgmt and login with the administrator credentials.

Click on Setup Wizard to start configuring the CX Cloud Service appliance.

Register the appliance with your management vCenter. If your environment has PSC external to VC, use the PSC IP/FQDN for the lookup service URL.

Register the CX Cloud appliance with the vCloud Director. Enter your vCD details and administrator credentials.

Accept the vCD SSL certificate. Read the rest

vCloud Extender-Part 1:Introduction

What is VMware vCloud Extender?

VMware vCloud Director Extender creates a hybrid cloud environment between an end-user on-premise data center and a multi-tenant vCloud Director environment. vCloud Extender is a replacement for vCloud Connector, and this product was released soon after vCloud Director 9.0 was announced. 

What does vCloud Extender offer?

vCloud Extender allows customers to migrate workloads from an on-prem vSphere environment to a vCloud Director public cloud. The two migration methods available with vCloud Extender are cold and warm migration, and I will discuss these methods in detail in the upcoming post of this series.

Another exciting feature that vCloud Extender offers is to stretch an on-prem Layer 2 network to the cloud. This feature helps customer to achieve their “Cloud Migration” objective without much hassle, as you no longer need to re-IP workloads that are migrating to the cloud. 

You do not need to have an on-prem deployment of NSX to stretch a layer 2 network to the cloud, but without on-prem NSX, you are limited to extending only VLANs to VXLAN on the cloud side.Read the rest