Welcome to the 3rd part of the VMware vDefend SSP series. In the previous post, I discussed the deployment of the SSP installer and the SSP instance. This post focuses on demonstrating how to activate the platform features.
If you are not following along, I encourage you to read the earlier parts of this series from the links below:
1: Introduction to VMware vDefend Security Services Platform
2: Deploy & Configure SSP Instance
Onboard NSX Manager
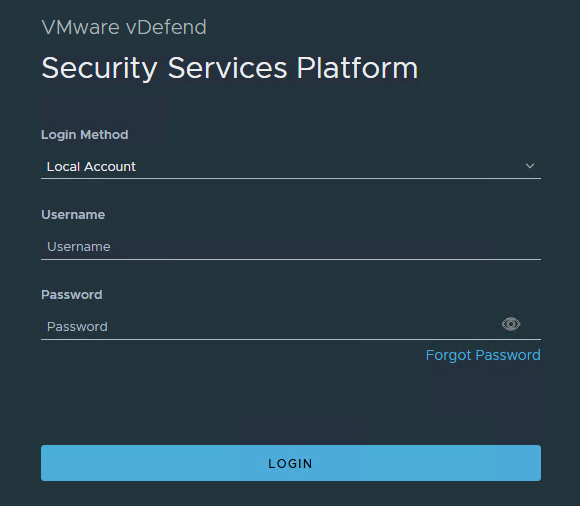
The first step in configuring the SSP instance is to onboard NSX Manager. To do so, login to the SSP instance by typing https://<ssp-fqdn>/ and entering the admin credentials set during the deployment.
Enter the workload domain NSX Manager IP/FQDN, NSX Enterprise Admin credentials, and the NSX Manager SSL certificate.
Note: If VIP is configured for NSX Manager, upload the MGMT_CLUSTER REST VIP certificate. Otherwise, the node REST API certificate.
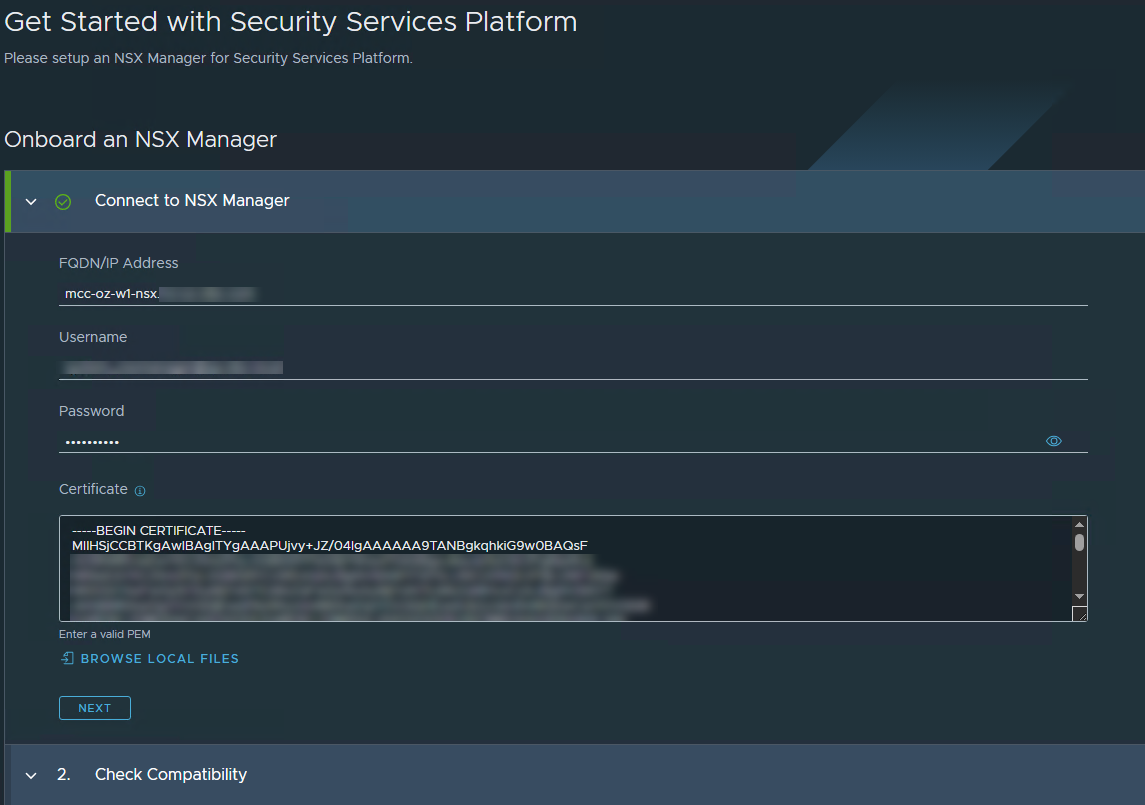
SSP checks the NSX manager compatibility with the SSP instance.… Read More

