Learning vRNI 3.9: Part 3:User Management in vRNI

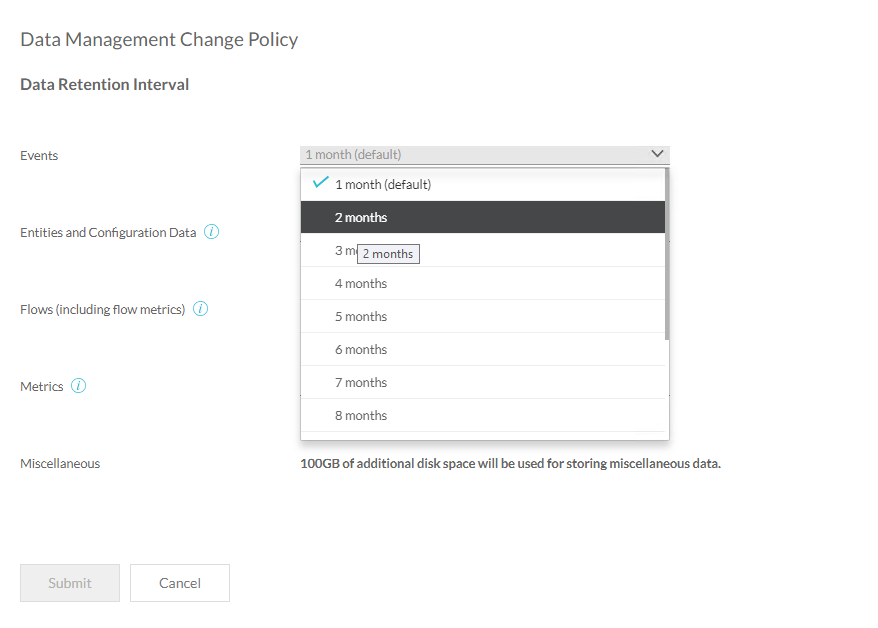
In the last post of this series, we learnt to change the default retention period for events in vRNI.

In this post, we will learn about user management.

If you are not following along this series, then I recommend reading earlier posts of this series from the links below:

1: Adding Data Sources in vRNI

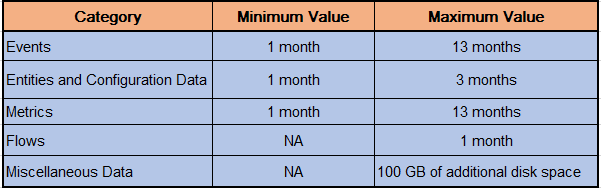
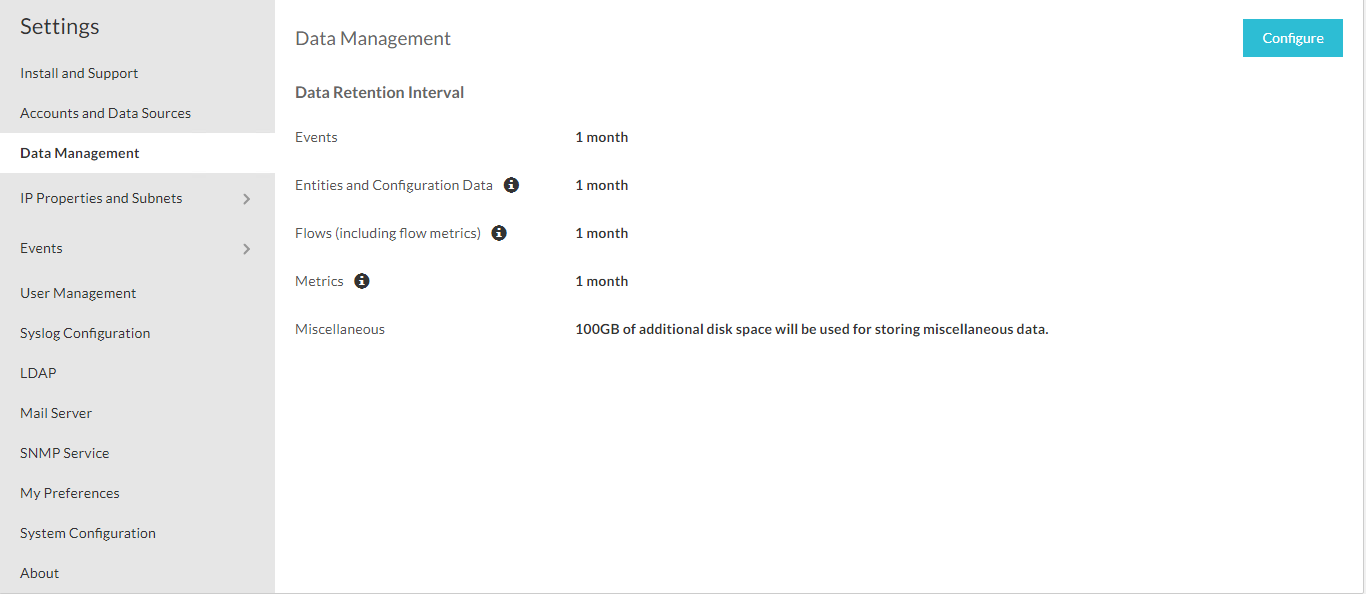
2: Changing Default Data Management Policy

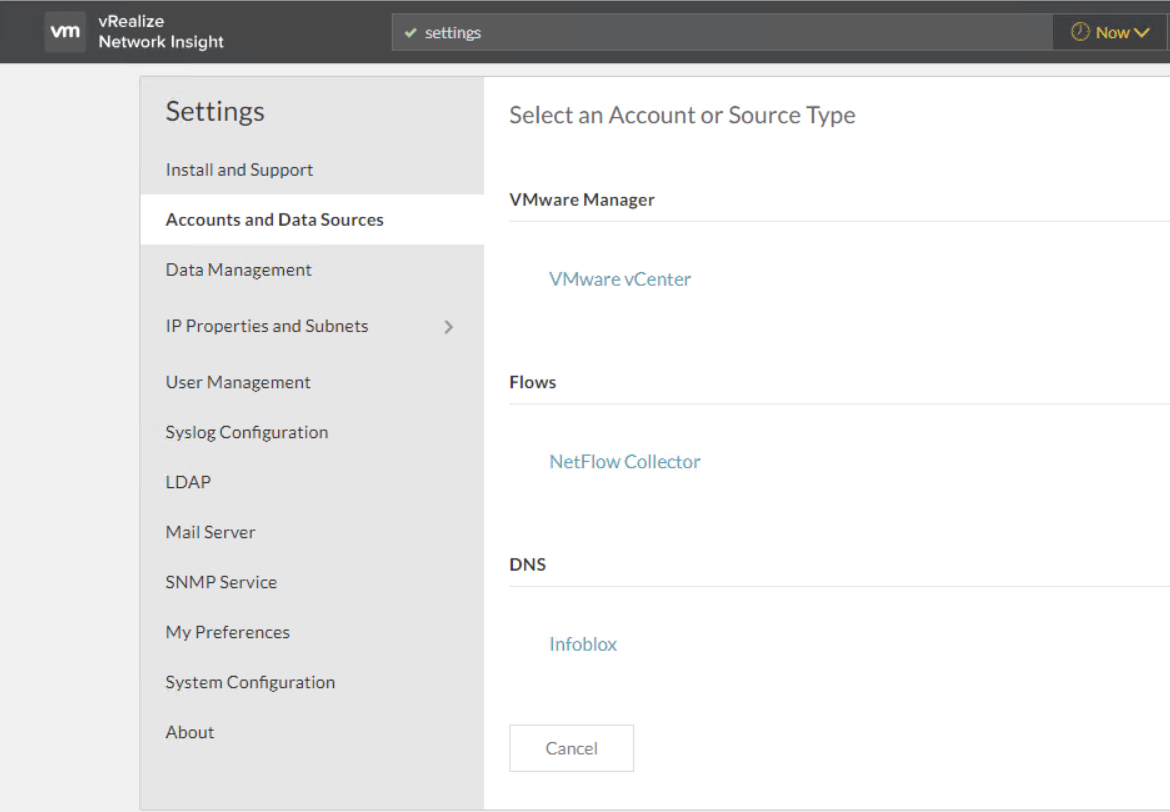
The default installation of vRNI allows you to login with the admin@local user, and this user can add new users (local and LDAP) and configure memberships and other settings of the existing users.

Adding Local User

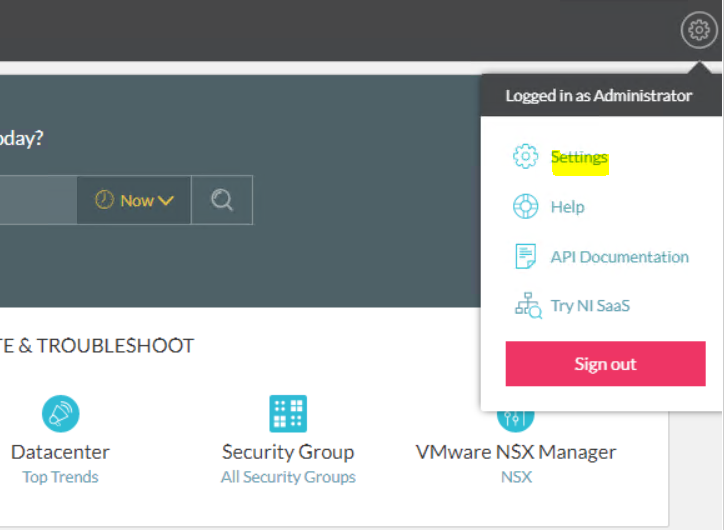
For security reasons, you might want to delete the default local user and create a new one as per your organization’s access standards. To add a new local user login to vRNI and navigate to Home > Settings > User Management > Local Users, and click on Add New User.

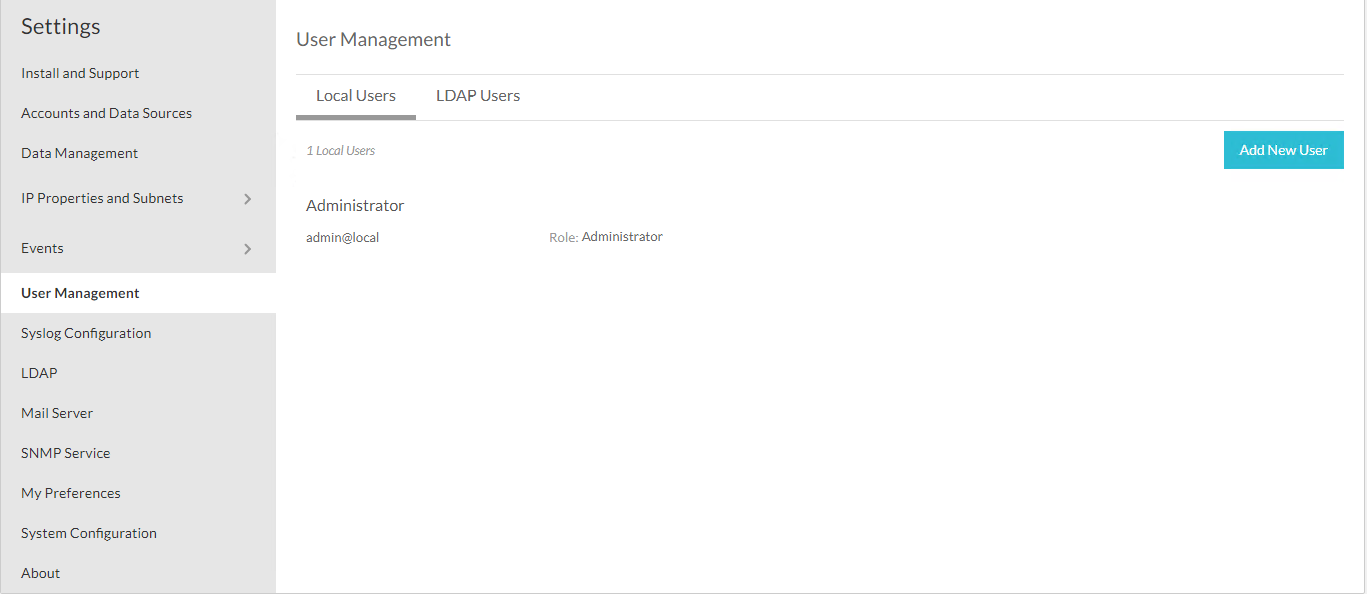
Provide a name for the new user and login ID (username@email format), and select an appropriate role for the user and a complex password.Read More

Learning vRNI 3.9: Part 2:Changing Default Data Management Policy

By default, the data retention policy in vRNI is one month. However, if you have an enterprise license, then you can change this policy.  The data is divided into the following categories:

vrni-data retention

You can change the value of any category and set it to the maximum value specified in the above table.

To change the default data retention policy, login to vRNI and navigate to Home > Settings > Data Management.

Click on the configure button to change the values.

From the drop-down menu, select the new value for each category that you want to change and click the submit button.

vrni-dm-2

I hope you find this post informative. Feel free to share this on social media if it’s worth sharing.

Learning vRNI 3.9: Part 1:Adding Data Sources in vRNI

By default, when vRNI 3.9 is installed, itstarts in the NSX assessment mode, and in this mode, you will only see the option to add a vCenter server as a data source.

If you click on the Add Data Source, the only options available to you are vCenter, Infoblox, and Netflow Collector.

To add other data sources like NSX Manager or Cisco devices, you need to change the evaluation license and then click the “Switch to Full Product Evaluation” button in the bottom right corner of the vRNI homepage.

Once you have switched to full evaluation mode, you can add various data sources to analyze traffic flow and generate reports.

To add a new data source, go to the settings page from the gear icon menu and navigate to the Accounts and Data Sources option.

Click on the Add Source button.

You will see options to add various types of data sources.Read More