
Welcome to the last post of this series. I am sure if you are following this blog series, then you have got yourself familiar with how NSX ALB integrates with VCD to provide “Load Balancing as a Service (LBaaS)”
In this post, I will demonstrate how tenants can leverage NSX ALB to create load balancer constructs (Virtual Services, Pools, etc)
If you haven’t read the previous posts in this series, I recommend you do so using the links provided below.
1: NSX ALB Integration with VCD – Supported Designs
3: Implementing Dedicated Service Engine Groups Design
4: Implementing Shared Service Engine Groups Design
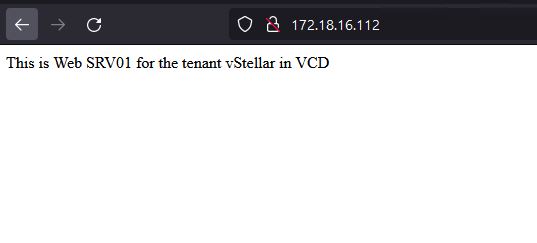
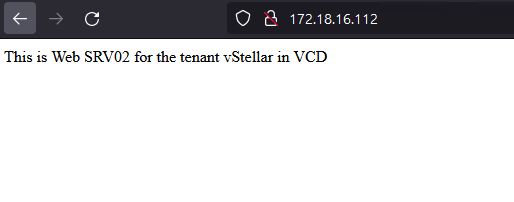
Tenant vStellar has deployed a couple of servers that are connected to a routed network “Prod-GW” and have got IP addresses 192.168.40.5 and 192.168.40.6 respectively.
Both servers are running an HTTP web server and are accessible via their local IP.


The tenant is looking for load balancing these web servers by leveraging NSX ALB. The load balancer is already enabled on the tenant’s org.
Below are the steps typically required for configuring load balancing for sample HTTP servers.
Step 1: Create Server Pool
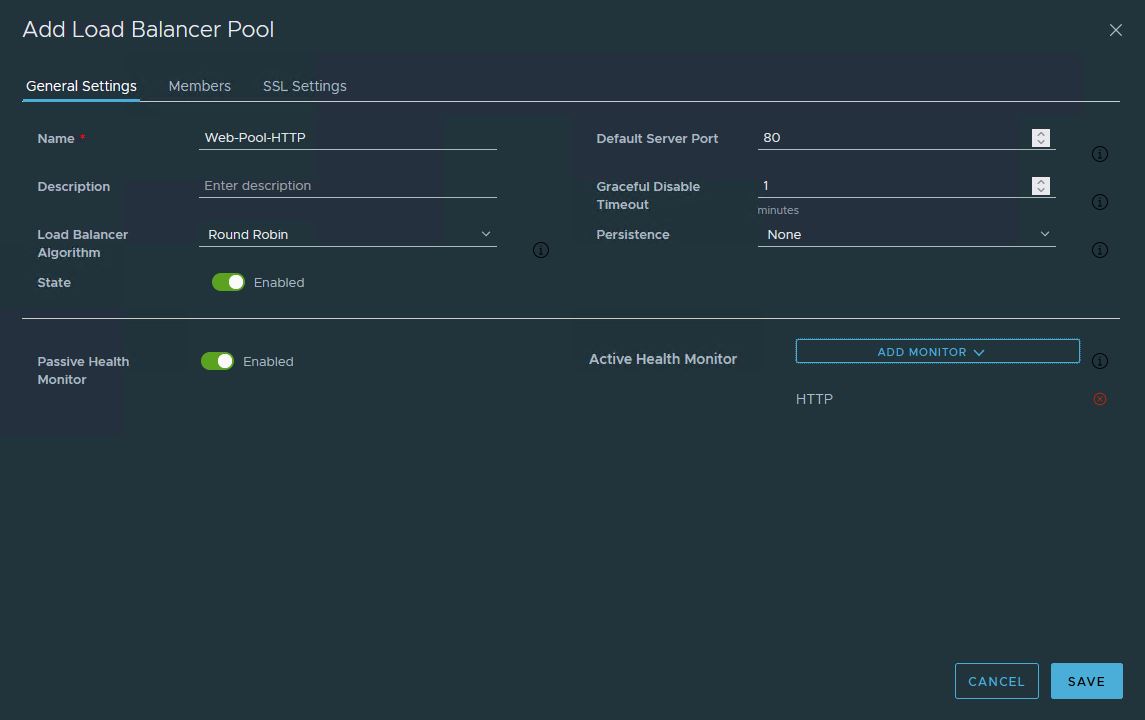
Login to VCD as org admin and navigate to Networking > Edge Gateways > Select the Edge gateway > Load Balancer > Pools page and click on the Add button.
- Provide a name for the Server Pool and select the appropriate Load Balancer Algorithm.
- Since the pool members are HTTP servers, the Default Server Port is set to 80.
- From the Add Monitor dropdown, select the appropriate Active Health Monitor for the server pool.
Ensure that the state is set to Enabled.
On the Members page, click on the Add button to specify the backend pool servers and the service port of the application running on the pool servers.
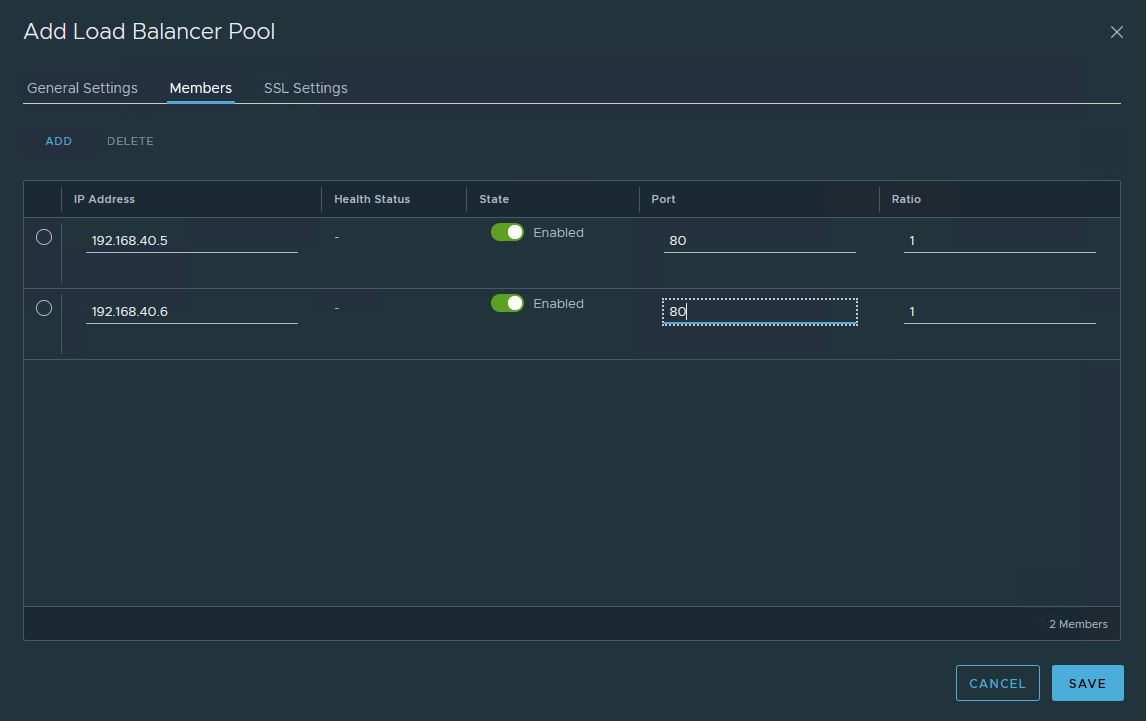
Click on the Save button to continue.
Step 2: Create Virtual Service (VS)
Under the Load Balancer option, select the Virtual Services page and click on the Add button to create a new Virtual Service.
- Provide a name for the Virtual Service and use the pencil button to edit the SEG and Pool option and map the VS to the corresponding SEG and LB Pool.
- Specify the Virtual IP (VIP) for the Virtual Service. The VIP can be one of the IP address from the External Network assigned to the tenant’s Edge Gateway or an internal IP.
- Select the Service Type for the VS.
Note: If you are using internal IP, then you have to ensure that a NAT rule is in place to access the servers from outside.

Click on the Save button to finish VS creation wizard.
Ensure that the state for the VS is enabled and status is Normal.

in NSX ALB, a Virtual Service for the vStellar tenant gets created.

To see the load balancer in action, access the VIP of the Virtual Service and verify that all pool members are responding to the access request.
And that’s it for this post.
I hope you enjoyed reading this post. Feel free to share this on social media if it is worth sharing.