
With the release of Container Service Extension 3.0.3, service providers can integrate Tanzu Kubernetes Grid multi-cloud (TKGm) with VCD to offer Kubernetes as a Service to their tenants. TKGm integration in addition to existing support for Native K8 and vSphere with Tanzu (TKGS) has truly transformed VCD into a developer-ready cloud.
With Tanzu Basic (TKGm &TKGS) on VCD, tenants have a choice of deploying K8s in three different ways:
- TKGS: K8 deployment on vSphere 7 which requires vSphere Pod Service
- TKGm: Multi-tenant K8 deployments that do not need vSphere Pod Service.
- Native K8: Community supported Kubernetes on VCD with CSE
By offering multi-tenant managed Kubernetes services with Tanzu Basic and VCD, Cloud providers can attract developer workloads starting with test/dev environments to their cloud. Once developers have grown confidence in the K8 solution, application owners can leverage the VCD-powered clouds to quickly deploy test/dev K8s clusters on-premise and accelerate their cloud-native app development and transition to production environments.
If you are new to the K8 solutions with VCD, I would recommend reading the below articles to understand the basics first before jumping into trying the solution.
1: Native Kubernetes in VCD using Container Service Extension
2: vSphere with Tanzu Integration in VCD
3: Container Service Extension Official Documentation
It’s time to jump into the lab and see things in action.
Infrastructure Details
The table below lists the components and their version that I am running in my lab.
| Component | Version |
| VCD | 10.3 Build 18296069 |
| vCSA | 7.0.2 Build 17958471 |
| ESXi | 7.0.2 Build 17867351 |
| NSX-T | 3.1.2 Build 17975795 |
| CSE | 3.0.4 |
| Container UI Plugin for CSE | 2.3.0 |
Note: TKGm is only supported in CSE version 3.0.3, 3.0.4, and CSE 3.1.1 (Beta). If you have upgraded your environment from CSE 3.0.x to CSE 3.1.0, please consider upgrading it to 3.1.1 for TKGm support. I had a word with the CSE team, and it looks like 3.1.1 is still under development and has a few bugs in the current version, so be careful before you plan to upgrade.
Also, CSE official documentation states that the supported VCD version with CSE 3.0.3 & 3.0.4 is 10.2.2, but in my testing, I found VCD 10.3 is backward compatible and it’s ok to use it.
Deployment Steps
This blog assumes that you already have VCD deployed and fully configured.
Step 1: Deploy CSE Server
CSE Server can be deployed on any Linux OS with the CSE Python module and VCD CLI installed.
In my lab, I am using a CentOS 8 VM with 1 vCPU, 6 GB RAM, and 100 GB disk space for CSE server installation.
Step 1.1: Install Python & VCD CLI
|
1 2 3 4 5 6 7 8 9 |
[root@cse ~]# dnf install yum-utils -y [root@cse ~]# dnf groupinstall development -y [root@cse ~]# dnf install python38 python38-pip python38-devel -y [root@cse ~]# easy_install-3.8 pip [root@cse ~]# pip3 install --user vcd-cli |
To run the vcd-cli command from anywhere in the CSE server, add the vcd-cli path to the .bash_profile.
|
1 2 3 4 5 6 7 |
[root@cse ~]# vim /root/.bash_profile PATH=$PATH:$HOME/bin:/root/.local/bin export PATH [root@cse ~]# source /root/.bash_profile |
Verify that vcd-cli has been installed.
|
1 2 3 |
[root@cse ~]# vcd version vcd-cli, VMware vCloud Director Command Line Interface, 24.0.1 |
Step 1.2: Install Container Service Extension
|
1 |
[root@cse ~]# pip3 install container-service-extension==3.0.4 |
Note: Pip3 installs the CSE associated dependencies automatically during the installation. In case you run into issues with the installation of any dependent package, uninstall the problematic package and install the correct version.
Verify that CSE has been installed.
|
1 2 3 |
[root@cse ~]# cse version CSE, Container Service Extension for VMware vCloud Director, version 3.0.4 |
Step 2: Enable CSE Client
Edit the ~/.vcd-cli/profiles.yaml file and add the following lines to enable the CSE client.
|
1 2 |
extensions: - container_service_extension.client.cse |
Note: If the ~/.vcd-cli/profiles.yaml file is not present on the CSE server, then run the following command to generate the file.
|
1 |
[root@cse ~]# vcd login vcd.manish.lab <Org-Name> <Org-User> -i -w |
Verify that the CSE client has been installed.
|
1 2 3 |
[root@cse ~]# vcd cse version CSE, Container Service Extension for VMware vCloud Director, version 3.0.4 |
Step 3: Create CSE Service Account
To facilitate communication between the CSE Server and VCD, create a user with the CSE Service Role. The role has all the rights that CSE requires.
To create this role, run the following command:
|
1 2 3 4 5 6 7 8 |
[root@cse ~]# cse create-service-role vcd.manish.lab -s Username for System Administrator: admin Password for admin: Connecting to vCD: vcd.manish.lab Connected to vCD as system administrator: admin Creating CSE Service Role... Successfully created CSE Service Role |
Step 4: Prepare VCD for CSE Installation
Before enabling CSE on VCD, ensure that you have configured the following items in VCD:
- A dedicated organization and organization VDC for CSE.
- A routed Org VDC network connected to an external network (with internet connectivity).
- Org VDC has sufficient storage to create vApps and publish them as templates.
- Good network connectivity between the CSE Server and VCD to avoid intermittent failures in K8 templates upload/download operations.
Note: Ensure that the org network has a Static IP Pool or DHCP configured. This is very important as the CSE server deploys Kubernetes templates on this network and installs Kubernetes binaries from the internet. VCD should be able to assign an IP address to the VM during this process.
Step 5: Enable CSE + TKGm on VCD
Step 5.1: Generate CSE configuration file
The CSE server is controlled by a YAML file. You can generate a sample yaml file by running the following command:
|
1 |
[root@cse ~]# cse sample -o config.yaml |
This command generates a config.yaml file that needs to be filled in with parameters specific to your environment. You have to keep a couple of things in mind when filling this file:
- Installation of TKGm in VCD is controlled via setting the feature flag enable_tkg_m to true.
- The parameter remote_template_cookbook_url should point to http://raw.githubusercontent.com/vmware/container-service-extension-templates/master/template.yaml
- If your VCD is v10.3, make it backward compatible to CSE 3.0.4 by setting the api_version to 35.0. By default, VCD 10.3 offers API version 36.0.
A sample config.yaml file from my environment is shown below:
|
1 2 3 4 5 6 7 8 9 10 11 12 13 14 15 16 17 18 19 20 21 22 23 24 25 26 27 28 29 30 31 32 33 34 35 36 37 38 39 40 41 42 43 44 45 46 47 48 49 |
# Only one of the amqp or mqtt sections should be present. #amqp: # exchange: cse-ext # host: amqp.vmware.com # password: guest # port: 5672 # prefix: vcd # routing_key: cse # username: guest # vhost: / mqtt: verify_ssl: false vcd: api_version: '35.0' host: vcd.manish.lab log: true password: VMware1! port: 443 username: admin verify: false vcs: - name: compute-vc01.manish.lab password: VMware1! username: administrator@vsphere.local verify: false service: enable_tkg_m: true enforce_authorization: false legacy_mode: false log_wire: false processors: 15 telemetry: enable: true broker: catalog: CSE-Catalog default_template_name: ubuntu-20.04_tkgm-1.20_antrea-0.11 default_template_revision: 1 ip_allocation_mode: pool network: CSE-Prod org: CSE remote_template_cookbook_url: https://raw.githubusercontent.com/vmware/container-service-extension-templates/tkgm/template.yaml storage_profile: 'vSAN-Default' vdc: CSE-VDC |
The config file has 5 mandatory sections ( amqp/mqtt], vcd, vcs, service, and, broker). To know more about the parameters related to each section, check the CSE official documentation.
Note: Parameters default_template_name & default_template_revision can be left blank during CSE server installation by providing the -t flag to the cse install command. On the other hand, to fetch the information about the available templates in the TKGm repo, you can run the following command:
|
1 2 3 4 5 6 7 |
[root@cse ~]# cse template list -c config.yaml -s Retrieved config from 'config.yaml' name revision local remote cpu memory description compute_policy default deprecated ---------------------------------- ---------- ------- -------- ----- -------- ------------------------------------------------------------------------------------ ---------------- --------- ------------ ubuntu-20.04_tkgm-1.20_antrea-0.11 1 No Yes 2 2048 Ubuntu 20.04, Docker-ce 19.03.15, Kubernetes 1.20.4-vmware.1, Antrea 0.11.3-vmware.2 No No |
Step 5.2: Enable CSE in VCD
Run the command below to initiate CSE installation in VCD.
|
1 |
[root@cse ~]# cse install -c config.yaml -s -t |
Since the -t flag is supplied with the installation command, the installation should finish within 5-10 minutes.
Validate the CSE Installation by running the command: cse check
|
1 2 3 4 5 6 7 8 9 10 11 |
[root@cse ~]# cse check -i -s Validating config file 'config.yaml' InsecureRequestWarning: Unverified HTTPS request is being made. Adding certificate verification is strongly advised. Connected to vCloud Director (vcd.manish.lab:443) Connected to vCenter Server 'compute-vc01.manish.lab' as '[email protected]' (compute-vc01.manish.lab) Config file 'config.yaml' is valid Validating CSE installation according to config file MQTT extension and API filters found Found catalog 'CSE-Catalog' CSE installation is valid |
Step 5.4: Install TKGm K8 Template
Run the cse template install command to install the TKGm template in VCD.
|
1 |
[root@cse ~]# cse template install ubuntu-20.04_tkgm-1.20_antrea-0.11 1 -c config.yaml -s |
The above command will install the template in the CSE org catalog and will be shared with the tenants.

Step 5.5: Start CSE Server
To run the CSE server manually in the shell background, run the following command:
|
1 |
[root@cse ~]# nohup cse run --config config.yaml -s > nohup.out 2>&1 & |
Controlling CSE Server with systemctl
Create a script file as shown below
|
1 2 3 4 5 6 7 |
[root@cse ~]# vim cse.sh #!/usr/bin/env bash export CSE_CONFIG_PASSWORD='VMware1!' /root/.local/bin/cse run -c /root/config.yaml -s |
[root@cse ~]# chmod +x cse.sh
Create a cse.service file so that systemd can control it.
|
1 2 3 4 5 6 7 8 9 10 11 12 |
[root@cse ~]# vim /etc/systemd/system/cse.service [Service] ExecStart=/bin/sh /root/cse.sh Type=simple User=root WorkingDirectory=/root Restart=always [Install] WantedBy=multi-user.target # systemctl daemon-reload |
Enable and start the CSE service.
|
1 |
[root@cse ~]# systemctl enable cse && systemctl start cse |
Step 6: Tenant Onboarding
Step 6.1: Publish CSE Rights Bundle to the Tenants
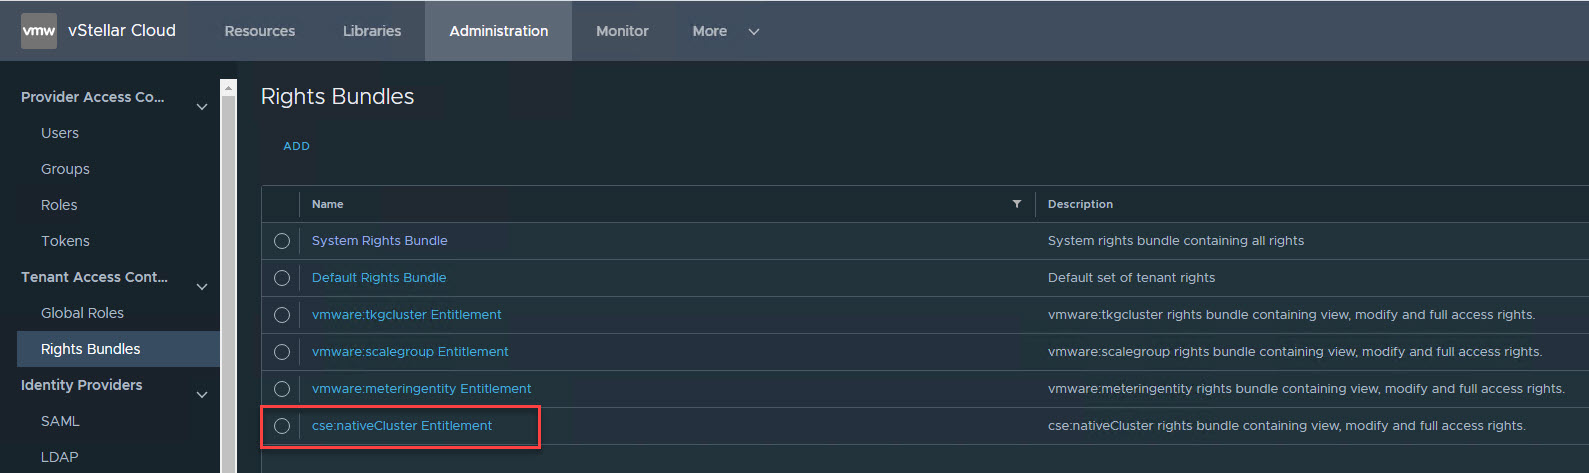
A new right bundle gets created in the VCD when TKGm is integrated with VCD. Publish this right bundle to the tenants who want to deploy TKG-based K8 clusters.
Step 6.2: Enabling Tenant OrgVDC for TKG
Provider needs to use vcd-cli to instruct CSE to enable TKG runtime on specific tenant OrgVDC(s).
Note: TKG related options won’t show up in vcd-cli by default. You have to explicitly enable it by setting the following environment variable:
|
1 |
export CSE_TKG_M_ENABLED=True |
To activate the K8 runtime for the tenants, login to VCD as a system admin user.
|
1 2 |
[root@cse ~]# vcd login vcd.manish.lab system admin -p VMware1! -i -w admin logged in, org: 'system', vdc: '' |
Verify the current K8s Runtime for OVDC
|
1 2 3 4 5 6 |
[root@cse ~]# vcd cse ovdc list Name ID K8s Runtime -------------- ------------------------------------ ------------------ MJ-VDC01 f65ec1b1-8d55-49a7-b4f5-fe199372bb10 [] CSE-VDC dced2924-559f-4924-82bd-b5154b5c625d [] vStellar-VDC01 9cb0215c-f27d-4079-b403-c881854aa045 [] |
Activate the TKGm K8s Runtime environment on the tenant ovdc
|
1 2 3 4 |
[root@cse ~]# vcd cse ovdc enable vStellar-VDC01 -o vStellar --tkg OVDC Update: Updating OVDC placement policies task: c7ce1856-0ce8-4e5b-a35a-18e6b201f301, Operation success, result: success |
Verify that TKGm K8s Runtime is enabled on the OVDC
|
1 2 3 4 5 6 |
[root@cse ~]# vcd cse ovdc list Name ID K8s Runtime -------------- ------------------------------------ ------------------ MJ-VDC01 f65ec1b1-8d55-49a7-b4f5-fe199372bb10 [] CSE-VDC dced2924-559f-4924-82bd-b5154b5c625d [] vStellar-VDC01 9cb0215c-f27d-4079-b403-c881854aa045 ['TKGm'] |
Step 7: Install Container UI Plugin
By default, VCD 10.3 ships with Container UI plugin version 3.0.0. TKG related options won’t show up in this version of the plugin. You need to disable this plugin and install v2.3.0 of the plugin, which can be downloaded from here
Once the plugin has been installed, publish the plugin to the tenants.
Step 8: Deploy TKGm cluster as a Tenant
Login to the tenant portal and navigate to More > Kubernetes Container Clusters and click on New and verify that you are getting an option for deploying the TKG K8 cluster.

Once you have provisioned the TKGm-based K8 cluster, you can download the cluster kubeconfig file and upload it to a machine where you have kubectl installed.

You can also view the status of the K8 cluster by running the following command:
|
1 2 3 4 |
[root@cse ~]# vcd cse cluster list Name Org Owner VDC K8s Runtime K8s Version Status ------ -------- ------- -------------- ------------- -------------------- ---------------- tkc01 vStellar admin vStellar-VDC01 TKGm TKGm 1.20.4-vmware.1 CREATE:SUCCEEDED |
Information about the deployed K8 cluster can be viewed by running the following command:
|
1 2 3 4 5 6 7 8 9 10 11 12 13 14 15 16 17 18 19 20 21 22 23 24 25 26 27 28 29 30 31 32 33 34 35 36 37 38 39 40 41 42 43 44 45 46 47 48 49 |
[root@cse ~]# vcd cse cluster info tkc01 api_version: '' kind: TKGm metadata: cluster_name: tkc01 org_name: vStellar ovdc_name: vStellar-VDC01 spec: control_plane: count: 1 sizing_class: System Default storage_profile: vSAN-Default expose: false k8_distribution: template_name: ubuntu-20.04_tkgm-1.20_antrea-0.11 template_revision: 1 nfs: count: 0 sizing_class: null storage_profile: null settings: network: App-NW rollback_on_failure: true ssh_key: <Output Truncated> workers: count: 2 sizing_class: System Default storage_profile: vSAN-Default status: cni: antrea 0.11.3-vmware.2 docker_version: 19.03.15 exposed: false kubernetes: TKGm 1.20.4-vmware.1 nodes: control_plane: ip: 192.168.40.2 name: mstr-5m7z sizing_class: System Default nfs: [] workers: - ip: 192.168.40.4 name: node-nb80 sizing_class: System Default - ip: 192.168.40.3 name: node-3pz7 sizing_class: System Default os: ubuntu-20.04 phase: CREATE:SUCCEEDED task_href: https://vcd.manish.lab/api/task/6c2b1d50-afc4-42c9-ace8-884efe69dbb2 |
You are now ready to interact with the K8 cluster using the kubectl utility.
- List all pods
|
1 2 3 4 5 6 7 8 9 10 11 12 13 14 15 16 |
[root@cse ~]# kubectl get pods -A NAMESPACE NAME READY STATUS RESTARTS AGE kube-system antrea-agent-5kxcs 2/2 Running 0 78m kube-system antrea-agent-ncqzx 2/2 Running 0 78m kube-system antrea-agent-t4d8r 2/2 Running 0 86m kube-system antrea-controller-5468f6f6bf-ghvz7 1/1 Running 0 86m kube-system coredns-d7999d5df-ft448 1/1 Running 0 86m kube-system coredns-d7999d5df-pq568 1/1 Running 0 86m kube-system etcd-mstr-5m7z 1/1 Running 0 86m kube-system kube-apiserver-mstr-5m7z 1/1 Running 1 86m kube-system kube-controller-manager-mstr-5m7z 1/1 Running 0 86m kube-system kube-proxy-hhkkc 1/1 Running 0 78m kube-system kube-proxy-q5p8x 1/1 Running 0 86m kube-system kube-proxy-wtw8m 1/1 Running 0 78m kube-system kube-scheduler-mstr-5m7z 1/1 Running 0 86m [root@cse ~]# |
- List namespaces
|
1 2 3 4 5 6 |
[root@cse ~]# kubectl get namespaces NAME STATUS AGE default Active 92m kube-node-lease Active 92m kube-public Active 92m kube-system Active 92m |
I hope you enjoyed reading this post. Feel free to share this on social media if it’s worth sharing.