Introduction
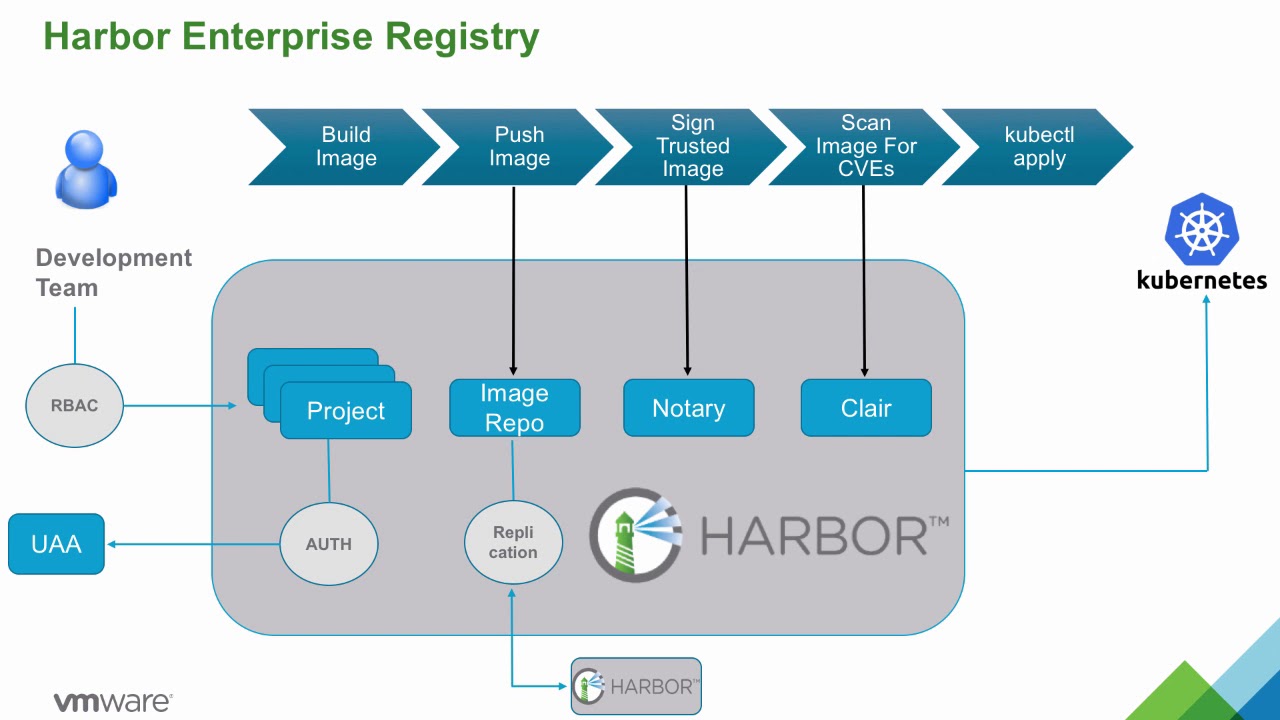
Harbor is an open-source registry that is used to store the containerized images that will be consumed by the Docker/Kubernetes platform. The images stored in the Harbor registry are secured using policies and role-based access control. Harbor, delivers compliance, performance, and interoperability to help you consistently and securely manage artifacts across cloud-native compute platforms like Kubernetes and Docker.
Why harbor
Harbor not only provides a container registry but also can do vulnerability scanning and trust signing of your docker images. It also has a really smooth web interface that allows you to do things like RBAC, project creation, user management, and more.
Harbor supports the replication of images between registries and also offers advanced security features such as user management, access control, and activity auditing.
Harbor Deployment Model
Harbor can be deployed both as a regular workload or as a K8 instance. Deploying as a K8 instance is very handy if you already have a Kubernetes management cluster. TKG supports both types of deployment, but there is a certain overhead that you should keep in mind when deploying it as a K8 instance.
In this blog, I’m going to walk through the process to deploy a standalone Harbor instance as a regular workload on top of CentOS 7. Let’s get started.
System Requirements
Hardware Requirements
The following table lists the minimum and recommended hardware configurations for deploying Harbor.
| Resource | Minimum | Recommended |
|---|---|---|
| CPU | 2 CPU | 4 CPU |
| Mem | 4 GB | 8 GB |
| Disk | 40 GB | 160 GB |
Note: For testing in Lab/POC environments, you can go for 1 vCPU and 4 GB RAM.
Software Requirements
Install the following software on the machine where you are intending to deploy Harbor.
- Docker Engine: Version 17.06.0-ce+ or higher.
- Docker Compose: Version 1.18.0 or higher.
- Openssl: Latest and greatest version available.
Firewall Requirements
Harbor requires that the following ports be open on the target host.
| Port | Protocol | Description |
| 443 | HTTPS | Harbor portal and core API accept HTTPS requests on this port. You can change this port in the configuration file. |
| 80 | HTTP | Harbor portal and core API accept HTTP requests on this port. You can change this port in the configuration file. |
Installation Steps
Step 1: Install Docker, Docker Engine & Docker Compose
|
1 2 3 4 5 6 7 8 9 10 11 12 13 |
# yum install -y yum-utils # yum-config-manager --add-repo https://download.docker.com/linux/centos/docker-ce.repo # yum install -y docker-ce-18.06.3.ce-3.el7 docker-ce-cli-18.06.3.ce-3.el7 containerd.io # systemctl enable docker && systemctl start docker && systemctl status docker # curl -L "https://github.com/docker/compose/releases/download/1.29.2/docker-compose-$(uname -s)-$(uname -m)" -o /usr/local/bin/docker-compose # chmod +x /usr/local/bin/docker-compose # docker-compose --version |
Step 2: Download and Extract Harbor installation binary
|
1 2 3 |
# wget https://github.com/goharbor/harbor/releases/download/v2.2.3/harbor-offline-installer-v2.2.3.tgz # tar -zxvf harbor-offline-installer-v2.2.3.tgz |
Step 3: Configure HTTPS Access to Harbor
Harbor can be deployed with and without security. The latter is used in a test/dev air-gapped environment so that connections can be made over http. In a production environment, you should configure Harbor to be accessed securely over HTTPS, disabling HTTP access completely.
By default, Harbor does not ship with certificates, so to configure HTTPS access, you should have an SSL certificate. You can either use third-party CA-signed certificates or create and use a self-signed certificate.
In my lab, I am using openssl to create the self-signed SSL cert. I have made my harbor node act as a CA to sign the node certificate. The procedure is shown below:
Note: All references to harbor.tanzu.lab refers to the fqdn of harbor node in my environment. Please change this value to reflect yours.
3.1: Generate a CA certificate and certificate key.
|
1 2 3 |
# openssl genrsa -out ca.key 4096 # openssl req -x509 -new -nodes -sha512 -days 3650 -subj "/C=CN/ST=Karnataka/L=Bangalore/O=VMware/OU=VMC/CN=harbor.tanzu.lab" -key ca.key -out ca.crt |
3.2: Generate a Server Certificate
The server certificate usually comprises a .crt and a .key file. First you generate a Certificate Signing Request (csr) file and then convert it to a .crt file following the x509 standard.
|
1 2 3 |
# openssl genrsa -out harbor.tanzu.lab.key 4096 # openssl req -sha512 -new -subj "/C=CN/ST=Karnataka/L=Bangalore/O=VMware/OU=VMC/CN=harbor.tanzu.lab" -key harbor.tanzu.lab.key -out harbor.tanzu.lab.csr |
3.3: Generate an x509 v3 extension file
An x509 certificate should contain all the SAN’s related to your harbor node to comply with the x509 v3 extension requirements. Create a new file (v3.ext) with the below contents
|
1 2 3 4 5 6 7 8 9 10 |
authorityKeyIdentifier=keyid,issuer basicConstraints=CA:FALSE keyUsage = digitalSignature, nonRepudiation, keyEncipherment, dataEncipherment extendedKeyUsage = serverAuth subjectAltName = @alt_names [alt_names] DNS.1=harbor.tanzu.lab DNS.2=tanzu.lab DNS.3=harbor |
Use the v3.ext file to generate a certificate for your Harbor host
|
1 |
# openssl x509 -req -sha512 -days 3650 -extfile v3.ext -CA ca.crt -CAkey ca.key -CAcreateserial -in harbor.tanzu.lab.csr -out harbor.tanzu.lab.crt |
Convert .crt to .cert, for use by Docker
|
1 |
# openssl x509 -inform PEM -in harbor.tanzu.lab.crt -out harbor.tanzu.lab.cert |
3.4: Copy the server certificate, key, and CA files into the Docker certificates folder on the Harbor host and restart the Docker service.
|
1 2 3 4 5 6 7 8 9 |
# mkdir -p /etc/docker/certs.d/harbor.tanzu.lab/ # cp harbor.tanzu.lab.cert /etc/docker/certs.d/harbor.tanzu.lab/ # cp harbor.tanzu.lab.key /etc/docker/certs.d/harbor.tanzu.lab/ # cp ca.crt /etc/docker/certs.d/harbor.tanzu.lab/ # systemctl restart docker |
Step 4: Configure the Harbor YML File
You set system-level parameters for Harbor in the harbor.yml file that is contained in the installer package. These parameters take effect when you run the install.sh script to install or reconfigure Harbor.
|
1 2 3 |
# cd /root/harbor # cp harbor.yml.tmpl harbor.yml |
Edit following values as per your environment.
|
1 2 3 4 5 6 7 8 9 10 11 12 13 14 15 16 17 |
# vim harbor.yml hostname: harbor.tanzu.lab certificate: /etc/docker/certs.d/harbor.tanzu.lab/harbor.tanzu.lab.cert private_key: /etc/docker/certs.d/harbor.tanzu.lab/harbor.tanzu.lab.key harbor_admin_password: <Your-Password> # Harbor DB configuration database: # The password for the root user of Harbor DB. Change this before any production use. password: <your-passwd> # insecure The flag to skip verifying registry certificate insecure: true |
For a complete list of required parameters, please see Harbor official documentation
Step 5: Install Harbor
Once you have prepared your harbor.yml file, you install and start Harbor by using the install.sh script.
# ./install.sh
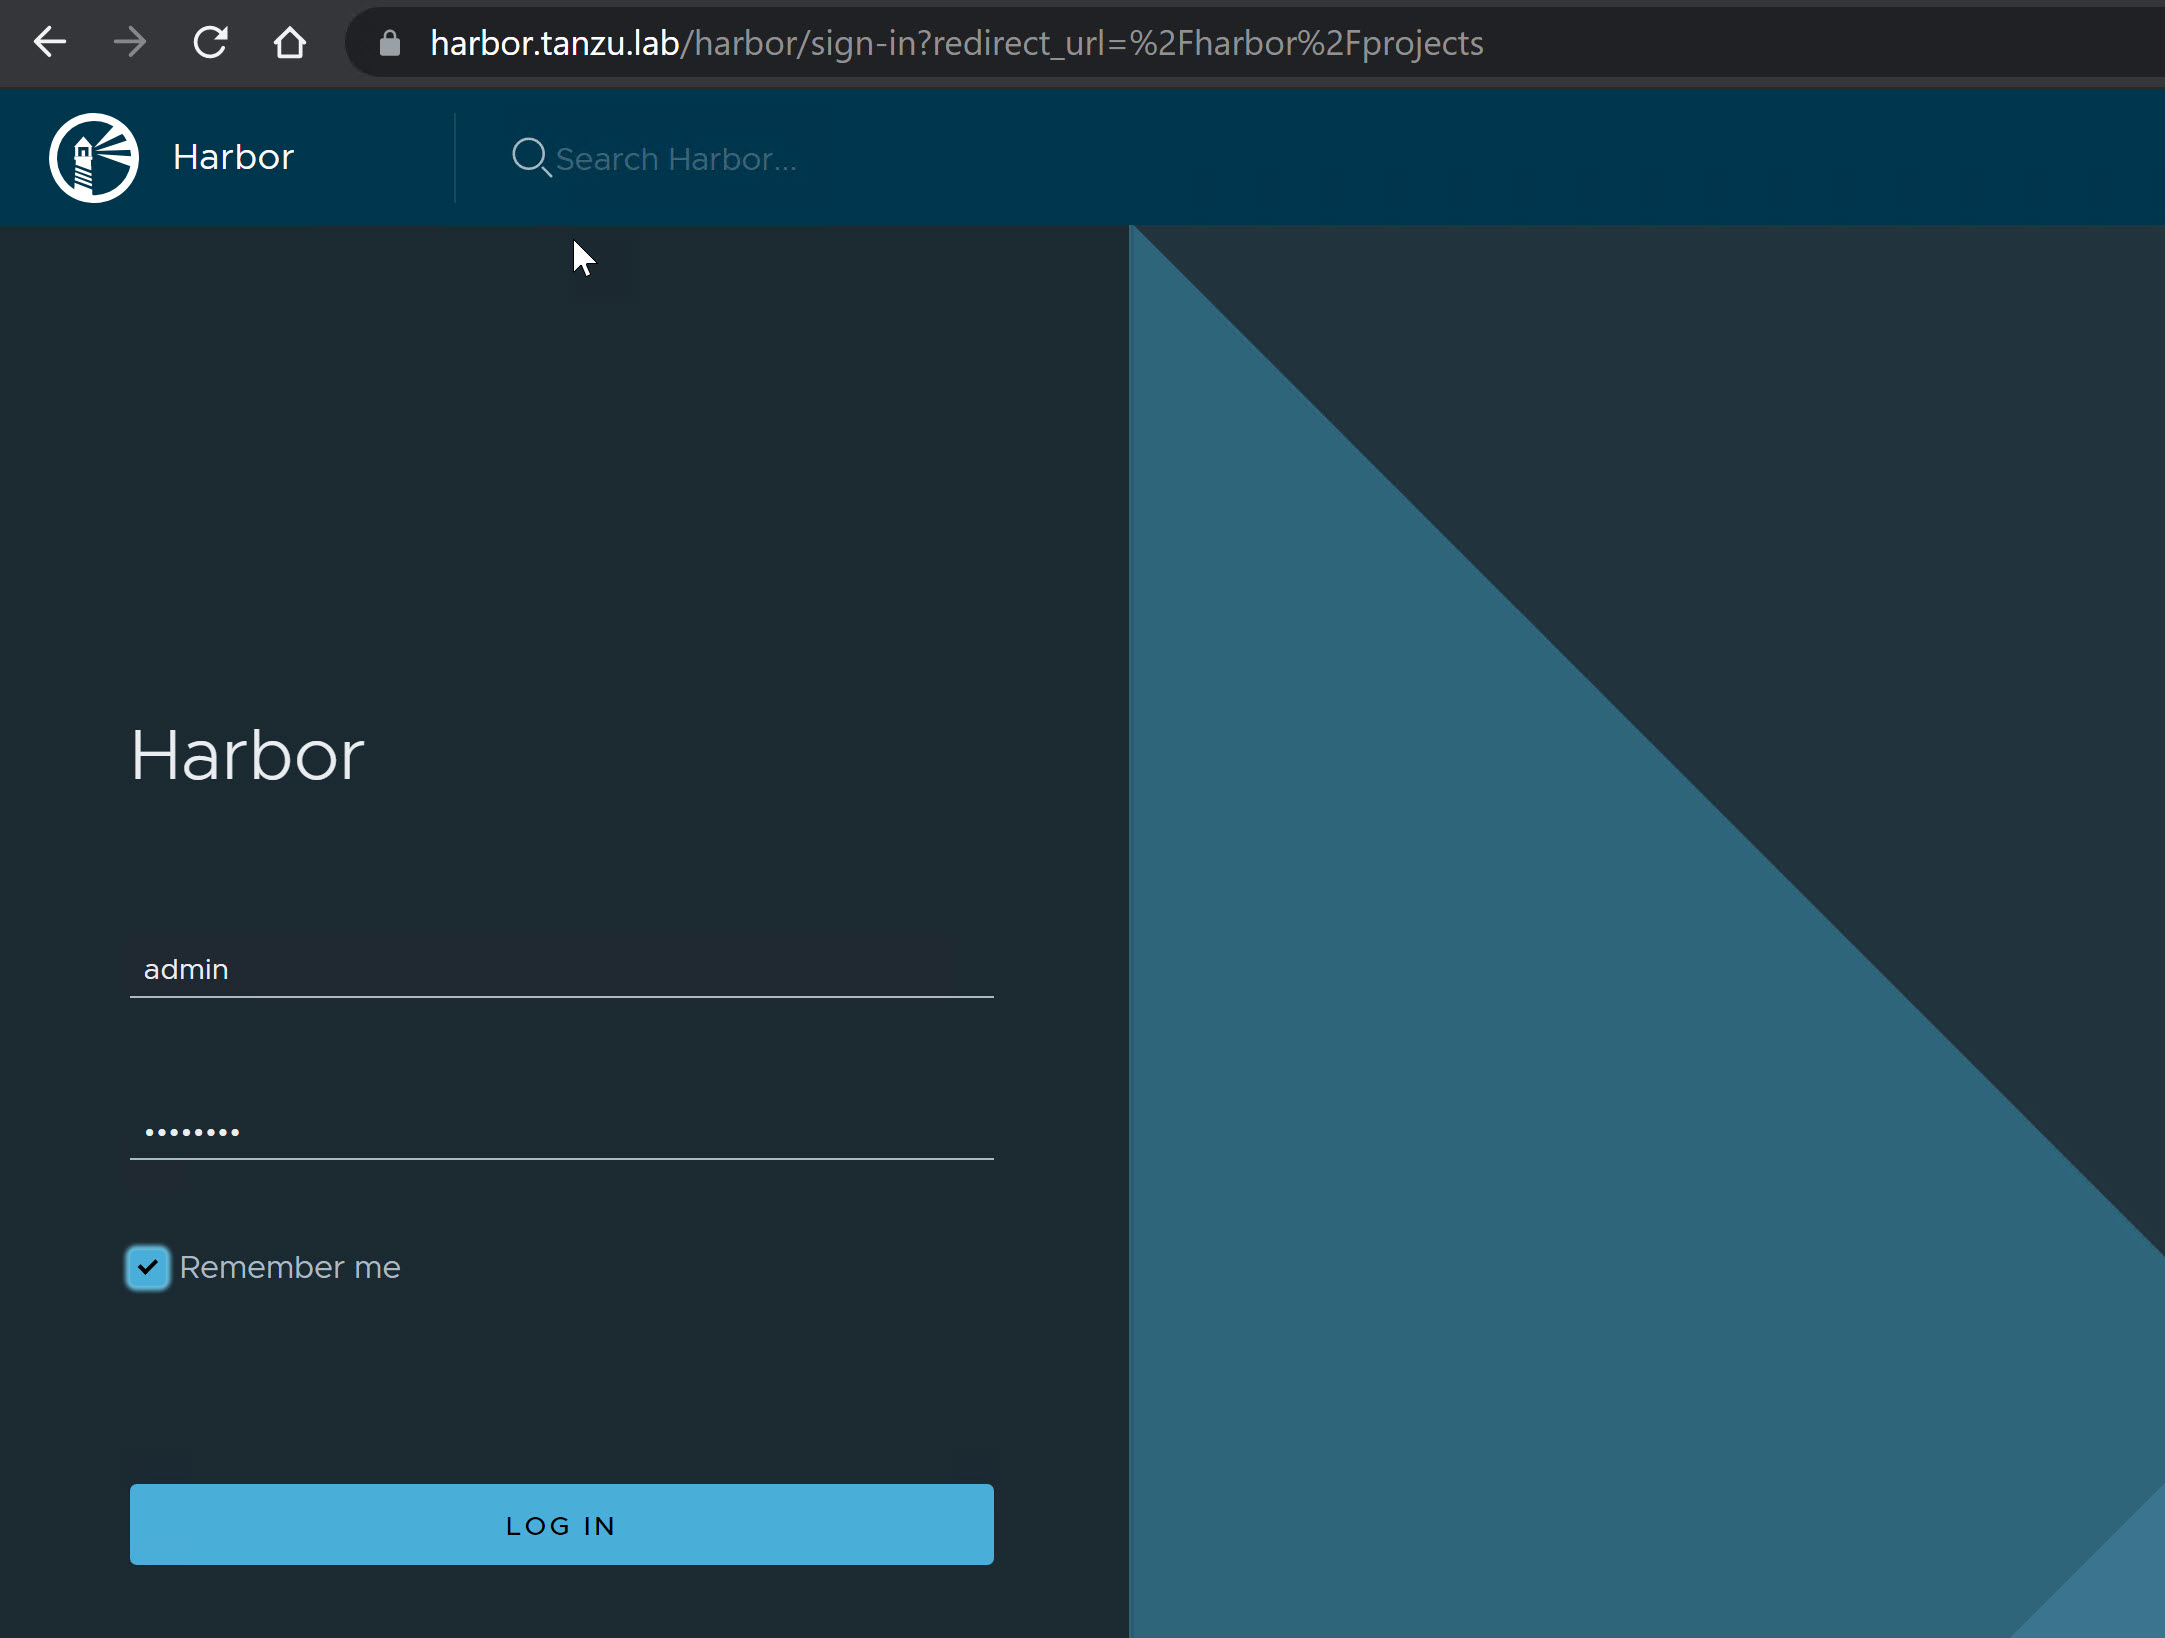
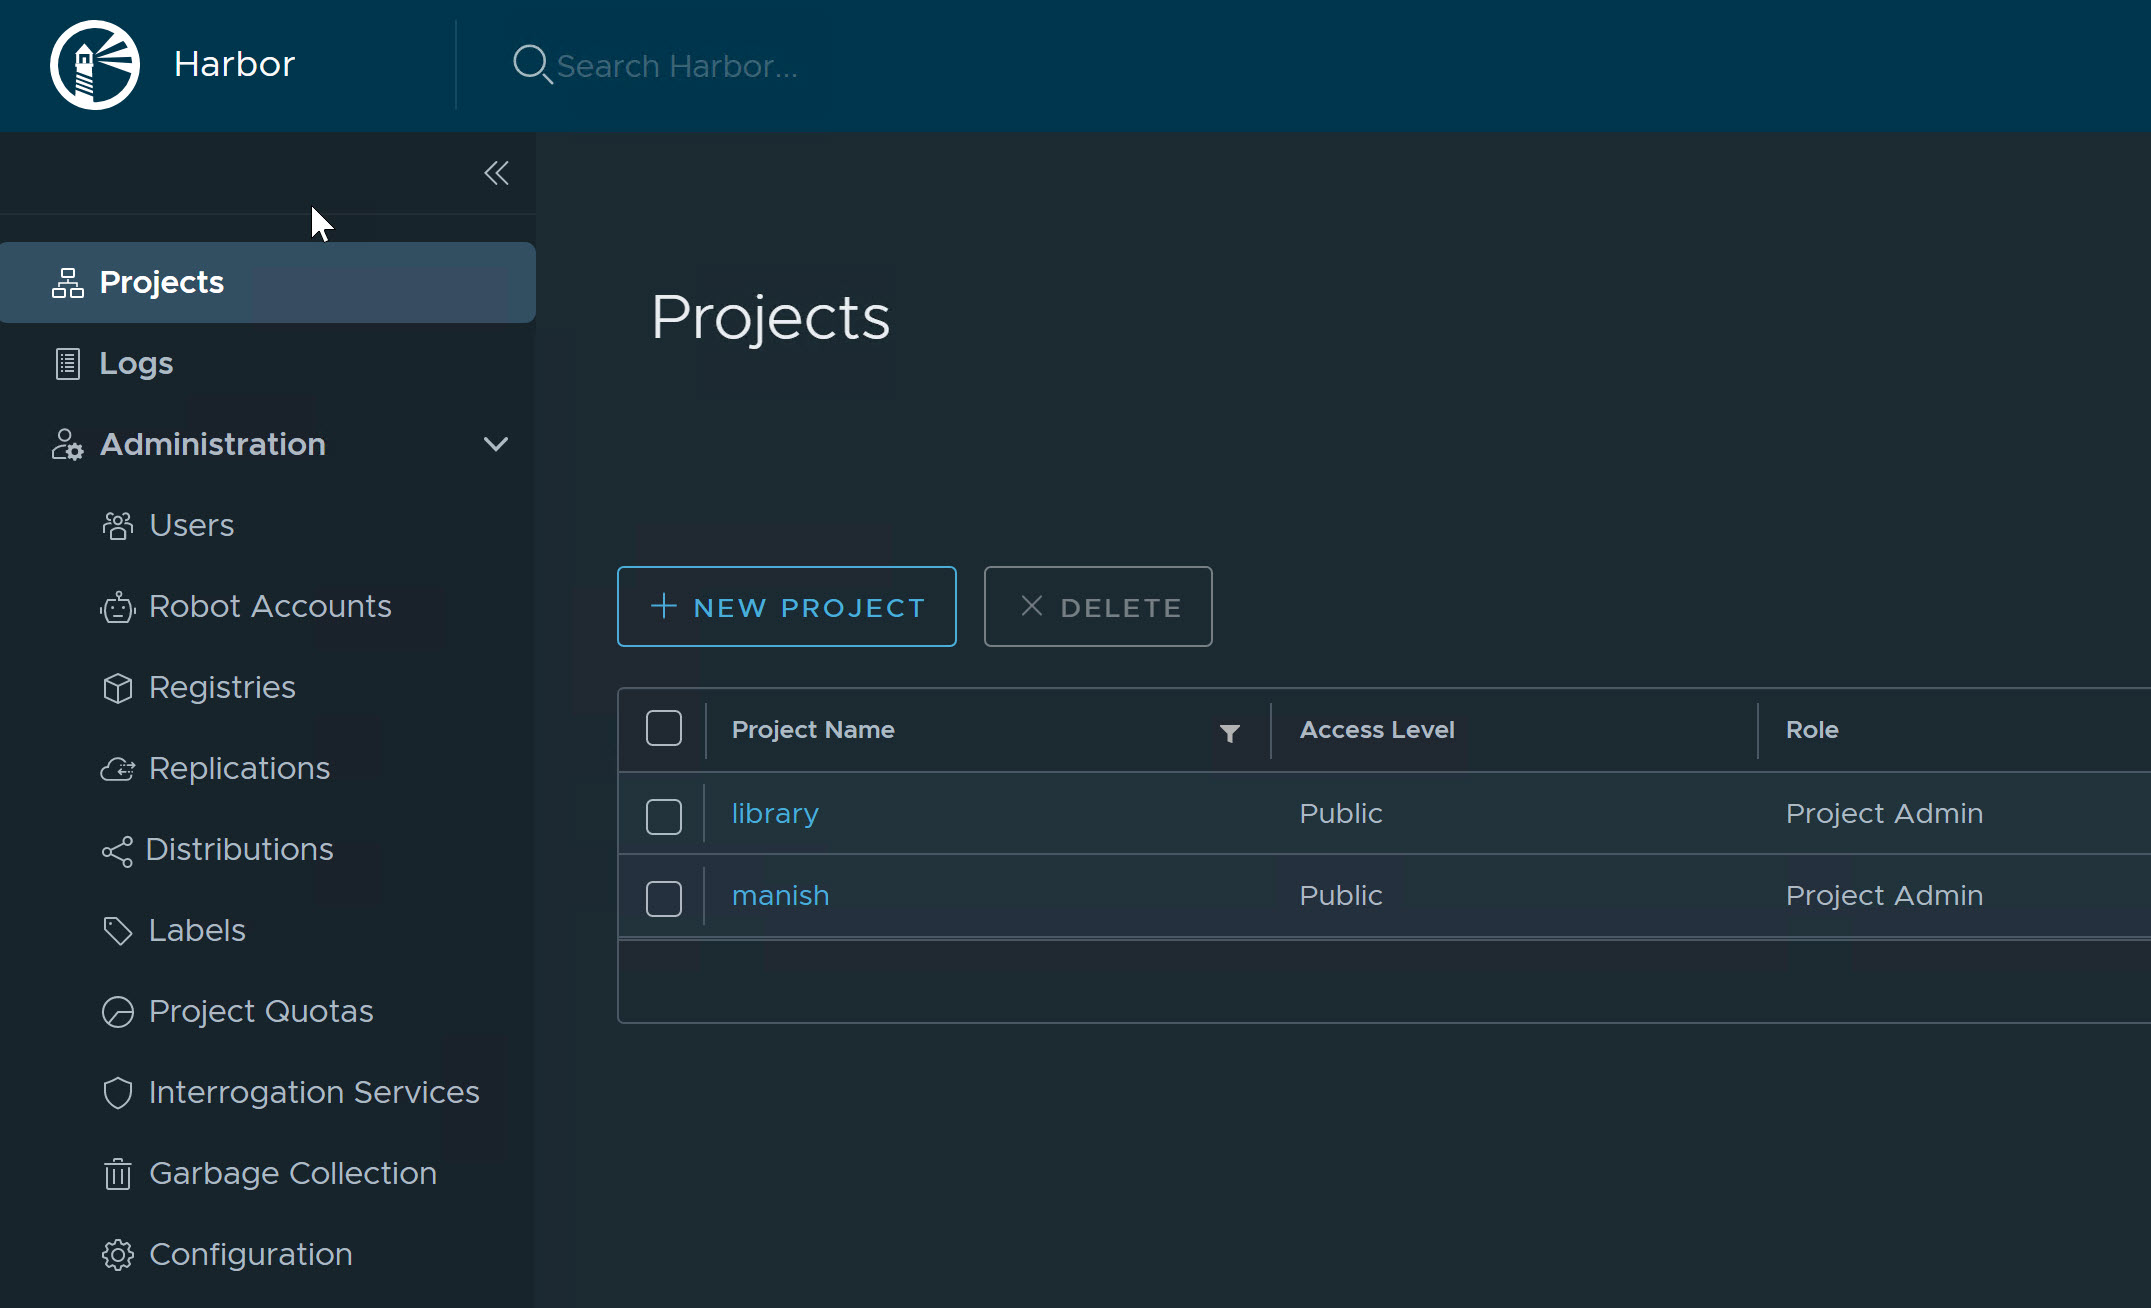
Harbor installation roughly takes 5-6 minutes to complete and once it is completed, you can access the harbor instance by typing https://<harbor-fqdn>/ and login using the credentials that you have configured in the harbor.yml file.
You can upload the artifacts in the default project (library) that gets shipped with Harbor, or can create your own projects.
And that concludes this post. In the next post, I will demonstrate how you can upload images in Harbor and then integrate harbor with Tanzu Kubernetes Grid to deploy K8 workloads.
I hope you enjoyed reading this post. Feel free to share this on social media if it is worth sharing.


