In the last post of this series, I discussed Avi Controller deployment and configuration. In this post, I will demonstrate supervisor cluster deployment which lays the foundation for the TKG clusters.
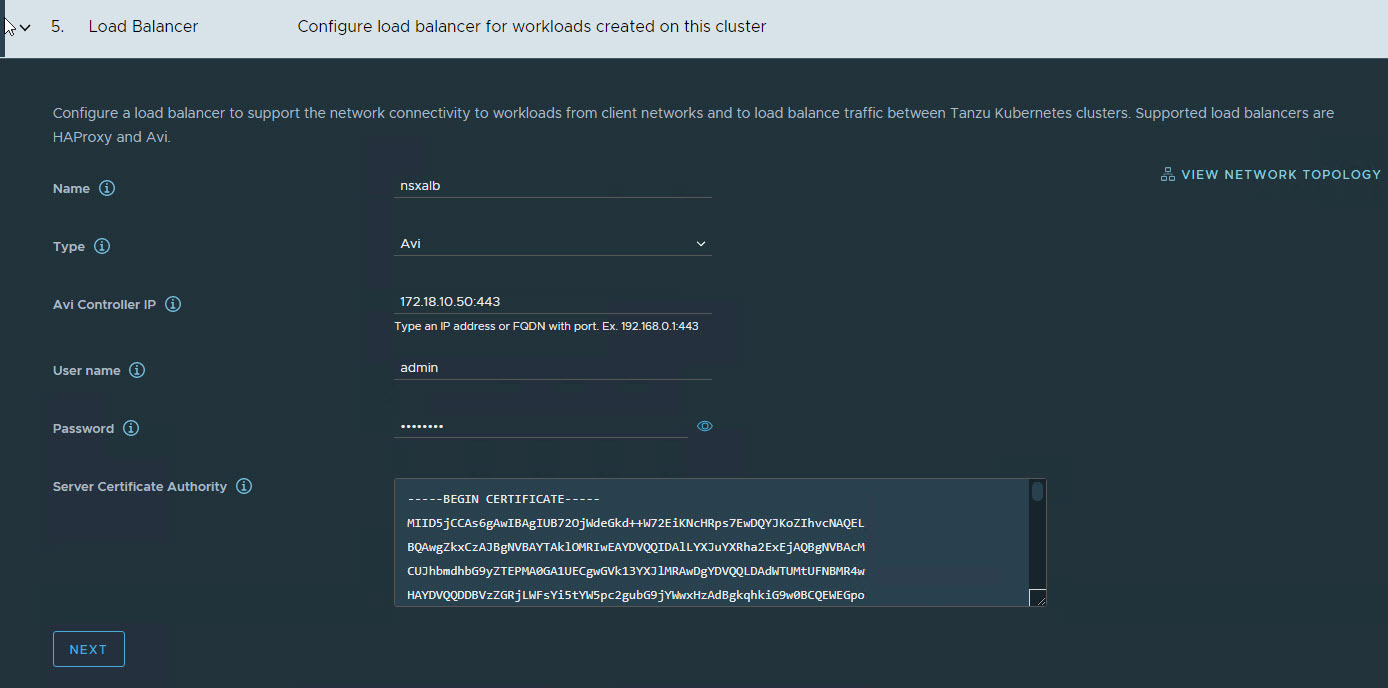
Since I have explained the process of workload management in this post, I am not going to go through each step again. However, I want to discuss load balancer option.
- When configuring Load Balancer, select type as Avi and punch in the IP address of the Avi controller VM followed by port 443.
- Specify the credentials that you configured at the time of the Avi controller deployment.
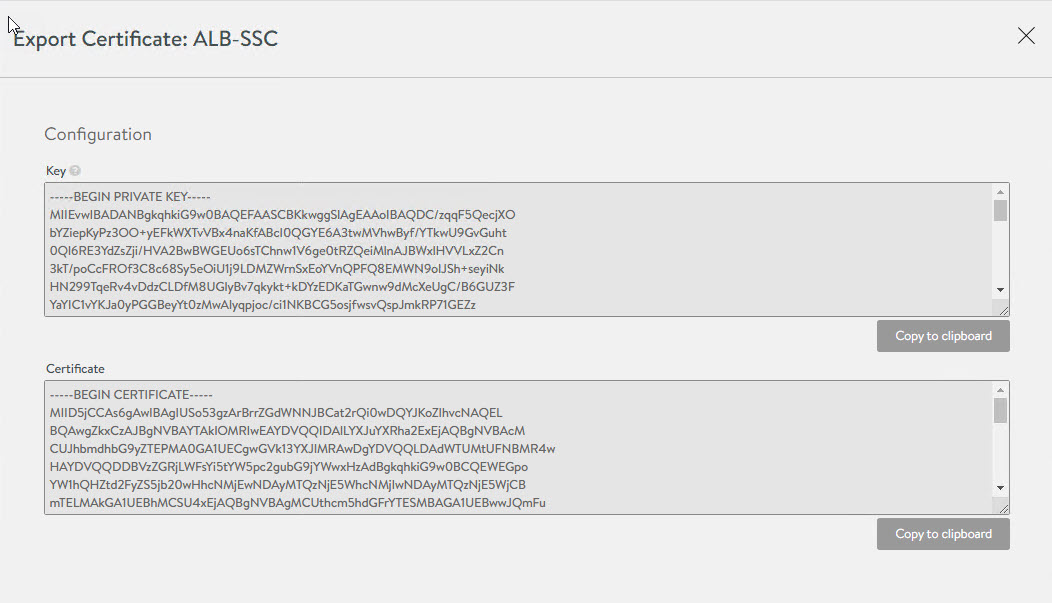
- Grab the certificate from Avi controller and paste it here.
Note: To grab the certificate thumbprint of the Avi Controller, navigate to Templates > Security > SSL/TLS Certificates and click on the arrow button in front of the self-signed certificate that you created for the controller VM.
Copy the contents of the certificate by clicking on the copy to clipboard button.
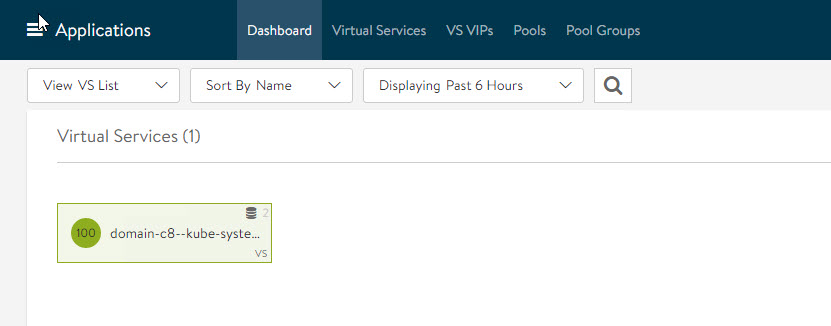
Once the workload management wizard completes, you will see virtual services created in the Avi dashboard.
Virtual Services tab shows information about the VS that gets automatically created. You can see Service ports 443and 6443 part of this VS.
VIP information can be fetched from VS VIPs tab.
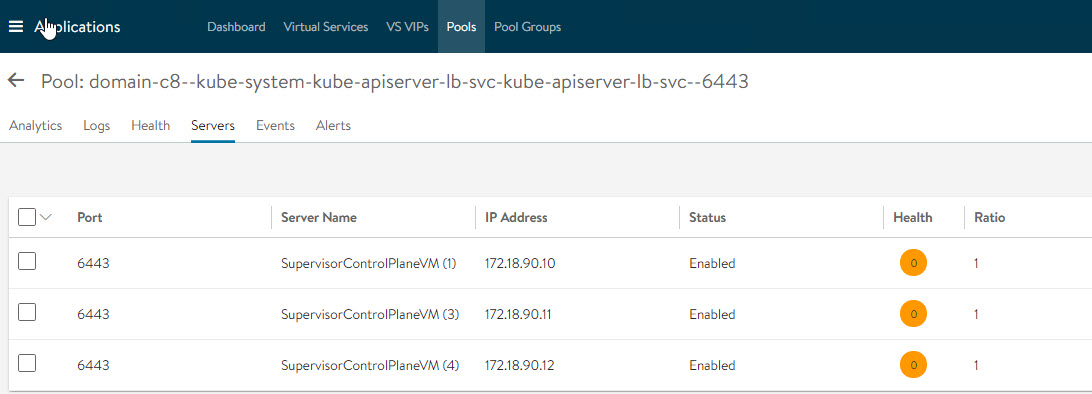
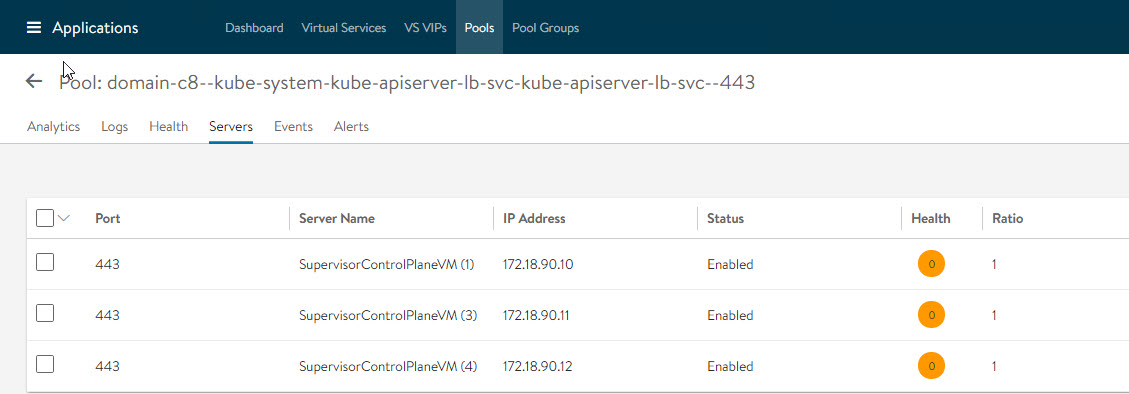
To view pool members, navigate to the Pools tab.
Click on each pool member to learn about backend server and health score etc.
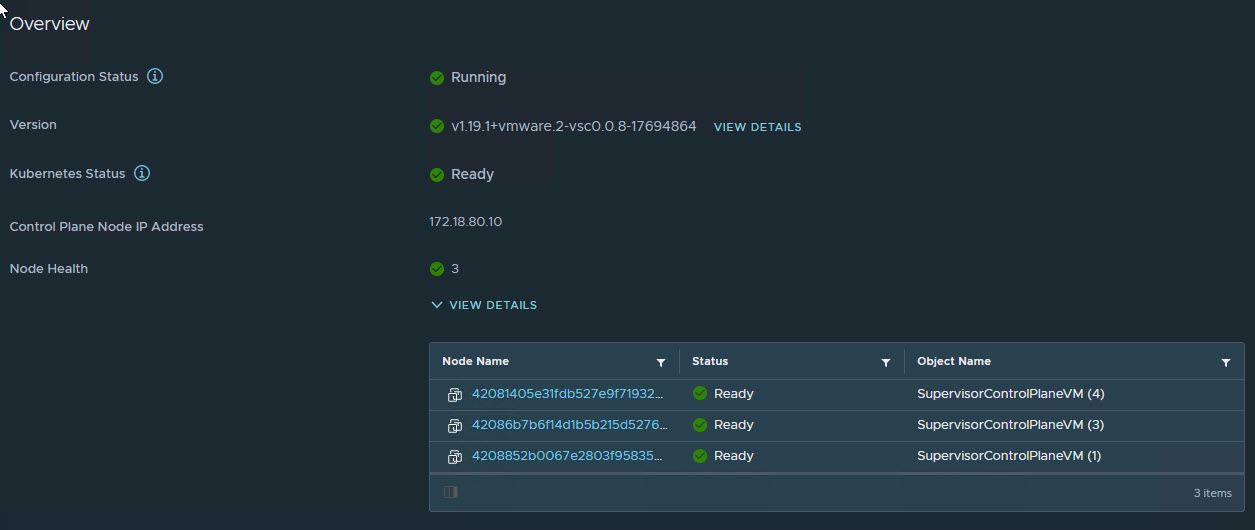
in vSphere, Supervisor cluster health shows green and we have a cluster IP.
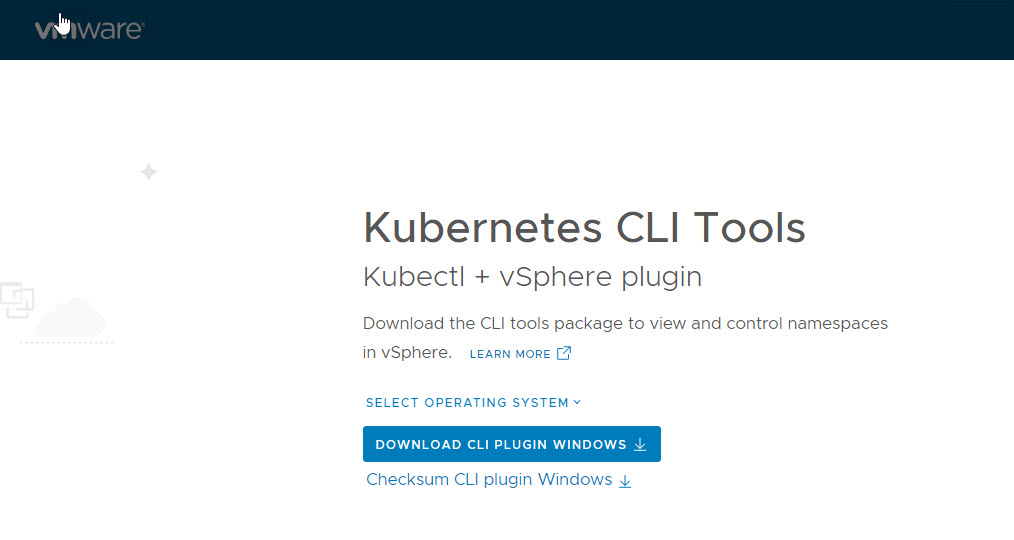
On hitting the cluster IP, you will see a page from where you can download the tools to manage the TKG clusters.
And that’s it for this post. In the next post of this series, I will show how we can run applications on top of TKG clusters.
I hope you enjoyed reading this post. Feel free to share this on social media if it is worth sharing 🙂

