In this post I will walk through steps of upgrading vCloud Availability deployment upgrade from version 3.0 to 3.5.
If you have missed earlier posts of this series, I would recommend reading them from below links:
2: vCAV 3.0-Replication Policies
vCloud Availability upgrade can be performed via various methods (CLI & UI). These methods are very well documented Here
Upgrading vCloud Availability in the Cloud
Before upgrading vCAV in service provider side, we need to ensure that environment is configured as per Pre-Upgrade requirement.
vCloud Availability Upgrade Sequence
For a multi site vCloud Availability deployment, upgrade the sites in the following order:
- Upgrade all vCloud Availability appliances in the local cloud site.
- Upgrade all vCloud Availability appliances in remote cloud sites.
- Upgrade all vCloud Availability On-Premises Appliance nodes.
In a vCloud Availability cloud site, upgrade all the appliances in following sequence:
- Upgrade the vCloud Availability Cloud Replication Management Appliance.
- Upgrade all vCloud Availability Cloud Replicator Appliance nodes.
- Upgrade the vCloud Availability Cloud Tunnel Appliance.
Upgrade vCloud Availability via GUI and using the Default Repository
To perform vCloud Availability upgrade using VMware default repo, all vCAV appliance should have connectivity to internet.
Note: For a distributed vCAV deployment, connect to the appliances in below order and using URL mentioned in screenshot.
After login, navigate to Home > Configuration > Version and click on check for updates.
If updates are available, it will be displayed under Product version. Click on update button to start the upgrade process.
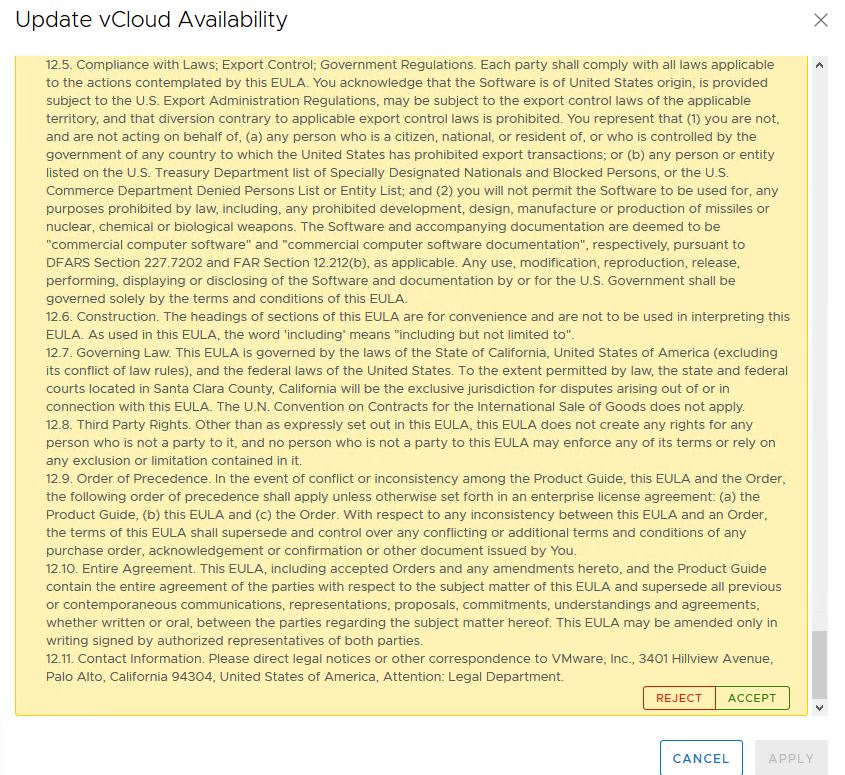
Accept EULA.
Hit Apply button to start upgrade process. During upgrade, vCAV appliance are automatically restarted.
Once appliance boots up, verify that it has been upgraded to target version.
vCloud Availability Post-Upgrade Configuration
Post upgrade of vCAV appliance in cloud side, we have to reinstall the latest version of the vCloud Availability plug-in for vCD, else it shows an error message to users and providers “The requested API version is not supported by the server”
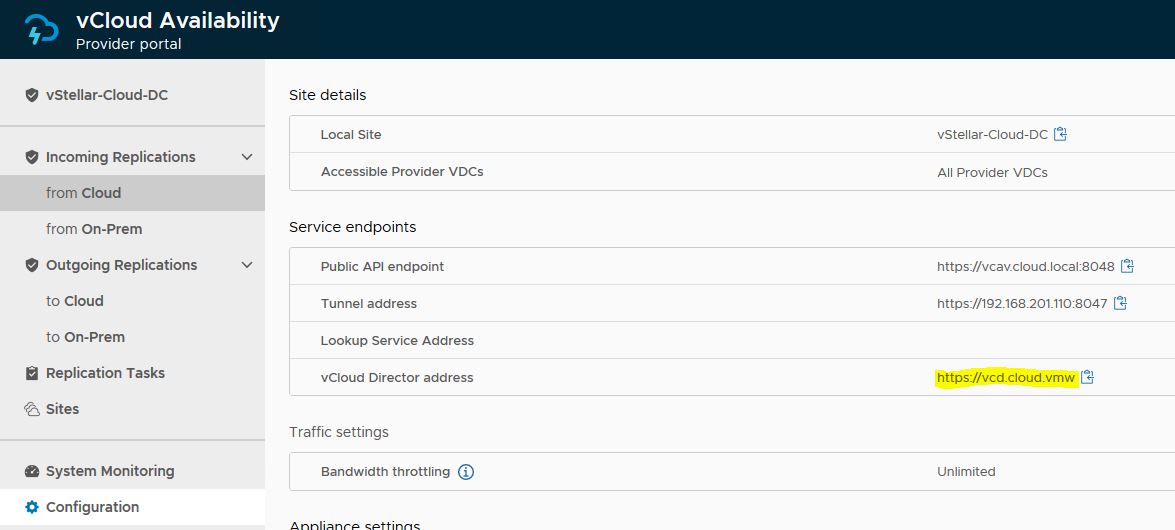
Log in to the management interface of the vCAV Replication Management Appliance and navigate to Configuration > Service endpoints and edit vCloud Director settings.
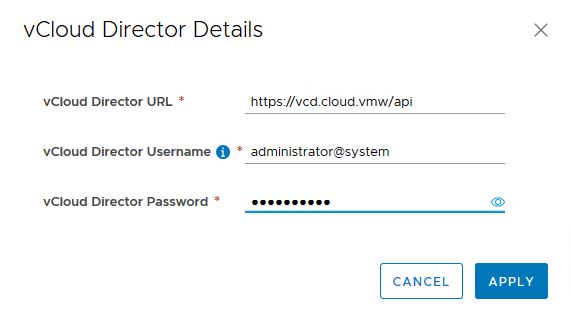
- Enter the vCD URL as https://<vcd-fqdn>/api.
- Enter the vCD System administrator credentials and click Apply.
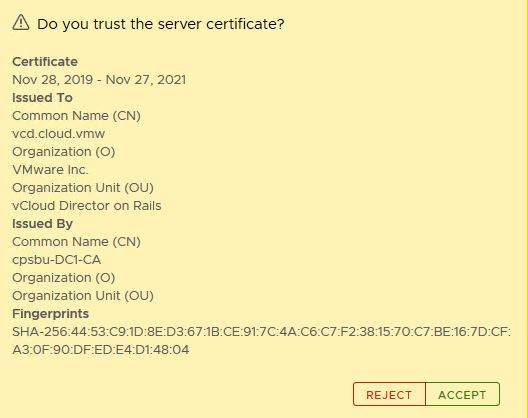
- Accept vCD SSL certificate.
And with this, upgrade process in cloud site is completed.
Upgrading VMware vCloud Availability On-Premises
Process of upgrading vCAV in on-premise is very much similar to upgrade procedure in cloud site. Below slideshow lists the steps.
Configure vCloud Availability On-Premises Post-Upgrade
Log in to the management interface of the vCAV On-Premises Appliance via root user by typing https://<vcav-nprem-fqdn>/ui/admin
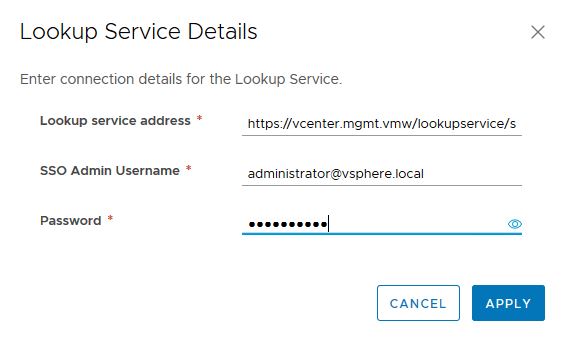
Navigate to Home > Configuration > Service endpoints and edit Lookup service address.
Enter vCenter sso credentials and click Apply.
Verify that the vCloud Availability vSphere Client Plug-In is upgraded.
Log in to your vCenter Web Client and navigate to Home >Administration > Solutions > Client Plug-Ins and verify that under Version, vCloud Availability shows the upgraded version.
And with that vCAV On-Premise upgrade process is completed.
I hope you enjoyed reading this post. Feel free to share this on social media if it is worth sharing 🙂


