What is Usage Meter?
vCloud Usage Meter is an on-premises virtual appliance that is used to collect and generate reports for Cloud Provider Partners (VCPP) to send back to VMware for monthly billing of usage.
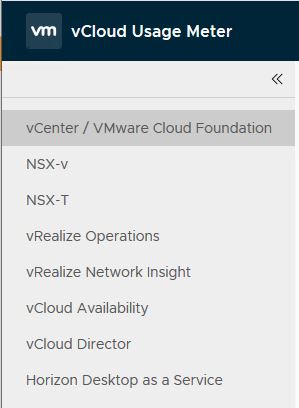
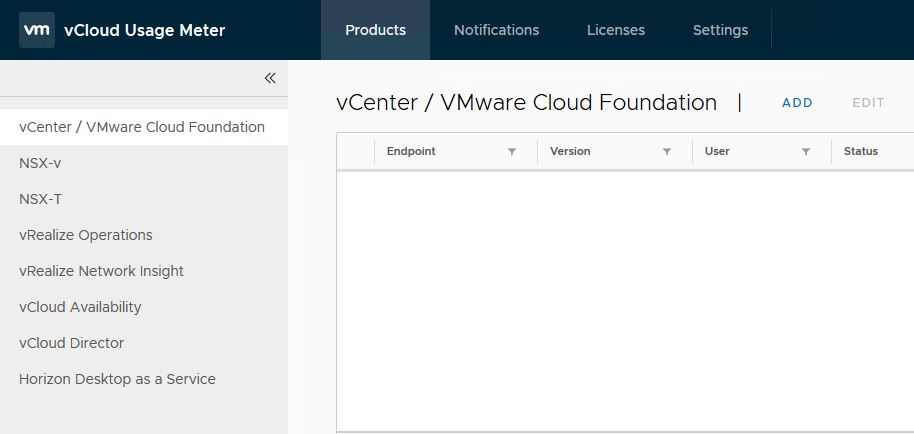
Usage Meter collects usage of most of the VMware products that are installed in cloud providers datacenter. Current version of Usage Meter (4.1) supports usage collection from following endpoints:
How Usage Meter collects and report monthly product consumption data, is explained Here
vCloud Usage Insight
vCloud Usage Insight is a VMware cloud service that aggregates and automates monthly and end user reporting from on-premise vCloud Usage Meter instances to the VMware Cloud Provider Commerce Portal. With vCloud Usage Insight, you retain full control over the usage report data in Commerce Portal before submission.
To learn more about vCloud Usage Meter & Usage Insight please check VMware official Documentation
Usage Meter Installation Requirements
I am not going to cover nitty-gritty of installation pre-requisites as everything is well documented Here
vCloud Usage Meter is distributed as virtual appliance (ova) and can be downloaded from Here
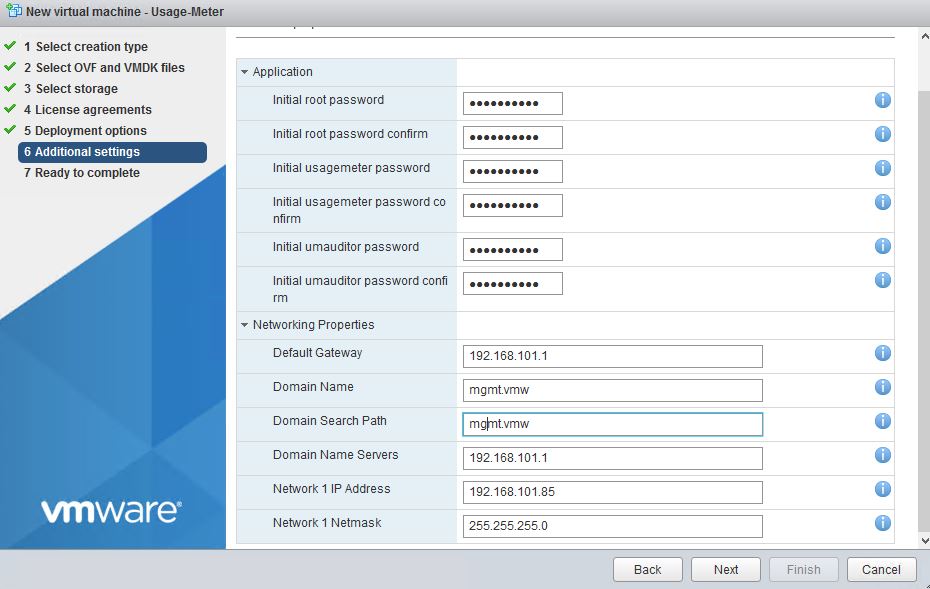
vCloud UM deployment is pretty straight forward like any other ova deployment. Below is screenshot from configuration step where you just have to supply passwords for root and usage meter account and the network info.
Note: There is a caveat in deploying usage meter against a pure N-VDS environment (No vSS & VDS). Usage Meter deployment needs Network Profile to be created in vCenter and N-VDS don’t support Network Profile as of now. A feature request has been raised for the same already.
You will get to see below error when vCenter try to power on UM VM.
So in a N-VDS only environment, you have to deploy usage meter against ESXi host directly.
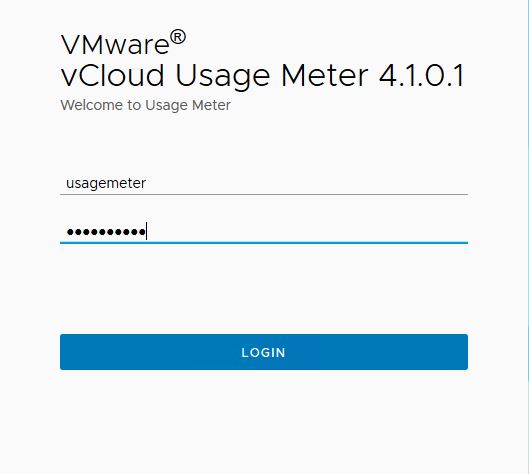
Once UM boots up, open um console to fetch login url. Typically it is https://<vcloud-um-fqdn>:8443/
Login via user “usagemeter” and password set during deployment.
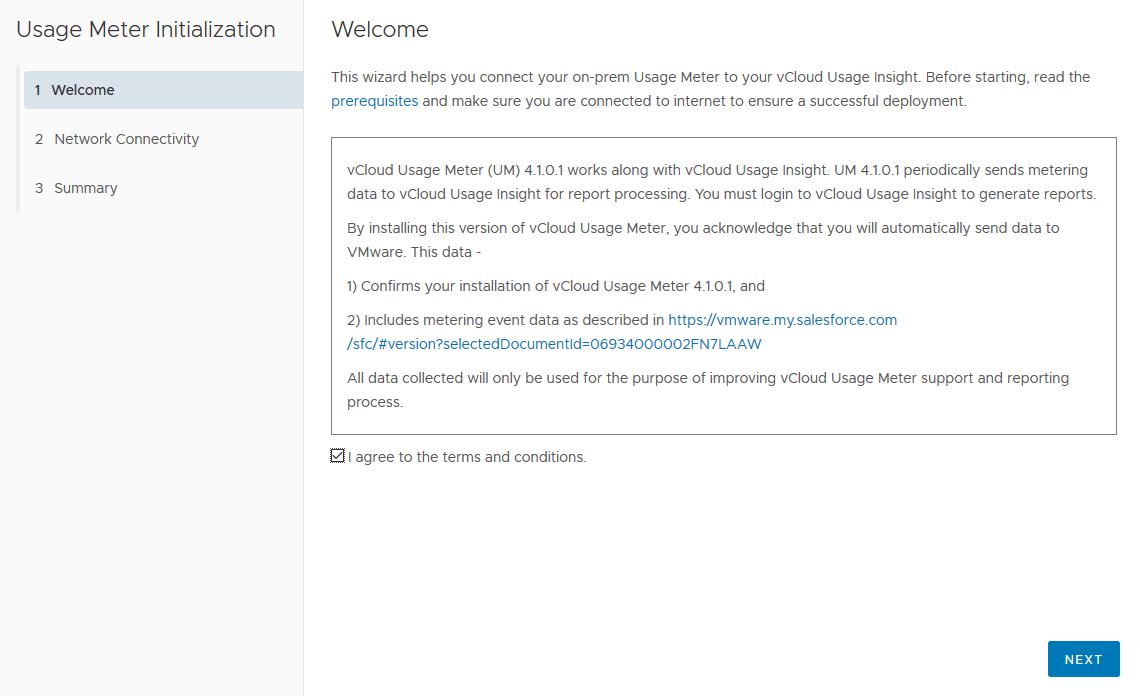
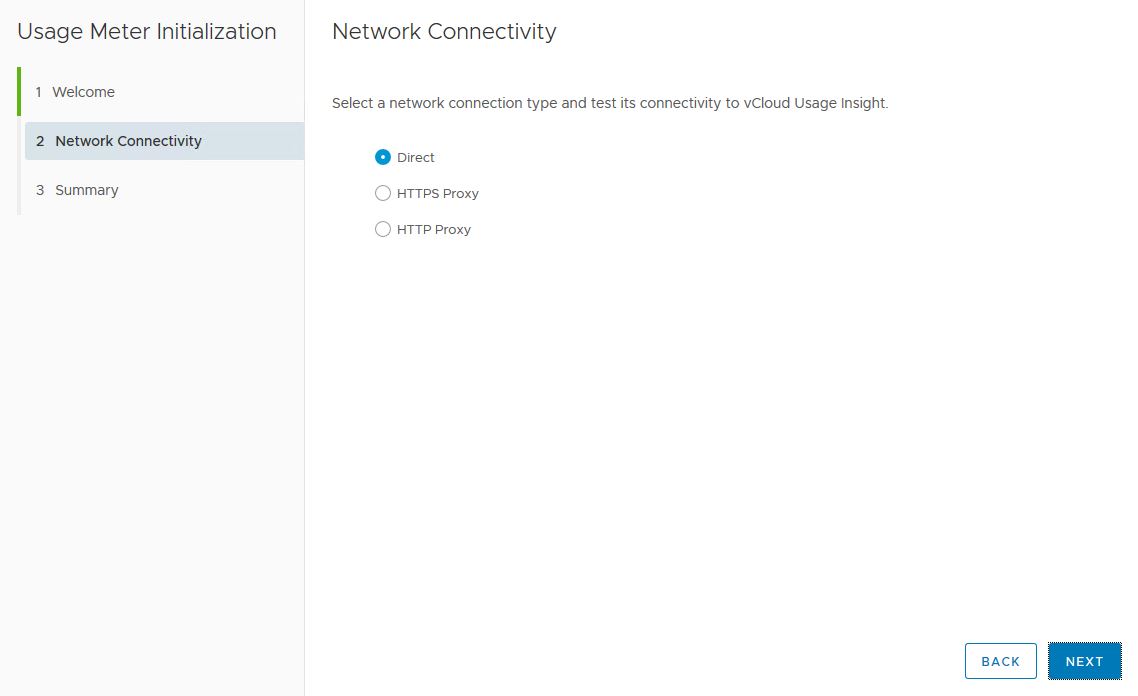
As soon as you login, you will be greeted with Usage Meter Initialization wizard. Hit Next to continue.
Select whether UM instance has direct connectivity to internet or a proxy is configured. Why you need internet on UM is explained in next step.
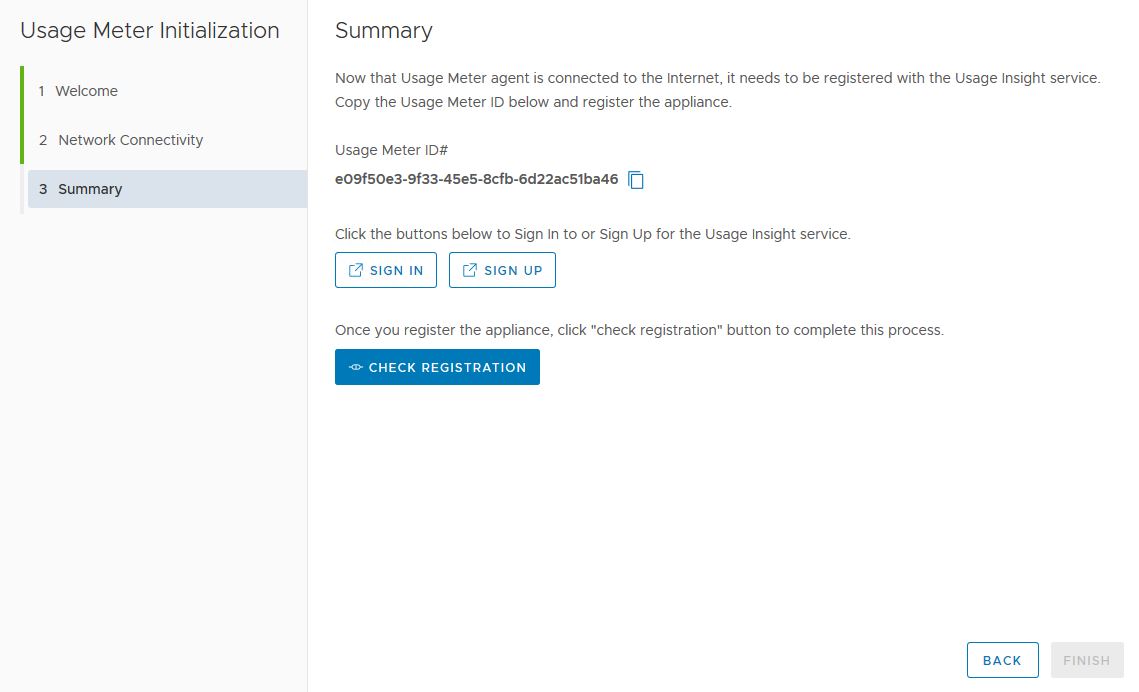
Before you can add endpoints in Usage Meter, you have to register your UM instance with VMware Cloud Provider Commerce Portal
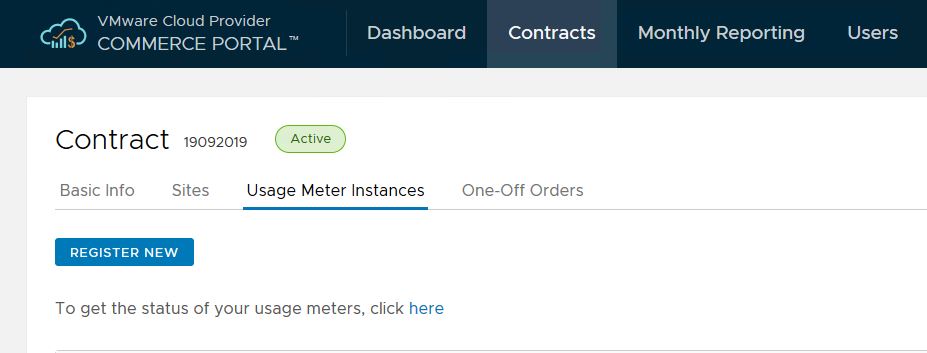
Make a note of the Usage Meter ID and login to commerce portal and navigate to Home > Contracts > Contract ID > Usage Meter Instances and click on Register New.
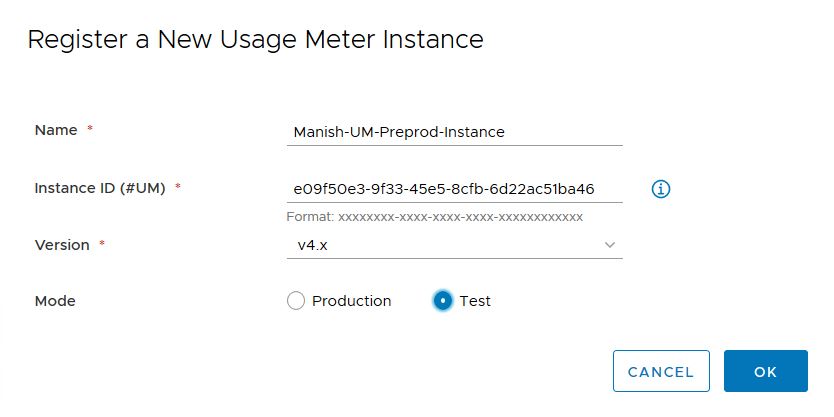
Provide a name for your UM instance, Paste uuid taken from previous step, select UM version and mode and hit OK.
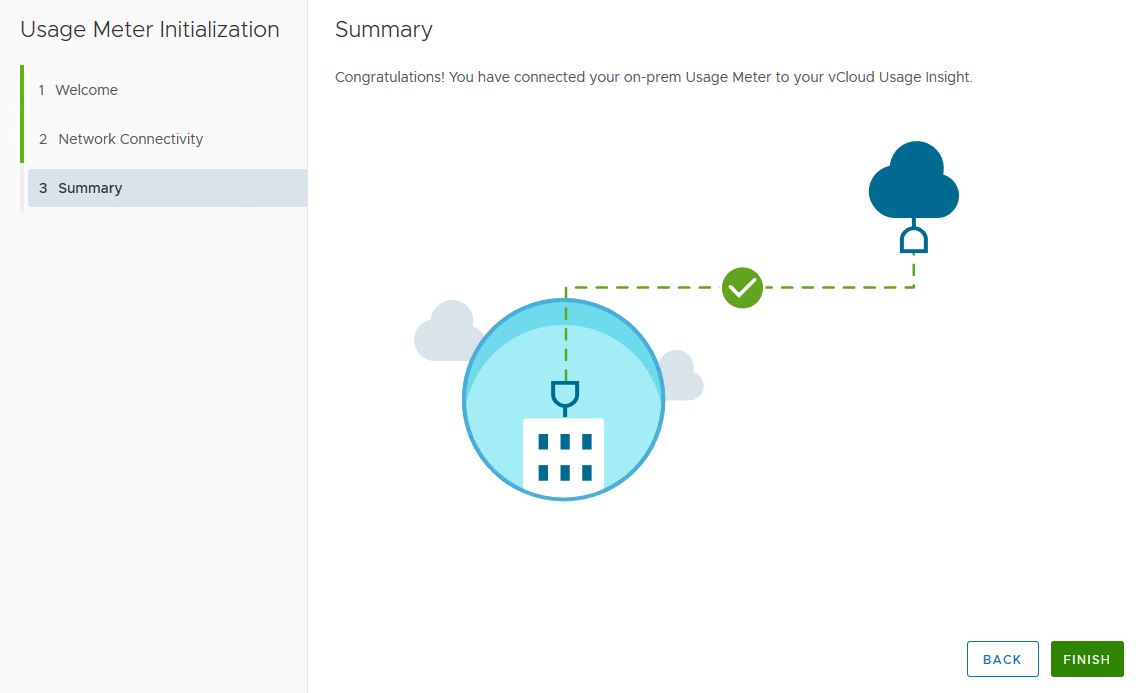
Switch back to On-Prem UM console and click on Check Registration. If your UM instance registration is successful, you will see below screen with a green check. Hit Finish.
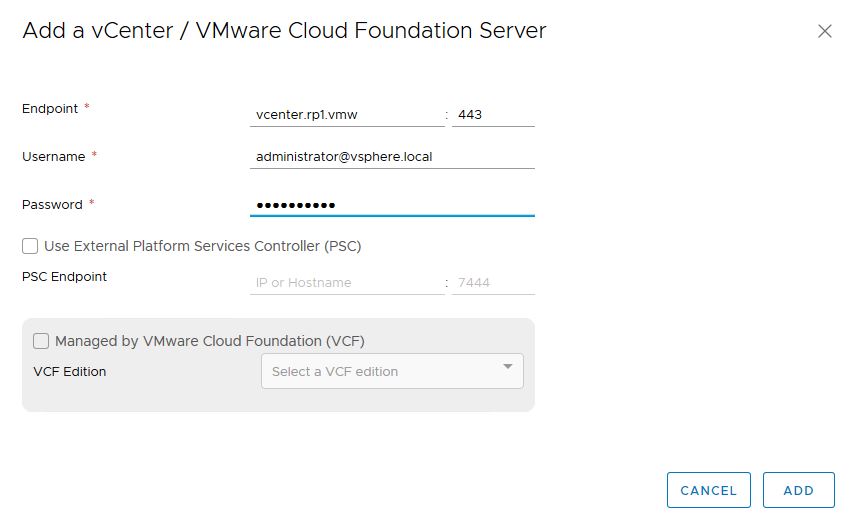
Next is to add endpoints in UM. The first endpoint that we will add is vCenter Server.
Click on ADD button and provide our vCenter details.
Accept vCenter certificate by clicking on “Please Accept Certificate”
Hit Accept button.
Adding NSX-T Endpoint.
Usage Insight Test
Under Home > Settings tab, you can test whether or not your UM instance s able to send data to vCloud Usage Insight. For this wait at least 15 minutes post your UM registration in commerce portal.
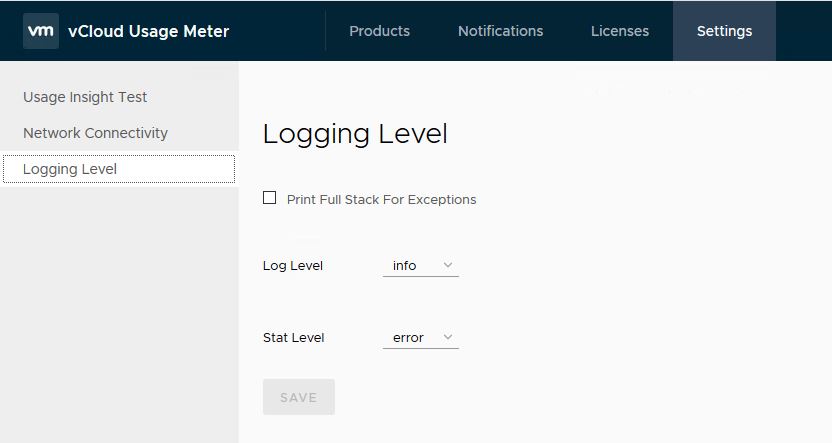
You can also toggle logging level as per your need.
I hope you enjoyed reading this post. Feel free to share this on social media if it is worth sharing 🙂

