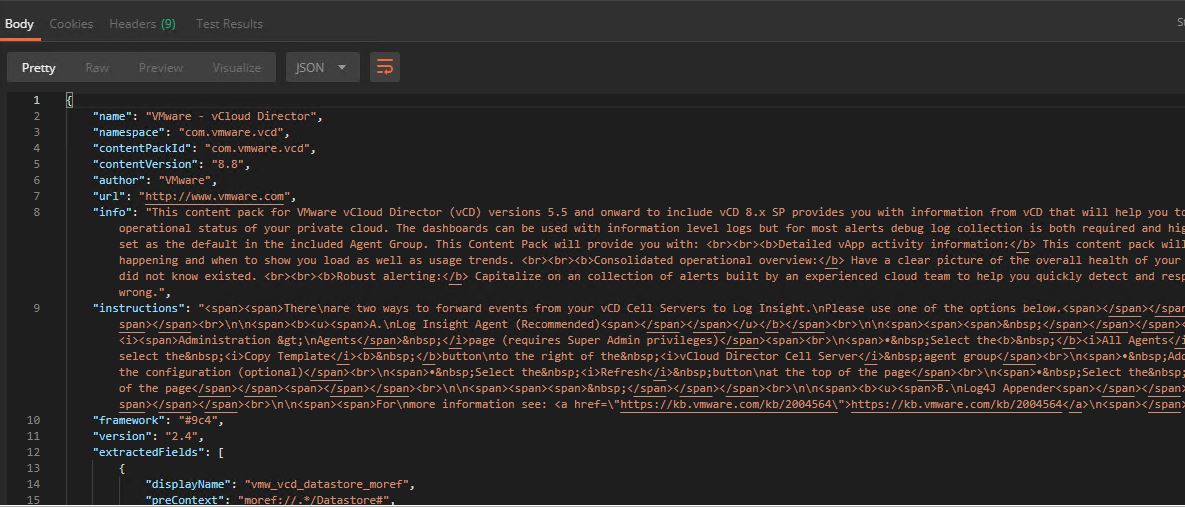
In this post we will learn how to install vCD content pack in vRealize Log Insight via API.
What is vCD Content pack?
As per VMware official documentation:
The VMware vCloud Director content pack provides you unparalleled visibility into your vCD environment from 5.5 to the new 9.x SP. Providing graphical representations of important log data, metrics of your vCD workloads and a robust set of alerts this content pack will allow you to better manage vCD utilizing Log Insight’s capabilities.
Installing content packs in vRLI is one of the day 2 operations that most VMware Admins do in their day to day job. In large datacenters where there are several instances of vRLI, configuring content packs & agents via UI is a very tedious and time consuming process. You can use API’s to automate these day 2 tasks to reduce time and to minimize human errors. So let’s get started.
Step 1: Obtain Auth Token
|
1 2 3 4 5 6 7 8 9 |
URL: https://<vrli-fqdn>:9543/api/v1/sessions Request Body: { "username":"admin", "password":"VMware1!", "provider":"Local" } |
Step 2: Install vCD Content Pack
|
1 2 3 4 5 6 7 8 9 10 11 |
Method: POST URL: http://<vrli-fqdn>:9000/api/v1/content/contentpack Headers: Content-Type: application/json Sample Payload: https://github.com/manishjha86/vRealize/blob/master/vCD-Content-Pack.json |
Note: Sample payload used for installing content packs is a huge json. Contents of json can be obtained by downloading content pack from VMware market place and then opening the file in notepad++ or similar utility and saving the file with .json extension.
Step 3: Verify vCD Content Pack is installed.
|
1 2 3 4 5 |
Method: GET URL: http://<vrli-fqdn>:9000/api/v1/content/contentpack/com.vmware.vcd Authorization: Bearer Token: vRLI Token |
Sample Output: Sample Output returns the same json data which you used in payload json.
Step 4: Create vCD Agent Group
|
1 2 3 4 5 6 7 8 9 10 11 12 13 14 15 |
Method: POST URL: https://<vrli-fqdn>:9543/api/v1/agent/groups Headers: Content-Type: application/json Sample Payload: { "name":"vCD Agent-Group", "criteria":"hostname=~\"*vcd*\"", "agentConfig":"[filelog|vcd-essential]\ndirectory=/opt/vmware/vcloud-director/logs\n;include=vcloud-container-info*;upgrade*;vmware-vcd-support*;watchdog*\n; include=vcloud-container-debug*;upgrade*;vmware-vcd-support*;watchdog*\nevent_marker=(\\d{2}|\\d{4})-\\d{2}-\\d{2}\\s\\d{2}:\\d{2}:\\d{2},\\d{3}\\s\ntags={\"vmw_product\":\"vcd\"}\nwhitelist=domain=\"cloud.vmw\"" } |
Step 5: Verify vCD Agent Group
|
1 2 3 4 5 |
Method: GET URL: https://{{server_ip}}:9543/api/v1/agent/groups Authorization: Bearer Token: vRLI Token |
Sample Output:
|
1 2 3 4 5 6 7 8 9 10 11 |
{ "groups":[ { "id":"65cd0303-3597-4c24-8ba4-cd8f39228dbd", "name":"vCD Agent-Group", "criteria":"hostname=~\"*vcd*\"", "agentConfig":"[filelog|vcd-essential]\ndirectory=/opt/vmware/vcloud-director/logs\n;include=vcloud-container-info*;upgrade*;vmware-vcd-support*;watchdog*\n; include=vcloud-container-debug*;upgrade*;vmware-vcd-support*;watchdog*\nevent_marker=(\\d{2}|\\d{4})-\\d{2}-\\d{2}\\s\\d{2}:\\d{2}:\\d{2},\\d{3}\\s\ntags={\"vmw_product\":\"vcd\"}\nwhitelist=domain=\"cloud.vmw\"", "info":"" } ] } |
And that’s it for this post.
I hope you enjoyed reading this post. Feel free to share this on social media if it is worth sharing 🙂

