In this post I will walk through steps of deploying a VI workload domain based on NSX-T. Note: We can only deploy VI domain with NSX-T. As of now Management workload domain is only NSX-V based.
Before kicking NSX-T based VI workload domain, please ensure you have met following prerequisites:
1: NSX-T license has been added to SDDC-Manager under Administration > Licensing
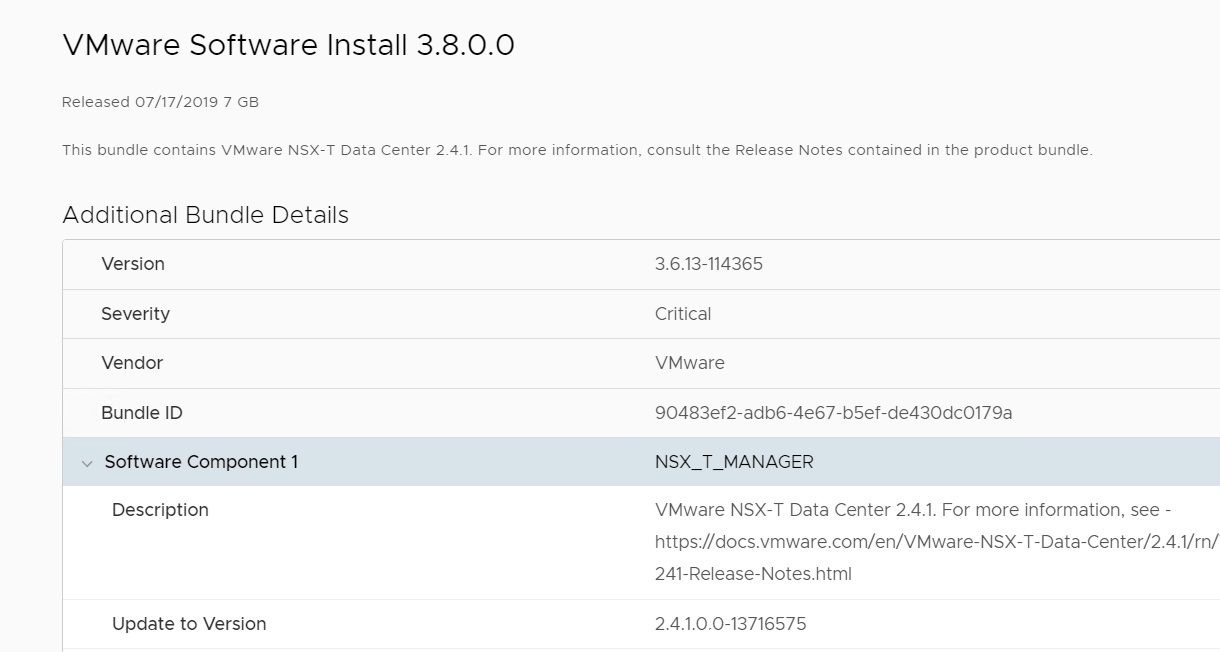
2: NSX-T install bundle have been downloaded from repository. Below is screenshot of a downloaded bundle.
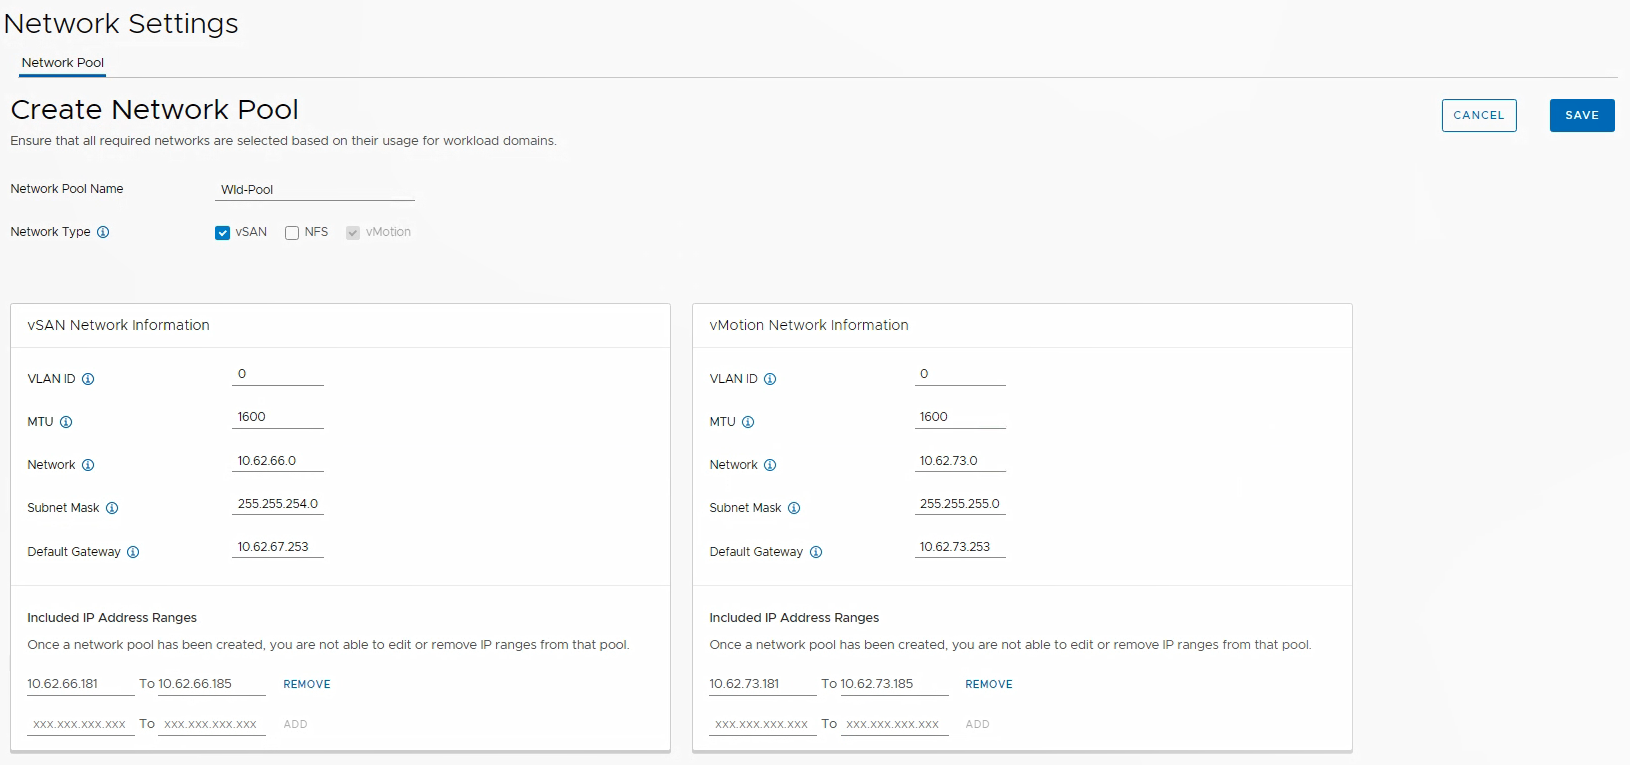
3: Network Pool have been created for the workload domain. This pool will have IP address for the vMotion & vSAN network.
4: Esxi hosts that will take part in workload domain have been configured and commissioned. If you are new to vCF and don’t know the host commision process, then please refer to my earlier post for the steps.
Once we have met the above prerequisites, we are all set to kick new VI workload domain.
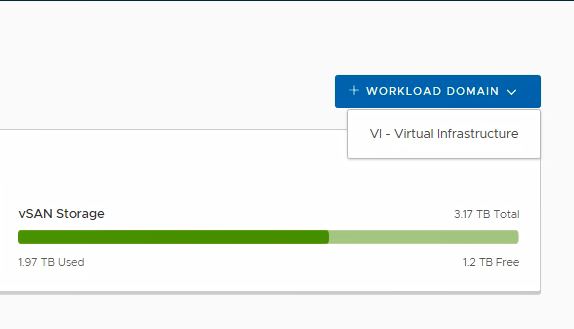
Navigate to Inventory > Workload Domains and click on + Workload Domain button and select VI domain.
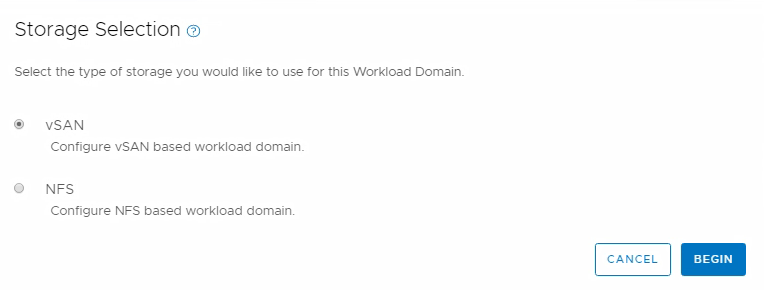
Select vSAN as storage for the new workload domain.
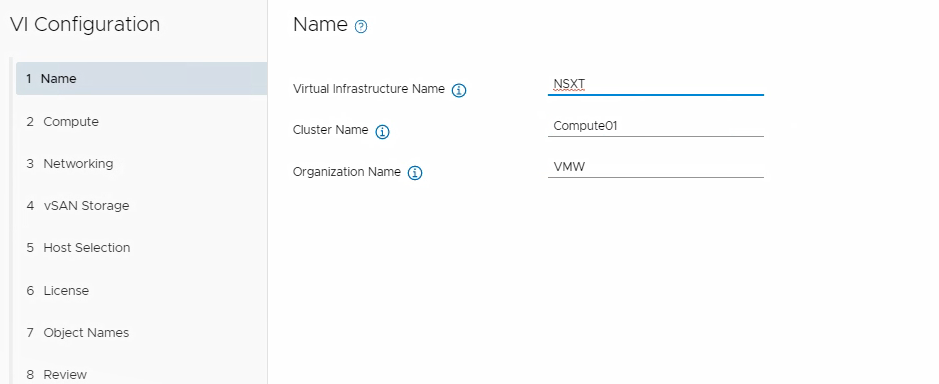
Provide a name for the infrastructure, cluster and organization.
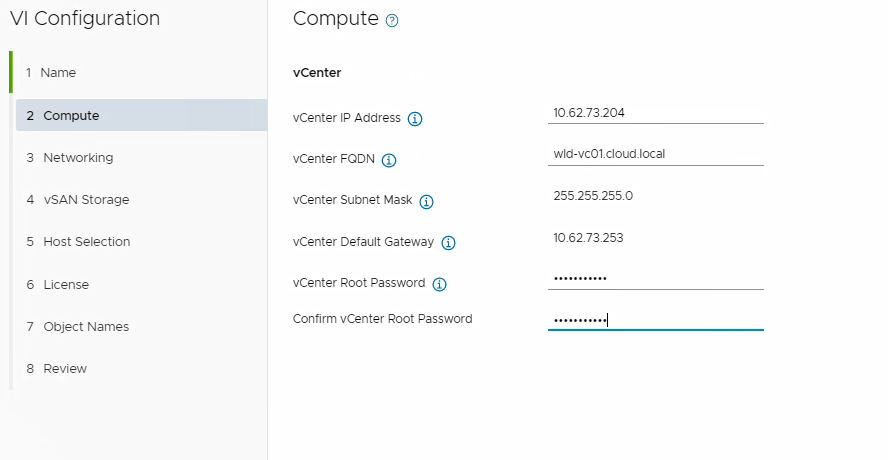
Provide networking information for the new vcsa that will be deployed for the workload domain and configure the root password of the appliance.
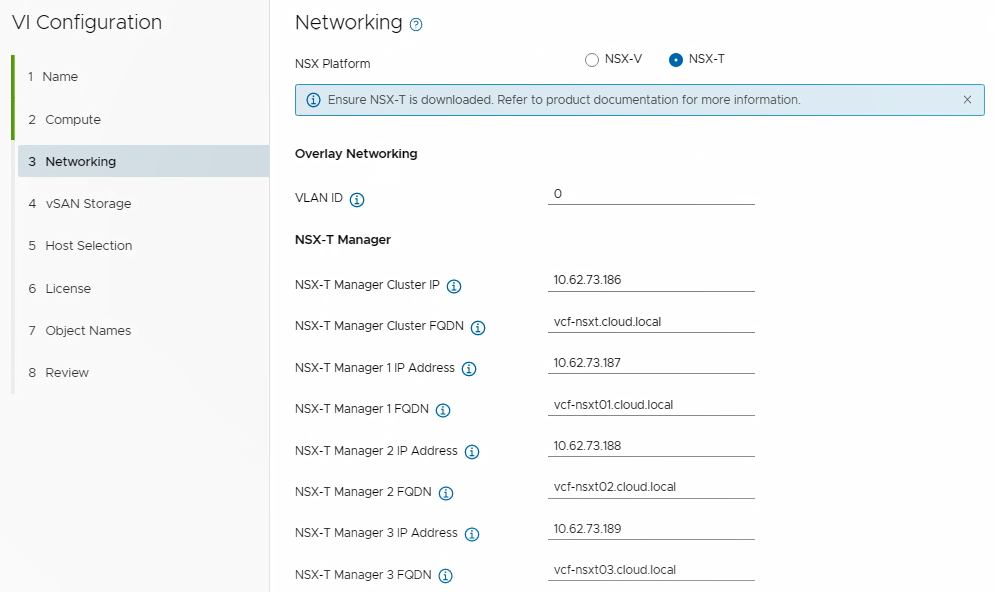
For networking, select NSX-T and specify the NSX-T Manager’s IP and Cluster IP etc.
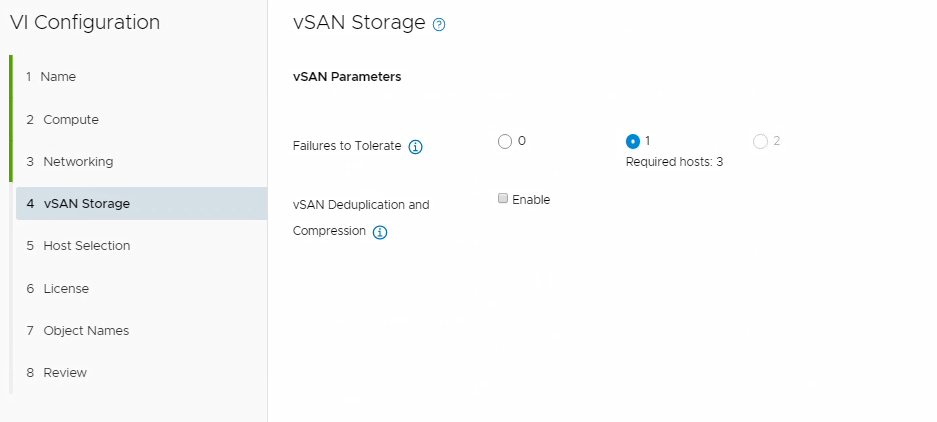
Configure the needed FTT for vSAN and hit Next.
Select the hosts that will participate in the new workload domain that we are creating and hit Next to continue.

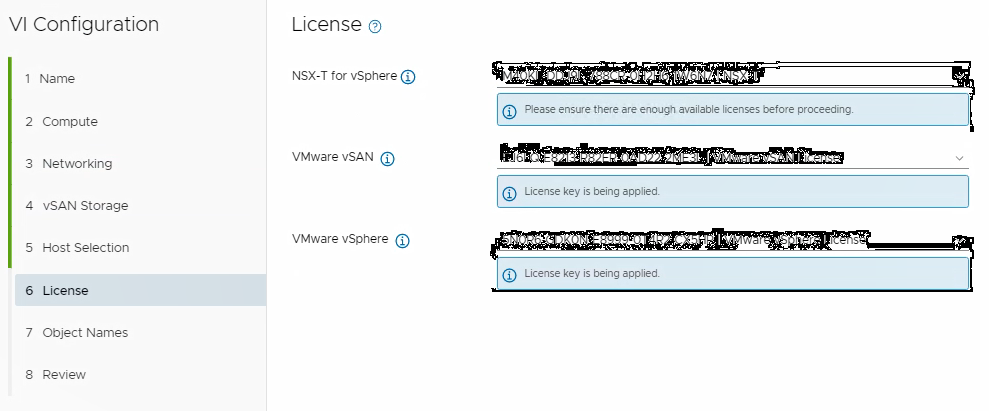
Select the license keys for NSX-T, vSAN and vSphere and hit Next.
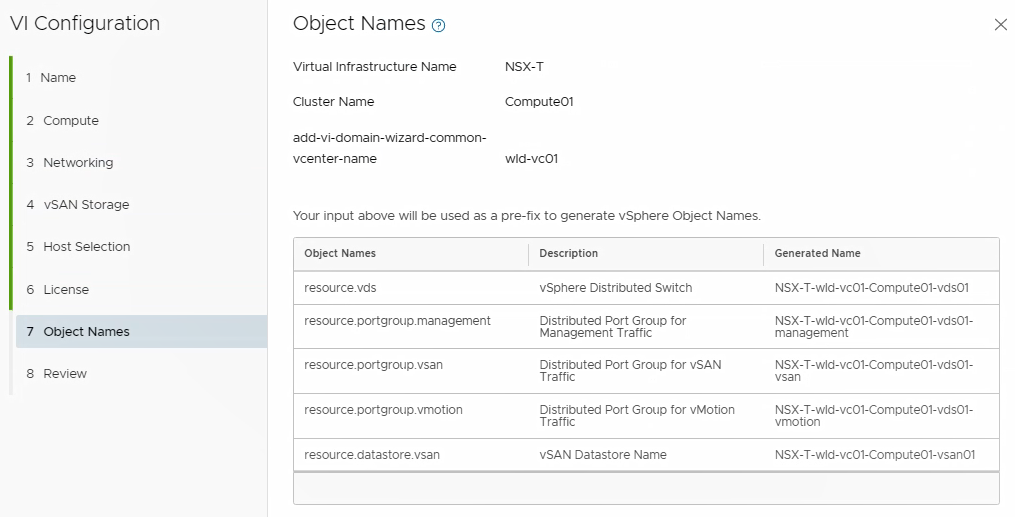
There is nothing much we can do on Object Names page as it just shows you what names will be configured on components that will be deployed during deployment.
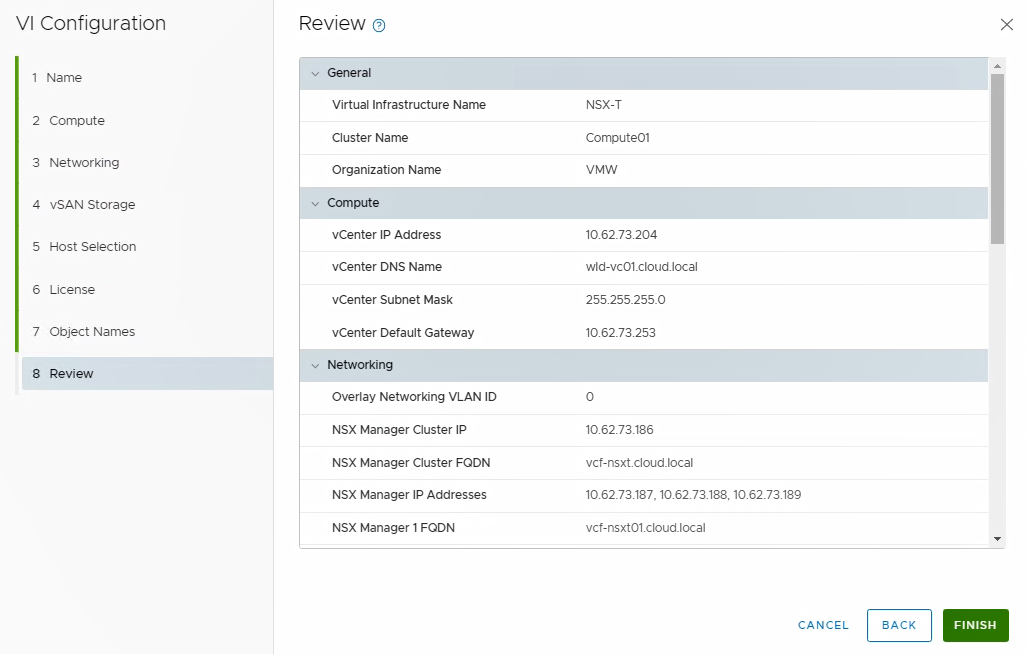
Review your settings and hit Finish to start the deployment.
Sit back and relax for next couple of hours and your brand new workload domain will be ready for you (if no issues are encountered during deployment :D)
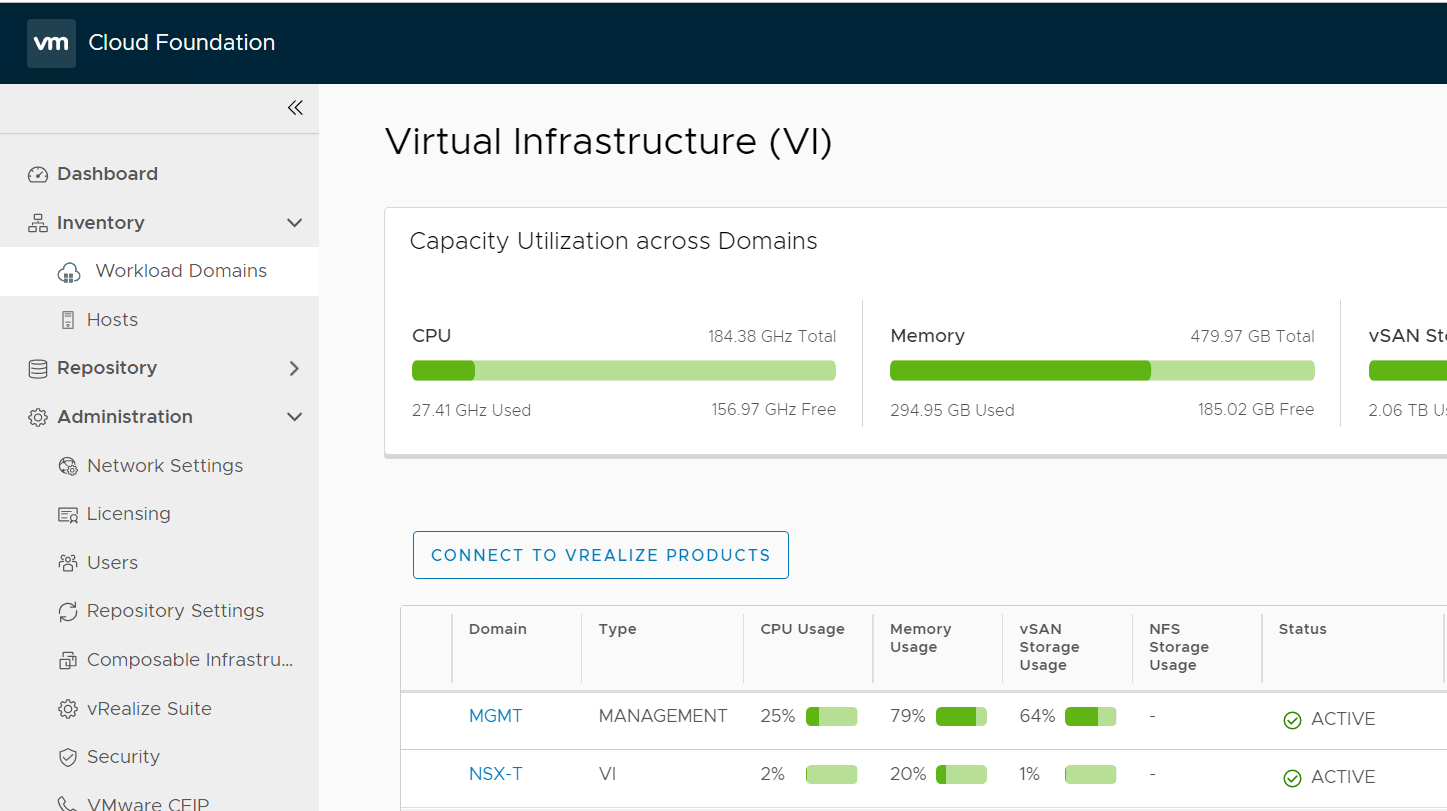
You can view the details of newly created domain under Workload Domains.
Login to NSX-T cluster IP and verify you can see Transport zones, Transport nodes and uplink profiles configured.
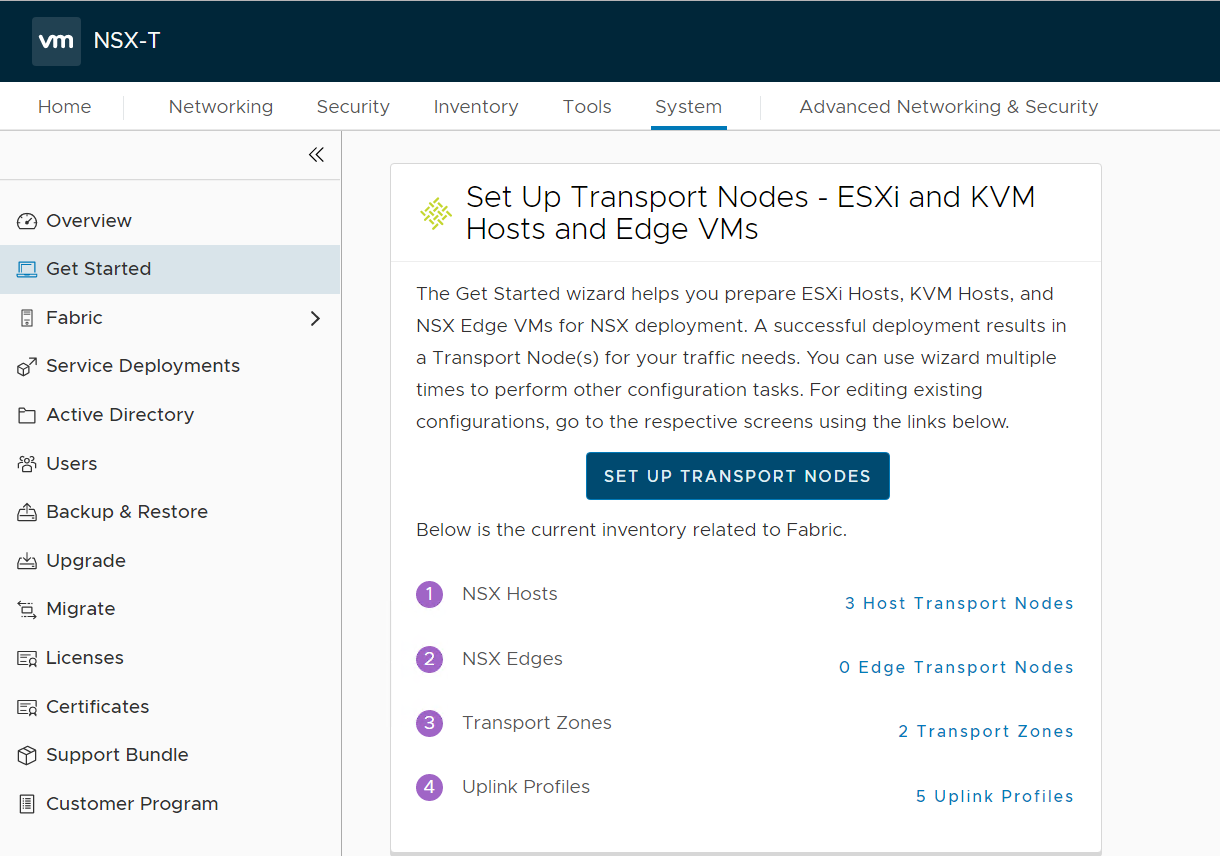
There are additional tasks that needs to be manually done post NSX-T deployment. One of those task is to deploy NSX Edge nodes for North-South connectivity in your datacenter. Please refer to VCF documentation for the steps.
And that concludes this post.
I hope you enjoyed reading this post. Feel free to share this on social media if it is worth sharing
