This is probably the most important post of this series. In this post we will learn how to bring up the SDDC i.e the Management Domain deployment.
Before we start the process we need to have the vCF 3.7.x cloud builder ova handy which can be downloaded from here
Cloud Builder deployment is pretty much straight forward. Not covering the steps of deployment as nothing fancy there. Once the cloud builder vm boots up, open console of the vm to fetch the URL to access UI.

Download and Complete Deployment Parameter Sheet
Before we do anything in Cloud Builder UI, we need to prepare the deployment parameter sheet. This sheet can be downloaded from same location from where you downloaded the cloud builder ova.
There are various entries that needs to be filled up in the deployment sheet. This sheet needs to be filled very carefully as mistakes can lead to deployment failure or incorrect deployment.
I have included few screenshots from my deployment sheet, just to give an idea of how to fill that.
Disclaimer: Although below screenshots are coming out of lab, I have changed IP’s and other info for the sake of security.
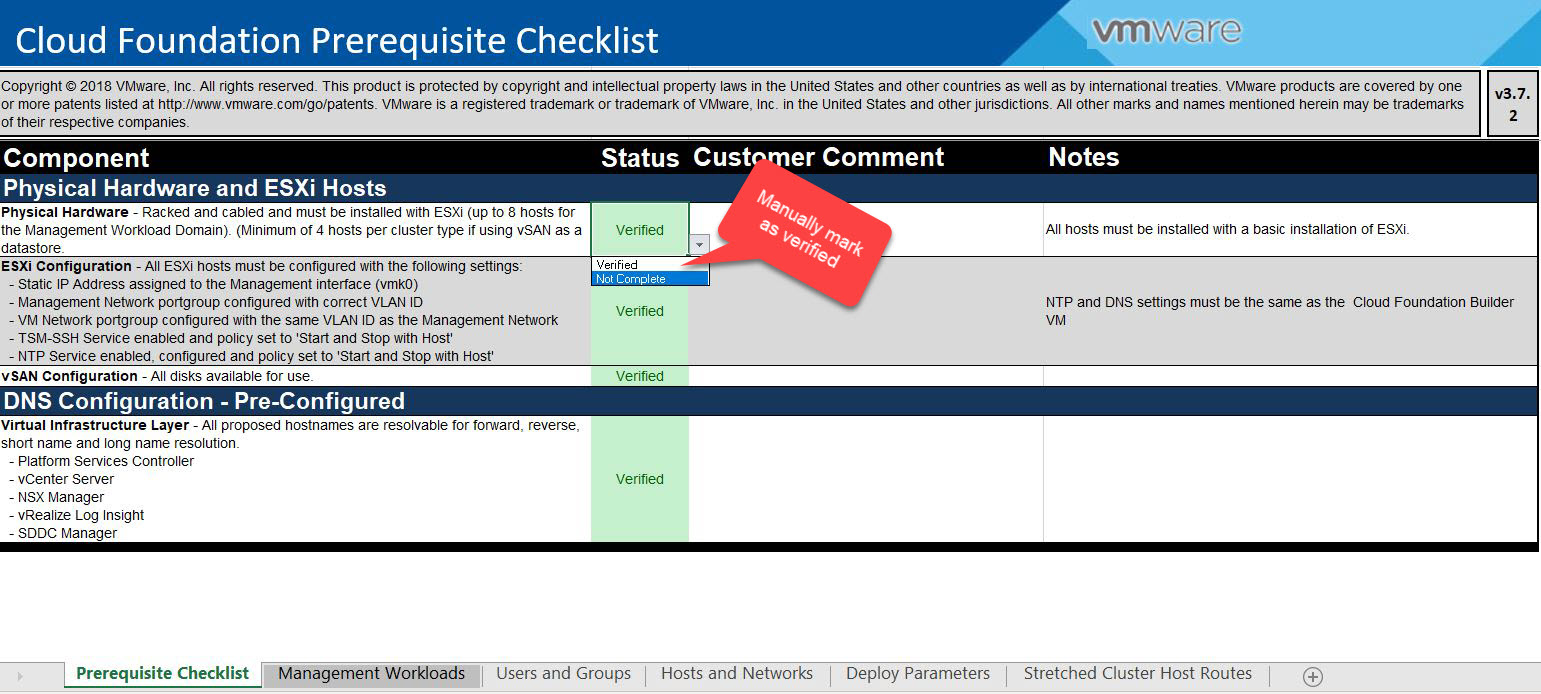
Prerequisite Checklist: This is the first tab of the sheet. We need to manually mark each checklist as verified (once we are sure we have everything ready for deployment)
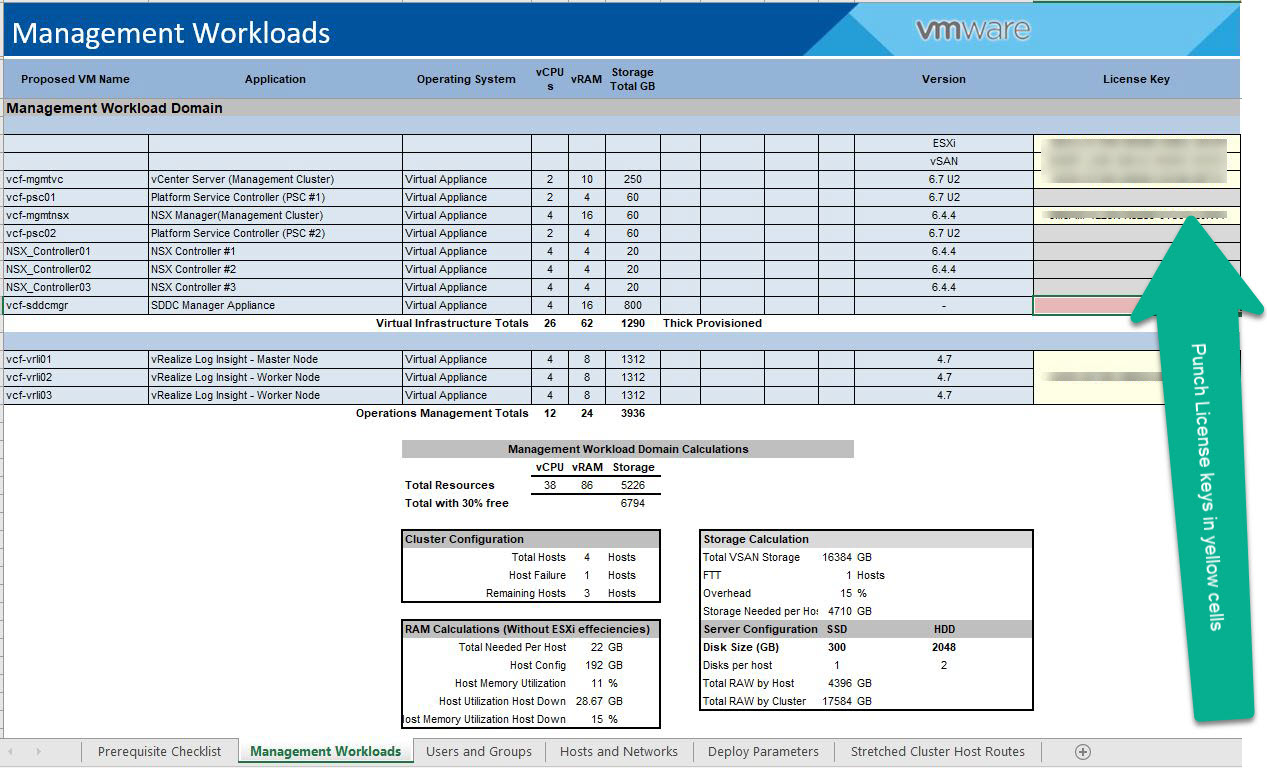
Management Workloads: You only need to enter license keys of the products in this tab. Only those cells which are in yellow color accepts user inputs.
This tab will give you a fair idea of how much resources you need to spin up a management domain using vCF.
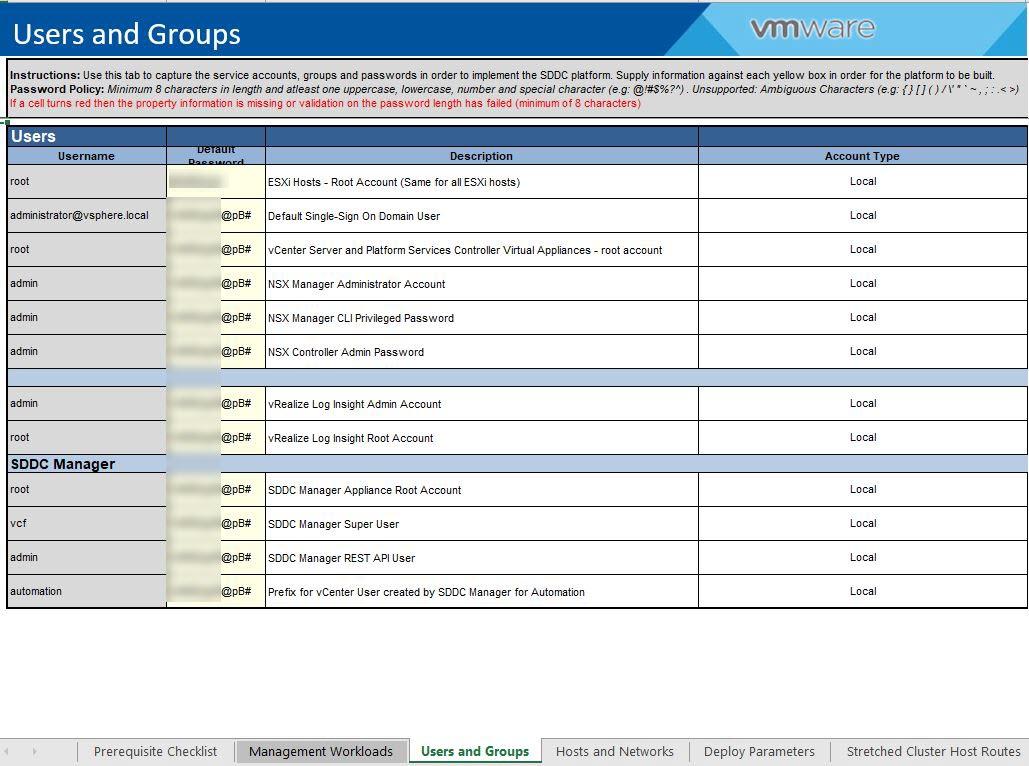
Users and Groups: You need to specify passwords for the appliances/solutions that will be deployed during the bring up process. Use a complex password.
Note: Don’t use a password that has ? in it. Always refer to product documentation for password policy.
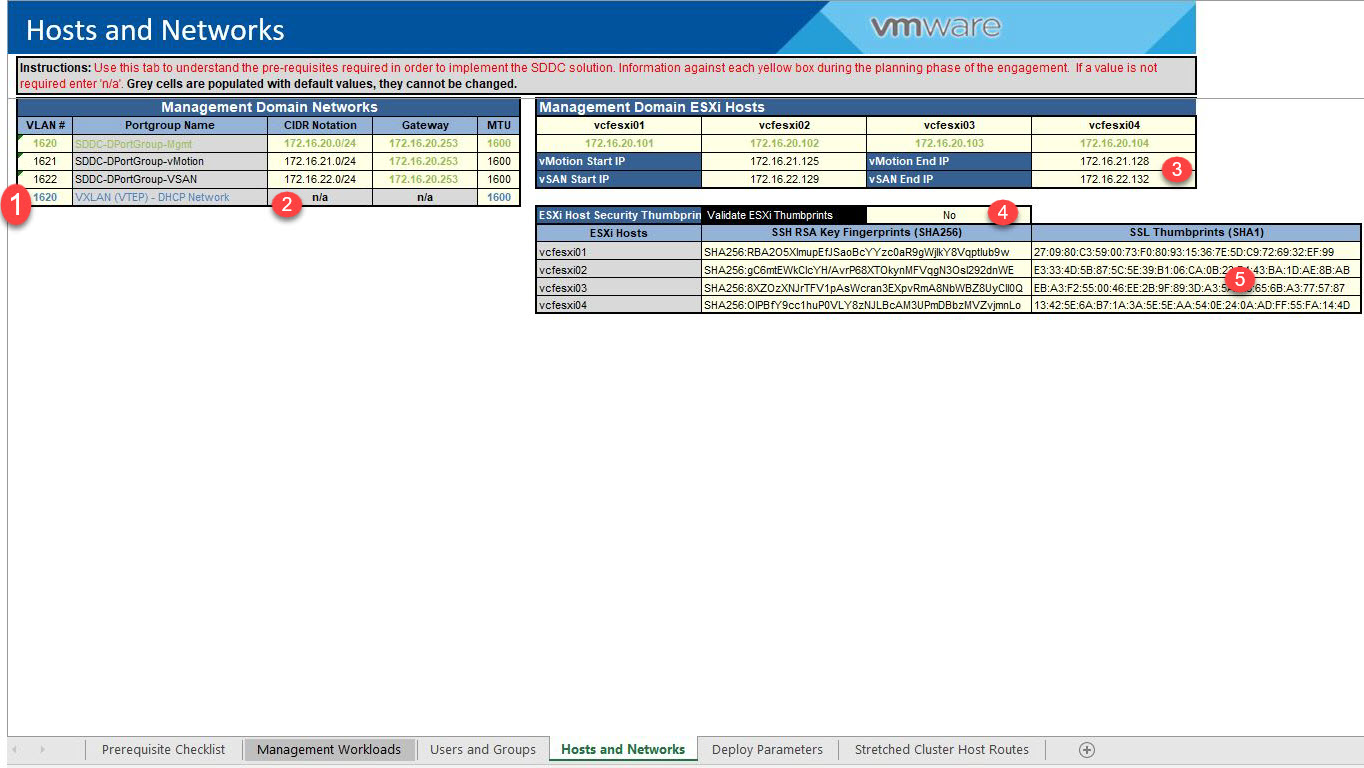
Hosts and Networks: Carefully fill this tab. I have marked important things here:
1: Enter VLAN ID of the physical networks that will be consumed during deployment.
Note: For lab purpose everything can be kept on same VLAN. Also for nested deployment you can keep VLAN as 0.
2: Set VXLAN (VTEP) to n/a. by default its set to n/a I believe.
3: Specify vMotion/vSAN start and end IP. If possible use continuous range.
4: Set validate thumbprint to No.
5: No need to change/enter Esxi hosts thumbprints here. You can leave it as it is.
Note: Before punching MTU value, please verify what is the MTU set on physical network. In case of nested environment, check vDS for MTU settings.
5: Deploy Parameters: This tab is pretty much straight forward. Two things to watch out here is:
- vCSA Size: Select appropriate size for your vCSA appliance. For Lab/POC you can go with tiny deployment.
- vRLI Node Size: For lab purpose select small.
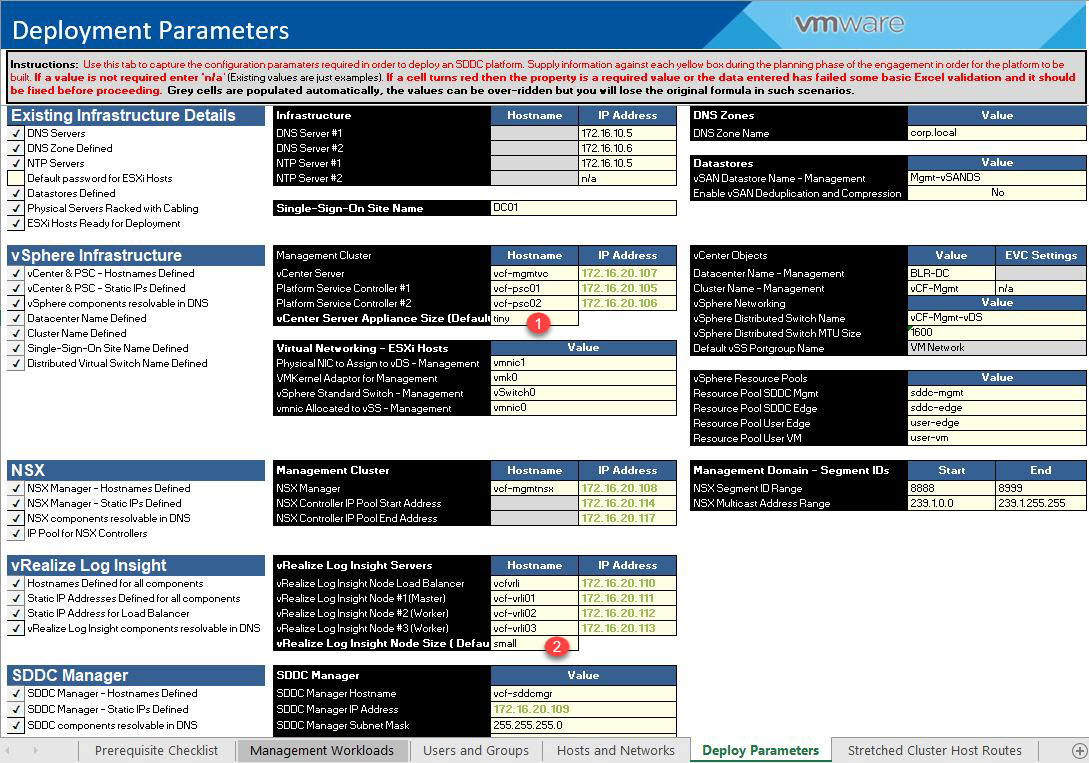
Once you are done with filling up the deployment parameter sheet, connect to https://<cloud builder-fqdn> and login with user admin and password set during deployment.
Validate Pre-bring-up steps
Please ensure you infra is matching all the requirement and then select the “Check All” box and hit next.
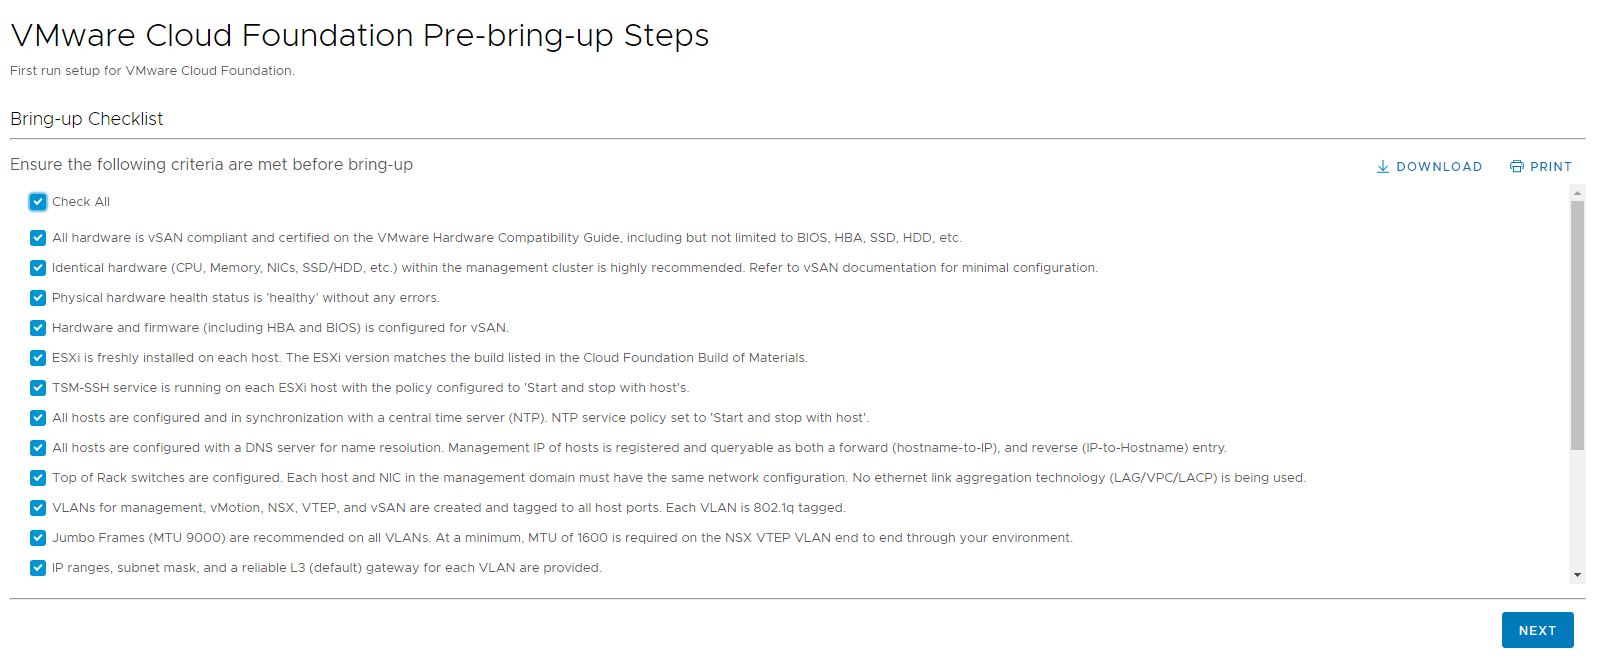
Accept EULA and hit next.
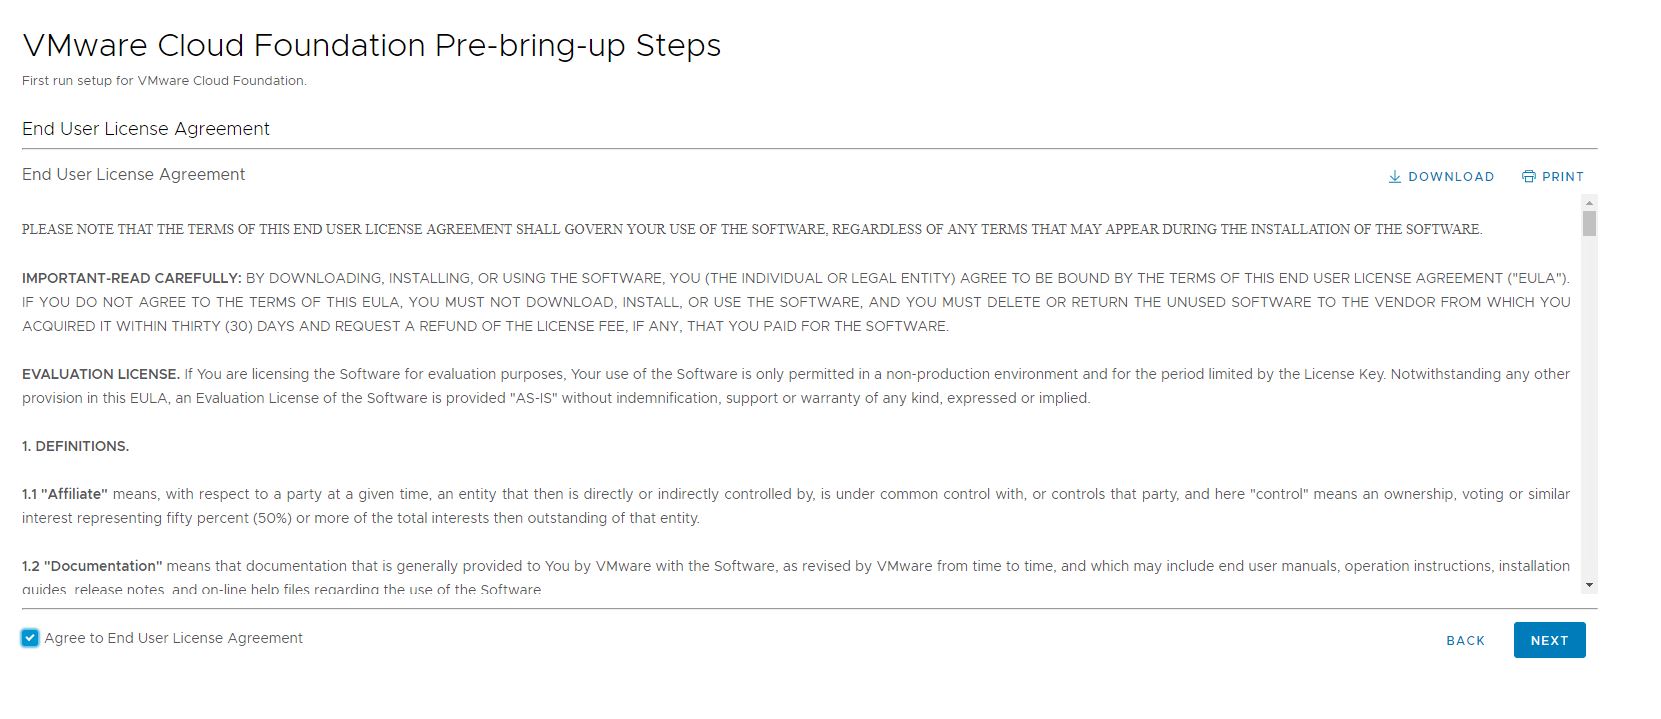
Upload the filled up deployment parameter sheet by clicking on upload button.
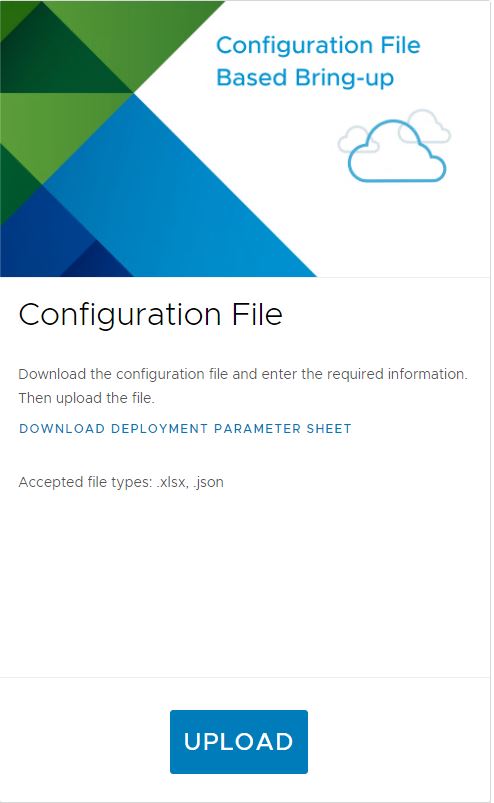
Click on Validate button to validate the inputs of deployment configuration sheet.
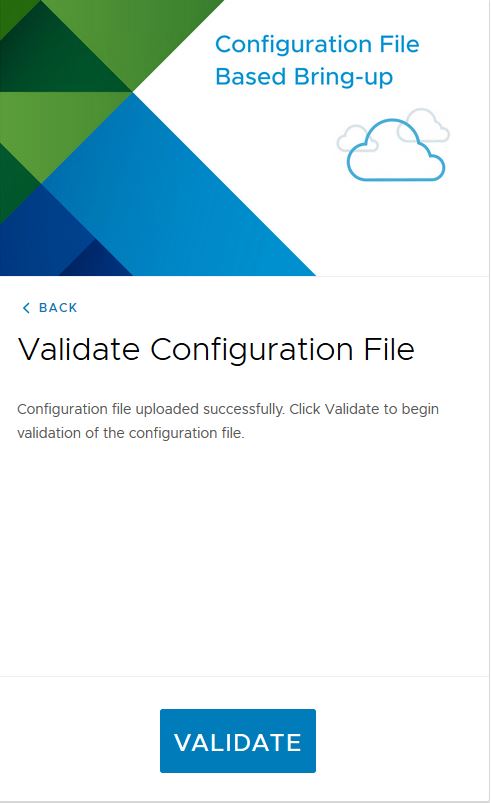
Please ensure all checks are passed before hitting next. If any check is failed then first fix the issue and click on Retry button to initiate the checks again.
In my lab I had some weird NTP related issues which I ignored.

Click on “Begin Bring-up” to start the SDDC build process.

Time to sit back and relax. SDDC build process is initiated. In my case it took more than 6 hours for entire process to finish.

Once the process is completed, you will find URL of SDDC Manager.

Clicking on SDDC Manager URL will take you to SDDC Manager UI.
You can navigate around UI to understand the various options that are available.


And that concludes this post. In next post of this series I will demonstrate how to deploy workload domain using SDDC manager. Stay tuned!!!
I hope you enjoyed reading this post. Feel free to share this on social media if it is worth sharing
