In the last post of this series, we deployed the VCAV appliance and discussed that it will be configured later once we are done with the deployment of all the other needed components.
In this post, we will add a vCloud proxy cell to an existing vCloud Director environment.
If you are not following along with this series, then I recommend reading earlier posts of this series from below links:
1: vCloud Availability Introduction
2: vCloud Availability Architecture & Components
What is a Cloud Proxy?
As per VMware documentation:
The Cloud Proxy is a standalone, optional component of vCloud Director that can act as a generic Transmission Control Protocol (TCP) connection proxy. It supports forwarding incoming TCP connections and listening incoming connections.
The Cloud Proxy creates virtual connections for data to travel from the on-premise to the service provider (cloud) site and reverse.
For installing Cloud Proxy, you should have your vCD environment already deployed and fully configured. I am not covering the steps for vCD installation as I have written several articles on it in the past.
For vCD 9.X installation, please refer to this article and if you are planning for multi-cell vCD deployment then the steps for doing the same are documented here. Although the steps are for the vCD 8.x version, they work for the 9.x version as well.
Cloud Proxy is installed in the same way as vCD is installed and you need the same setup file using which you deployed vCloud director.
Cloud Proxy Deployment Steps
In my lab, I deployed a brand new CentOS 7 vm and configured 2 interfaces on the vm because the vCD installer looks for 2 NICs in the server when you invoke the vCD configuration script.
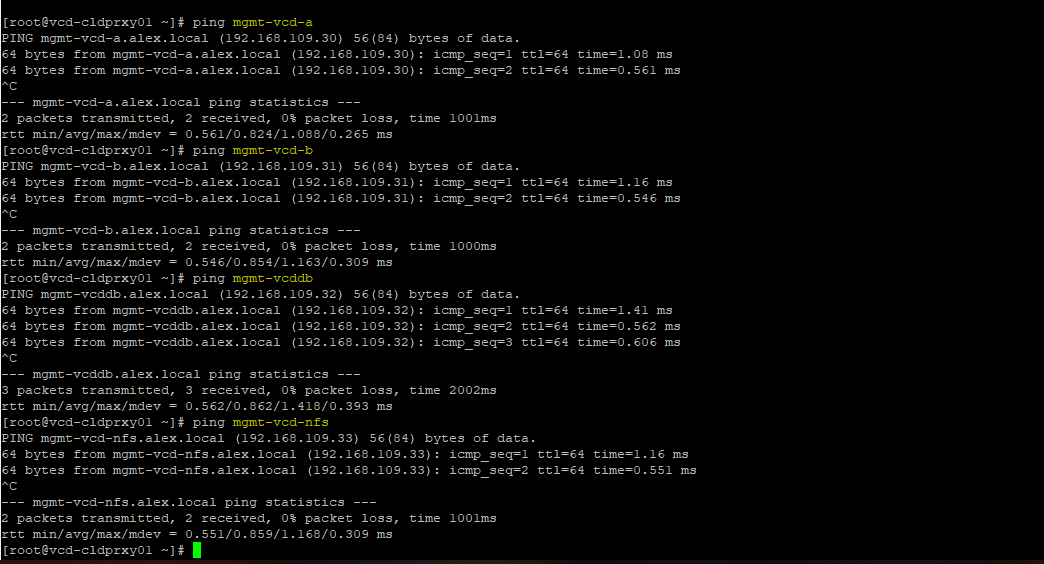
Also, I verified my networking and DNS settings by pinging the vCD cells and other vCD components.
Also, I verified that my Cloud Proxy VM is synchronizing its time from the NTP server.
For lab deployment, I disabled the firewall service and SELinux on this VM.
The next thing is to copy the vCD installation file, response.properties, and the certificate file from the primary vCD cell to the newly deployed Cloud Proxy machine. Also, set appropriate permissions on the file
|
1 2 3 4 5 |
[root@mgmt-vcd-a ~]# scp vCD-9.0.0-6681978.bin vcd-cert.ks /opt/vmware/vcloud-director/etc/responses.properties root@vcd-cldprxy01:/root [root@vcd-cldprxy01 ~]# chmod 644 responses.properties [root@vcd-cldprxy01 ~]# chmod 644 vcd-cert.ks |
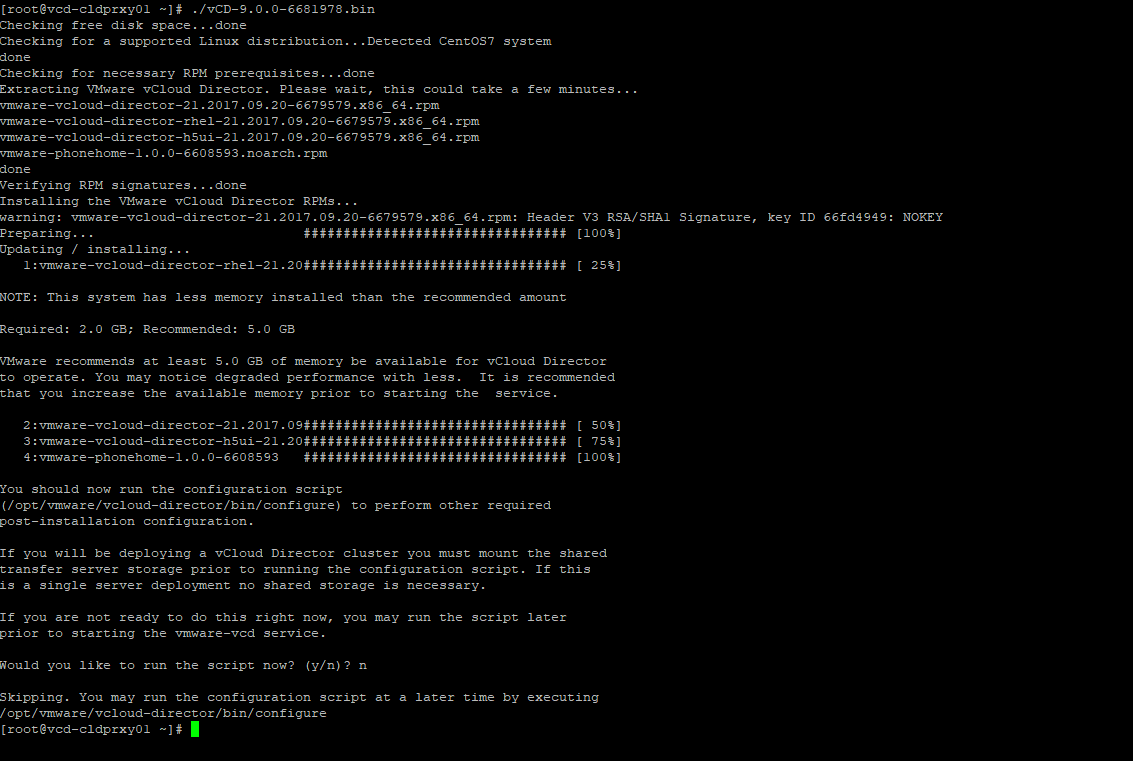
Run the vCD installer and press ‘n’ to skip the configuration.
Also, don’t start the vmware-vcd service yet.
SSH to the Cloud Proxy machine and copy the response.properties file from /root to the /opt/vmware/vcloud-director/etc/ directory and make the vcloud user the owner of that file.
|
1 2 3 |
[root@vcd-cldprxy01 ~]# cp responses.properties /opt/vmware/vcloud-director/etc [root@vcd-cldprxy01 etc]# chown vcloud:vcloud responses.properties |
To copy the certificate file to the appropriate location, we need to find out the correct path from the response.properties file.
|
1 2 3 |
[root@vcd-cldprxy01 etc]# cat responses.properties | grep user.keystore.path user.keystore.path = /opt/vmware/vcloud-director/vcd-cert.ks |
So the path where the certificate file (vcd-certs.ks) should be /opt/vmware/vcloud-director/
|
1 2 3 |
[root@vcd-cldprxy01 ~]# cp vcd-cert.ks /opt/vmware/vcloud-director/ [root@vcd-cldprxy01 ~]# chown vcloud:vcloud /opt/vmware/vcloud-director/vcd-cert.ks |
Mount NFS Storage
Mount the same NFS storage to the Cloud Proxy VM, which was mounted on the vCD cell.
|
1 |
[root@vcd-cldprxy01 ~]# echo 192.168.109.33:/data/ /opt/vmware/vcloud-director/data/transfer nfs defaults 0 0 >> /etc/fstab |
Run the mount -a command and verify NFS storage is mounted correctly
|
1 2 3 4 5 |
[root@vcd-cldprxy01 ~]# mount -a [root@vcd-cldprxy01 ~]# df -h | grep /opt/vmware/vcloud-director/data/transfer 192.168.109.33:/data 36G 1.9G 34G 6% /opt/vmware/vcloud-director/data/transfer |
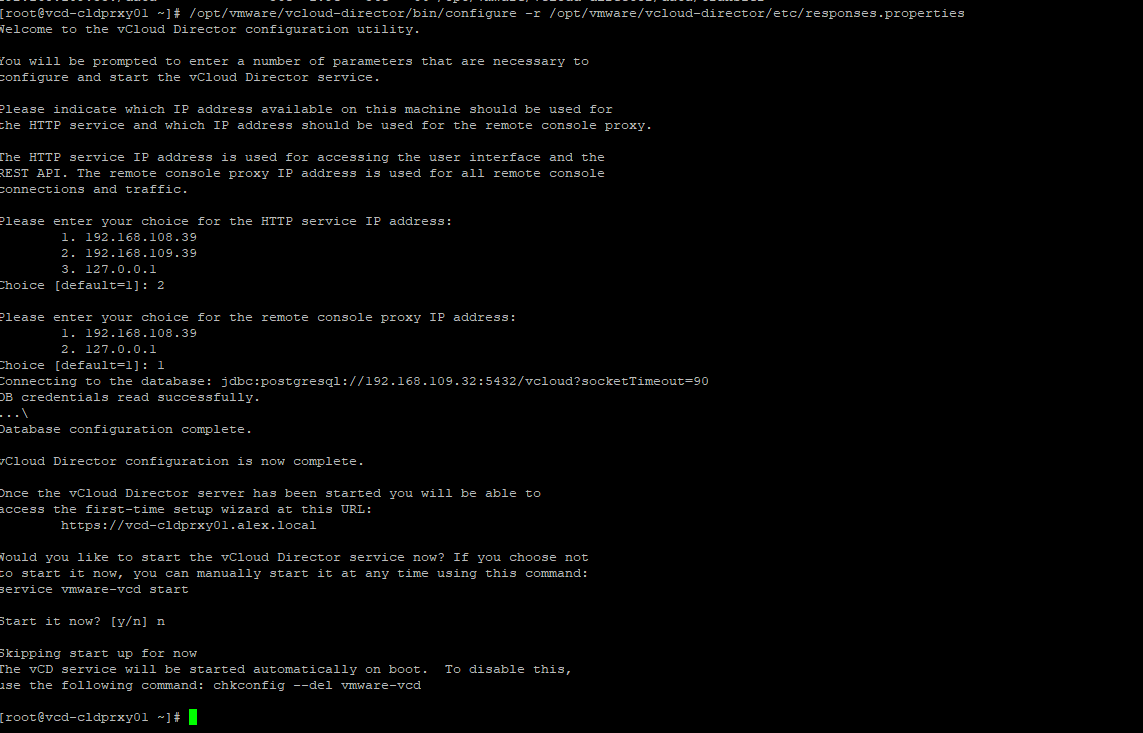
Once NFS is mounted and response.properties and certificate files are in place, invoke the vCD configuration script by typing:
|
1 |
# /opt/vmware/vcloud-director/bin/configure -r /opt/vmware/vcloud-director/etc/responses.properties |
Select the IP for the HTTP and console proxy service.
Note: Do not start the VCD service yet.
Specialize a vCloud Director cell to become a dedicated Cloud Proxy cell
Edit the global.properties file and enter com.vmware.cell.runtime.application = com.vmware.vcloud.cloud-proxy-server.cloudProxyApplication
|
1 |
[root@vcd-cldprxy01 ~]# echo com.vmware.cell.runtime.application = com.vmware.vcloud.cloud-proxy-server.cloudProxyApplication >> /opt/vmware/vcloud-director/etc/global.properties |
Start the VCD service.
|
1 |
[root@vcd-cldprxy01 ~]# service vmware-vcd start |
Tail the cell.log to verify the service has been initialized correctly.
For the high availability of Cloud Proxy, you can deploy more than one instance and then load balance them. Once the vmware-vcd service is 100% initialized and the cloud proxy starts showing up under cells in the vCD UI, connect to the VCAV appliance via SSH and run the following commands in sequence:
1: Create protected password files on your vCloud Availability Installer Appliance in the ~/.ssh directory.
|
1 2 3 4 5 |
root@mgmt-vcav [ ~ ]# mkdir ~/.ssh root@mgmt-vcav [ ~ ]# chmod 0700 ~/.ssh root@mgmt-vcav [ ~ ]# echo 'vcd-password' > ~/.ssh/.vcd |
Note: vcd-password is the password of the admin user of vCloud Director
|
1 |
root@mgmt-vcav [ ~ ]# find ~/.ssh -type f -name '.*' -print0 | xargs -0 chmod 0600 |
2: To see the currently configured Cloud Proxy address, run the following command:
|
1 2 3 4 5 |
root@mgmt-vcav [ ~ ]# vcav vcd get-cloud-proxy --type=to-the-cloud --vcd-address=192.168.109.30 --vcd-user=admin --vcd-password-file=~/.ssh/.vcd The SSL certificate for 192.168.109.30:443 is not trusted. Do you want to proceed? [yes/no/always] always |
The vCloud Availability Installer Appliance will return the following message.
wss://192.168.109.30/socket/cloudProxy
Note: In the above command, –vcd-address is the address of the vcd cell and not the cloud proxy cell
3: Integrate VCAV with Cloud Proxy by running the following command:
|
1 |
root@mgmt-vcav [ ~ ]# vcav vcd set-cloud-proxy --to-the-cloud-address=vcd-cldprxy01.alex.local --vcd-address=192.168.109.30 --vcd-user=admin --vcd-password-file=~/.ssh/.vcd |
If the configuration is successful, you will see an OK message on your screen.
Important:
1: Do not try to clone the primary vCD cell to be used as a cloud proxy. Always deploy a new VM and configure it as a cloud proxy, or else you might run into the issue mentioned in KB-53172
2: Do not start the vmware-vcd service until you have invoked the configuration script using the response.properties file and modified the global.properties file to make the cell a dedicated cell for cloud proxy.
And that’s it for this post. In the next post of this series, we will configure the VCAV appliance to integrate with the cloud proxy server.
I hope you enjoyed reading this post. Feel free to share this on social media if it’s worth sharing. Be sociable.


