In the last post of this series, we discussed the logical architecture of VCAV and the components that constitute the VCAV stack.
In this post, we will be deploying the VCAV appliance. The current version of VCAV is 2.0.1, and it can be downloaded from here. vCloud Availability appliance deployment is a straightforward task and is pretty much like any other standard OVA deployment.
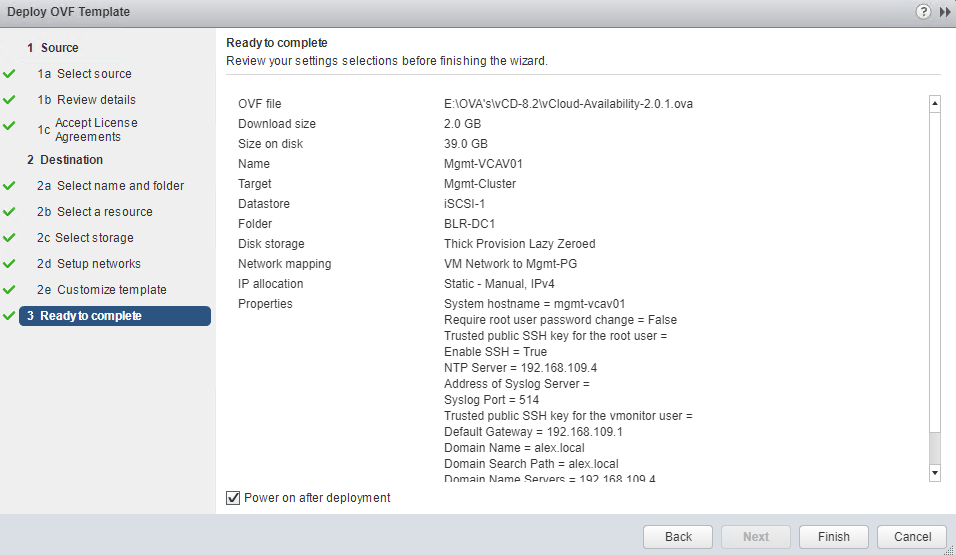
Connect to your management vCenter Web Client and choose to Deploy OVF Template and browse to the location where the VCAV OVA file is stored on your system.
Review the OVA details and hit next to continue.
Accept the EULA and hit Next.
Provide a name for the VCAV VM and select the data center where it will be deployed.
Select the cluster where the VM will be deployed and click Next.
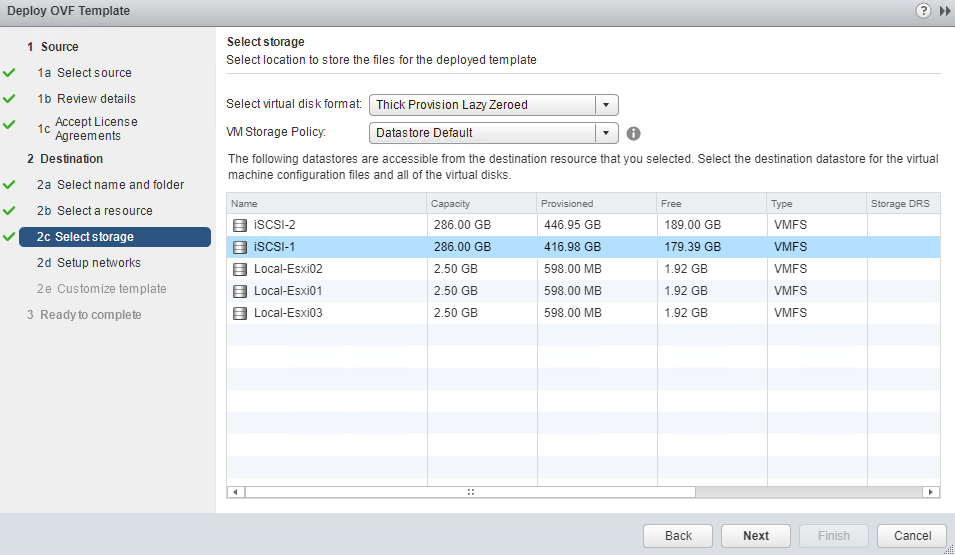
For prod deployment, a thick-provisioned disk is recommended. For lab deployment, a thin-provisioned disk works fine.
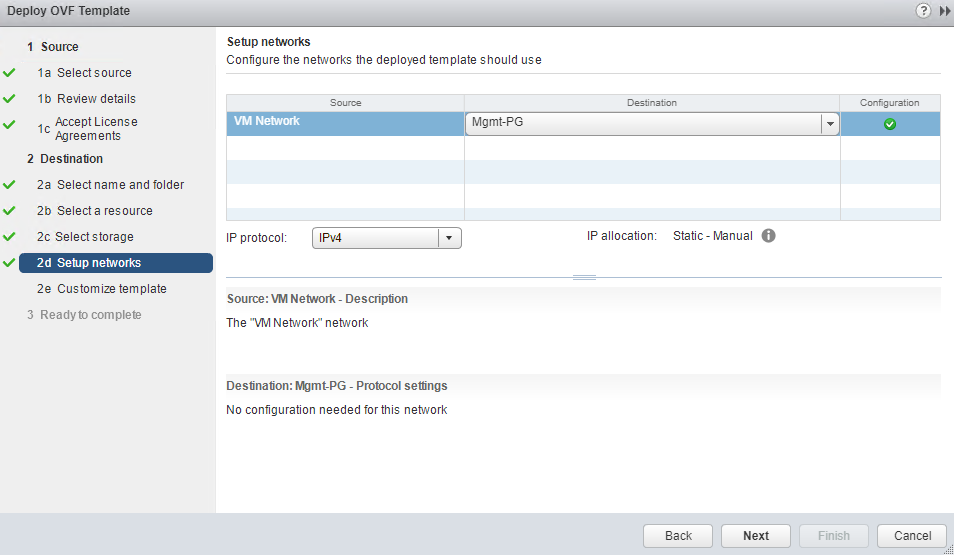
Select the appropriate portgroup to which the VCAV VM will connect and hit Next.
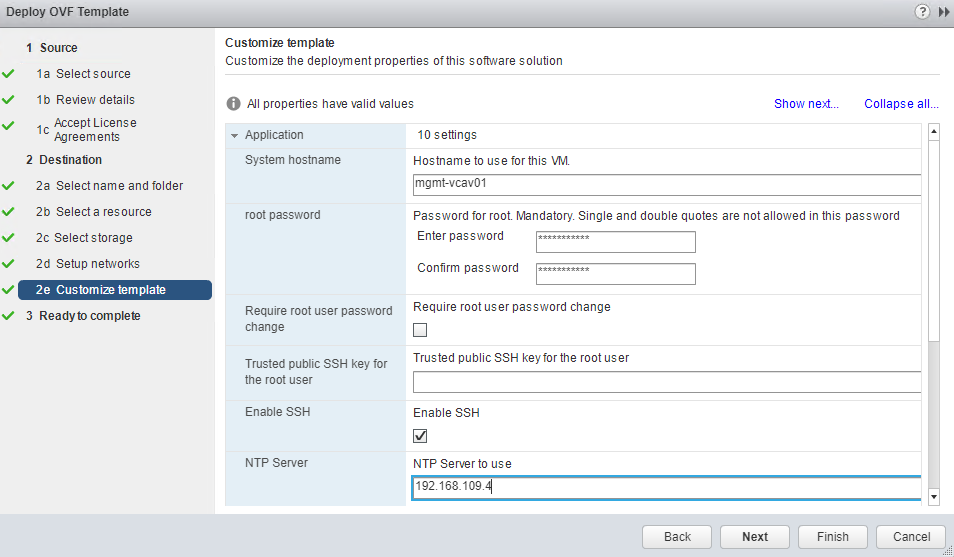
Provide hostname and set root password. Optionally, you can select to change the root password on the next login.
Make sure to enable SSH and add NTP server details, as time sync between the VCAV appliance and other components is very critical.
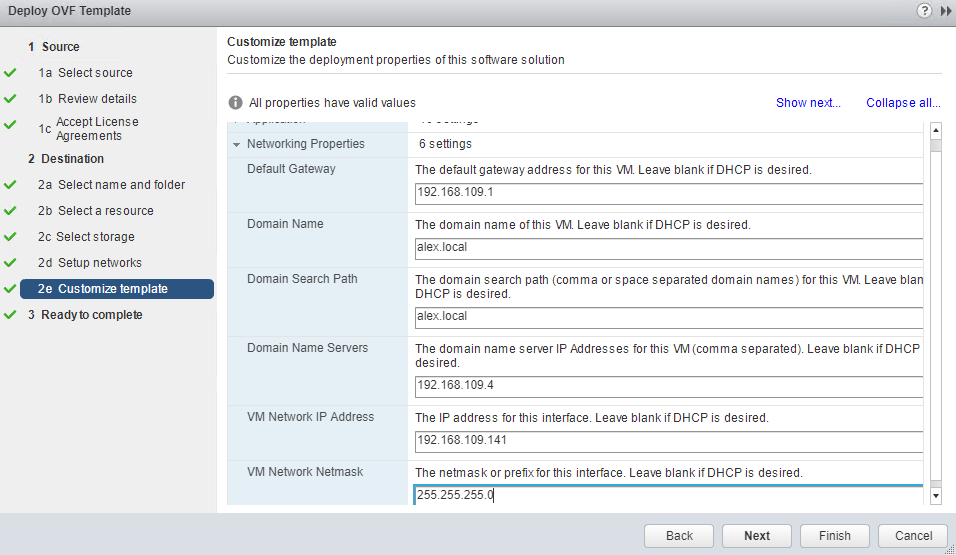
Fill in the network details and hit Next.
On the Ready to Complete page, review your details and click Finish to start the deployment. Make sure “Power on after deployment” is selected.
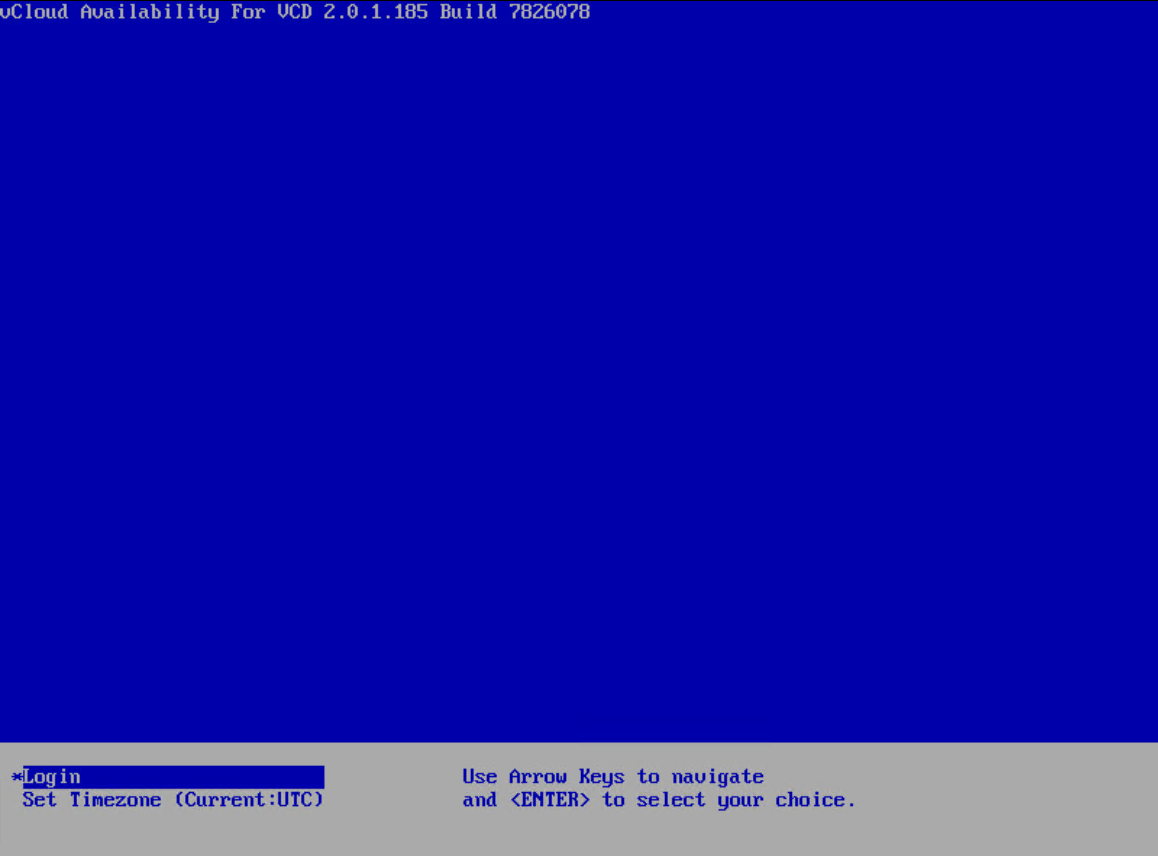
It hardly takes 4-5 minutes for deployment to complete and the VCAV VM to boot up completely.
Unfortunately, we can’t do any configuration on this appliance yet, as we have to deploy other components before starting to configure the VCAV appliance.
And that’s it for this post.
I hope you enjoyed reading this post. Feel free to share this on social media if it’s worth sharing.


