Now we have deployed all components needed to form the VCAV stack. It’s time to integrate all of them with VCAV. Let’s start.
At this point of time, I am assuming that you have already declared the following variables as per your environment
|
1 2 3 4 5 6 7 8 9 10 11 12 13 14 15 16 |
export VCD_ADDRESS1=192.168.109.30 export VCD_ADDRESS2=192.168.109.30 export CLDPRXYADD=192.168.109.34 export VCD_USER=admin export AMQP_USER=admin export AMQP_ADDRESS=mgmt-rmq01.alex.local export CASSANDRA_ADDRESS=mgmt-cass-b.alex.local export HMS01_ADDRESS=mgmt-vrms01.alex.local export HCS01_ADDRESS=mgmt-vrcs01.alex.local export HBR_ADDRESS=mgmt-vrs01.alex.local export MGMT_VSPHERE_ADDRESS=mgmt-vc01.alex.local export MGMT_VSPHERE_USER=administrator@lab.local export VSPHERE01_ADDRESS=compute-vc01.alex.local export SSO_USER=administrator@alex.lab export UI01_ADDRESS=192.168.109.43 export UI02_ADDRESS=192.168.109.44 |
Configure vSphere Replication Manager
1: Configure the VRMS appliance
|
1 |
# vcav hms configure --hms-address=$HMS01_ADDRESS --vsphere-address=$VSPHERE01_ADDRESS --vsphere-user=$SSO_USER --vsphere-password-file=~/.ssh/.sso --vcd-address=$VCD_ADDRESS --vcd-user=$VCD_USER --vcd-password-file=~/.ssh/.vcd --sso-user=$SSO_USER --sso-password-file=~/.ssh/.sso |
2: Verify that the HMS service starts successfully.
|
1 |
# vcav hms wait-for-extension --hms-address=$HMS01_ADDRESS --vsphere-address=$VSPHERE01_ADDRESS --vsphere-user=$SSO_USER --vsphere-password-file=~/.ssh/.sso --vcd-address=$VCD_ADDRESS --vcd-user=$VCD_USER --vcd-password-file=~/.ssh/.vcd --sso-user=$SSO_USER --sso-password-file=~/.ssh/.sso |
Configure Cassandra Servers
1: Create a password file for the Cassandra host root user in /.ssh/cassandra.root.password.
|
1 2 3 4 5 |
root@mgmt-vcav [ ~ ]# echo 'vmware' > ~/.ssh/cassandra.root.password root@mgmt-vcav [ ~ ]# vcav trust add-ssh --address=$CASSANDRA_ADDRESS --root-password-file=~/.ssh/cassandra.root.password --accept-all WARNING - Trusting 65:1a:e8:f1:ae:2e:40:79:2b:a0:73:f6:9c:b0:3d:72 for mgmt-cass-b.alex.local |
2: Create a trusted connection between the vCloud Availability Installer Appliance and Cassandra hosts.
|
1 |
root@mgmt-vcav [ ~ ]# vcav cassandra import-hcs-certificate --cassandra-address=$CASSANDRA_ADDRESS --hcs-address=$HCS01_ADDRESS |
Note: If, on running the above command, you getan error message “ERROR – Unable to SSH to ‘Your-vRCS-Node’, then run the below command
|
1 |
root@mgmt-vcav [ ~ ]# cat .ssh/id_rsa.pub | ssh root@mgmt-vrcs01 'cat >> .ssh/authorized_keys' |
3: Add the vSphere Replication Cloud Service certificate to the Cassandra truststore so that the Cassandra host accepts SSL connections from the vSphere Replication Cloud Service.
Note: Run the following command for every Cassandra server and every vRCS appliance
|
1 2 3 |
root@mgmt-vcav [ ~ ]# vcav cassandra register --hcs-address=$HCS01_ADDRESS --cassandra-address=$CASSANDRA_ADDRESS --cassandra-port=9042 --vcd-address=$VCD_ADDRESS --vcd-user=$VCD_USER --vcd-password-file=~/.ssh/.vcd --sso-user=$SSO_USER --sso-password-file=~/.ssh/.sso Registered Cassandra certificate: E7:C0:1C:15:E9:3B:EE:A9:BF:F1:EE:9E:53:F7:34:A5:BA:99:82:A6 |
4: Register the Cassandra hosts with the lookup service.
|
1 |
root@mgmt-vcav [ ~ ]# vcav hcs configure --hcs-address=$HCS01_ADDRESS --amqp-password-file=~/.ssh/.amqp --cassandra-replication-factor=1 --vcd-address=$VCD_ADDRESS --vcd-user=$VCD_USER --vcd-password-file=~/.ssh/.vcd --sso-user=$SSO_USER --sso-password-file=~/.ssh/.sso |
Configure vSphere Replication Cloud Service
1: Configure the vSphere Replication Cloud Service Appliance.
Note: The cassandra-replication-factor argument in the following command refers to the number of nodes in your Cassandra cluster
|
1 |
root@mgmt-vcav [ ~ ]# vcav hcs configure --hcs-address=$HCS01_ADDRESS --amqp-password-file=~/.ssh/.amqp --cassandra-replication-factor=1 --vcd-address=$VCD_ADDRESS1 --vcd-user=$VCD_USER --vcd-password-file=~/.ssh/.vcd --sso-user=$SSO_USER --sso-password-file=~/.ssh/.sso |
2: Run the following command to verify that the HCS service starts successfully.
|
1 |
root@mgmt-vcav [ ~ ]# vcav hcs wait-for-extension --hcs-address=$HCS01_ADDRESS --vcd-address=$VCD_ADDRESS1 --vcd-user=$VCD_USER --vcd-password-file=~/.ssh/.vcd --sso-user=$SSO_USER --sso-password-file=~/.ssh/.sso |
Configure vSphere Replication Server
1: Configure vSphere Replication Server
|
1 |
vcav hbr configure --hbr-address=$HBR_ADDRESS --vsphere-address=$VSPHERE01_ADDRESS --vsphere-user=$SSO_USER --vsphere-password-file=~/.ssh/.sso --vcd-address=$VCD_ADDRESS1 --vcd-user=$VCD_USER --vcd-password-file=~/.ssh/.vcd |
2: Verify that the HBR service starts successfully.
|
1 |
vcav hbr wait-for-extension --hbr-address=$HBR_ADDRESS --vsphere-address=$VSPHERE01_ADDRESS --vsphere-user=$SSO_USER --vsphere-password-file=~/.ssh/.sso --vcd-address=$VCD_ADDRESS1 --vcd-user=$VCD_USER --vcd-password-file=~/.ssh/.vcd |
Configure vCAV Portal Host
|
1 |
# vcav vcd-ui configure --ui-address=$UI01_ADDRESS --keep-self-signed-certificate --truststore-password-file=~/.ssh/.truststore --vcd-address=$VCD_ADDRESS1 --vcd-user=$VCD_USER --vcd-password-file=~/.ssh/.vcd --sso-user=$SSO_USER --sso-password-file=~/.ssh/.sso |
There are a few tweaks recommended by VMware, and they are documented here. Use them if it suits your requirement. For lab purposes, you can skip the mentioned tweaks.
Configure vCAV Administration Portal Host
|
1 |
# vcav vcd-ui configure-smp --ui-address=$UI02_ADDRESS --keep-self-signed-certificate --truststore-password-file=~/.ssh/.truststore --vcd-address=$VCD_ADDRESS1 --vcd-user=$VCD_USER --vcd-password-file=~/.ssh/.vcd --sso-user=$SSO_USER --sso-password-file=~/.ssh/.sso --mongodb-password-file=~/.ssh/.root --amqp-user=$AMQP_USER --amqp-password-file=~/.ssh/.amqp --tenant-ui-url=https://vcav-ui01.alex.local:8443 --max-jvm-memory=1024 |
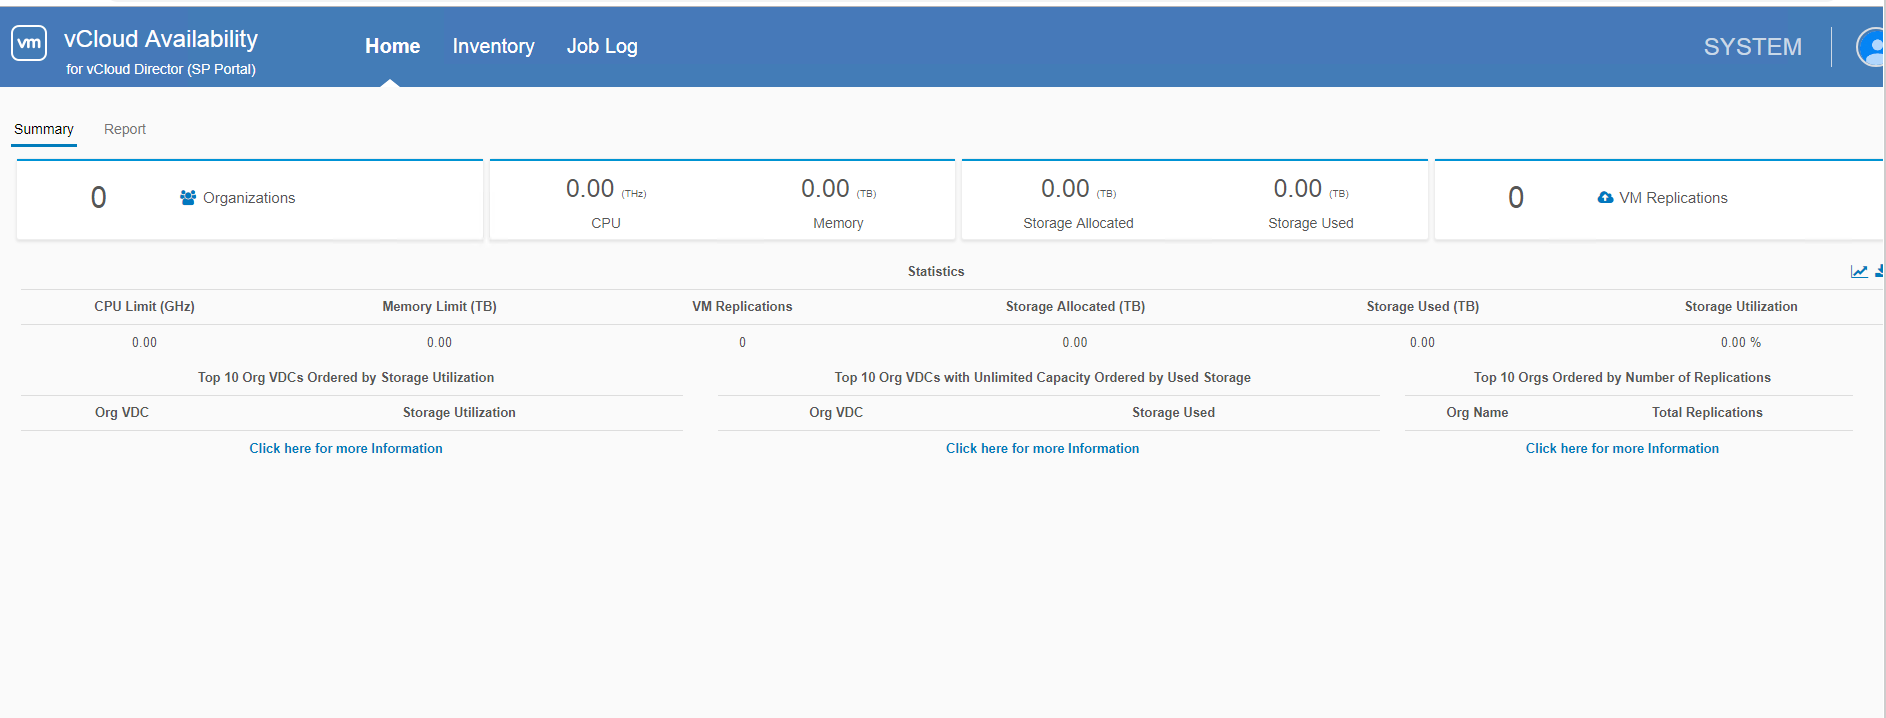
You can now login to the Admin Portal by typing https://vcav-ui02-fqdn:8443 using admin credentials.
From this portal, you can get a complete overview of all DR-related activities. I have not configured any tenant yet, so it’s showing empty for me.
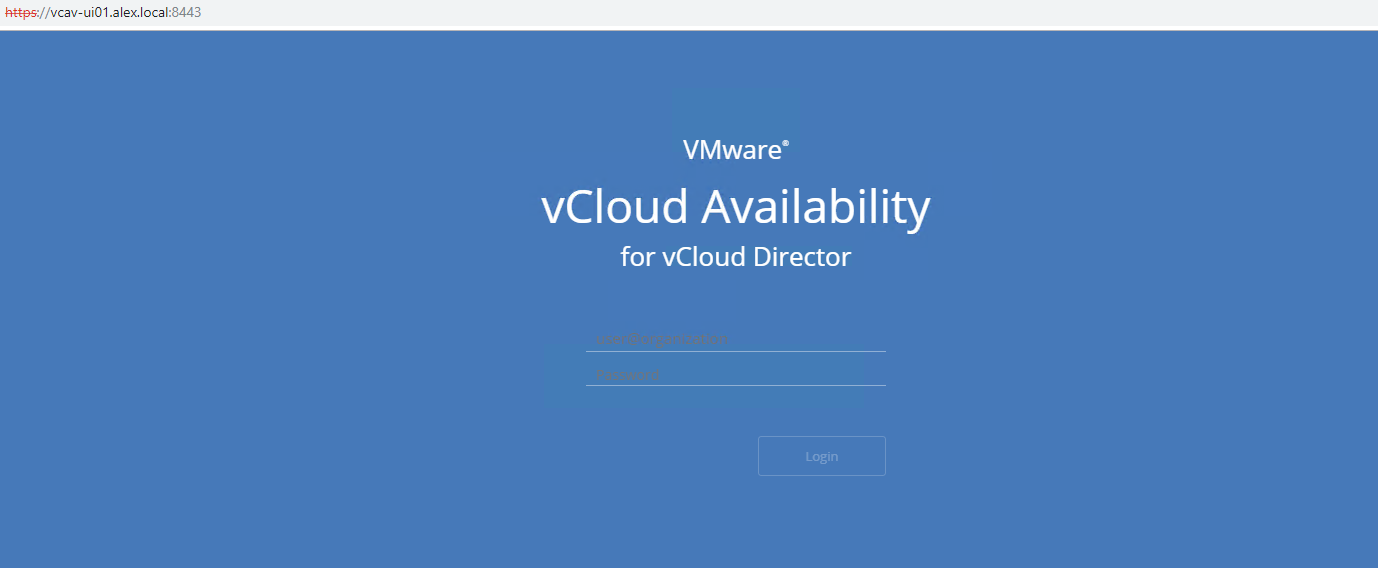
Tenants login to the vCAV Portal host using their credentials.
Post-Installation vCD Configuration
Before tenants can start replicating their workloads in vCD, we need to enable the tenant org for replication. Use the commands below to do so.
1: Assign vSphere Replication Cloud Service Rights to the vCD Org Admin Role
|
1 |
root@mgmt-vcav [ ~ ]# vcav hcs add-rights-to-role --vcd-address=$VCD_ADDRESS1 --vcd-user=$VCD_USER --vcd-password-file=~/.ssh/.vcd "--role=Organization Administrator" --org=* |
2: Fetch org details.
|
1 2 3 4 |
root@mgmt-vcav [ ~ ]# vcav org list --vcd-address=$VCD_ADDRESS1 --vcd-user=$VCD_USER --vcd-password-file=~/.ssh/.vcd vStellar-Service System |
3: Fetch Org-vDC details
|
1 2 3 |
root@mgmt-vcav [ ~ ]# vcav org-vdc list --vcd-address=$VCD_ADDRESS1 --vcd-user=$VCD_USER --vcd-password-file=~/.ssh/.vcd --org=vStellar-Service Service-vDC |
4: Enable vDC for Replication
|
1 |
root@mgmt-vcav [ ~ ]# vcav org-vdc enable-replication --vcd-address=$VCD_ADDRESS1 --vcd-user=$VCD_USER --vcd-password-file=~/.ssh/.vcd --org=vStellar-Service --vdc=Service-vDC |
With this, we have now finished the service provider side installation.
For tenant installation, please refer to this article
And that’s it for this post.
I hope you enjoyed reading this post. Feel free to share this on social media if it’s worth sharing.


