In the last 2 posts of this series, we discussed the automated and manual deployment of NSX controllers and how to form a controller cluster. In this post, we will learn how to do host preparation for NSX-T.
If you are not following along with this series, then I recommend reading earlier posts of this series from the links below:
4: NSX Controllers Automated Deployment
5: NSX Controllers Manual Deployment
When we perform host preparation, NSX-T pushes a few vibrations on the ESXi host (just like NSX-v), and once the hosts are prepared, they are known as fabric nodes. All ESXi hosts that are fabric nodes have NSX-T modules installed and are registered with the NSX-T management plane.
Before jumping into the host preparation task, ensure that the install-upgrade service status on the NSX-T Manager is reporting as ‘running.’ If this service is down, the NSX Manager won’t be able to push the VIBs onto the ESXi hosts when we add them to the fabric.
Login to NSX Manager and run the command: get service install-upgrade
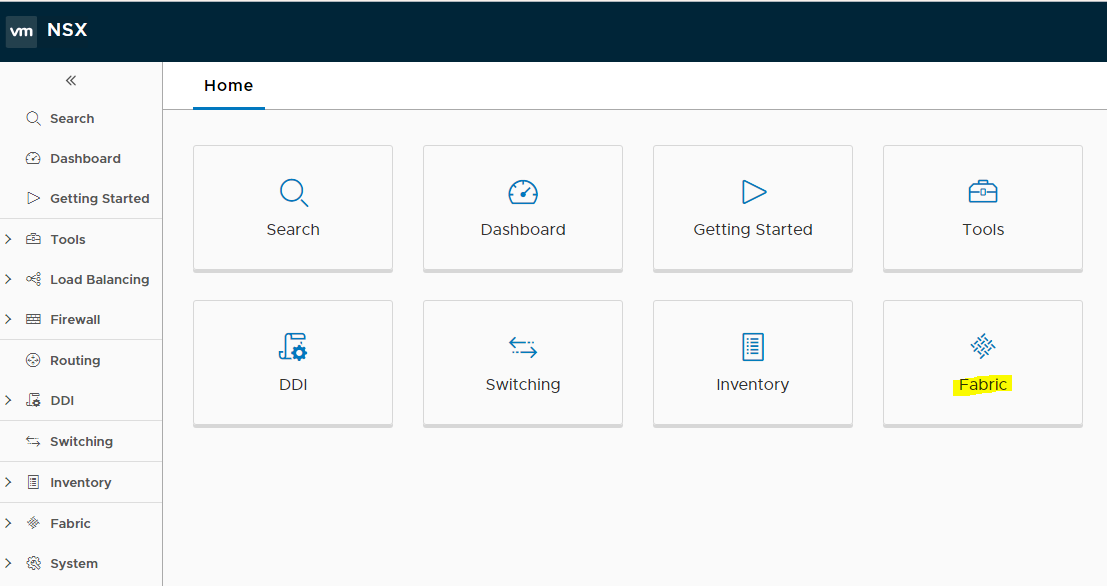
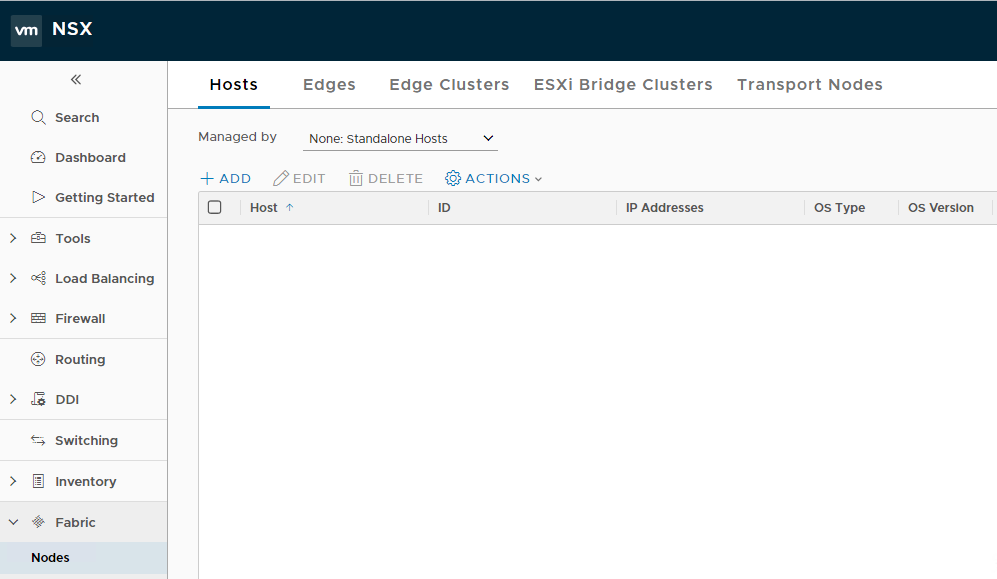
Once you have verified that service is enabled and running, login to NSX manager UI and navigate to Home > Fabric
Click on the Add button.
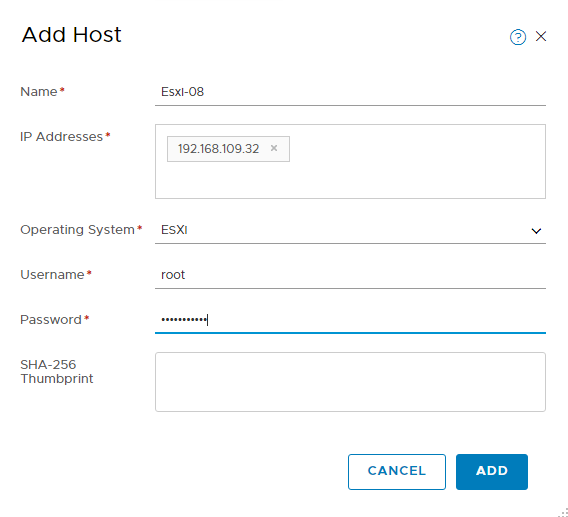
Enter the name of the ESXi host, the IP address, and root credentials to connect to the host.
Click on the Add button.
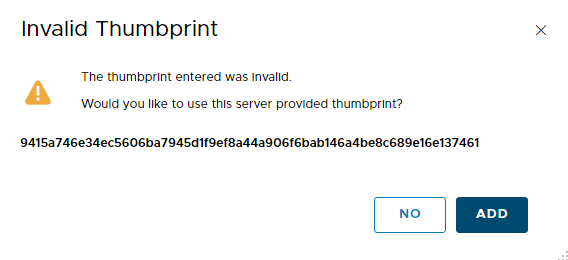
Accept the ESXi host thumbprint.
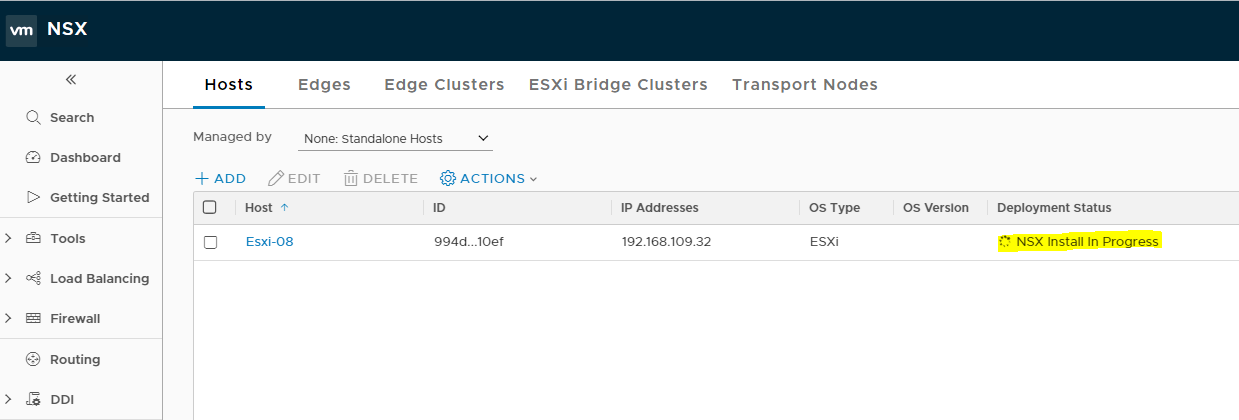
As soon as the host is added, NSX Manager will start pushing the NSX-T VIBs on the host, and you will see the “NSX Install in progress” task on the host.
Repeat the process for all ESXi hosts. After the VIB installation, the deployment status shows as ‘NSX Installed’, and the manager connectivity reports as up.
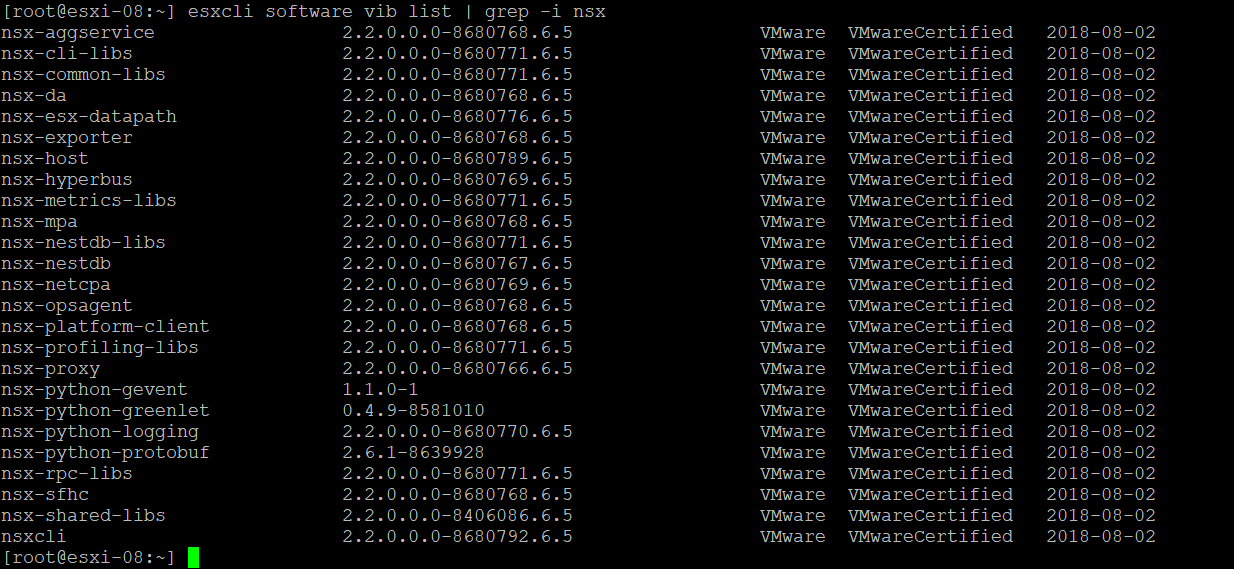
To check the list of VIBs that are installed on the ESXi host when they are prepared, SSH to any one of the hosts and run the command: esxcli software vib list | grep -i nsx.
And that’s it for this post. In the next post of this series, we will configure uplink profiles.
I hope you enjoyed reading this post. Feel free to share this on social media if it’s worth sharing.


