In last post of this series we deployed the NSX manager appliance. In this post we will learn how to deploy the NSX-T controller nodes.
If you are not following along this series, then I recommend reading earlier posts of this series from below links:
There are 2 methods of deploying NSX controllers for vSphere integration with NSX-T:
- Automated Installation of Controller from NSX Manager
- Manual Installation of NSX Controller on ESXi via GUI or OVF tool
In this post we will not talk about controller deployment for non-vSphere infrastructure.
Also in this post we will be discussing only about Automated method for controllers. Manual installation will be covered in Next post of this series.
In order to deploy NSX controllers to consume NSX-T for your vSphere infrastructure, make sure following prerequisites are met:
- vCenter Server and ESXi hosts are deployed.
- Esxi hosts have been added to vCenter and networking and storage configuration on hosts are in place.
- NSX Manager is deployed.
- ESXi host must have enough CPU, memory, and hard disk resources to support 12vCPUs, 48 GB RAM, and 360 GB Storage.
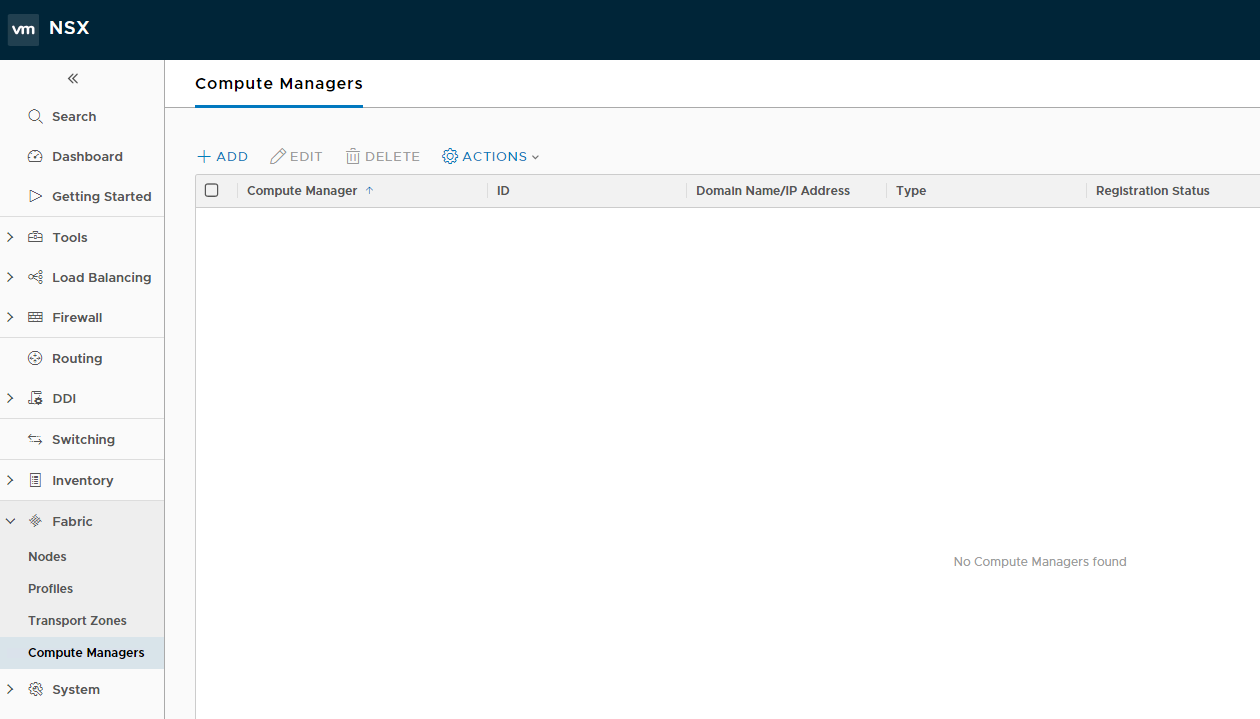
Now once all the above prerequisites have been met, we have to add vCenter server to NSX manager as Compute Manager. To do so login to NSX manager and navigate to Home > Fabric > Compute Managers and click on add button.

Provide a name for the vCenter server and optional description.
For domain name enter vCenter server FQDN and credentials via which NSX manager can talk to vCenter server. Service account is prefered here.
Leave SHA Thumbprint option blank and click on Add.

Accept the thumbprint presented by vCenter server by clicking on Add button.

Wait for a couple of minute for vCenter server showing as Registered and connection status as UP.

Once vCenter server is registered as Compute Manager, Next is to add the controllers node. To add the first controller node navigate to Systems > Components tab and click on Add-Controllers option.

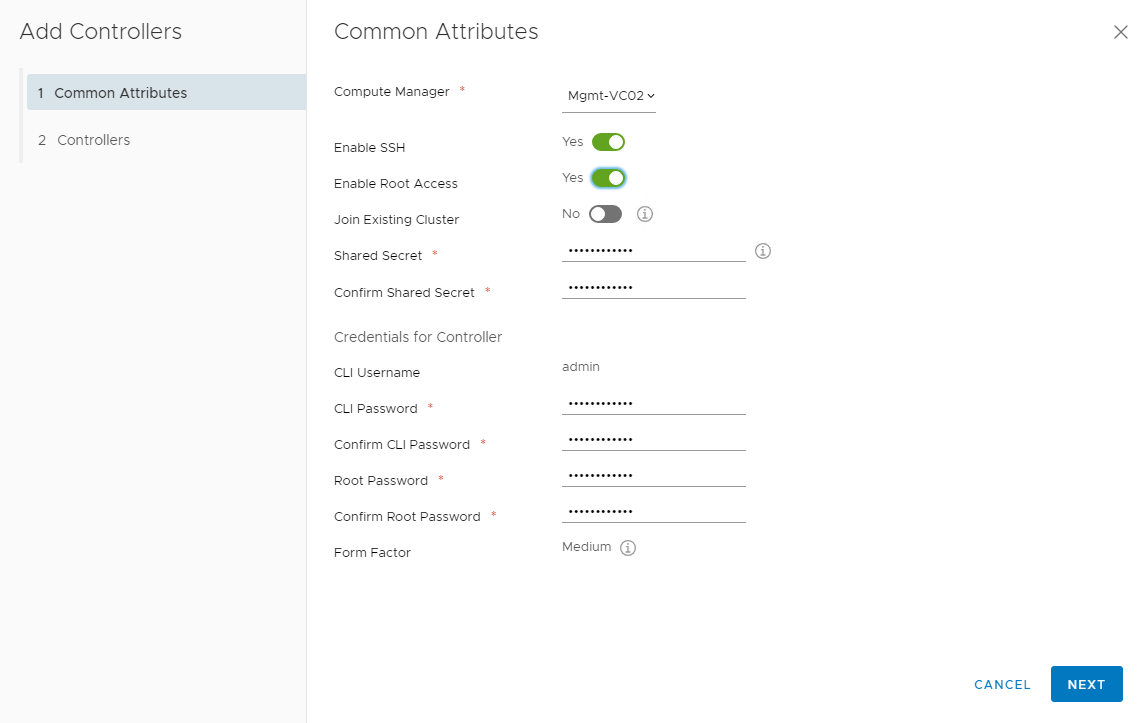
Enable ssh for admin and root user if you wish and specify the passwords for both the user. Also you have to specify the shared secret that will be used by the other controllers to form the cluster with the first controller. Since this is first controller of the cluster, you do not need to enable Join Existing Cluster option.
Note: You won’t be able to change the Form Factor which is set to medium by default. With this form factor, controllers will be deployed with 4 vCPU and 16 GB Memory and all 16 GB reserved. So make sure your Esxi host have more resources than this. Although you can change the memory reservation once vm is deployed and boots up, but if more than 20 GB is not available on Esxi host, then deployment gonna fail for sure. It happened to me 2 times and I was forced to add atleast 24 GB RAM to Esxi host.

Specify the placement container for the controller vm and hit Finish button.

Controller deployment will kick off


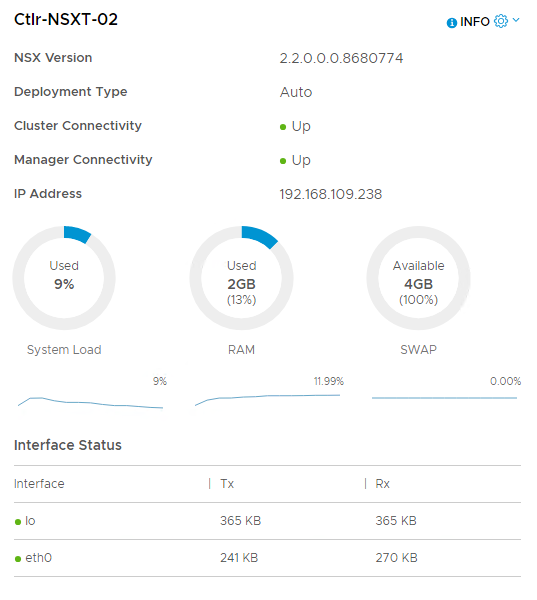
Wait for 3-4 minutes for controller cluster and manager connectivity to report as Up.

And our first controller is deployed successfully. From the same console we can add more controllers. Just make sure to enable option Join existing cluster so that newly deployed controller will form cluster relationship with the previously deployed controller.


And the 2nd controller has now booted up. Repeat the same steps for deploying the 3rd controller to ensure high availability for NSX controllers.

And that’s it for this post. In next post of this series we will look into manual steps for controller deployment.
