In last post of this series, we learnt how to move VPG from protected site to recovery site in the event of when some maintenance activity needs to be prformed on protected site. In this post we will learn to live failover VM’s to recovery site.
If you have landed directly on this page by mistake, then I encourage you to read earlier posts of this series from below links:
1: Zerto Architecture and Components
2: Installing Zerto Virtual Manager
3: Installing Zerto Virtual Replication Appliance
4: Creating Virtual Protection Group
6: Move VPG from Protection Site to Recovery Site
Before performing live failover in lab, lets understand some of the basics first.
Live failover is performed in the event of either disaster has occurred on your protected site or you want to simulate the disaster so that you can test the reliability of the DR solution you are using. Live failover operation assumes connectivity between the 2 sites is broken but VMs and Disks are intact on protected site.
If you are simulating DR, then as a best practice, VMs at source site must be manually shutdown to avoid two instance running at the same time. If real disaster has happened in your protected site, VM’s will be off anyways. During live failover, you have ability to restore VM’s to a specific checkpoints from the list.
On a successful failover, VMs are created and added to inventory at recovery site, VMDKs are attached, and VM is atatched to failover network specified in VPG configuration. VMs are then powered ON as per boot order defined in VPG.
Lets dive into lab now and perform a live failover.
Note: Shutdown the VM’s that are part of the VPG which you will be failing over to recovery site.
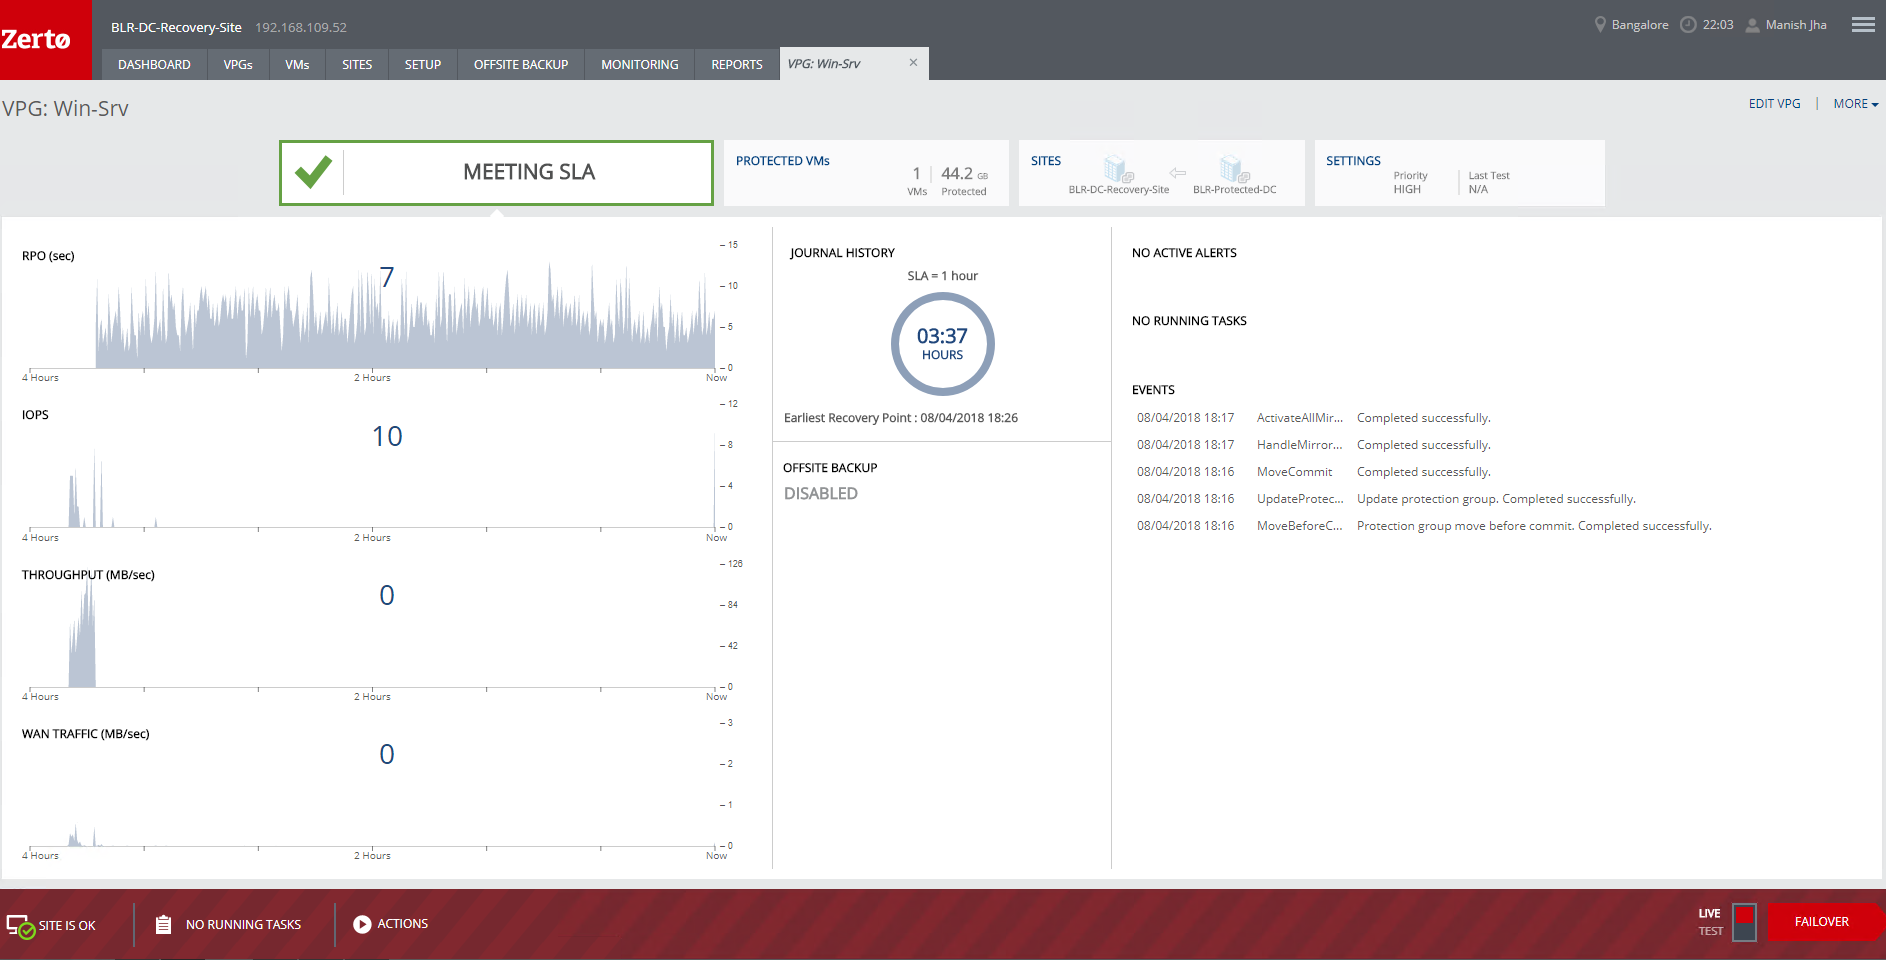
1: Login to ZVM interface and from right bottom corner, toggle the button to Live and click on failover.
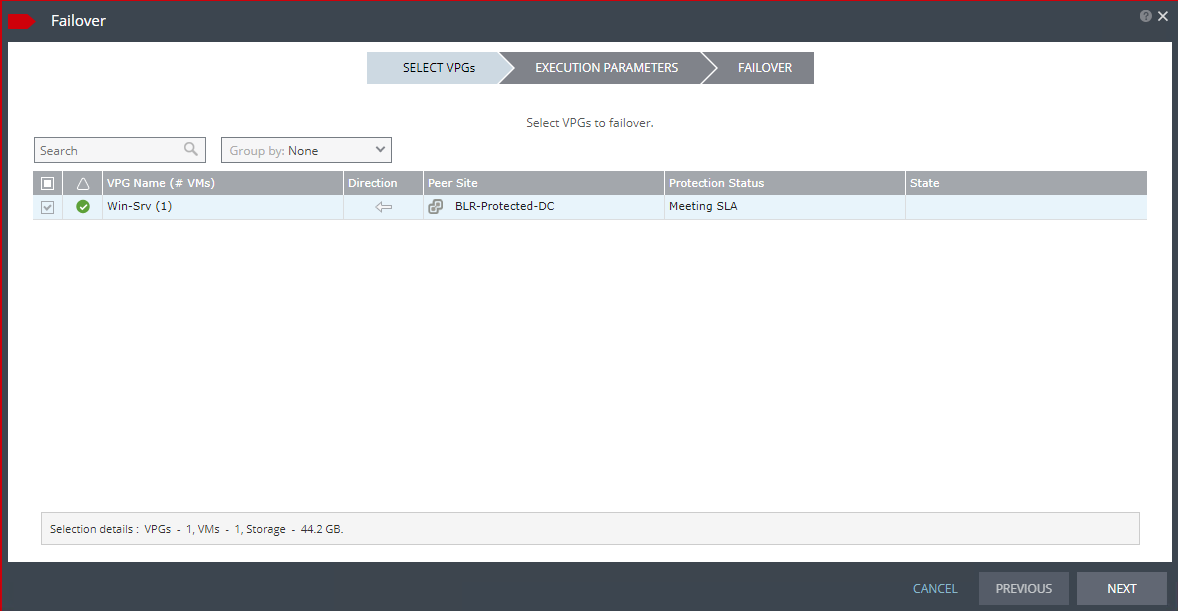
2: Select the VPG and hit Next.
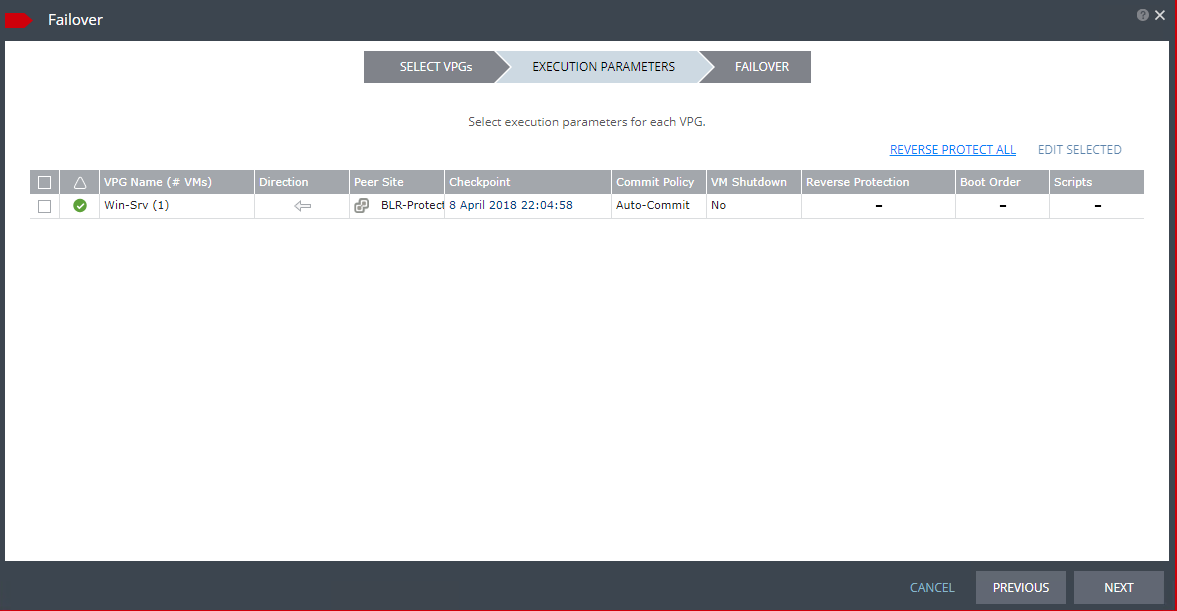
3: Select a checkpoint from the list by clicking on time shown under column “checkpoint”
For commit policy we have 3 options:
- Auto-Commit: You can set delay up to 24 hours (specified in minutes), or select 0 to automatically commit immediately when the failover process is completed.
- Auto-Rollback: You can delay up to 24 hours (specified in minutes), default delay is 10 minutes.
- None: You must manually select whether or not to commit or rollback, based on your results.
The default is to automatically commit the failover operation without testing.
For VM shutdown option, If both the ZVMs are available, then you get 3 options:
- Do nothing i.e. VMs on protected sites are not touched.
- VMs can be shutdown gracefully, if VMs do not shutdown operation is aborted.
- VMs are forcefully shutdown and operation continues.
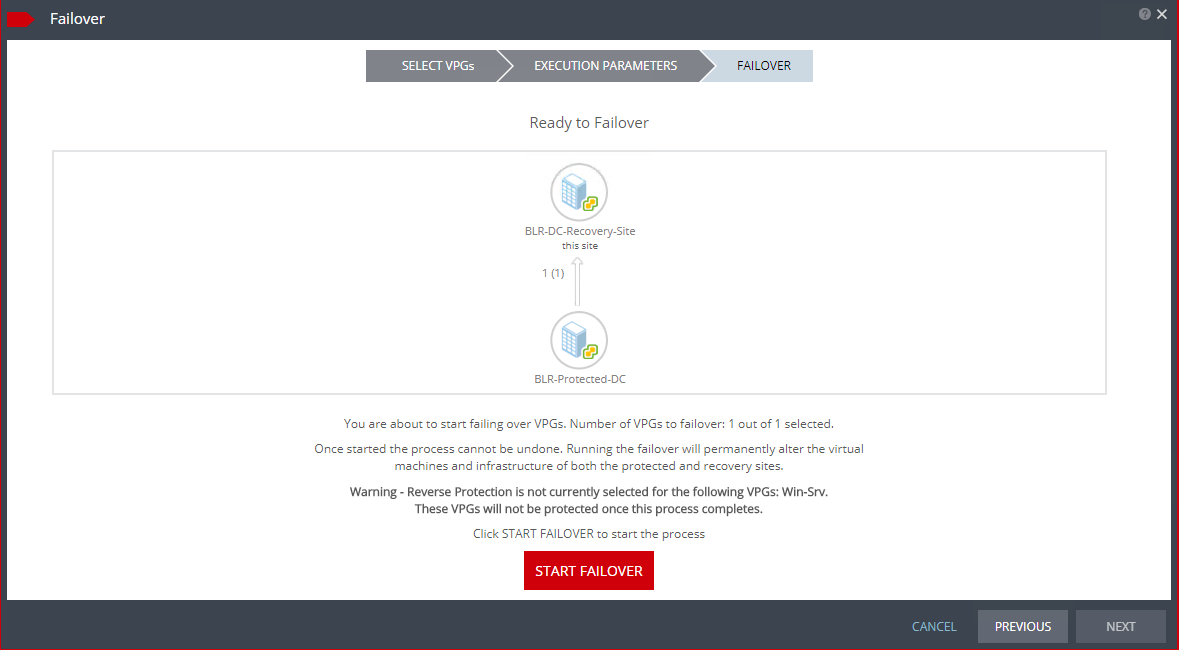
4: Click on “Start Failover” to initiate the process.
5: The series of events which takes place at recovery site can be summarized as below:

6: Post failover, delta sync will be performed at recovery site.
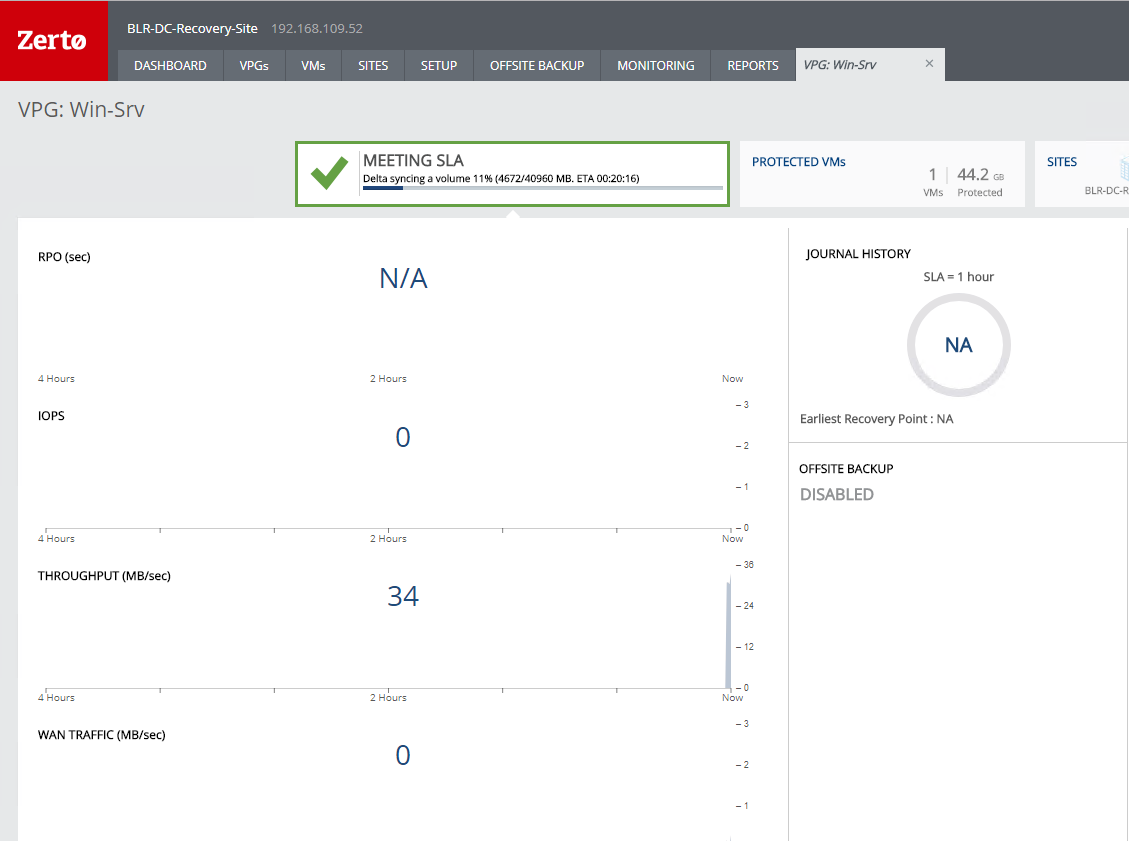
And thats it. We have successfully performed a live failover of a VPG to recovery site.
I hope you find this post informational. Feel free to share this on social media if it is worth sharing. Be sociable 🙂
