In this post, I will demonstrate how to install RMQ for vCloud Director. Before jumping into any lab activity, let’s learn first what is RabbitMQ and why we need it.
What is RabbitMQ?
RabbitMQ is an open-source message-queuing software that helps facilitate message exchange between 2 or more applications. The exchange of messages is done via a queue which is defined by the administrator. An application can publish a message to the queue which can be retrieved or consumed by a different application.
A message can include any kind of information for example, it could have information about a process/task that should start on another application may be on another server or it could be just a simple text message.
The queue-manager software stores the messages until a receiving application connects and takes a message off the queue. The receiving application then appropriately processes the message.
How does it work?
RabbitMQ works by offering an interface, that connects message senders (Publishers) with receivers (Consumers) through an exchange (Broker) which distributes the data to relevant lists (Message Queues).
|
1 2 3 |
APPLICATION EXCHANGE TASK LIST WORKER [DATA] -------> [DATA] ---> [D]+[D][D][D] ---> [DATA] Publisher EXCHANGE Queue Consumer |
To learn more about RMQ please read these Tutorials from RabbitMQ’s official website.
Why do we need RMQ for VCD?
When you have a multi-cell VCD deployment in your environment, the VCD cells talk to each other and exchange information. This exchange of information is facilitated via RabbitMQ.
RabbitMQ and vCloud director utilize the Advanced Message Queuing Protocol (AMQP) to talk to each other.
When a vCloud Director Cell wishes to exchange messages (such as system notifications or any other update) with another vCloud Director cell, it places that message within an AMQP broker (Such as RMQ) in one of the queues defined by the Administrator. The recipient vCloud Director Cell then retrieves the message from the queue and processes it and if needed it can publish a message back to the queue for the source cell from where the message originated.
Lab Setup
In my Lab, I have deployed 2 RMQ nodes (for clustering purposes):
- Node-1 Hostname/IP: rmqsrv01.alex.local/192.168.109.113
- Node-1 Hostname/IP: rmqsrv02.alex.local/192.168.109.114
Each node is deployed with the following hardware specifications:
- Memory: 2 GB
- CPU: 1 vCPU with 1.6 GHz speed
- HDD: 25 GB
- O.S: RHEL 6.6 x86_64 Arch
Both nodes can ping each other via FQDN (resolved by my DNS server) and both node is connected to the Internet. Also, both node is configured with local yum repository which I already have in my lab for deploying packages.
Both RMQ nodes are synching their time from my NTP server.
Install RMQ for vCD
Please follow the below steps for installing and configuring RMQ nodes:
Step 1) Configure the Epel repository
|
1 |
# rpm -ivh https://dl.fedoraproject.org/pub/epel/6/x86_64/epel-release-6-8.noarch.rpm |
This will automatically configure the epel yum repository.
Step 2) Install Erlang
RMQ requires the Erlang package to run. Erlang is a programming language used to build massively scalable soft real-time systems with requirements of high availability.
With Erlang, you could build a messaging app with many connected users and not worry about how they communicate. Erlang was developed by Swedish telecom giant Ericsson over 25 years ago and nowadays it is being used with messaging apps like WhatsApp and TigerText.
Erland can be installed via the erlang-solution package which configures the yum repository for supported RPMs needed for installing RMQ.
|
1 2 3 4 5 6 7 |
# wget http://packages.erlang-solutions.com/erlang-solutions-1.0-1.noarch.rpm # rpm --import https://packages.erlang-solutions.com/rpm/erlang_solutions.asc # rpm -ivh erlang-solutions-1.0-1.noarch.rpm # yum install erlang |
Alternatively, you can create a repo file for Erlang with the below contents:
|
1 2 3 4 5 6 7 8 |
[root@rmqsrv01 rmq-setup]# cat /etc/yum.repos.d/erlang.repo [erlang-solutions] name=Centos $releasever - $basearch - Erlang Solutions baseurl=https://packages.erlang-solutions.com/rpm/centos/6/x86_64/ gpgcheck=1 gpgkey=https://packages.erlang-solutions.com/rpm/erlang_solutions.asc enabled=1 |
Now if run the command “yum repolist“, you should be able to see the Erlang repository populated with packages
Step 3) Download and install the RabbitMQ server RPM
The latest version of the RMQ server can be downloaded from Here
|
1 2 3 4 5 |
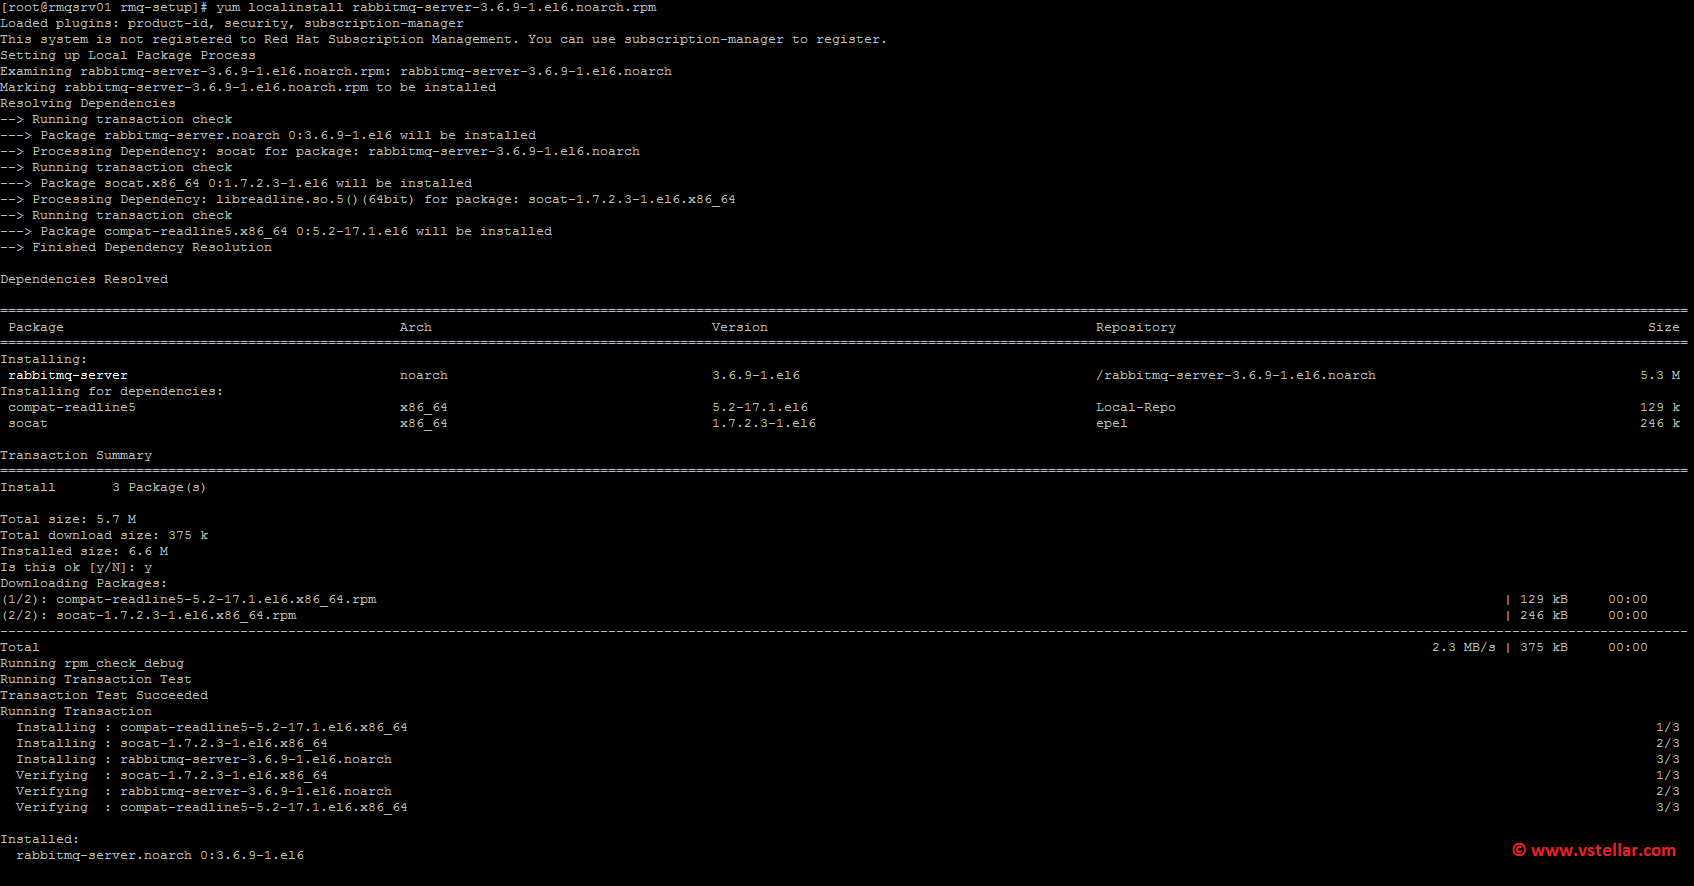
# wget https://www.rabbitmq.com/releases/rabbitmq-server/current/rabbitmq-server-3.6.9-1.el6.noarch.rpm # rpm --import http://www.rabbitmq.com/rabbitmq-signing-key-public.asc # yum install rabbitmq-server-3.6.9-1.el6.noarch.rpm |

Step 4) Start the RMQ server and configure the service to start automatically at boot time
|
1 2 3 |
# chkconfig rabbitmq-server on # service rabbitmq-server start |
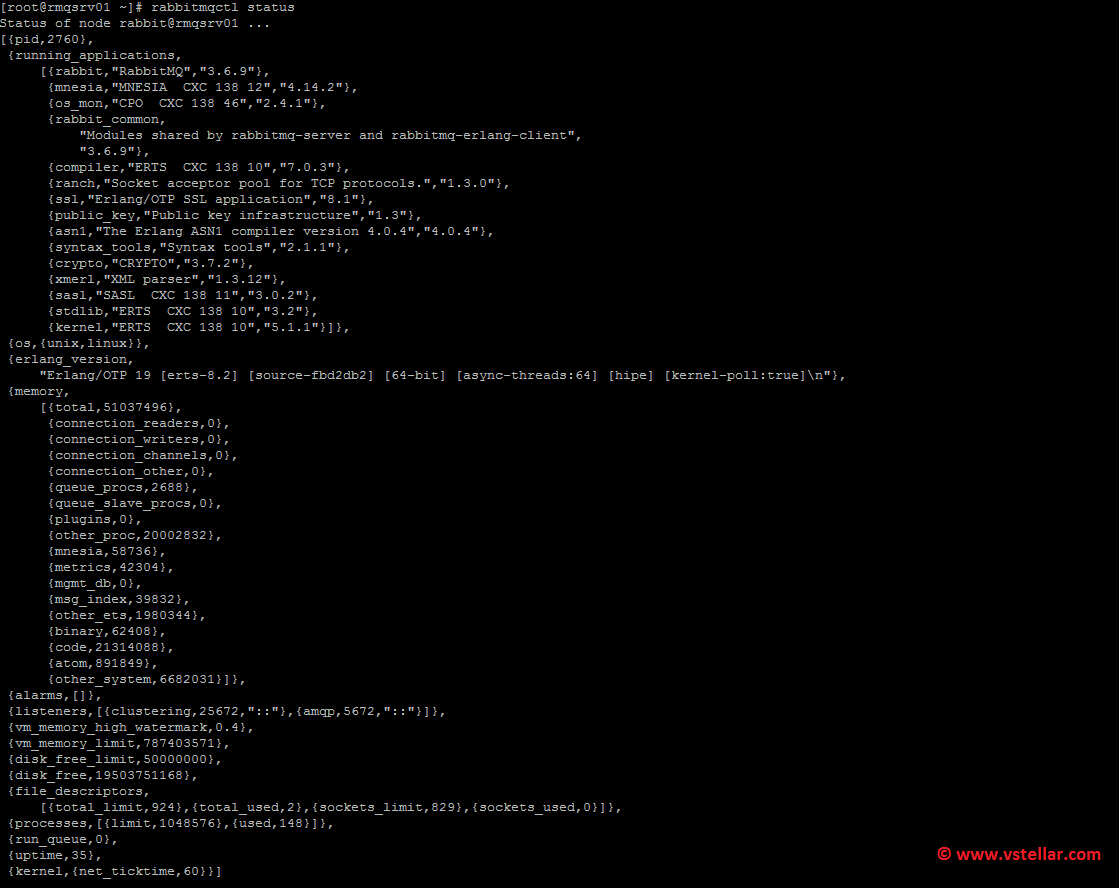
Step 5) Verify RMQ service status
|
1 |
# rabbitmqctl status |

Step 6) Enable the Management Console
RabbitMQ Management Console is one of the available plugins that lets you monitor the [RabbitMQ] server process through a web-based graphical user interface (GUI). The management console can be enabled by typing the below command:
|
1 2 3 4 5 6 7 8 9 10 11 |
[root@rmqsrv01 rabbitmq]# rabbitmq-plugins enable rabbitmq_management The following plugins have been enabled: mochiweb webmachine rabbitmq_web_dispatch amqp_client rabbitmq_management_agent rabbitmq_management Applying plugin configuration to rabbit@rmqsrv01... started 6 plugins. |
Now you can access your RMQ server GUI by typing http://rmq_fqdn:15672
The default username/password is guest guest.

Step 7) Changing default admin user (For security hardening)
By default, the admin user for RMQ installation is guest/guest. You can change the default administrator account by using the below commands
|
1 2 3 4 5 |
# rabbitmqctl add_user vcdamqp Password (vcdamqp is new admin user) # rabbitmqctl set_user_tags vcdamqp administrator # rabbitmqctl set_permissions -p / vcdamqp ".*" ".*" ".*" |
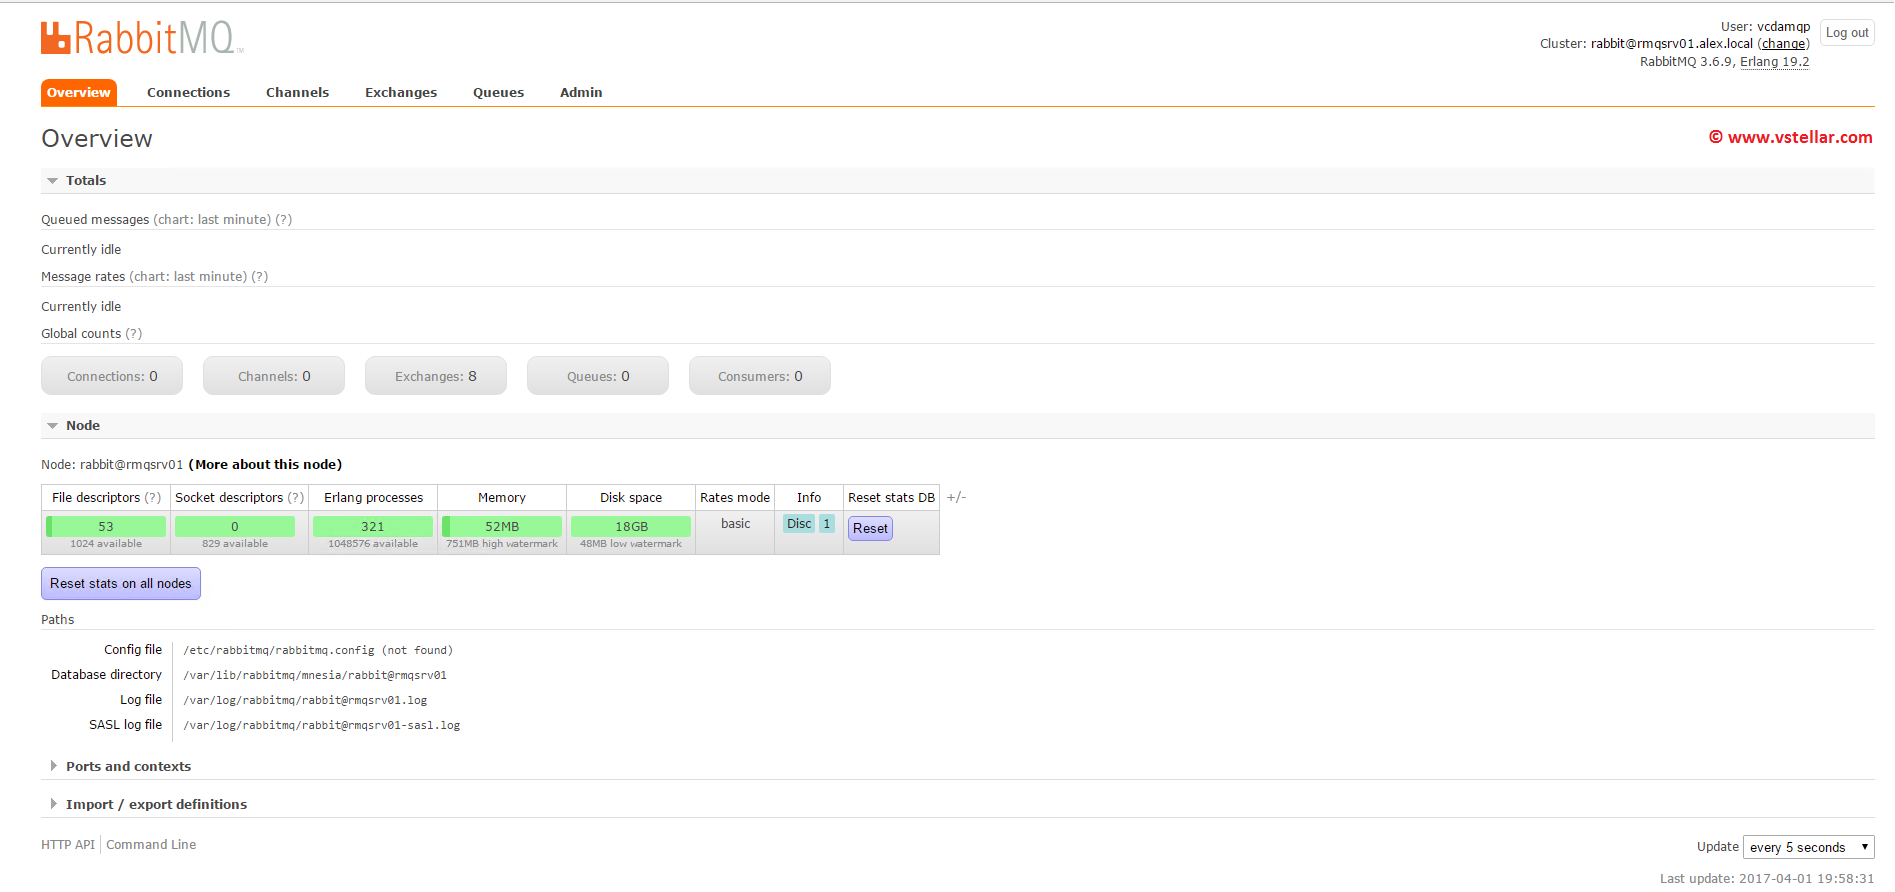
Now you can logout the guest user and try logging in via the new admin user

You will see the following console where you can define things like queue, routing keys, binding, etc.

In the next post, we will learn about setting up an RMQ cluster for high availability.
I hope you enjoyed reading this post. Feel free to share this on social media if it is worth sharing.

