This is part 7 of the vSphere 6.5 learning series and in last part of this series we learned how to install vCSA with embedded PSC and touched on some basic settings which is needed to be done post deployment.
In this post we will learn how to deploy external PSC for vCSA. The goal here is to deploy external PSC first and then install vCSA which will use the external PSC.
If you have missed earlier post of this series, you can read them from below links:
1: Installing and Configuring Esxi
3: vCenter Server and PSC Deployment Types
4: System Requirements for Installing vCenter Server
5: Installing vCenter Server on Windows
6: Deploying vCSA with embedded PSC
In last post we discussed and saw how easy VMware has made deployment process of vCSA and the process has changed a bit. The steps needed to deploy external PSC is no different then what we learned in last post.
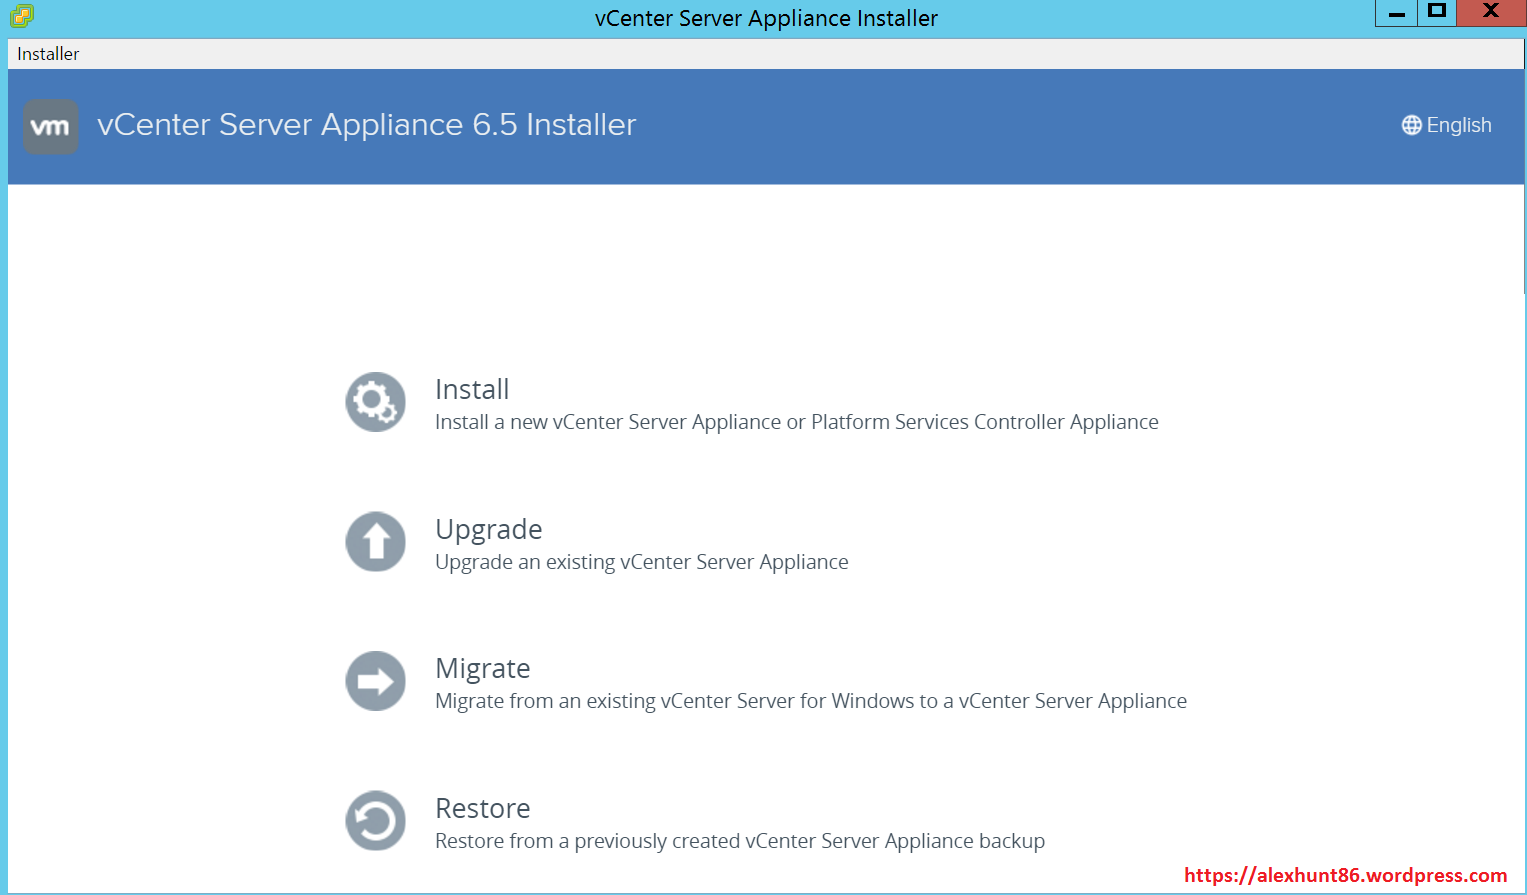
1: Post downloading the vCSA iso and mounting it in DVD drive, we need to navigate to ‘vcsa-ui-installerwin32’ and click on installer exe to launch the deployment wizard.
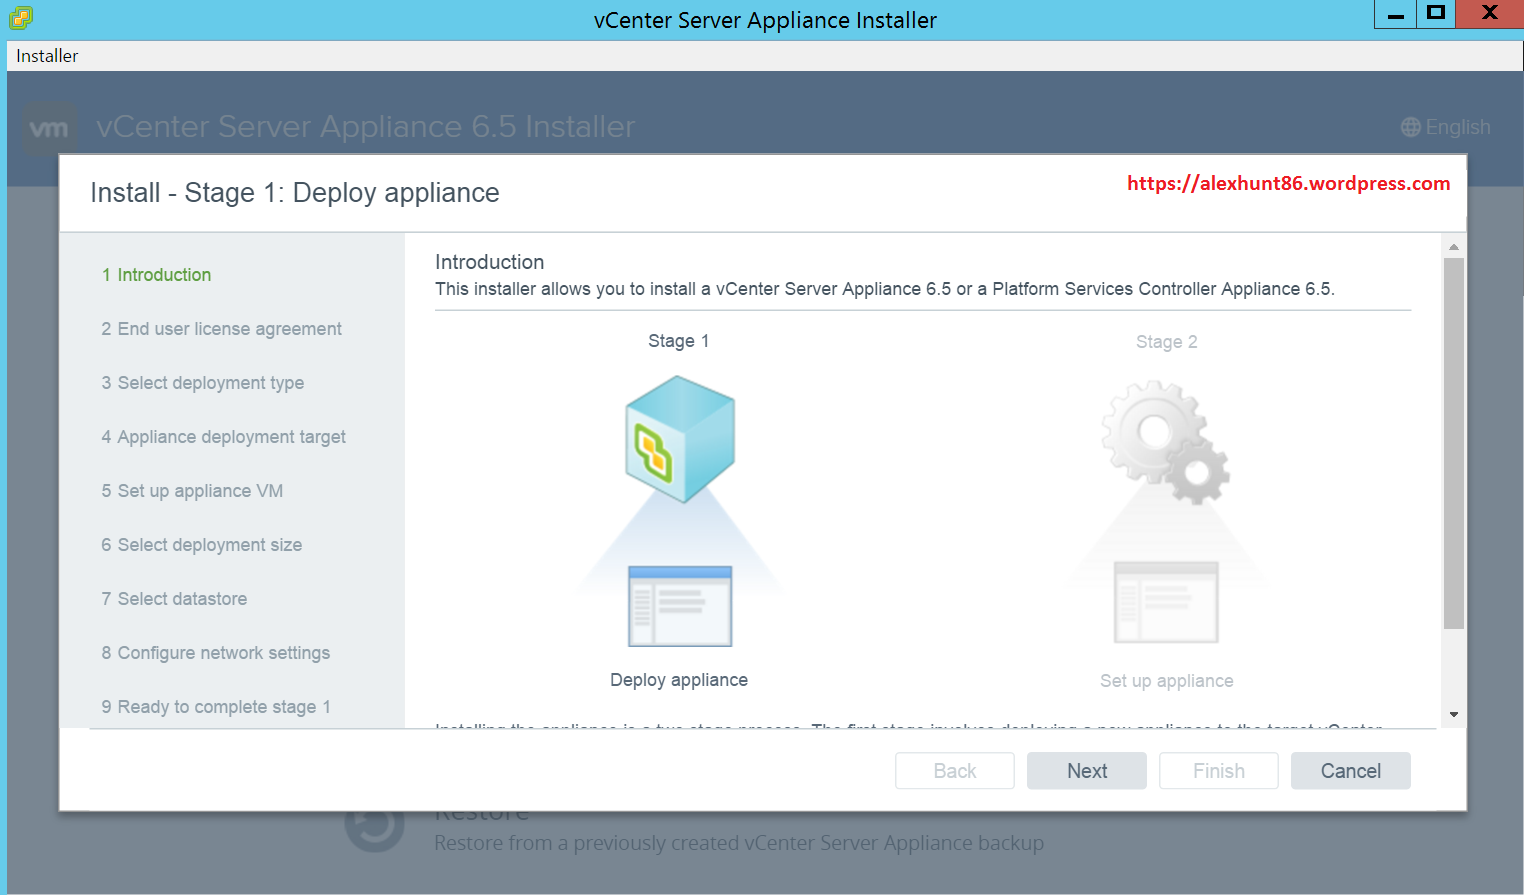
2: The deployment wizard will tell you that installation is a 2 step process.
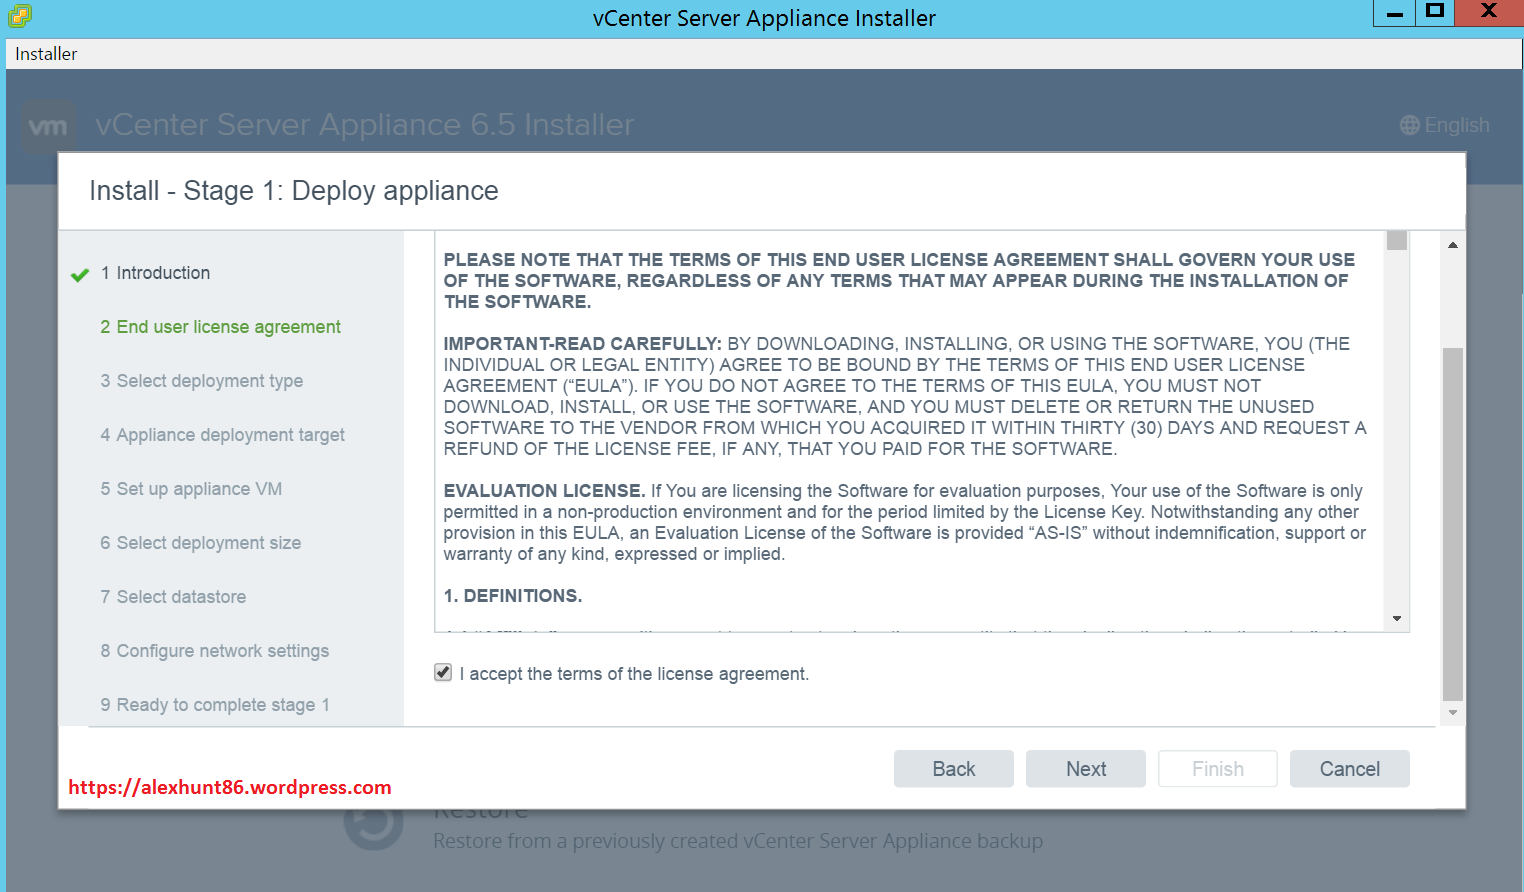
3: Accept EULA and hit Next.
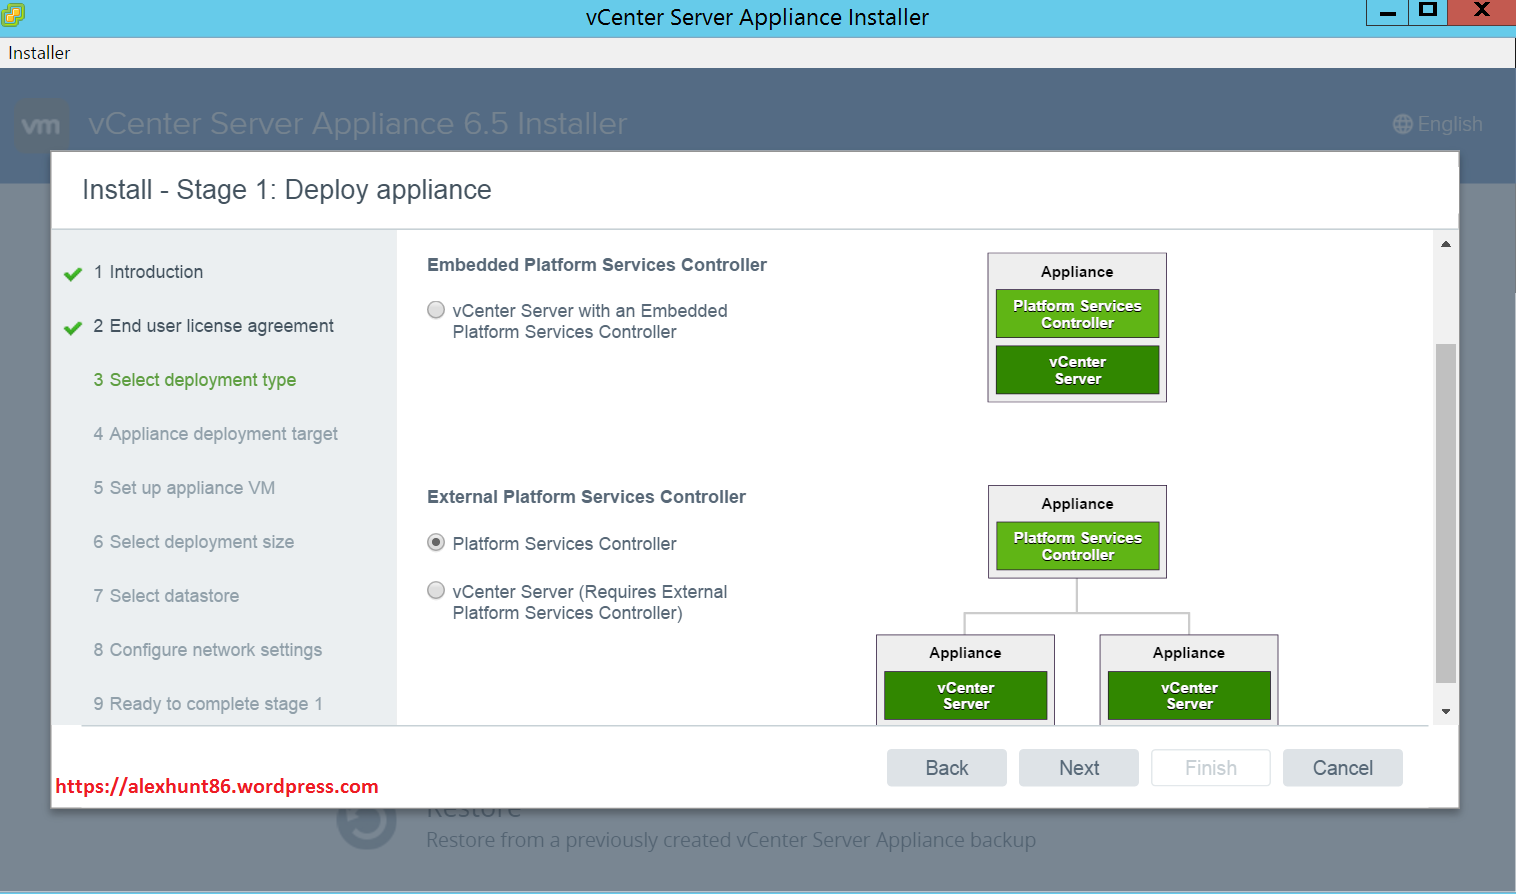
4: Select Platform Services Controller and hit Next.
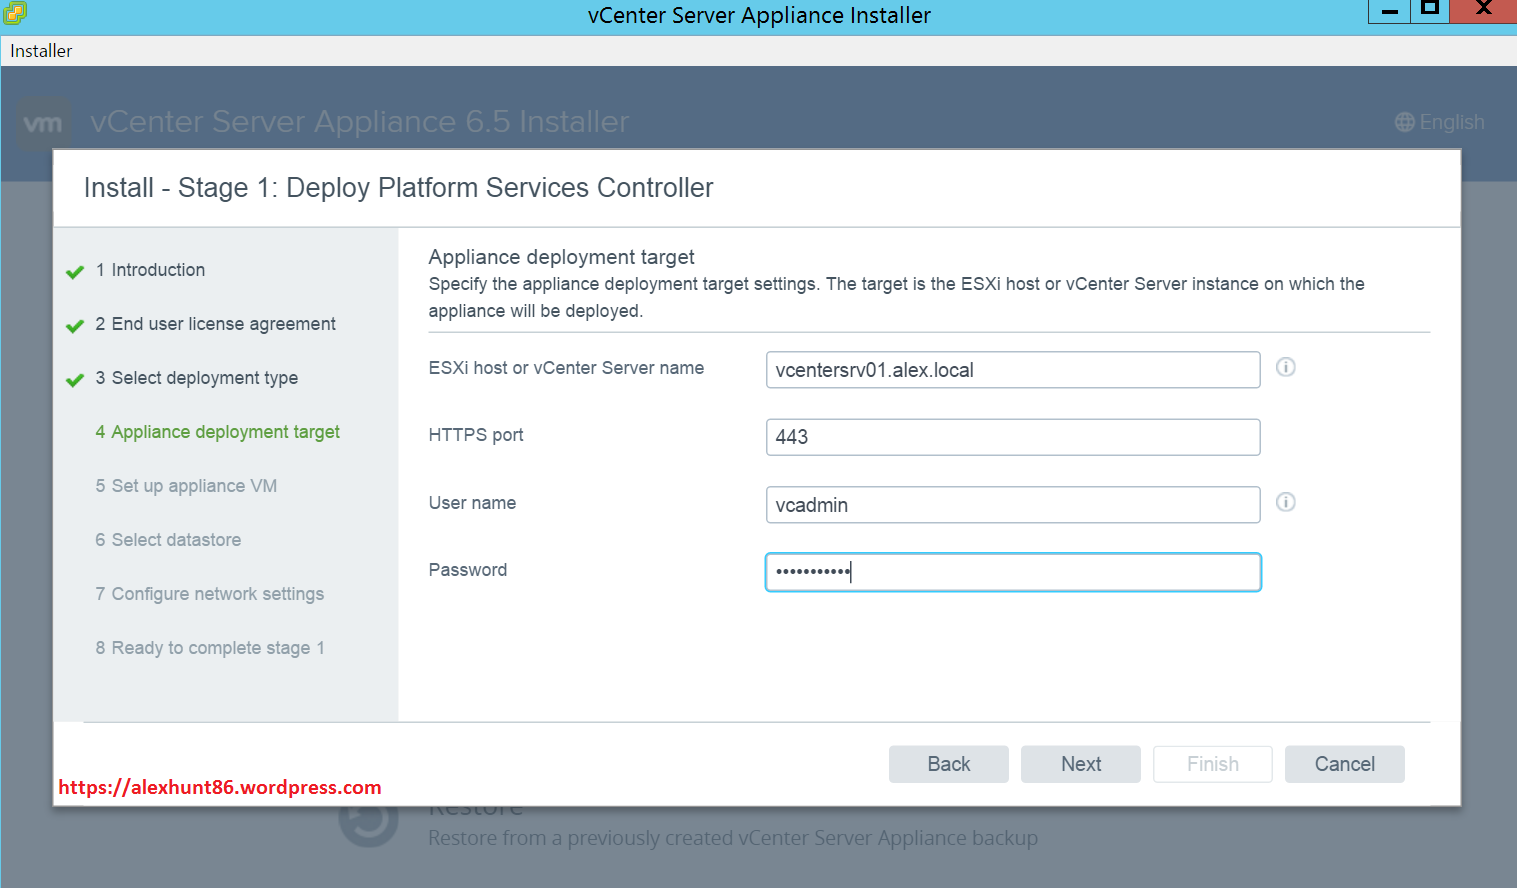
5: Select esxi host or vCenter as deployment target for PSC and provide credentials to connect to this target and hit Next.
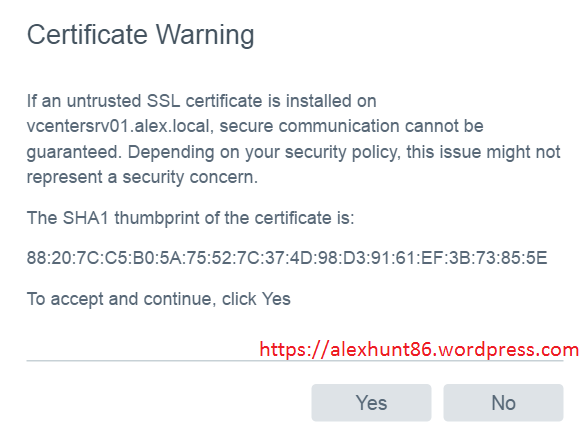
6: Accept the SSL certificate presented to you.
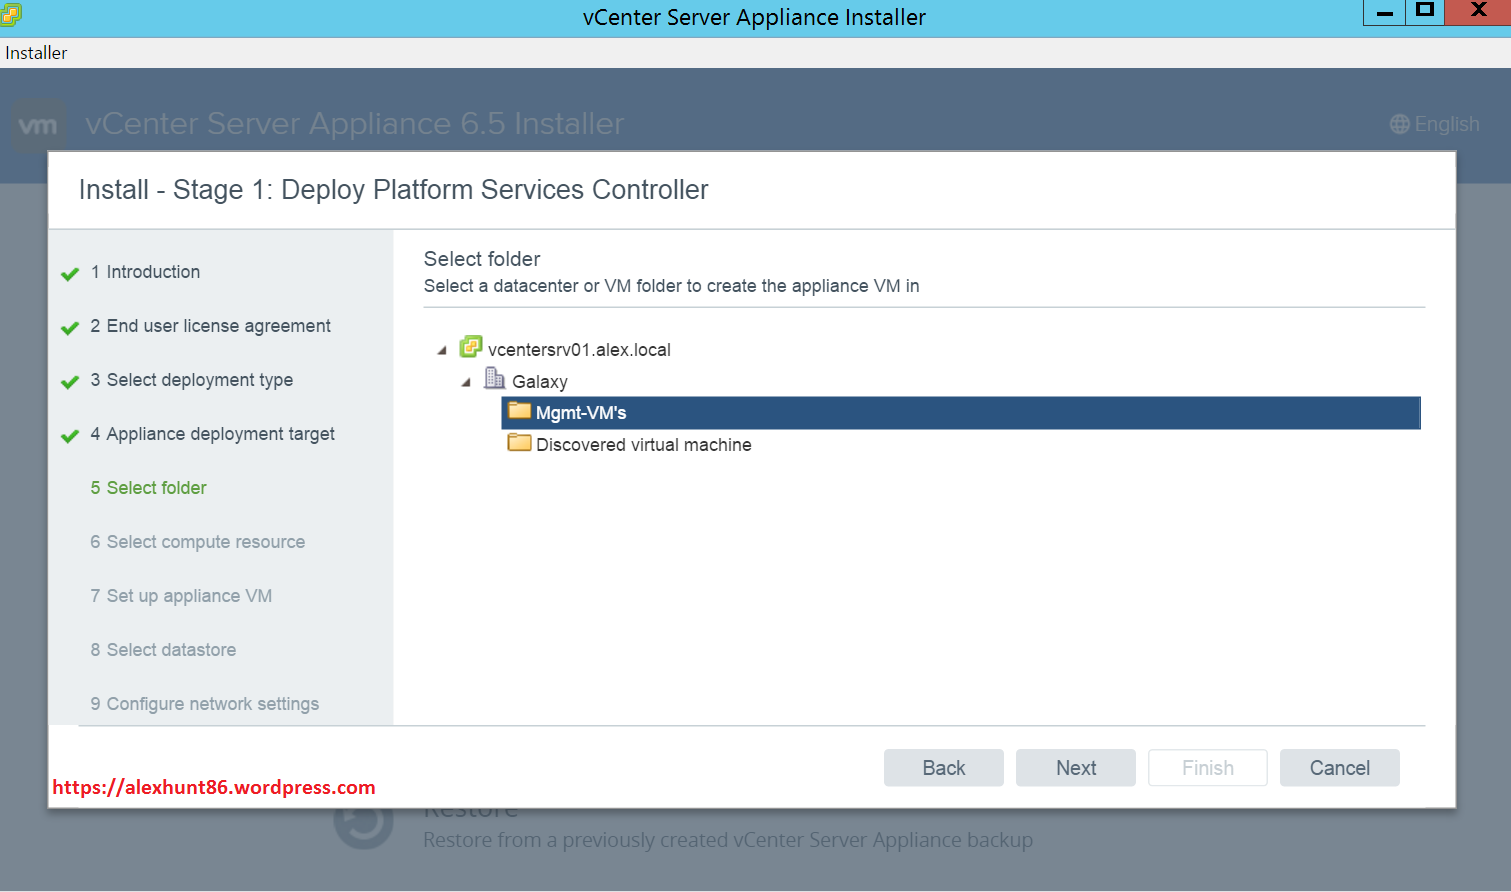
7: Select folder in which you want to deploy the appliance.
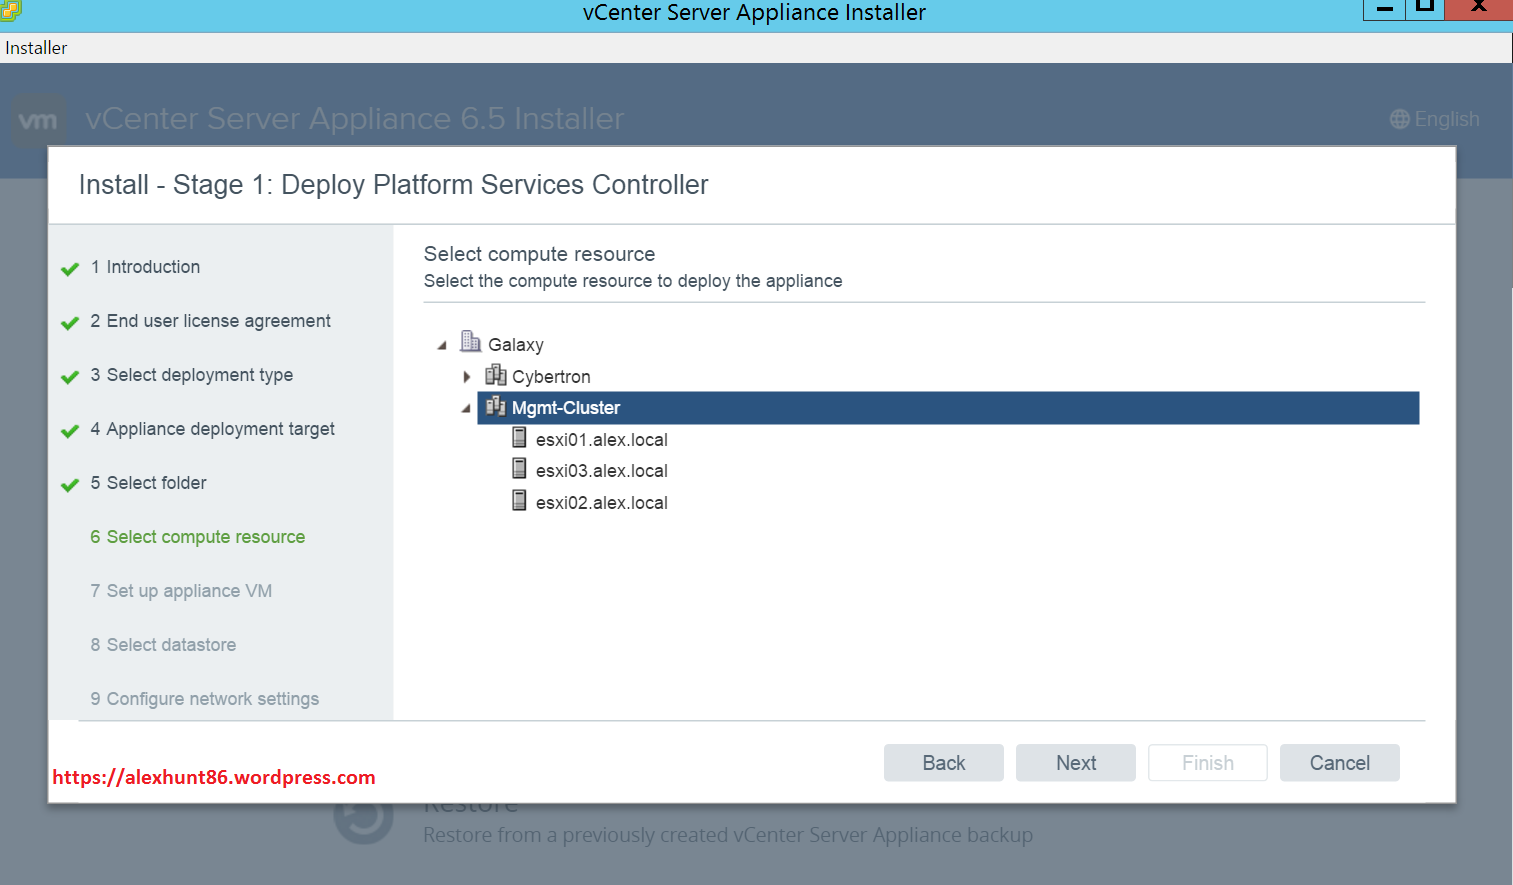
8: Chose cluster/host where PSC will be deployed and hit next.
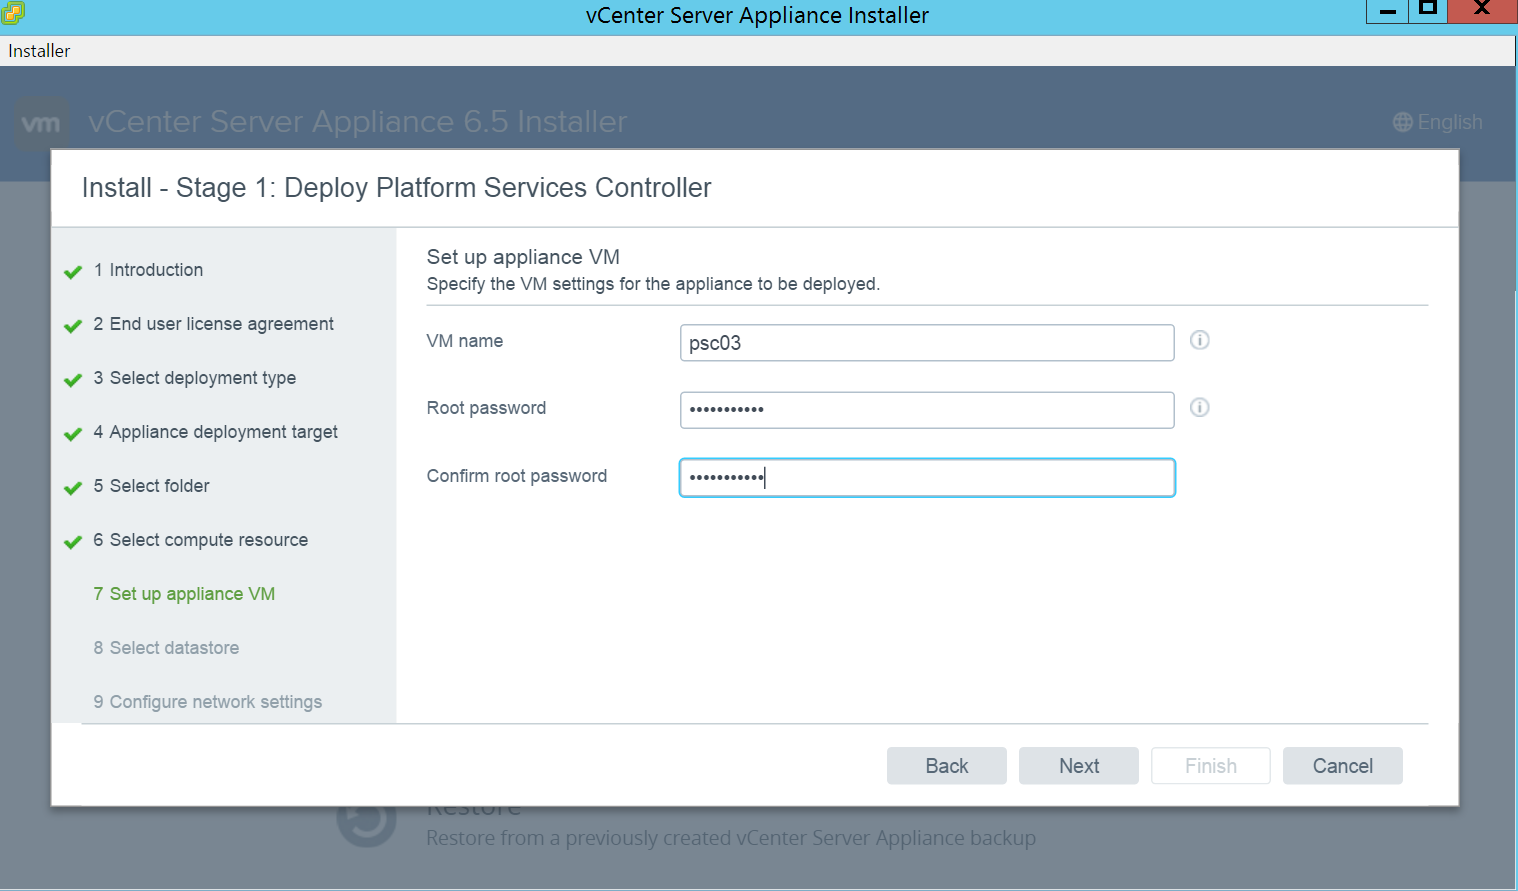
9: Chose a hostname for PSC and enter the root credentials.
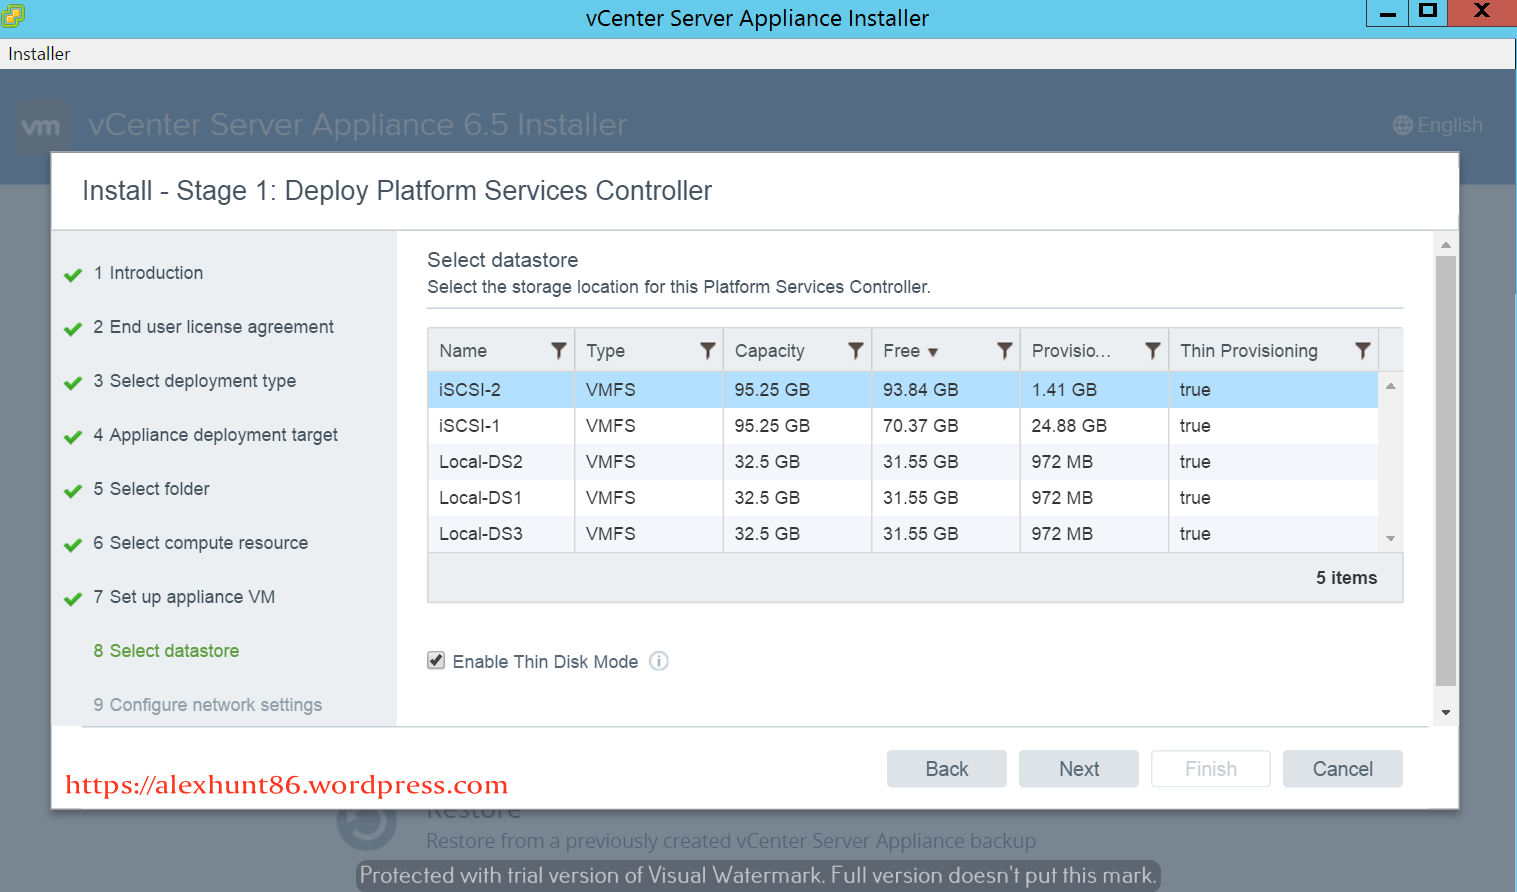
10: Select destination datastore for the deployment.
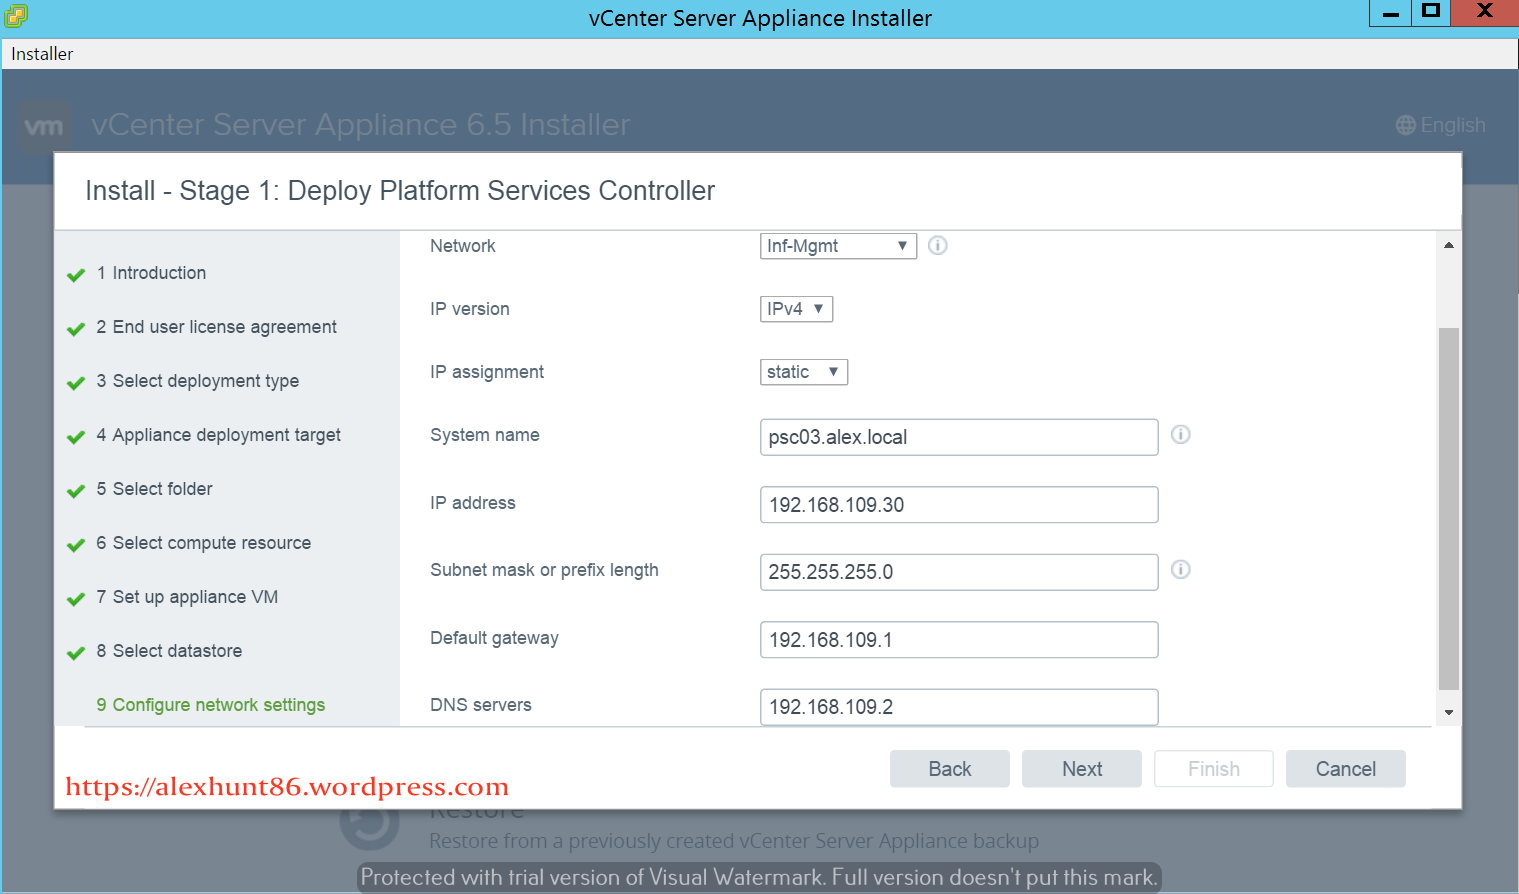
11: Enter networking information for the appliance and hit Next.
12: On ready to complete page, review your settings and hit and finish to start the deployment.

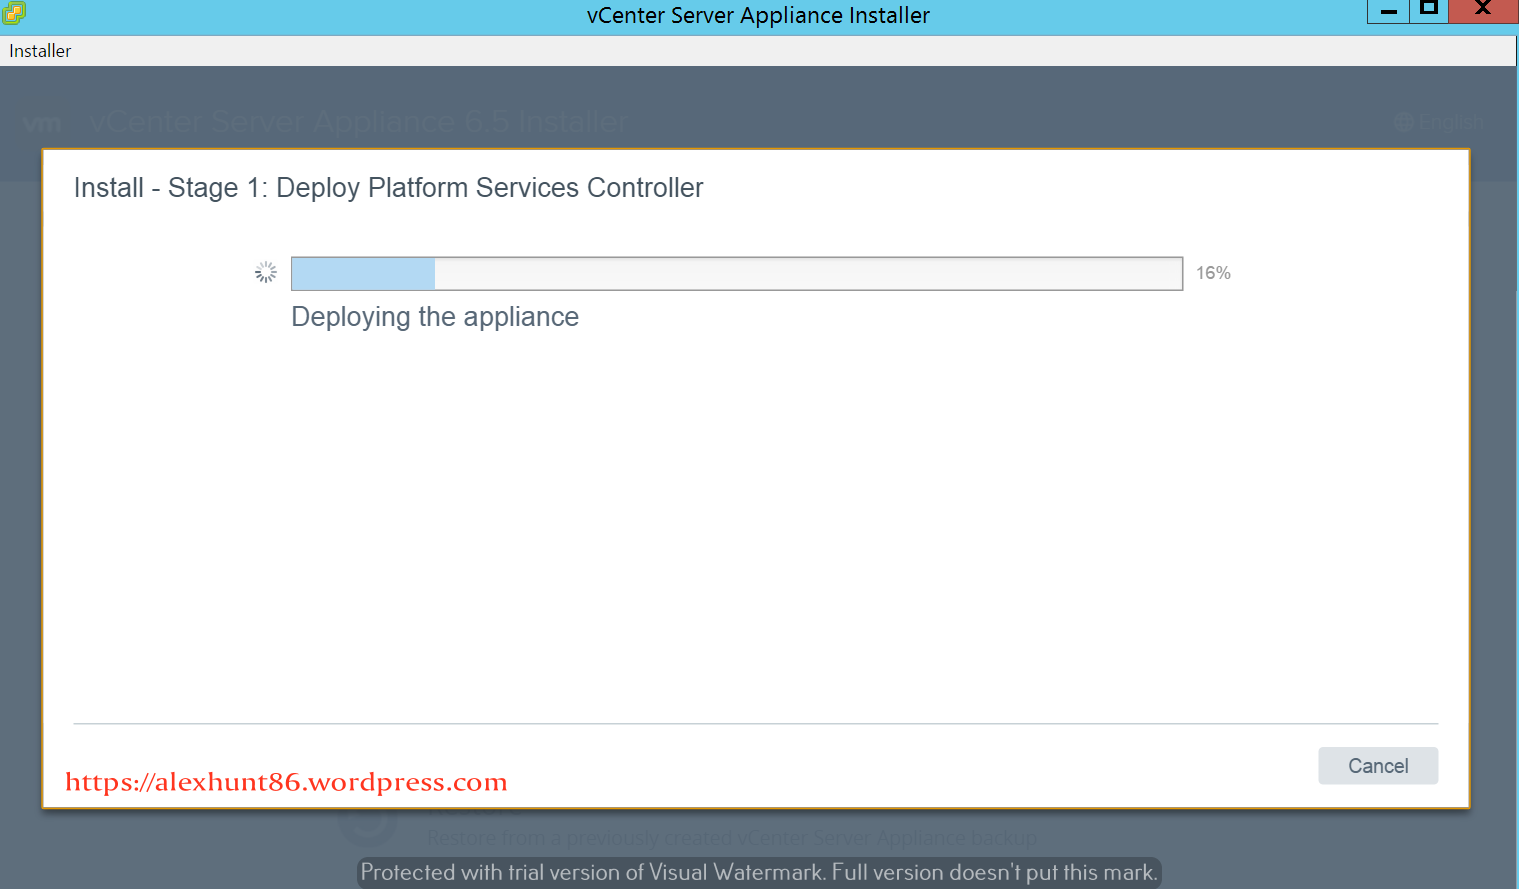
13: Let the wizard do the rest for you and complete first phase of installation.
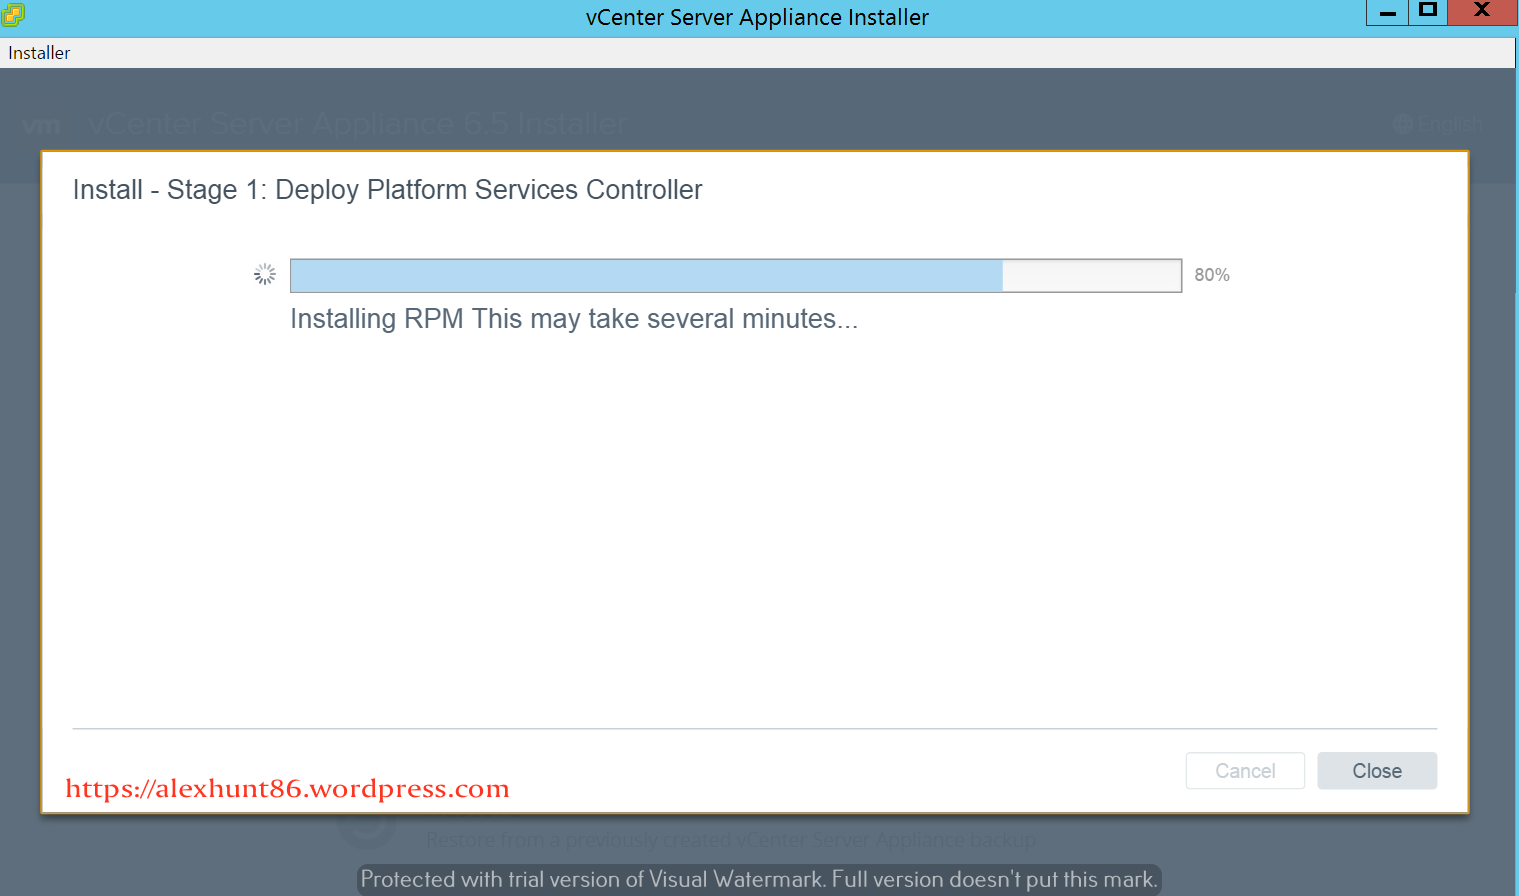
14: Hit continue post phase 1 of deployment is completed.

15: Hit Next to start configuration phase of the installation.
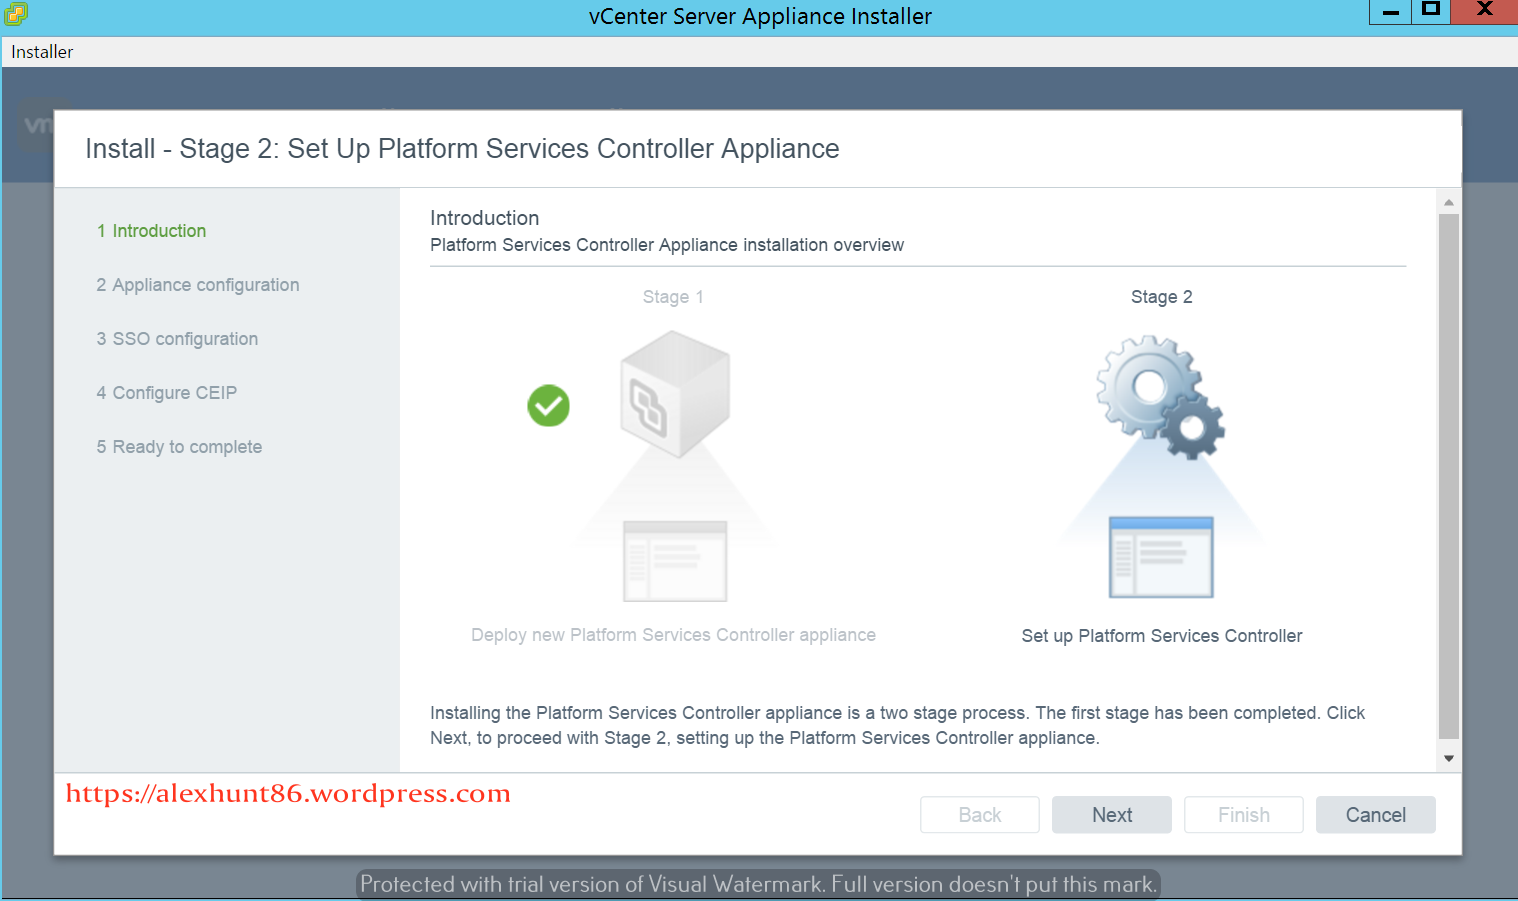
16: Enter NTP settings for PSC appliance and enable SSH for remote access via CLI.

17: If you have any existing SSO domain, you can make PSC part of that domain or can create a new one if don’t have any existing domain.
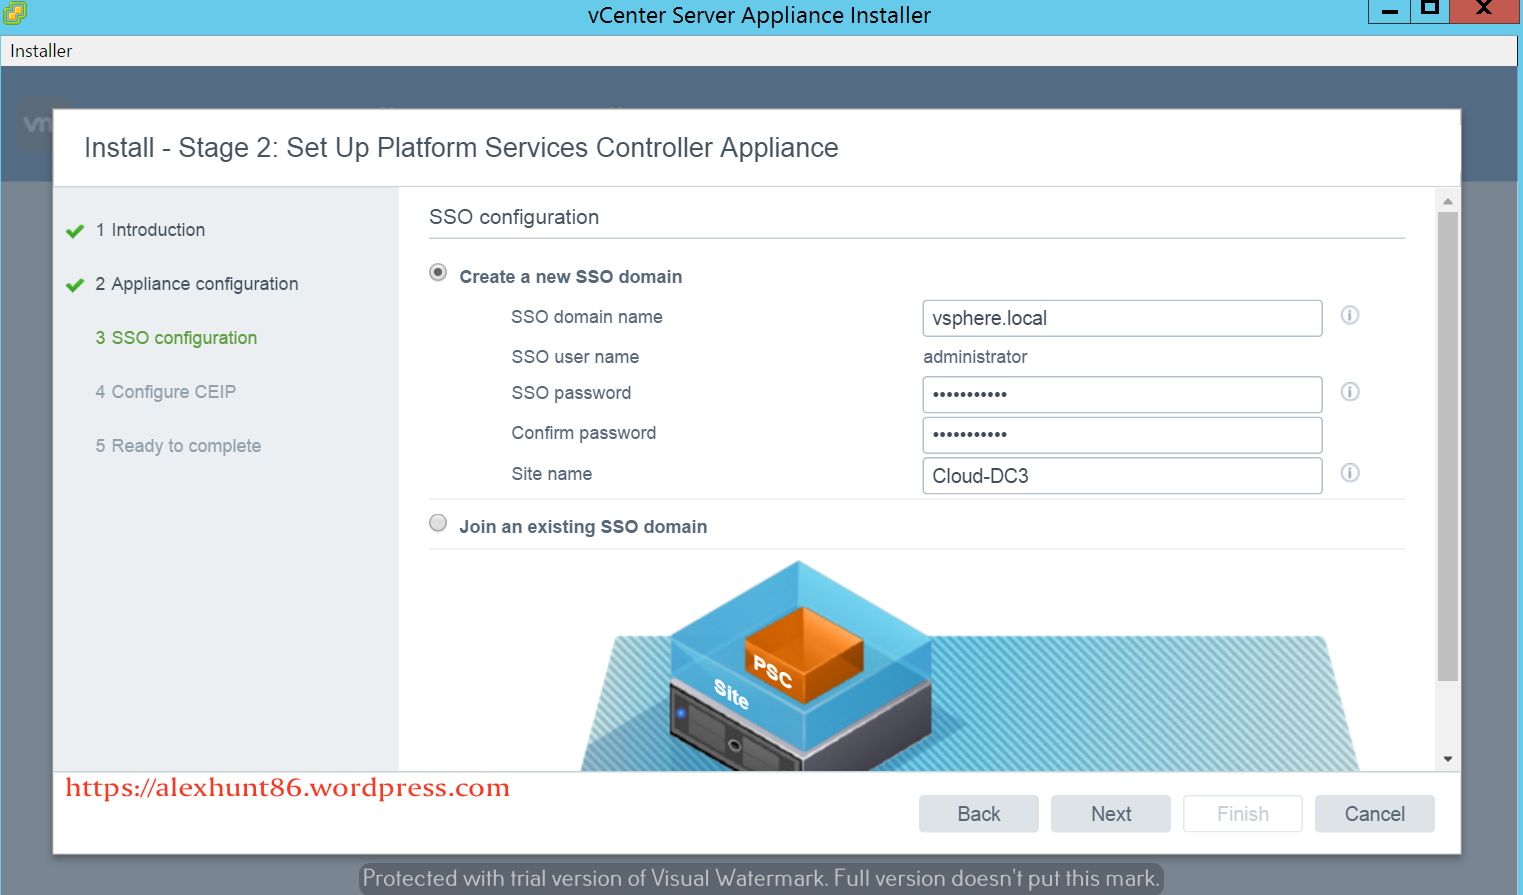
18: If you want to take part in customer Experience Improvement Program check mark the Join CEIP button and hit Next.

19: On final screen review your settings and hit finish to start second phase of deployment.

20: Wait for deployment to finish.


21: Login to PSC by accessing https://psc_fqdn/psc and login with user@sso-domain which you created just a while back.

22: Next is to make PSC part of your organization domain.
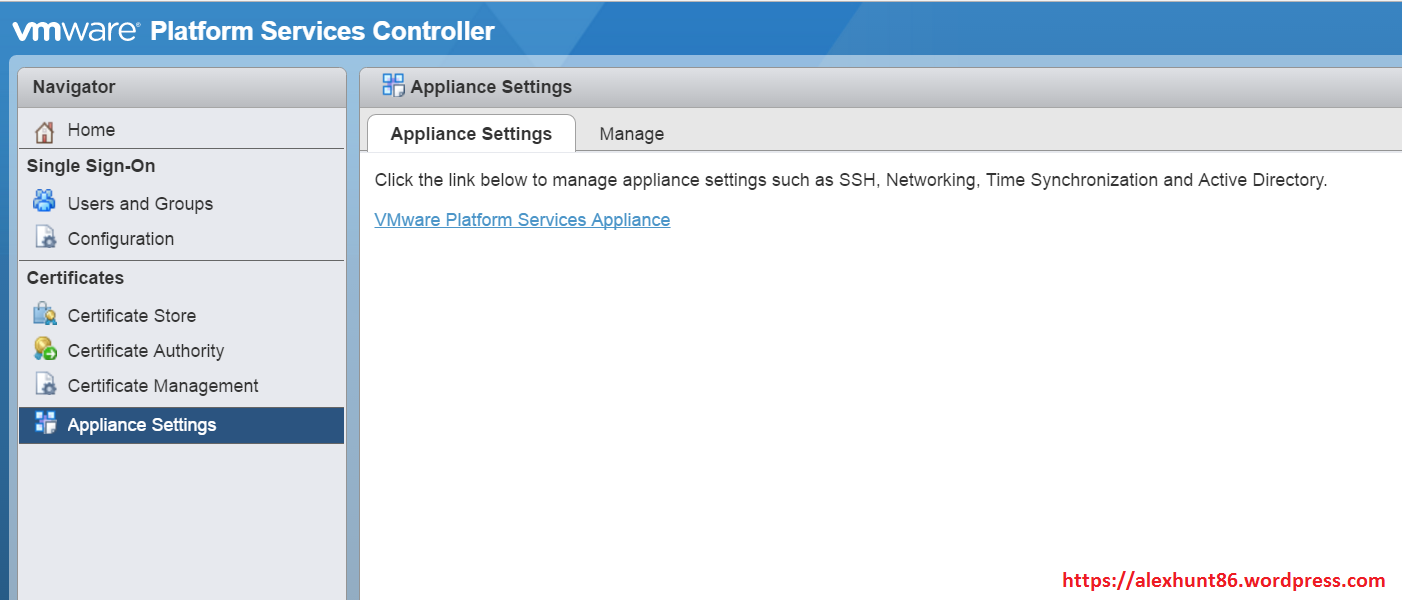
Under Appliance Settings click on manage tab and click on Join button to add your domain info.

23: Populate your domain info and hit OK. PSC will be rebooted for changes to take effect.
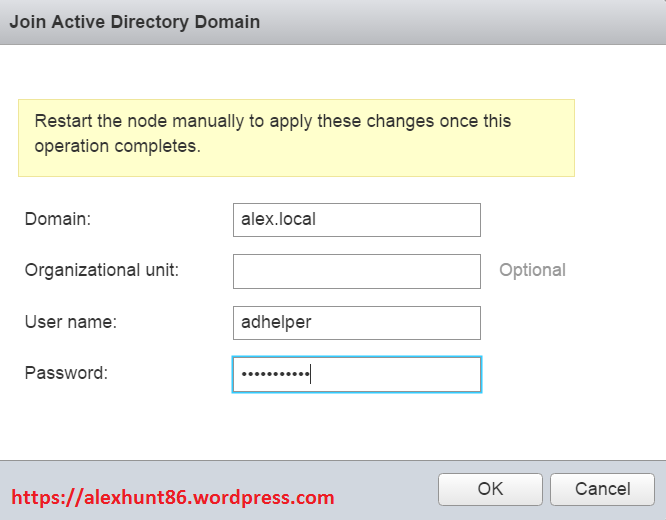
24: You can also manage additional settings related to PSC appliance by clicking on ‘View Platform Services Appliance’
25: Login to PSC VAMI page using root credentials.

26: You can monitor the overall health of PSC fro m this page and can also configure additional settings related to Network/ NTP syslog etc.

27: Go back to PSC page and click on Configuration > Identity Source to add identity source to your PSC by clicking on ‘+’ button.

28: If you have windows based AD select AD (integrated Windows Authentication) and enter your domain information and hit OK.

There is nothing more than this to configure on PSC appliance at the moment.
I hope this post is informational to you. Feel free to share this on social media if it is worth sharing. Be sociable

6 thoughts on “Learning vSphere 6.5-Part-7-Deploying External PSC for vCSA”