In last post Log Insight Introduction of this series we had a look on what is vRealize Log Insight and where did it came from. What is the advantage of using it and how it fit together with other VMware components.
In this post we are going to see basic installation/configuration of the Log Insight appliance.
vRealize Log Insight is available in the form of OVA file and you can evaluate the product by registering and downloading it from here
You can choose to deploy the downloaded ova file as it is or can convert it to ovf file using ovftool. You can use the command shown in following example to do so:
PS C:UsersAdministrator> ovftool “C:UsersAdministratorDownloadsVMware-softOVA FilesLog-Insight-3.3.1.ova” “C:Us
ersAdministratorDownloadsVMware-softOVA FilesLog-Insight-3.3.1.ovf”
Output:
=======================================================
Opening OVA source: C:UsersAdministratorDownloadsVMware-softOVA FilesLog-Insight-3.3.1.ova
Opening OVF target: C:UsersAdministratorDownloadsVMware-softOVA FilesLog-Insight-3.3.1.ovf
Writing OVF package: C:UsersAdministratorDownloadsVMware-softOVA FilesLog-Insight-3.3.1.ovf
Transfer Completed
Warning:
– ExtraConfig option ‘keyboard.typematicmindelay’ is not allowed, will skip it.
– No manifest entry found for: ‘VMware-vRealize-Log-Insight-3.3.1-3644329-system.vmdk’.
– No manifest entry found for: ‘VMware-vRealize-Log-Insight-3.3.1-3644329-cloud-components.vmdk’.
– No manifest file found.
Completed successfully
Once the OVA file is converted into OVF file, you can import and deploy it in vCenter Server. The import process is very simple and I am not covering the steps for it. Once the ovf file is deployed (with all configuration) as VM and powered-on you will see following screen from vCenter console of the VM.
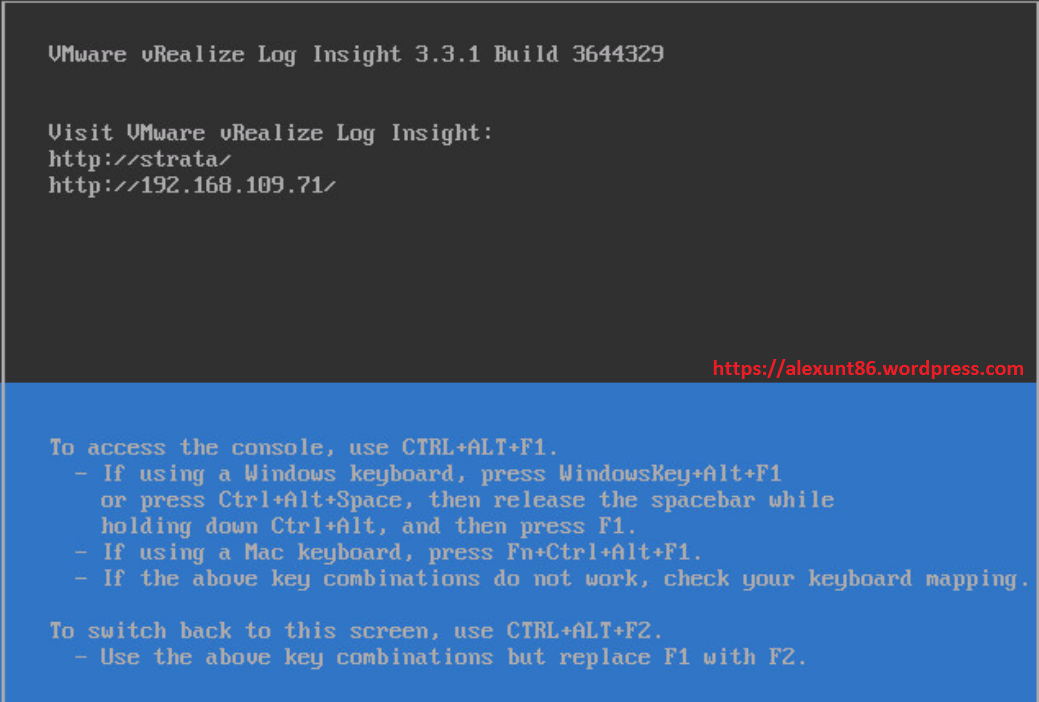
Initial configure of Log Insight Appliance
Open a web-browser of your choice and enter http://Log-Insight_FQDN/ and hit enter to start the configuration wizard.
You will be presented with Welcome screen. Hit Next to continue.
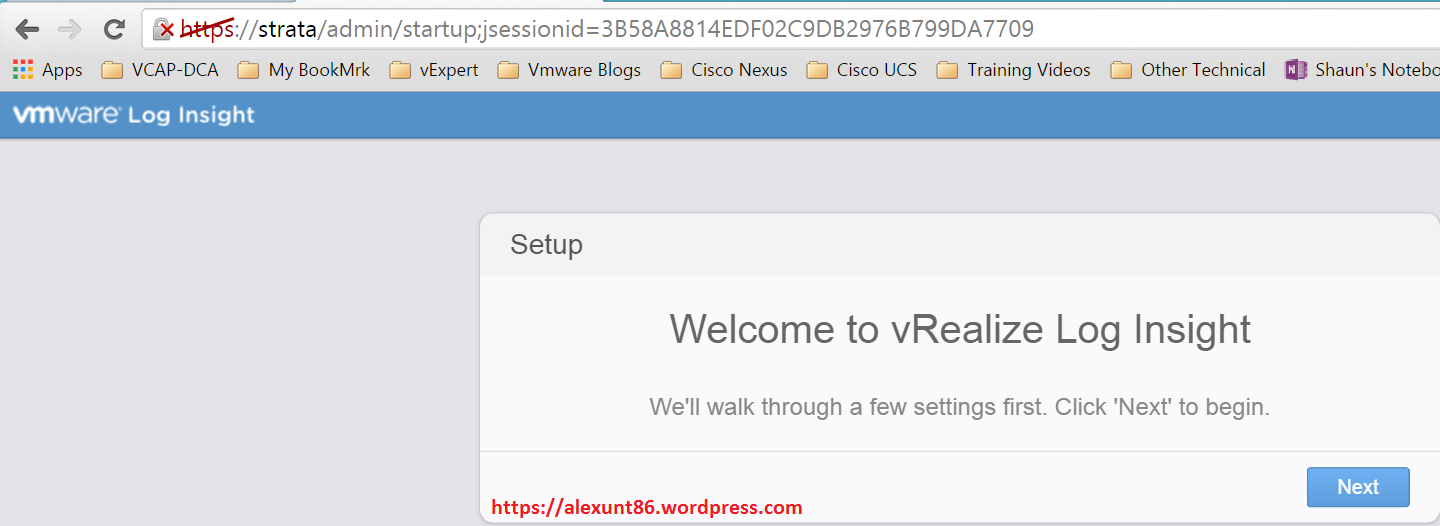
since this is the first deployment, click on Start New Deployment.

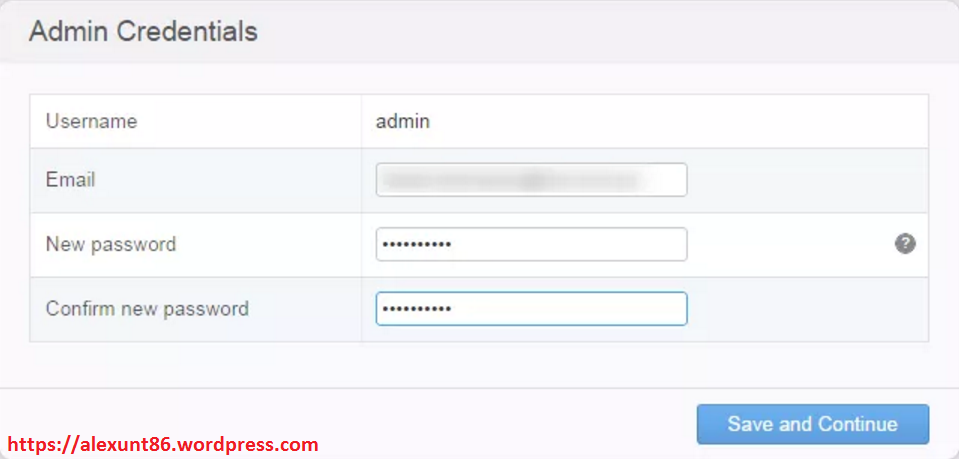
Enter an email address for the admin account and also a password. Click Save and Continue
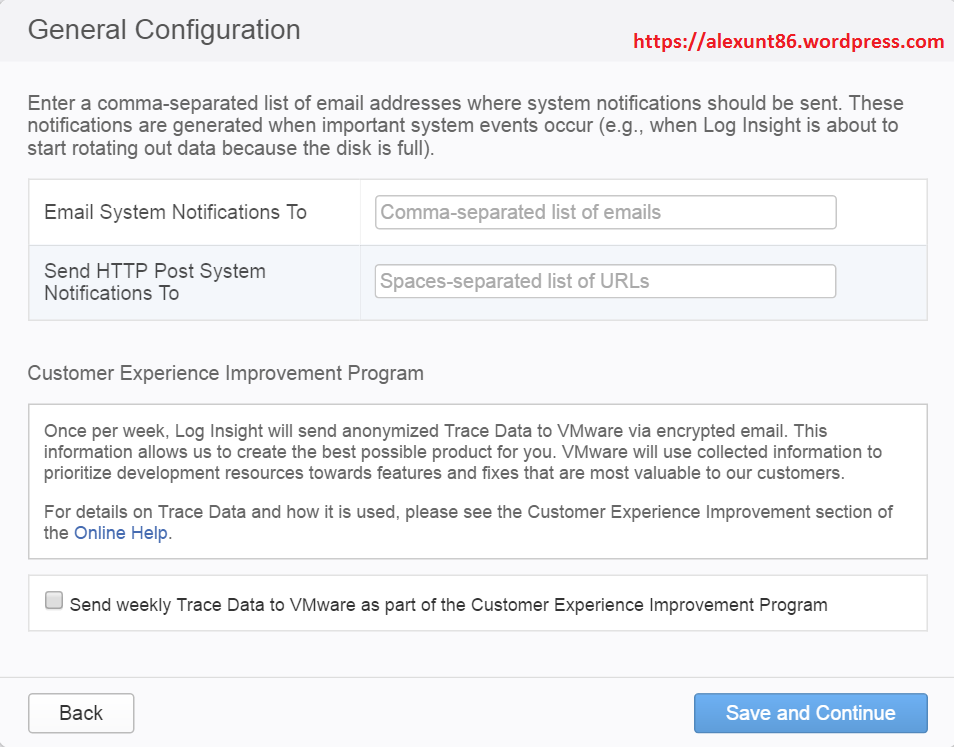
On the General Configuration page, enter an email address that will receive system notifications.
System notification emails are used to send information about important system events. This information is not readily displayed in the web UI and it is highly recommended that you configure this field.
If you dont want to join customer experience improvement program you can leave the send weekly trace data option checkbox unchecked and hit Save and Continue.
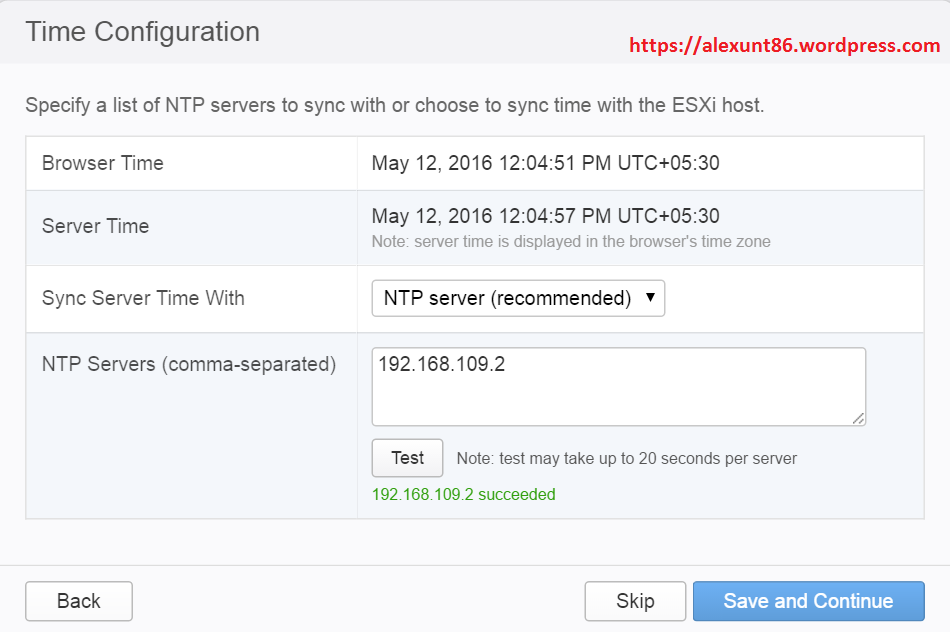
You can choose to sync the server time with NTP servers or with the ESXi Host.
Note: If you are going to use NTP servers, be sure to validate that they are working by using the Test button. Log Insight does not validate the NTP servers specified or confirm that time can be collected from the sources specified.
In my lab I chose NTP server option and configured my NTP server IP for time synchronization. Hit Save and continue.
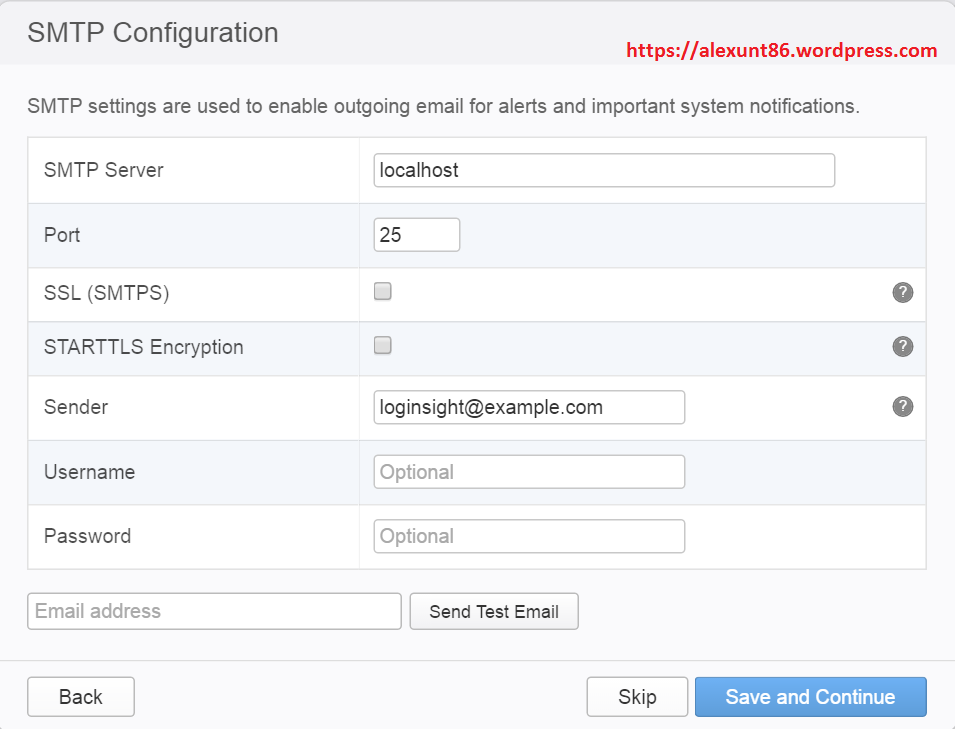
Enter the SMTP server settings and a sender email address so you can receive notifications from Log Insight. Once entered you can send a quick Test Email to confirm the settings are correct.
You can also choose to skip this. Click Skip or Save and Continue depending on how you w
ant this section configured.
Hit finish to complete the setup process.The message says ‘All done!’ but it’s lying to you and several other config is needed

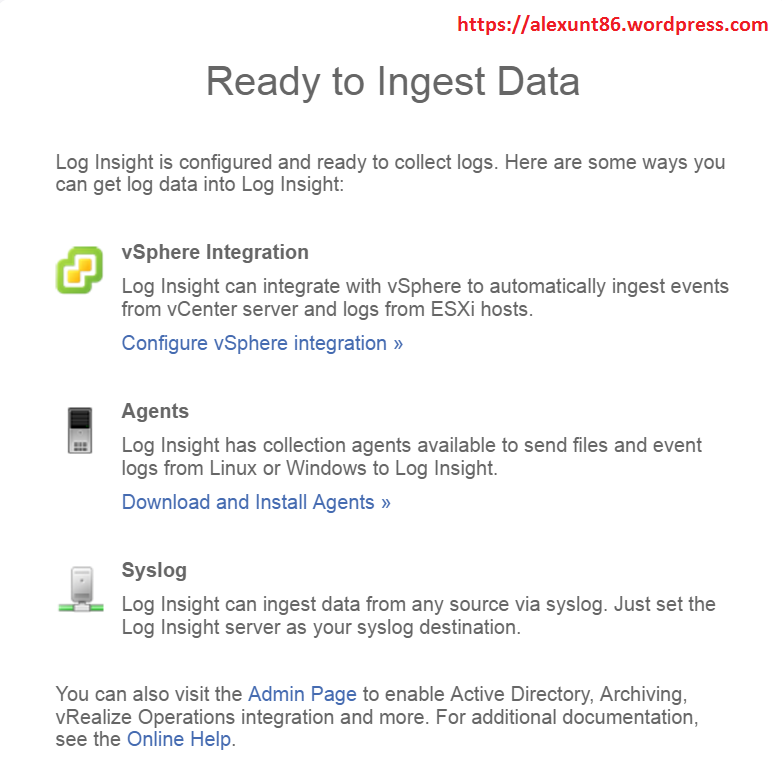
At this point you can choose to ingest syslog data from any source, agents installed directly on a linux or windows server to gather the logs (you can download and install the agents also from the link) and integrate with vSphere.
On Ready to Ingest Data page, click on vSphere Integration to add your Esxi host/vCenter Server to log insight.
You will be directed to an administration screen where it will automatically select vSphere under Integration. Enter the hostname for vCenter that you want to integrate to and enter a valid username and password. Click on test connection to verify the credentials work. Click Save.
Note: You can add multiple vCenters if you have multiple Log Insight appliances deployed.
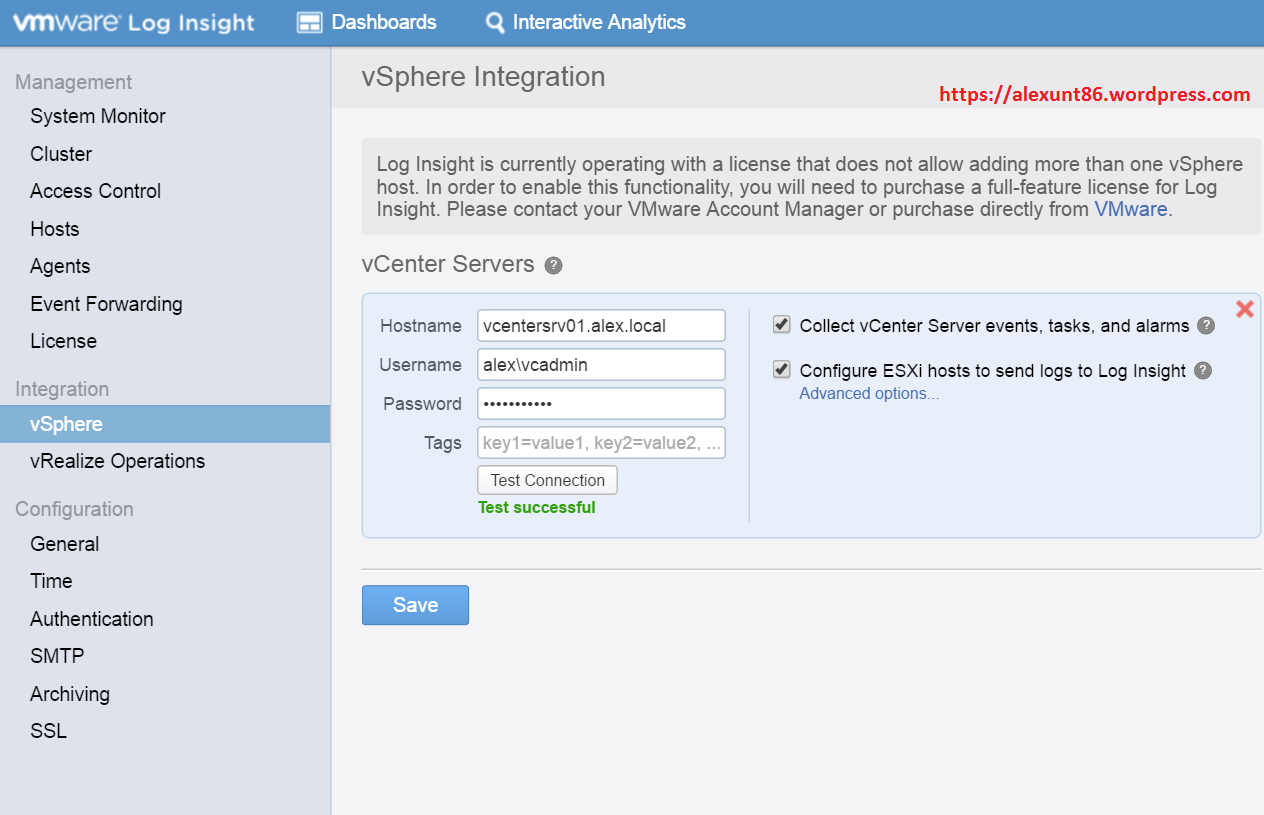
Click on Advanced options to see if your Esxi hosts have been configured by Log insight appliance to collect logs from them.
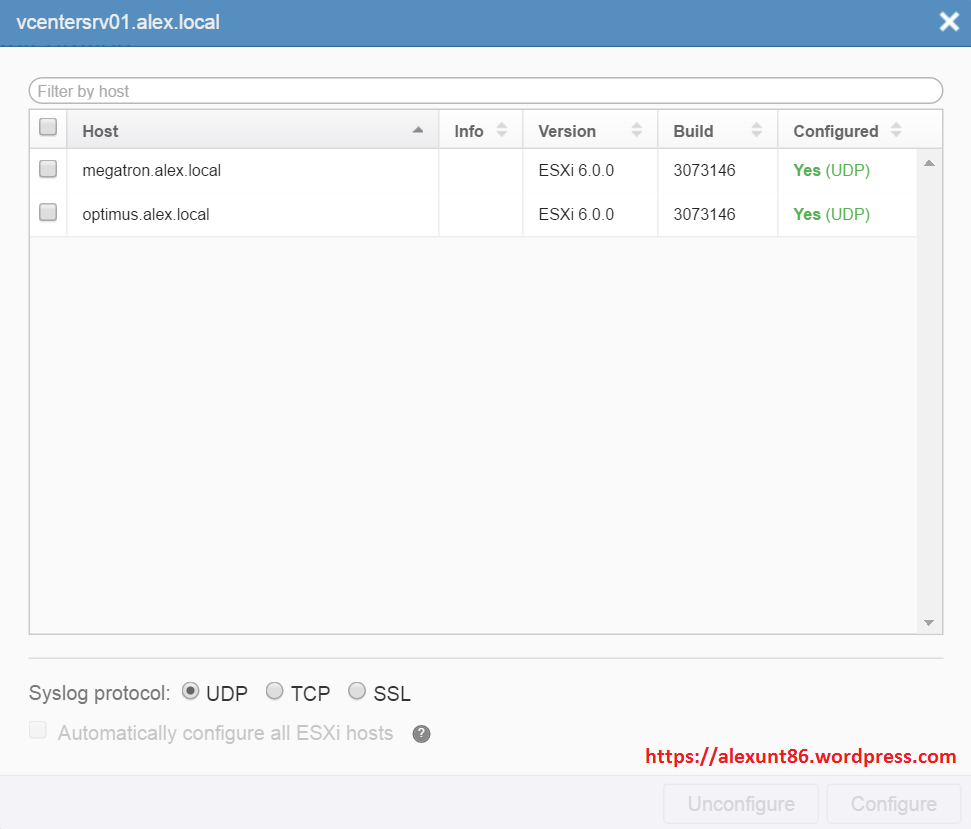
With this the basic installation of Log Insight have been completed. There are several other options with which you can play around such as configuring vRealize Operations Manager or integrating 3rd party devices to collect logs.
I hope you enjoyed reading this post. Feel free to share this on social media if it is worth sharing. Be sociable 🙂
