In last post of this series we have seen how to add Esxi hosts to domain and how to configure Esxi host to reach iSCSI storage.
In this post we will learn how to install and configure vSphere Update Manager.
If you have missed earlier posts of this series then you can access the same by clicking on below links:
3: Installing and Configuring Esxi Server 6
5: Enabling AD Authentication for vCenter Server
6: vCenter Server 6 Basic Configuration
7: Configuring dvSwitch & Port groups
Why you need VUM?
You can ask this question to yourself that do you really need VUM in your environment especially while working in Lab environment. I would say yes. May be you are not looking for any upgrade related tasks in your lab but it is always a good idea to have hands on how VUM operates.
With the help of vSphere Update Manager, you can perform the following tasks:
1:Upgrade and patch ESXi hosts.
2: Install and update third-party software on hosts.
3: Upgrade virtual machine hardware, VMware Tools, and virtual appliances.
The VUM installer needs a Windows VM (or physical server) and an instance of MS-SQL database. For small environments (5 hosts or upto 50 VM’s) you can use the bundled SQL Express 2012 else you can use external MS-SQL. Oracle DB is also supported for VUM as external Database.
If you are running vCSA as vCenter and installing VUM on a separate windows instance then you need minimum 2 GB RAM on that windows server. In case you’re planning to run VUM on the same window server where vCenter server 6.0 is installed, the Windows server needs 8Gb of RAM.
In my lab I am going to install VUM on the same windows server where my vCenter Server is installed. I had assigned 12GB RAM to my vCenter Server VM.
VUM Installation Prerequisites
Following prerequisites must be met before start installing VUM in your lab or production environment:
System Requirements:
VUM can be only installed on windows server. The supported version of windows operating system are Windows Server 2008 R2 and higher. For a complete list of supported operating systems and compatibility matrix please see VMware KB-2091273.
Database Requirements
If using are using External database you need to create a 32-bit ODBC connection and a database. If you are using firewalls then you have to add firewall rules to pass database traffic. For complete reference check out this Article
If using embedded database then you need to do nothing. The VUM installer will take care of installing and configuring database itself.
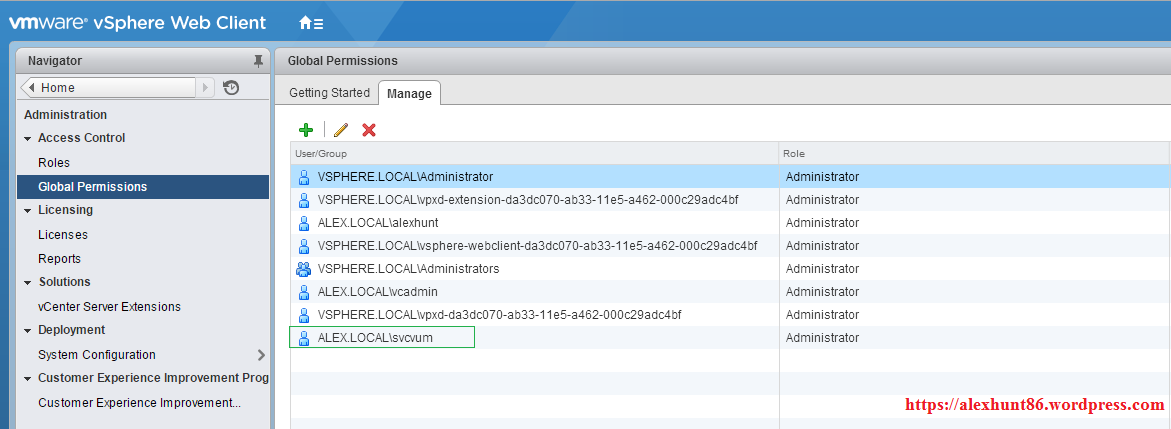
Make sure you use a dedicated service account for VUM to reach vCenter Server. In my lab I am using account svcvum and it has sufficient privileges on vCenter Server.
Note: If using the embedded database option on server 2012 then make sure you have .NET Framework 4.5 or higher installed on server.
Let’s jump into action now.
Installation of VUM is covered in 2 parts: Installing VUM Server and Installing Download service and both can’t be installed on same server.
Installing VUM Server
1: Mount the VIM 6.0 ISO image to the Microsoft Windows Server 2012 R2 system and execute “autorun.exe” file.
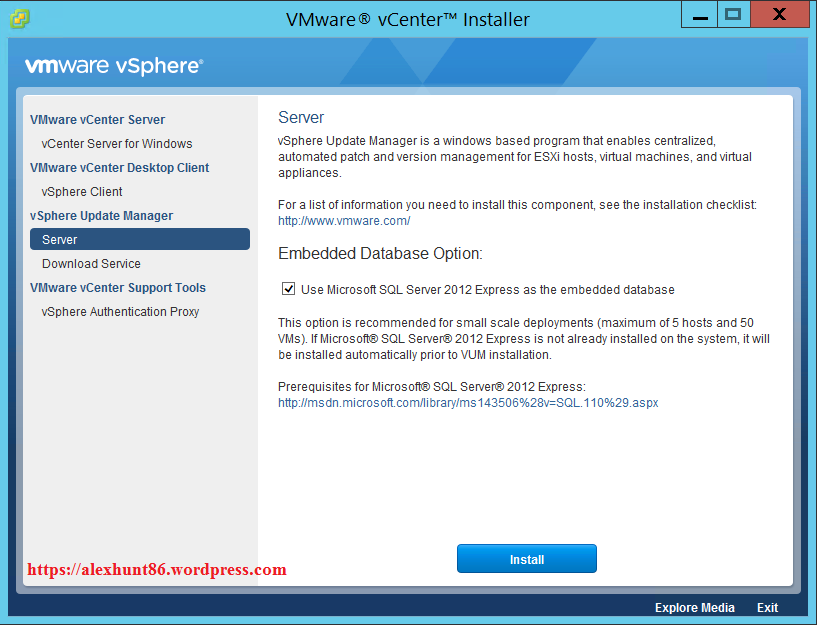
2: In the “VMware vCenter Installer” window, select the “Server” object under the “vSphere Update Manager” option. Select the “Embedded Database Option” and press the “Install” button.
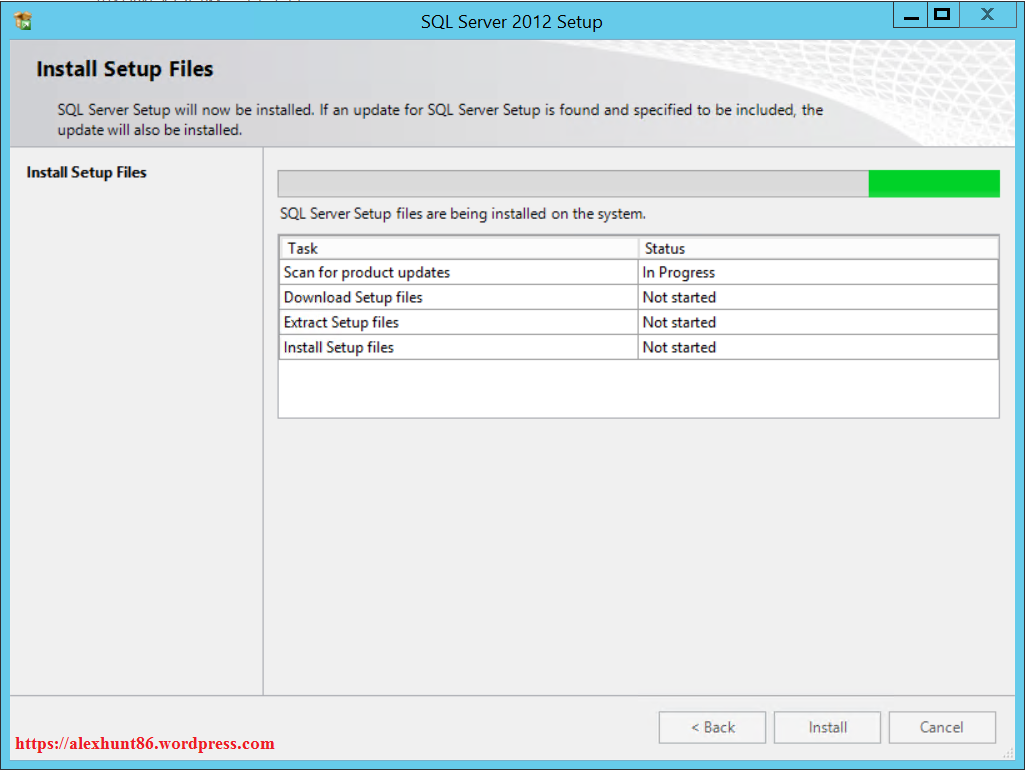
VUM installer will launch the sql installation wizard. Wait for VUM to install the embedded database.

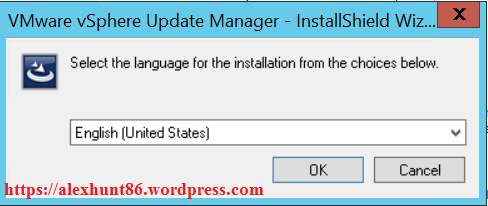
3: Select your installer language and press “OK”.
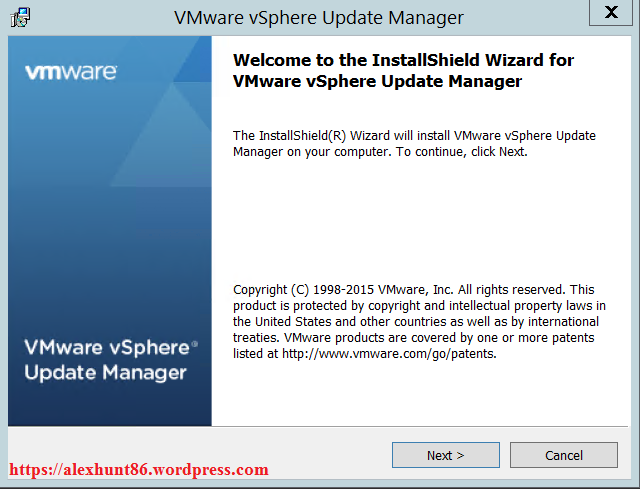
4: Hit Next to start installation process.
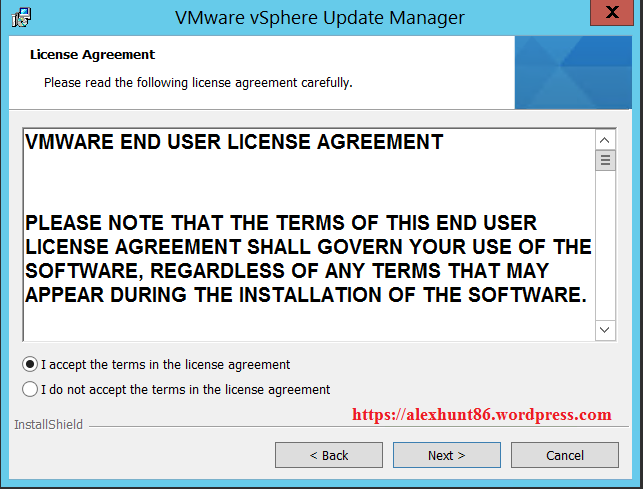
5: Accept EULA and hit next.
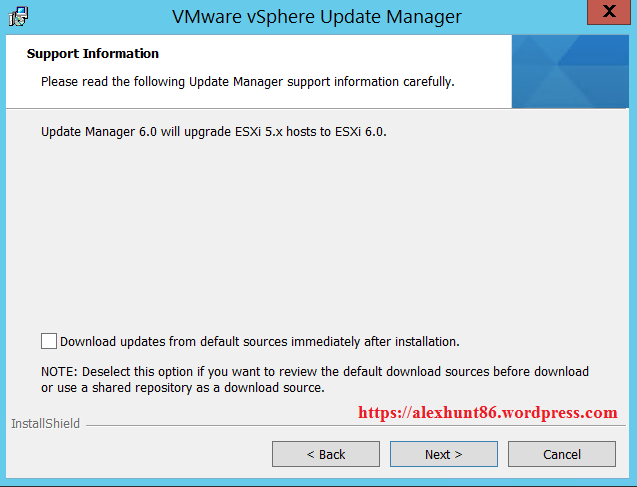
6: For lab instance or if your VM where you are installing VUM is not connected connected to internet then deselect “Download updates” option and hit Next.
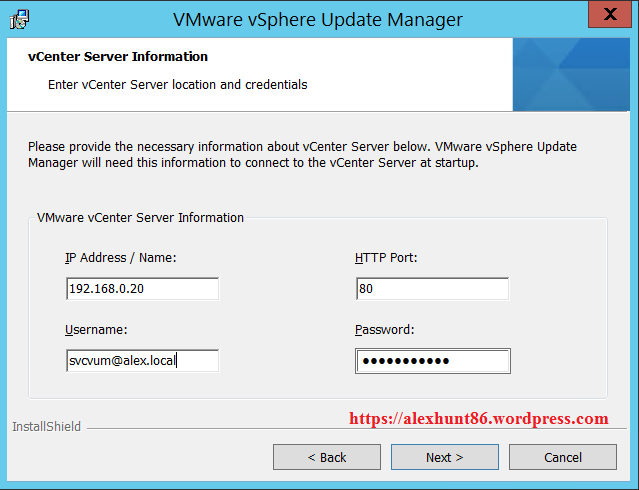
7: If your vCenter Server is external to your VUM then provide the IP address/FQDN of your vCenter server or select localhost if both vCenter and VUM are installed on same server. Provide the username and password for the user account which VUM will be using to connect to vCenter Server. Recommended is to use a dedicated service account.
Hit Next to continue installation.
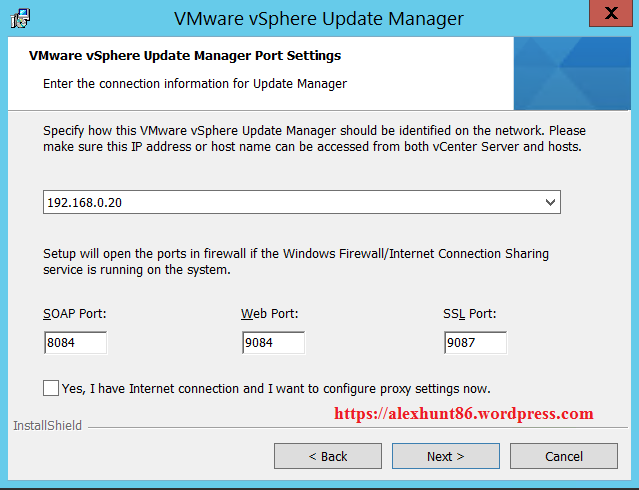
8: In the “VMware vSphere Update Manager Port Settings” window don’t change the default port numbers unless you have specific requirements to do so. Hit next to continue.
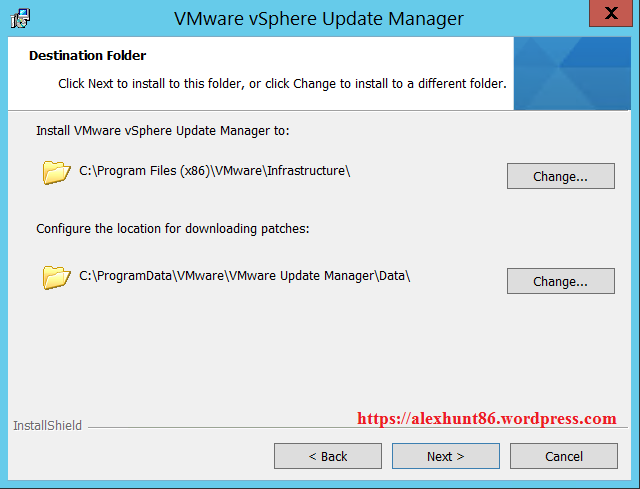
9: In the “Destination Folder” window, change the destination folders if required else select the default one and hit “Next”.
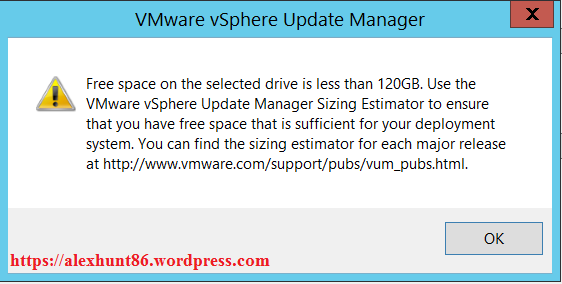
You can ignore the below warning for your lab deployment but in Production environment make sure you have enough disk space on server to download the updates from internet.
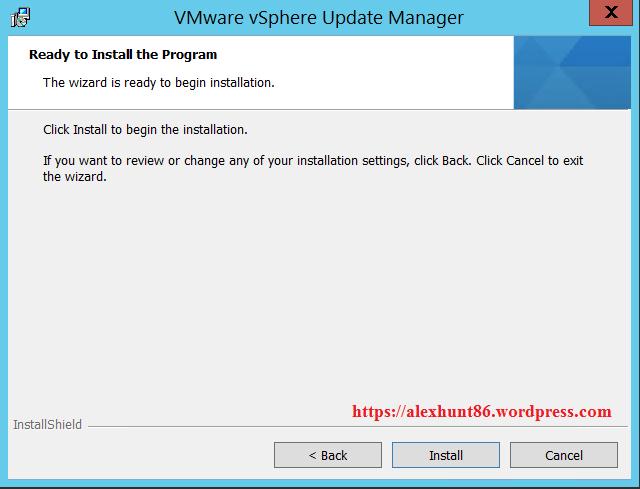
10: On ready to Install the program page hit install button to start installation.
Installer will take some time to complete the installation process. sit back and relax.
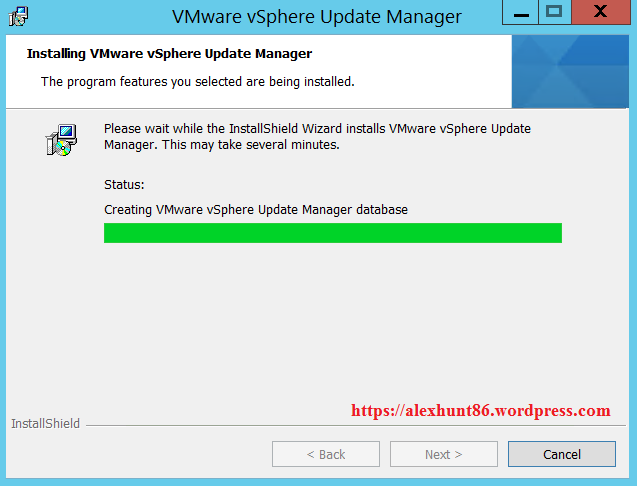
11: Hit Finish button to complete VUM installation.
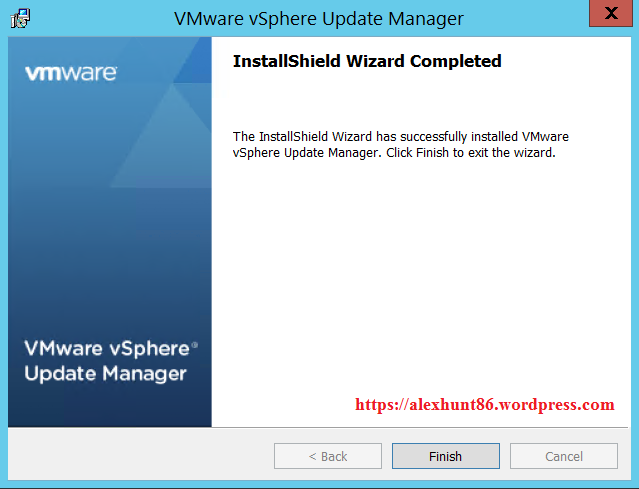
Now lets see how to install download service.
Installing VUM Download Service
1: Mount the VIM 6.0 ISO image to the Microsoft Windows Server 2012 R2 system and execute “autorun.exe” file.
2: In the “VMware vCenter Installer” window, select the “Download” object under the “vSphere Update Manager” option. Select the “Embedded Database Option” and press the “Install” button.
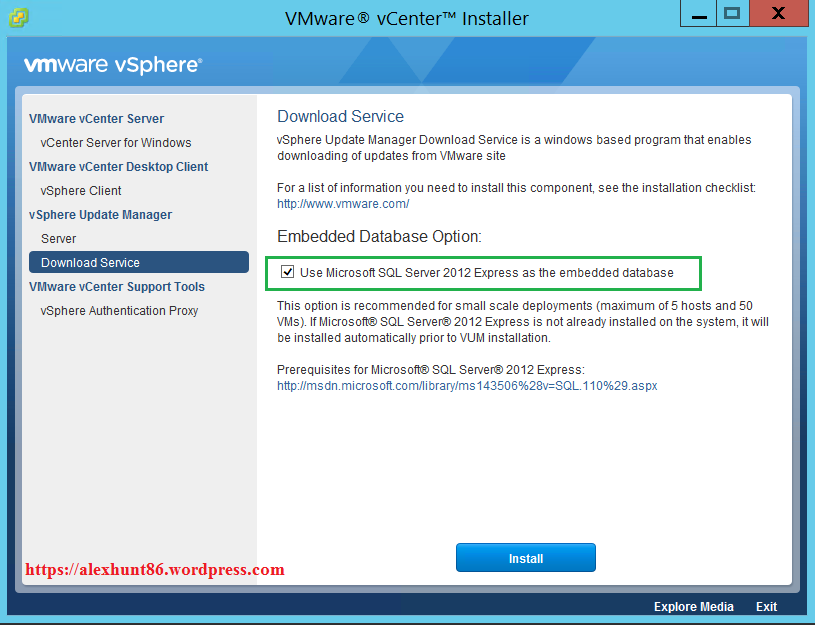
Note: Make sure Microsoft .NET Framework 3.5 SP1 is installed on the system before you begin.
3: Installer will launch sql server setup and will configure it as part of installation. There is no manual intervention needed for sql installation.

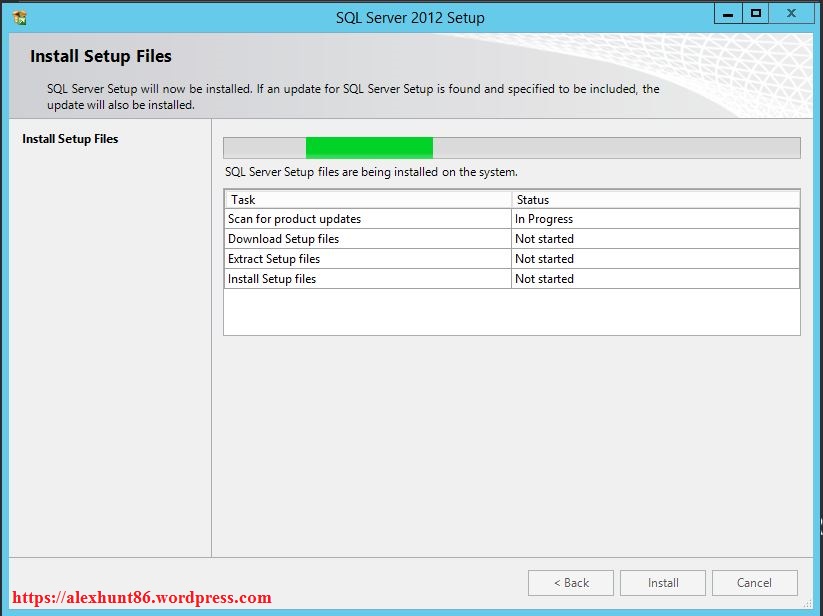
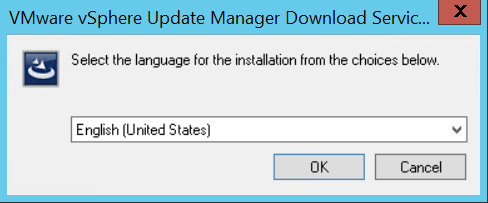
4: Once sql server installation is finished, VUM installer will prompt you to select installation language for vUM installation. Select your language and hit OK.
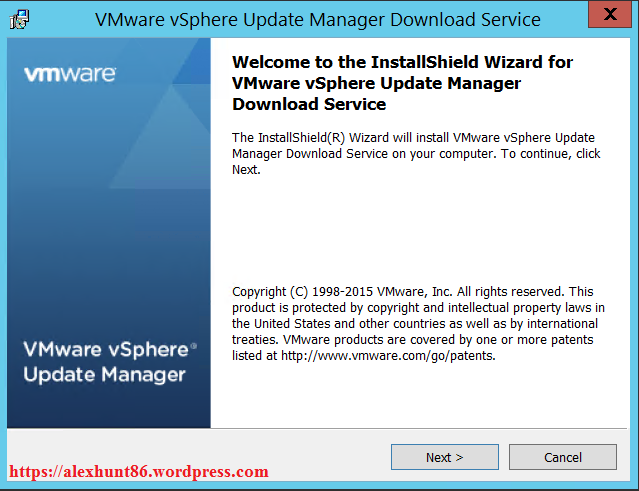
5: Hit Next to continue.
6: Accept EULA and hit next to continue.
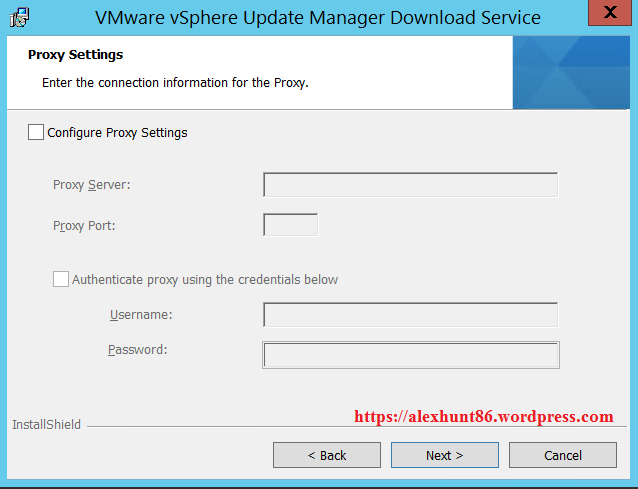
7: In the “Proxy Settings” window, configure the proxy settings if necessary and select “Next”.
8: Change the destination folder for installation binaries if required else continue with default and hit next.
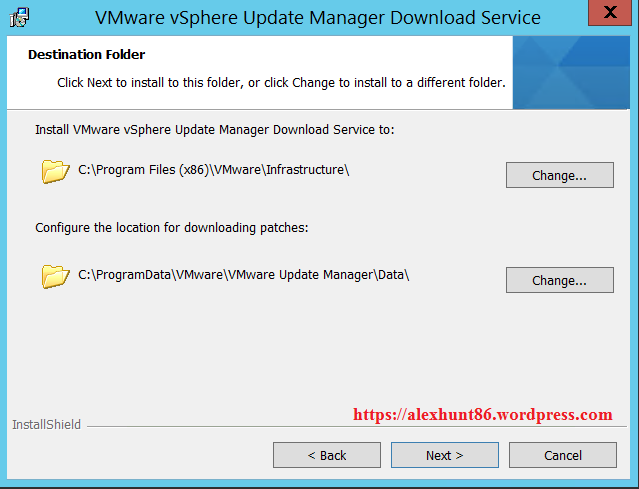
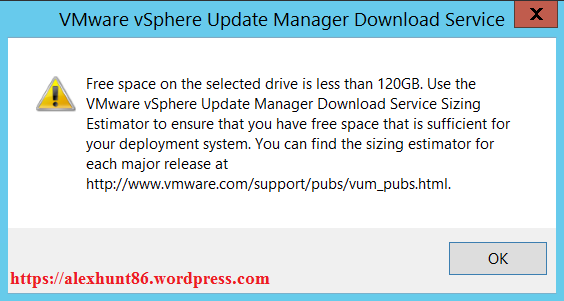
9: For lab deployments you can ignore the below message but in production I recommend you should plan well for the correct size of the directory where installation updates will be downloaded. VMware recommends to have at least 120 GB of free space.
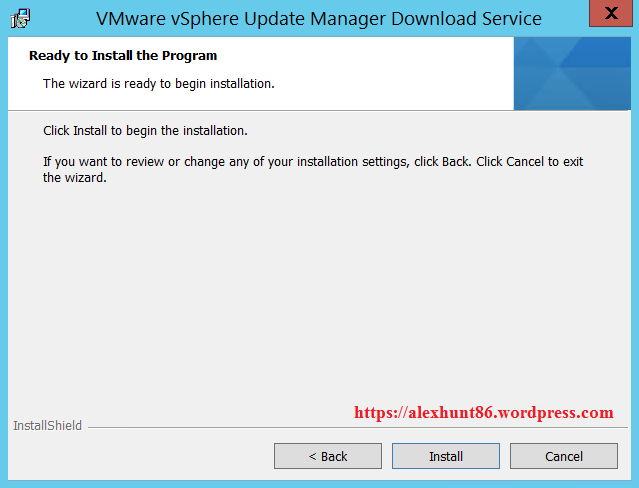
10: In the “Ready to Install the Program” window, press “Install”.
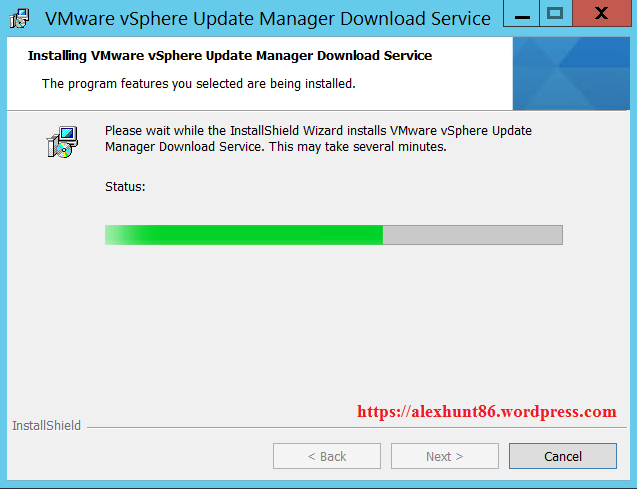
11: let the installation continue running and wait for the completion.
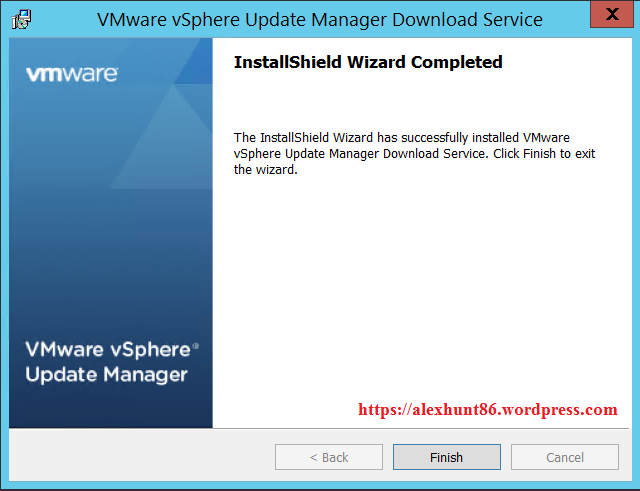
12: Hit finish to complete the installation process.
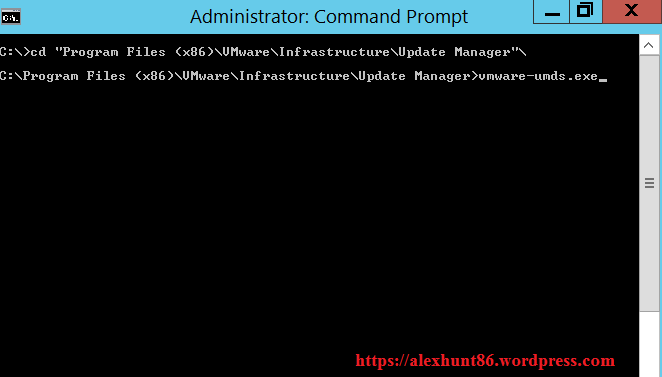
13: Once installation is finished open windows command prompt and navigate to directory “<Install Drive>/Program Files x86/VMware/Infrastructure/Update Manager” and run vmware-umds.exe. You will be presented with all configuration options that can be used to configure the VUM download service.
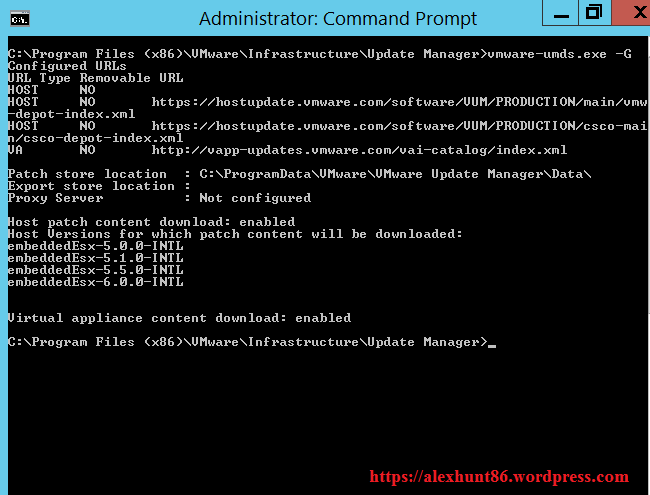
14: You can print the current settings by typing vmware-umds.exe -G
Install VUM Plugin
Next is to register VUM plugin to vCenter Server to start doing the VUM configuration like creating policies and baselines.
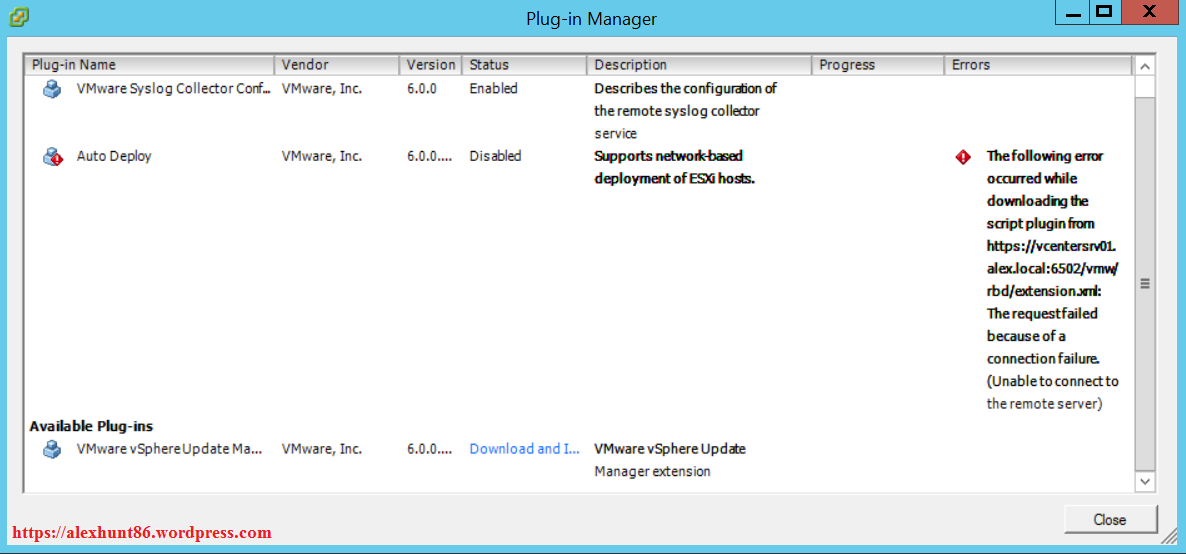
1: Login to vCenter Server using C# client and click on Plug-Ins to display list of installed/available plugins.
You can see in below screenshot that VUM is listed under available plugins because we have not installed the vum plugin yet. Click on Download and Install to start installing the plugin.
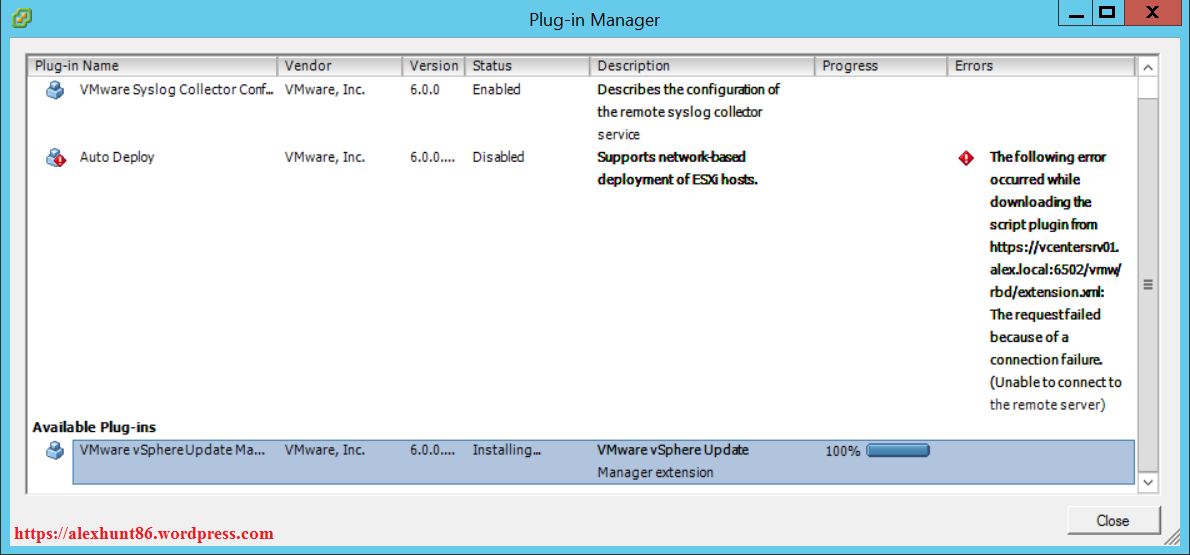
2: You will see the download progress immediately as shown in below screenshot.
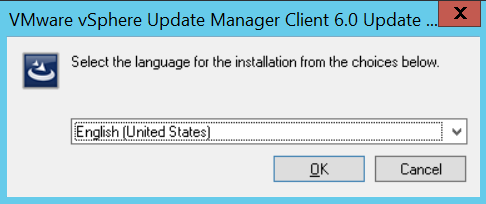
3: Select the installer language and click OK.
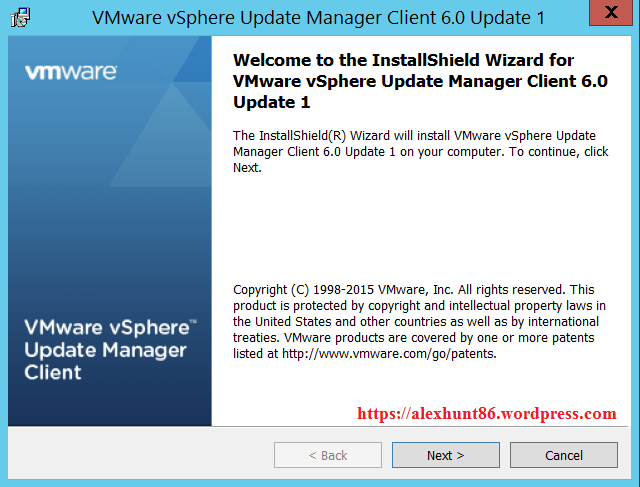
4: Hit Next to continue.
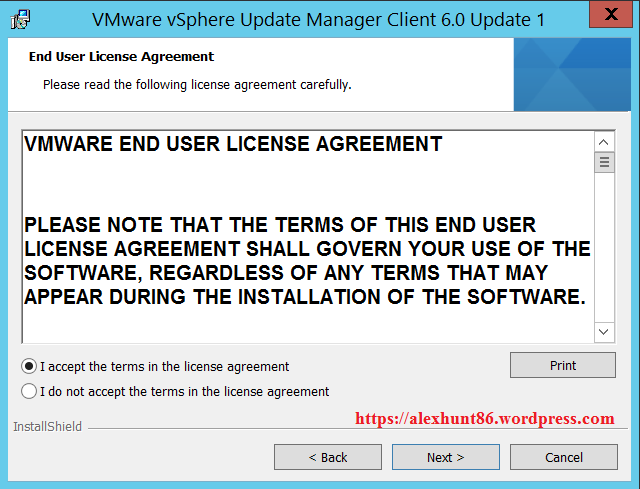
5: Accept the EULA and hit Next.
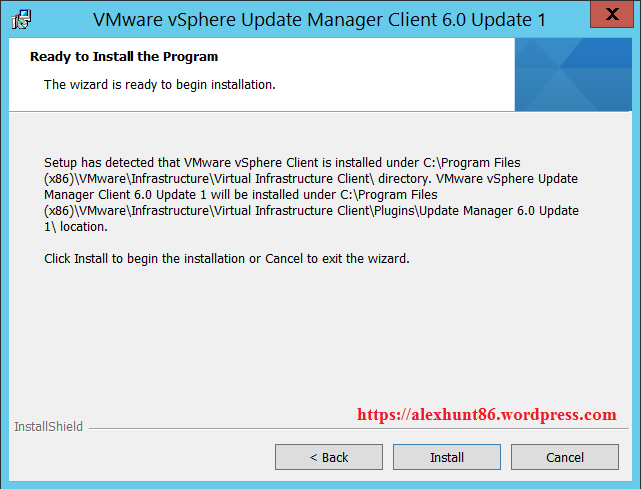
6: Click on Install button to start installing the plugin.
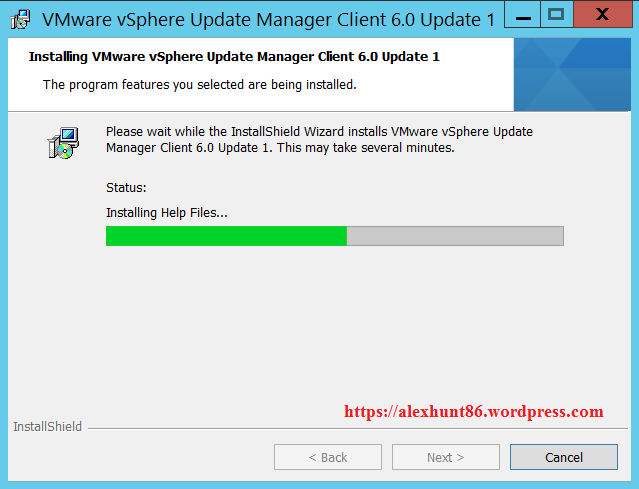
7: Hit Finish to complete the installation process.
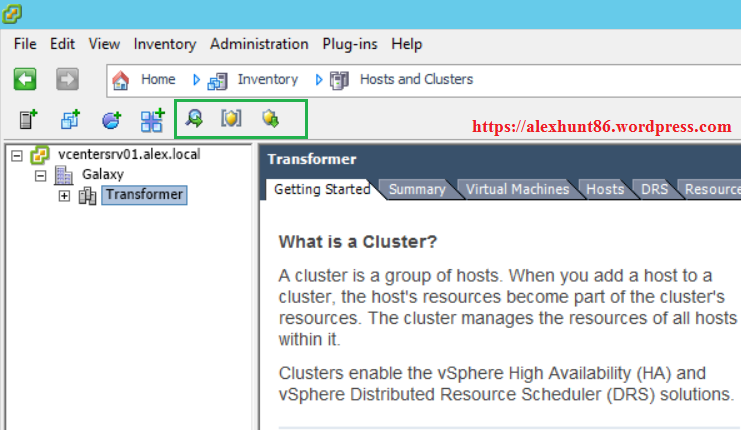
8: Once the installation process is finished you will see additional options added to your vCenter Server.
With this installation of vSphere Update Manager is completed. In next post of this series we will look into how to configure VUM and create baselines for patching esxi hosts.
I hope you enjoyed reading this post. Feel free to share this on social media if it is worth sharing. Be sociable 🙂

Hello,
You said that: Installing VUM Server and Installing Download service and both can’t be installed on same server.
But i did not see which is the step to configuration to connect VUM Server and VUM Download service server?
Regards,
Hello Alex,
Would you please more elaborate about “Installation of VUM is covered in 2 parts: Installing VUM Server and Installing Download service and both can’t be installed on same server.”
If VUM Server installed on vCenter & Download service on another server. how Download service going to communicate with vCenter to download/apply patches.
Awaiting for your response. Thanks 🙂