In last 2 post of this series we learnt how to install vCenter Server 6 on Server 2012 and how to enable AD authentication for SSO so that your domain users can login to vCenter server and manage it.
If you have missed earlier posts of this series then you can access the same by clicking on below links:
3: Installing and Configuring Esxi Server 6
5: Enabling AD Authentication for vCenter Server
In this post we will touch down on basic tasks that needs to configure vCenter before we can start using it in Lab/Production. Steps included in this post are typically for Lab environment and you might need to perform some additional tasks before your prod vCenter goes live.
Let’s talk less in this post and dive directly into configuring vCenter server.
1: Configuring Licenses for vCenter and Esxi hosts
Installing vCenter Server and Esxi host license is something which I love to do as soon as I complete installation process. By default vCenter Server has 60 days evaluation period and if you are trying your hands on vSphere 6 before making a decision to purchase it for your production environment you can go ahead with evaluation mode as well.
Note: You will not be able to manage your infrastructure past 60 days evaluation period.
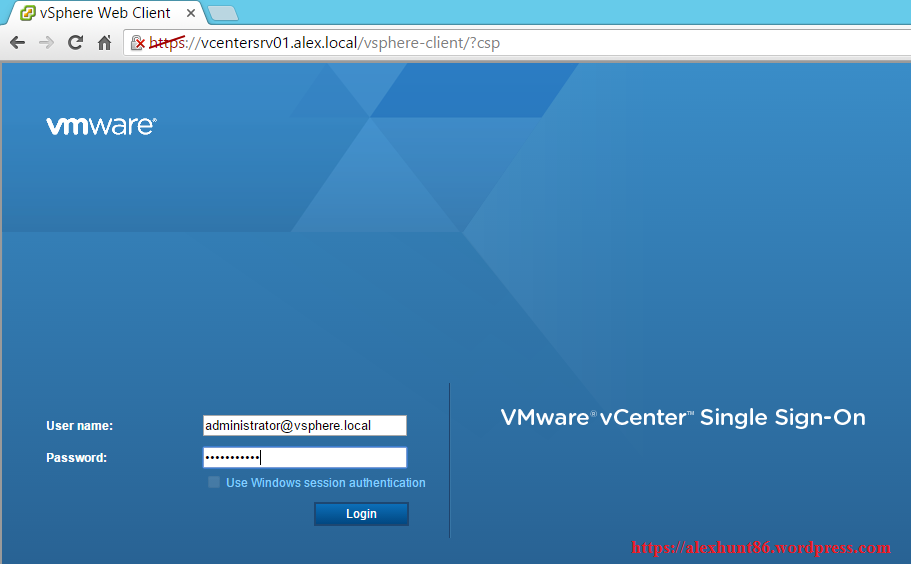
To install licenses for vCenter Server and Esxi hosts login to vCenter Server using vSphere Web-Client.
Note: With vSphere 6, licensing has shifted to PSC and if you are running vCenter with External PSC then login to PSC UI to install licenses.
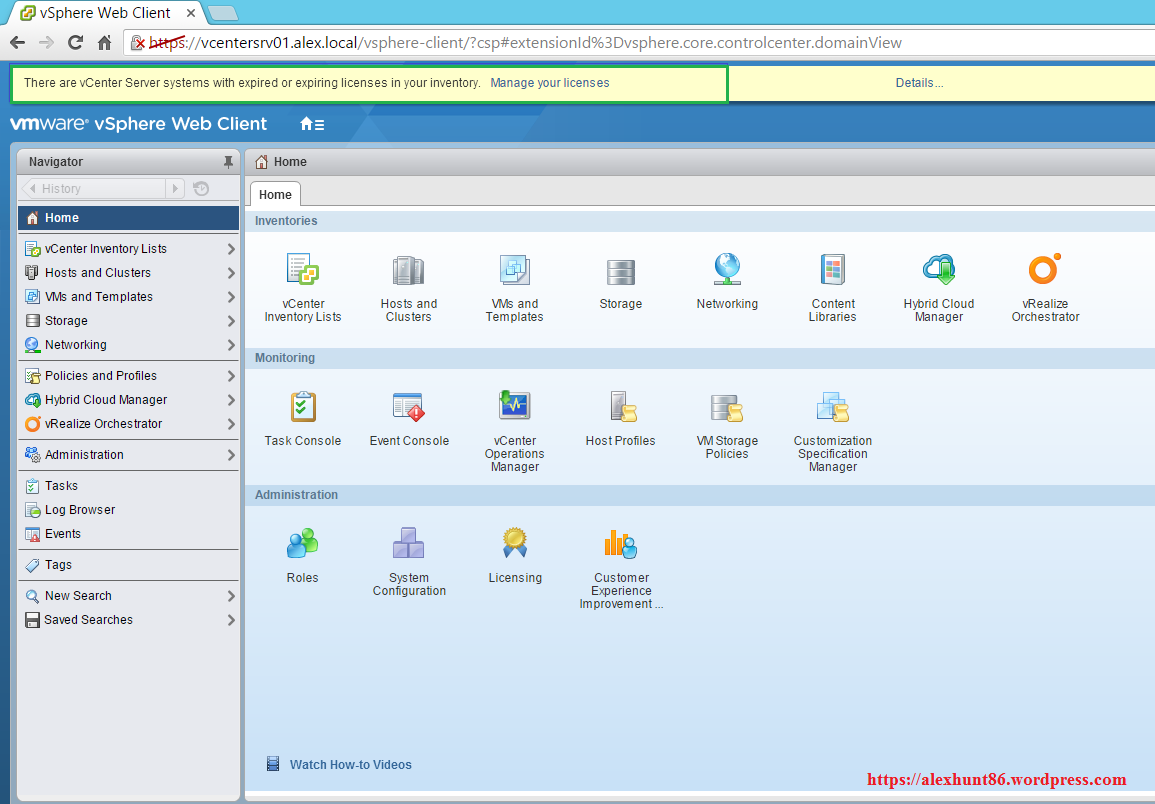
As soon as you login to vCenter server, you will see a message “There are vcenter servers systems with expired or expiring licenses in your inventory”
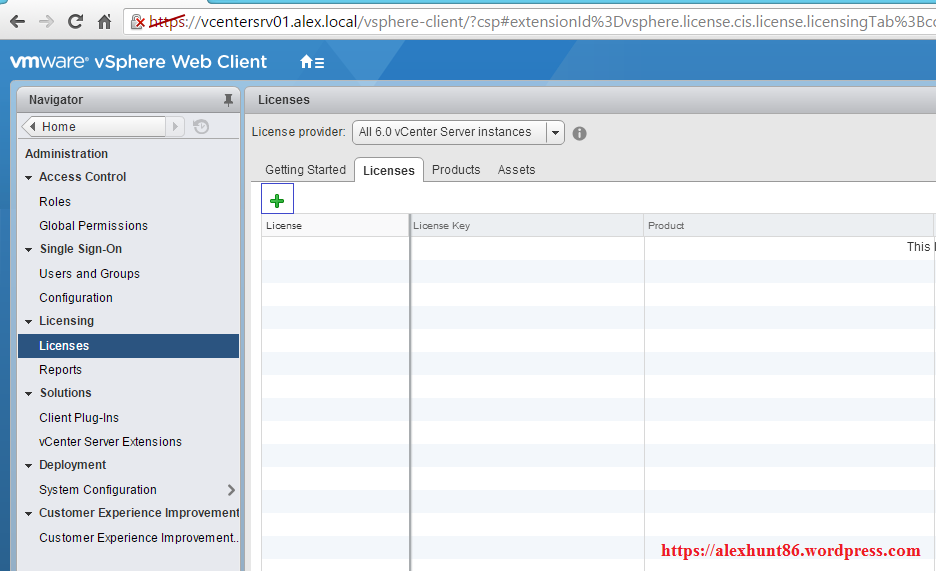
To install licenses navigate to Home > Administration > Licenses and click on Licenses tab. Click on “+” to start adding your licenses.
Note: The way licenses were applied to vCenter Server and Esxi host have changed a bit with vSphere 6. Earlier we had to select the device and right click on device to associate license to that device.
With vSphere 6 you first have to add licenses in inventory and then it will be associated to corresponding devices.
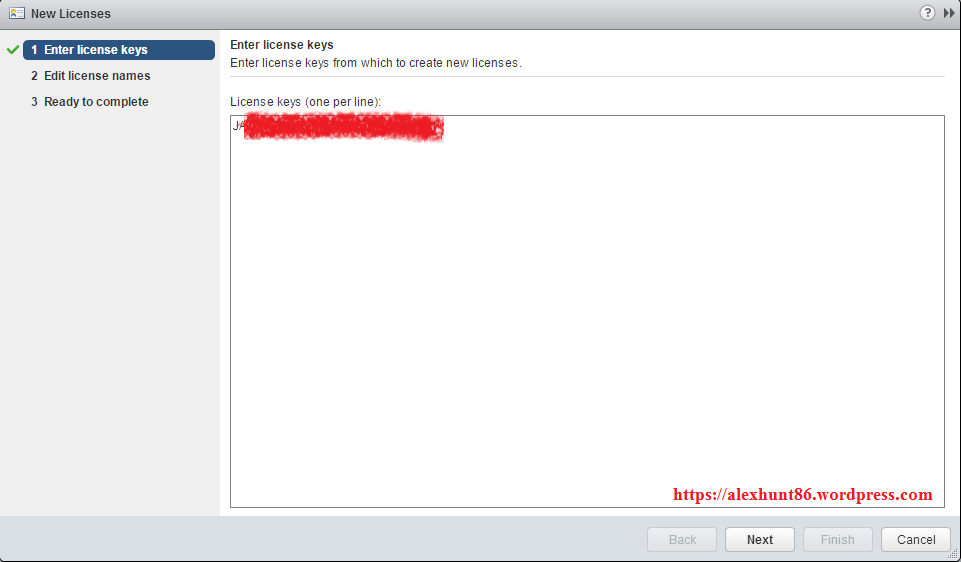
Clicking + sign will open a new window. Paste your license key in this window and hit next.
Provide a name to your license key as per your naming standard and hit next. vSphere will automatically detect the license type (whether it is vCenter license or Esxi host license)
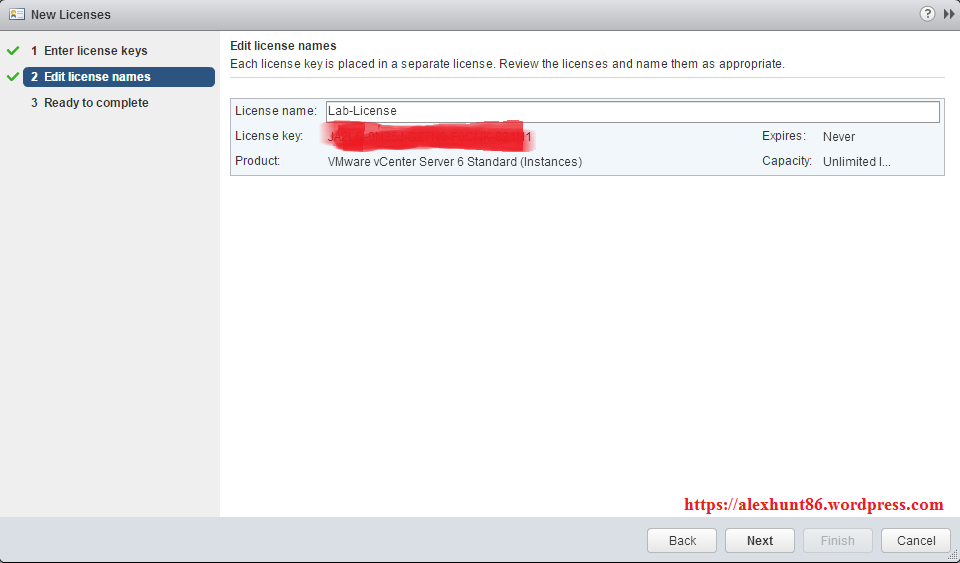
Hit finish button to complete adding your license.
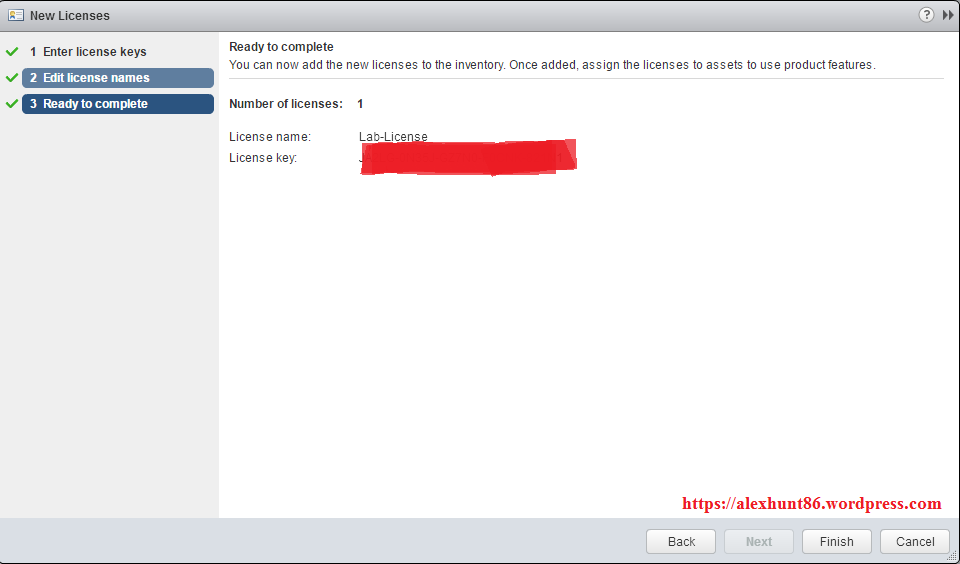
Follow similar procedure for adding Esxi host license.
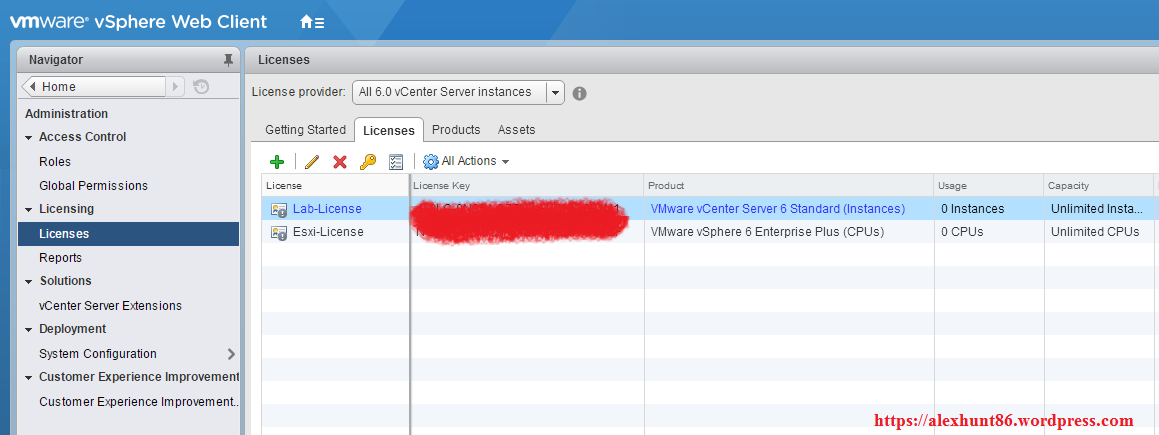
Once you done with adding all your licenses your screen will look like as shown below:
2: Creating Datacenter/Cluster
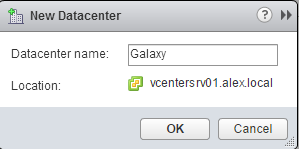
From home page click on Hosts and Cluster and select vCenter server. Click on Create Datacenter.
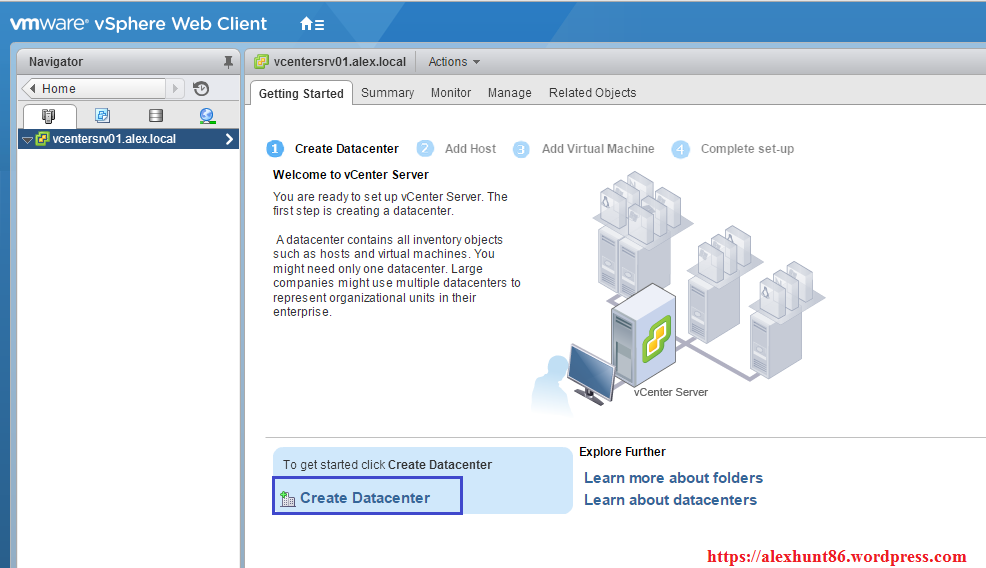
Provide name to your datacenter and click OK.
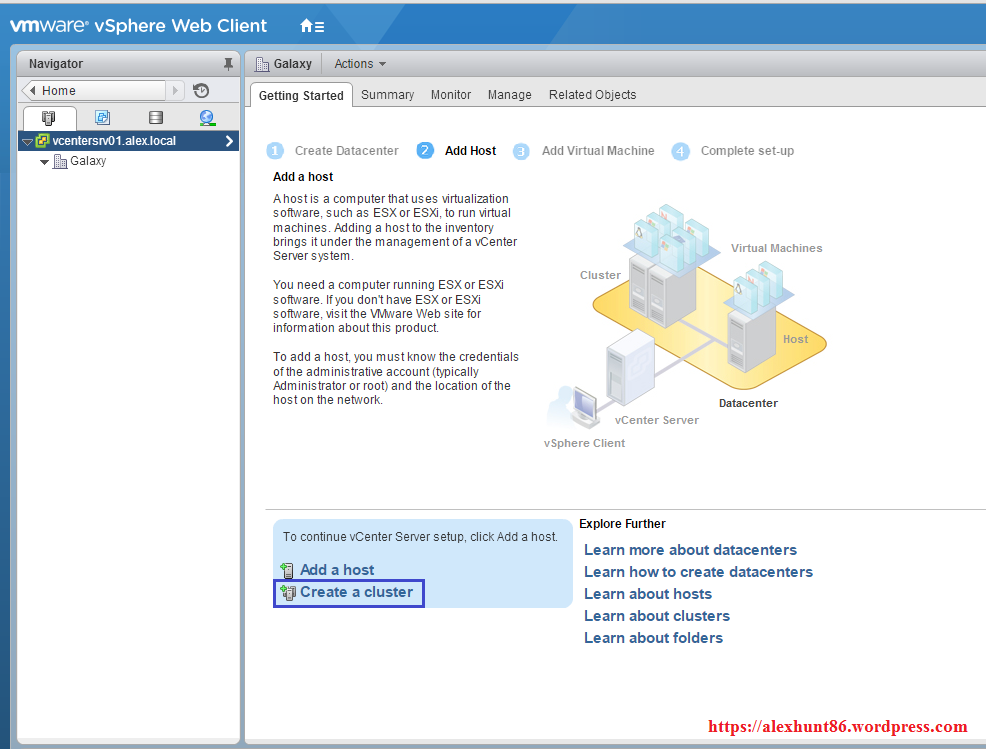
Next is to create cluster. Select the datacenter which you just created and click on “Create a cluster”
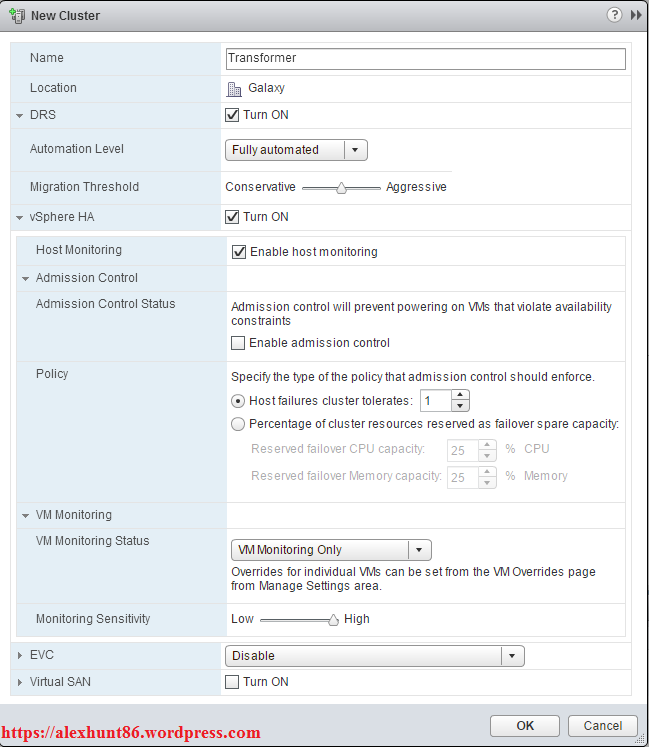
A new window will be launched. Give a name to your cluster and click on arrow button in front of DRS and HA to expose advanced option.
Select the checkbox “Turn ON” in front of DRA and HA.
In my lab I am using DRS in fully automated mode. Also I have disabled Admission Control under HA (Which is not a good practice to follow especially in Prod environment). To disable Admission Control uncheck “Enable admission control” checkbox.
Once you are done with selecting the appropriate options click on OK button to start creating a cluster.
3: Adding Esxi hosts to cluster
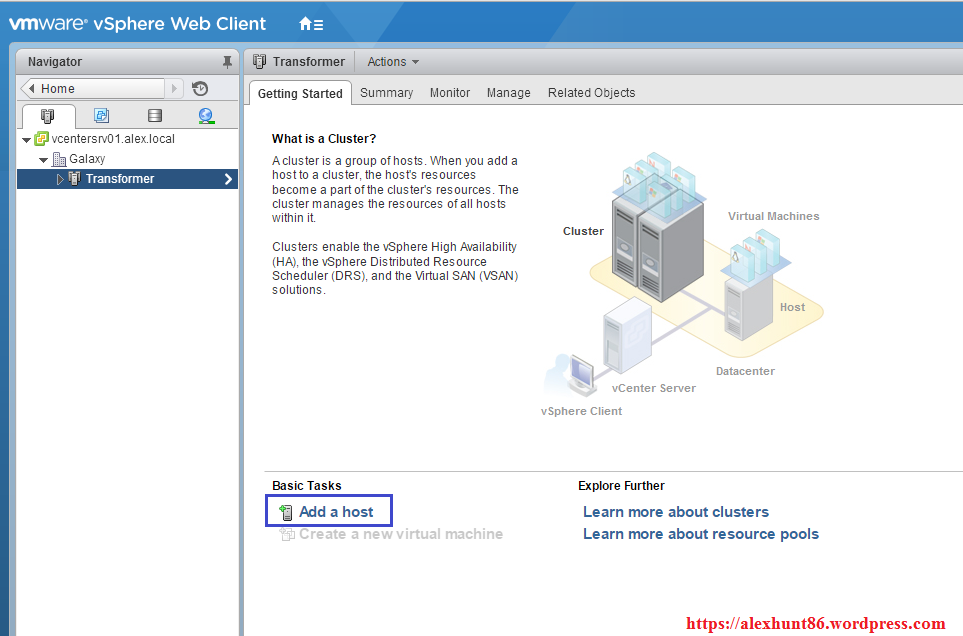
The next task after creating cluster is to add esxi hosts to your cluster. I have 3 esxi hosts in my lab namely optimus, megatron and galvatron which I will be adding to my cluster.
Select your cluster which you have just created and click on Add a Host.
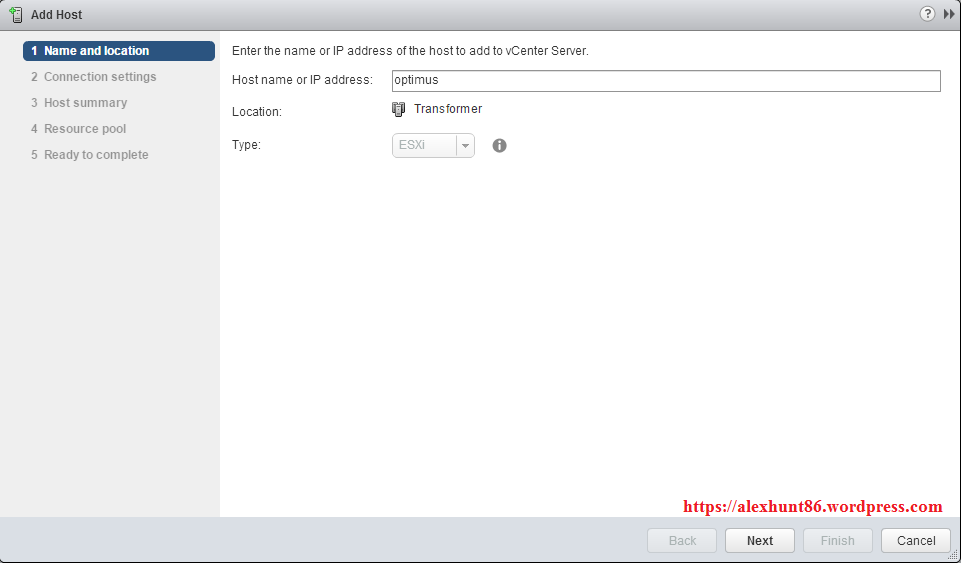
Provide IP address or FQDN of your Esxi host and click on Next.
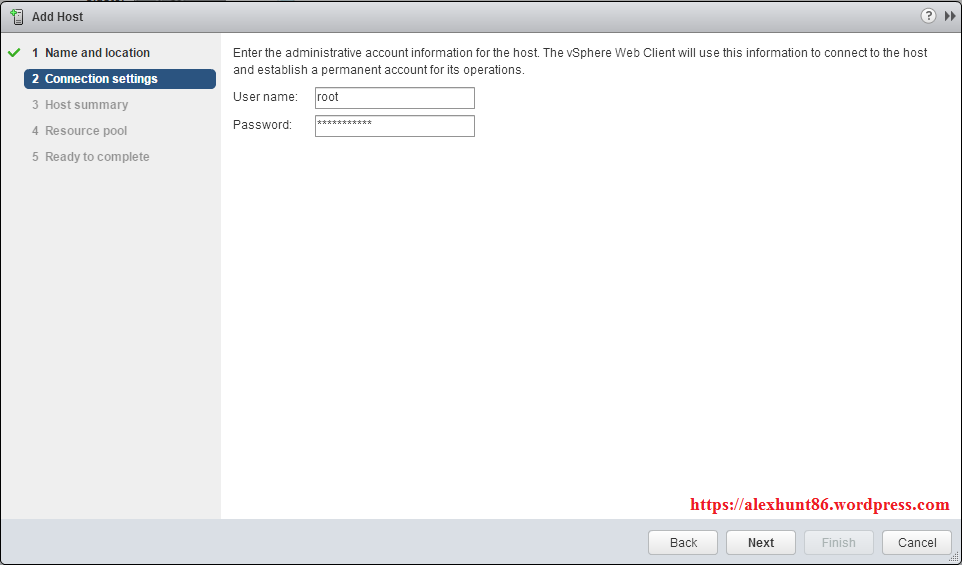
Provide credentials of your root user and hit Next.
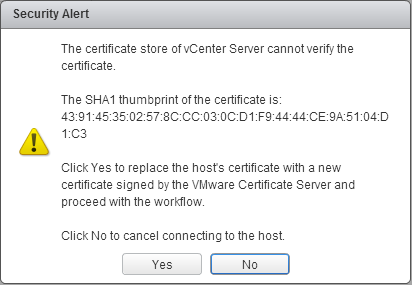
Accept the SSL thumbprint of host.
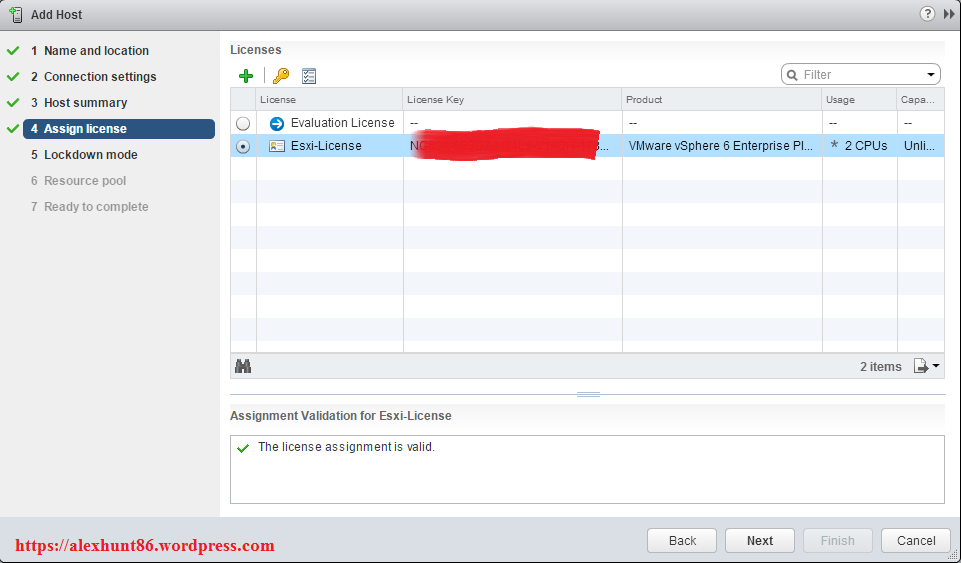
Under Assign license select your license and click next.
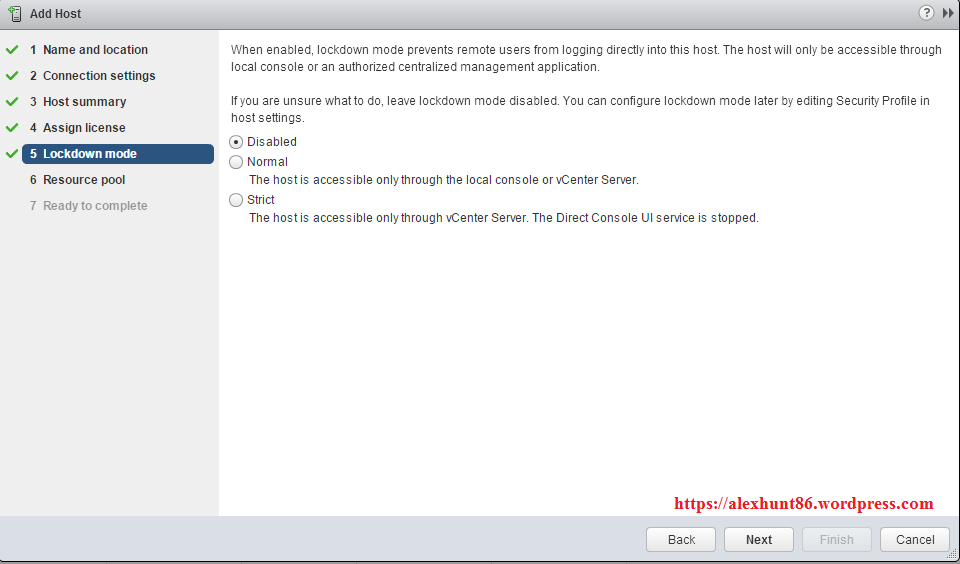
For lockdown mode select Disabled unless and until you have specific requirement to use it in your environment. Hit next after making your selection.
Note: When lockdown mode is enabled, Esxi host can only be managed via vCenter server and if a host has disconnected from vCenter server, you will not be able to login to host directly using C# client. So chose this option carefully.
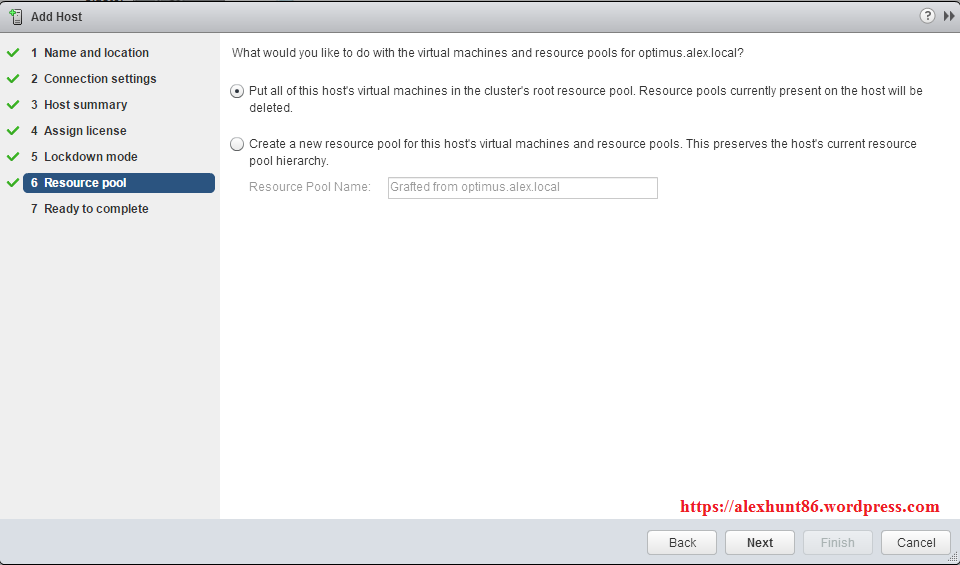
For Resource pool option select ” Put all of this host’s virtual machine in the cluster root resource pool”
Well a question arises when to use this option or not. My simple theory is that if you are not using any resource pools on your Esxi hosts prior to adding it to vCenter Server then there is no harm in going with option 1.
If you had any resource pool created on your host prior to adding it to vCenter Server and you want to preserve the resource pool settings then you can go ahead with option 2 in below screenshot.
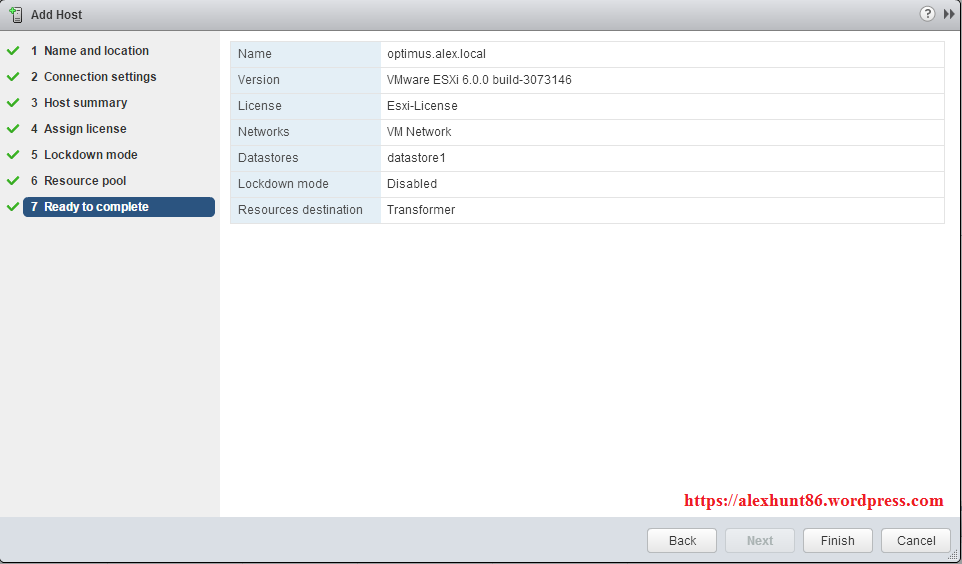
On Ready to complete page review your settings and hit Finish to complete host addition process.
You can see the events triggered in Recent Tasks.

In next post of this series we will see how to configure networking in dvSwitch and will play around various options present within dvSwitch.
I hope you enjoyed reading this post. Feel free to share this on social media if it is worth sharing. Be sociable 🙂

Excellent docs. Thanks for all. Who all are contributed for this docs.