In last 2 post of this series we discussed overview of vSphere 6 and looked closely on components required for building a vSphere 6 lab at home. If you have missed earlier posts of this series then you can access the same by clicking on below links:
In this post we will look into installation of Esxi 6. I am using Esxi version 6.0 update01 (Build 3073146) in my lab for this purpose.
Installation of Esxi has not changed much and its very similar to version 5.5. I am installing Esxi 6 in VMware Workstation on my local SATA hard disk but you may consider other options such as running Esxi host from USB disk or running stateless Esxi host with use of auto deploy.
Esxi 6 Installation
1: Attach the Esxi 6 iso image to the virtual machine and boot the system. You will be presented see the standard ESXi 6.0 Boot Menu as shown below. Press “Enter” to continue

2: Let the ESXi load the necessary libraries to install the hypervisor.

3: Check VMware HCL guide to see whether your hardware is listed or not. If the hardware is not listed, then you can’t get the support from VMware regarding installing Esxi on unsupported hardware. Press “Enter” to continue

4: Accept the EULA by pressing F11.

5: Esxi will scan for available devices on system.
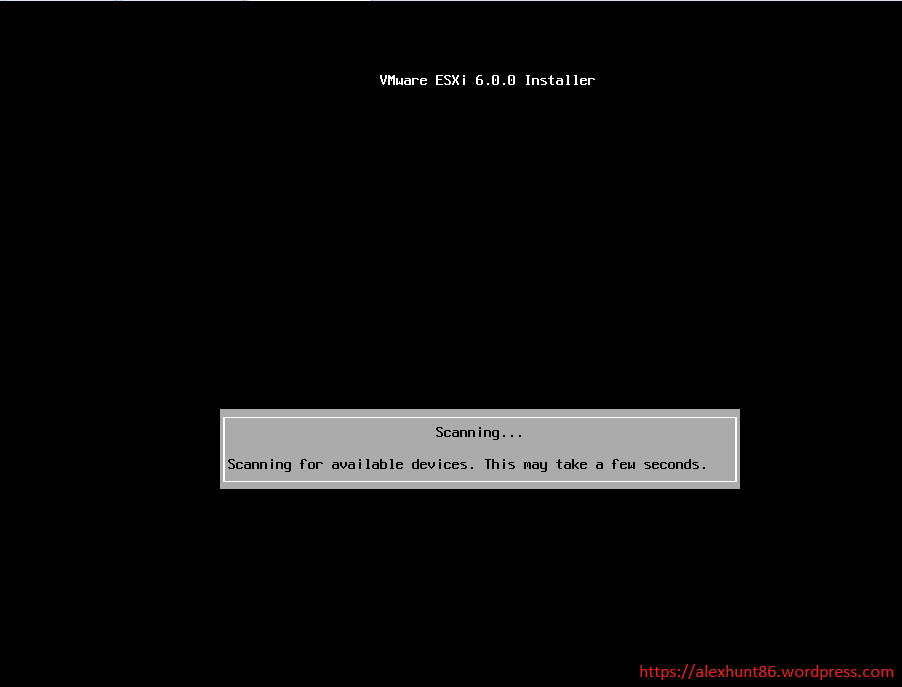
6: Select the disk for the ESXi installation and “Enter” to continue.

7: Select the keyboard layout.

8: Set the root password for the Esxi host. make sure password matches.

9: Press F11 to start the installation.

10: Installation process will begin


11: Press Enter to reboot the host to complete the installation.

12: Let the reboot process complete.

Configuring Esxi host
13: After installation of Esxi host you will be presented with the familiar screen. If you have DHCP server installed in your environment, you will find Esxi host have an IP assigned from DHCP else you will see APIPA IP (169.254.213.121) assigned to host.
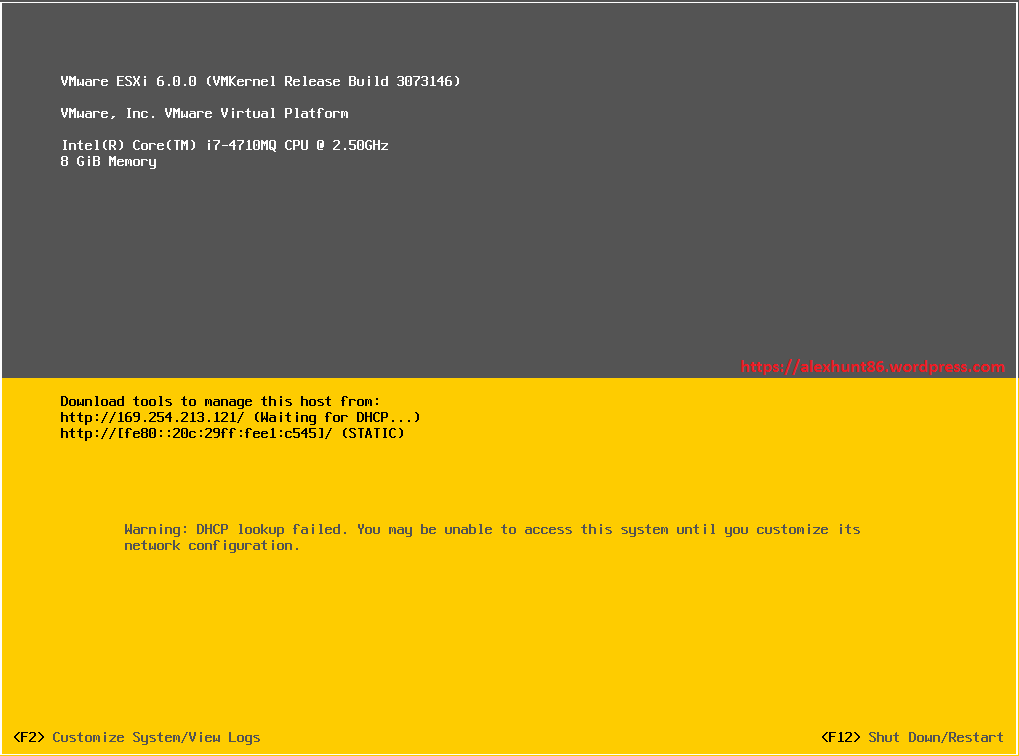
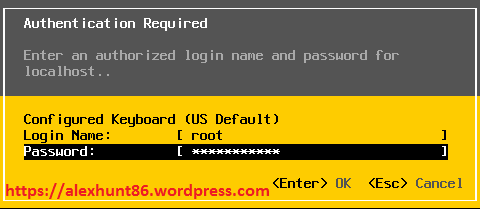
14: Press F2 to start configuration of your Esxi host. You will be presented with Login screen. Provide your credentials and hit enter.
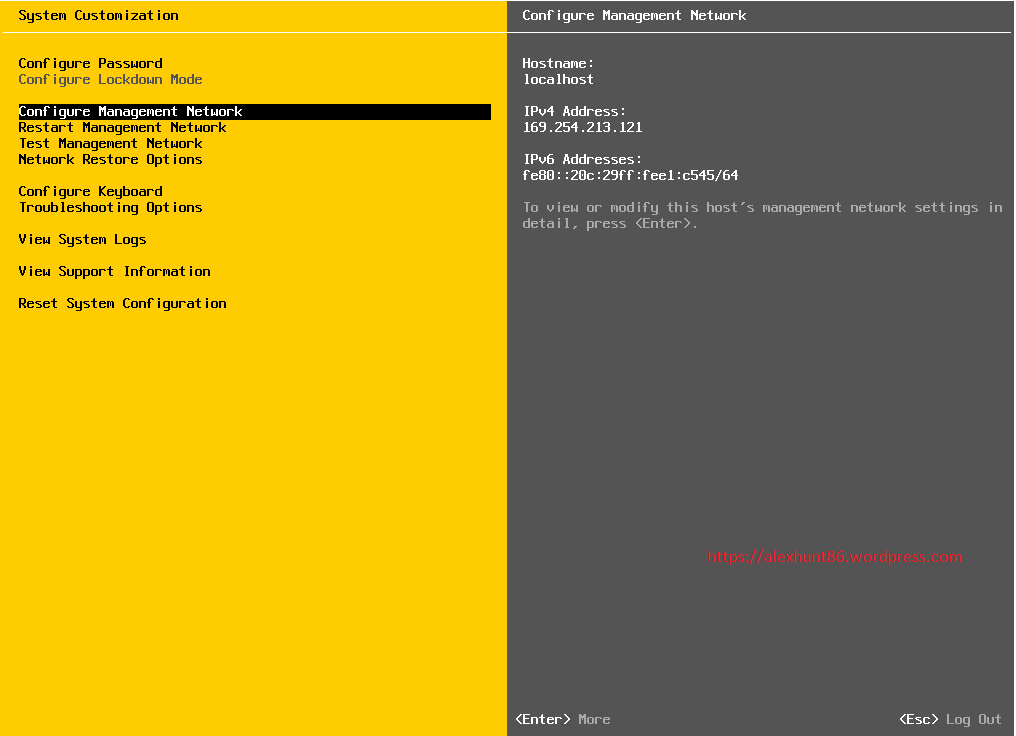
15: From System Configuration menu select “Configuration management Network” and hit enter.
16: Select IPv4 Configuration and press enter.
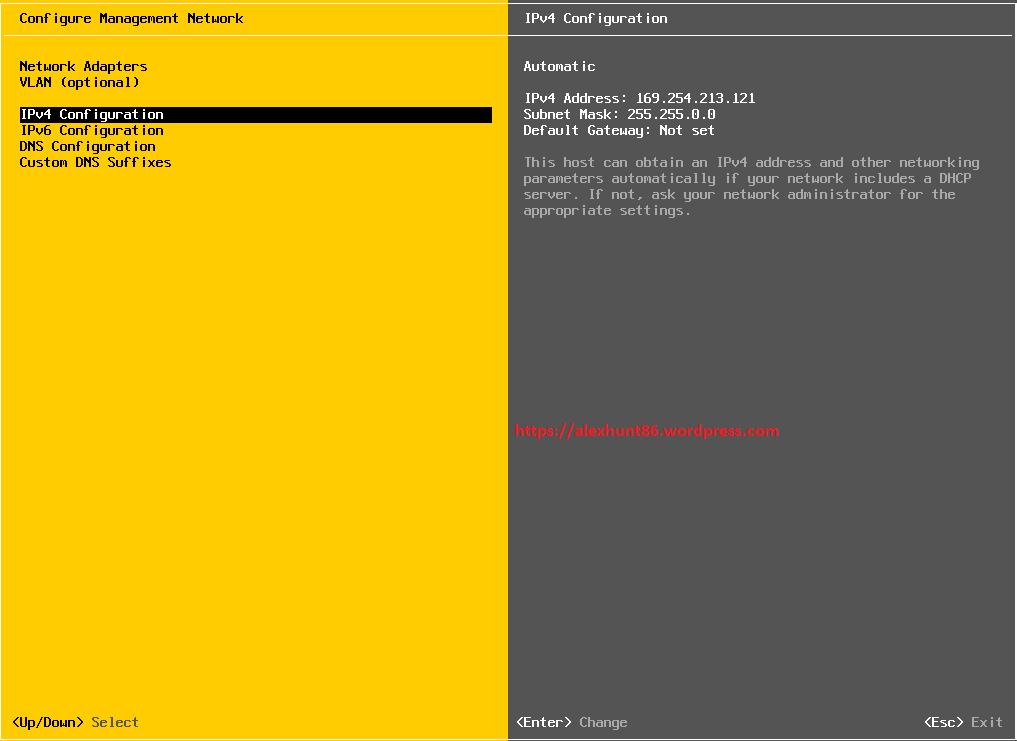
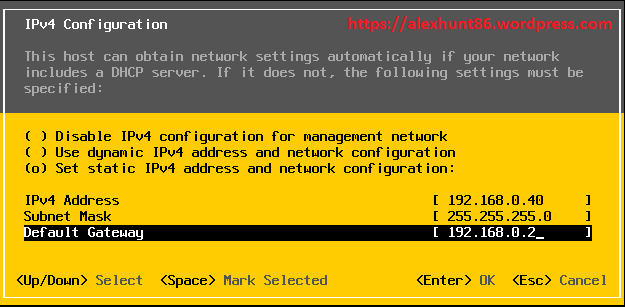
17: Select “Set static IPv4” option and supply the value for IPv4 address, Subnet Mask and Default Gateway and hit enter.
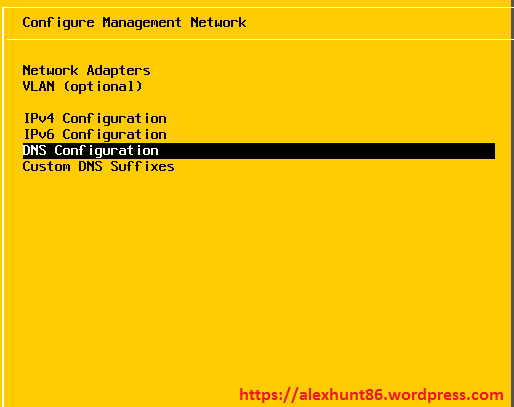
18: Select DNS Configuration option and hit Enter.
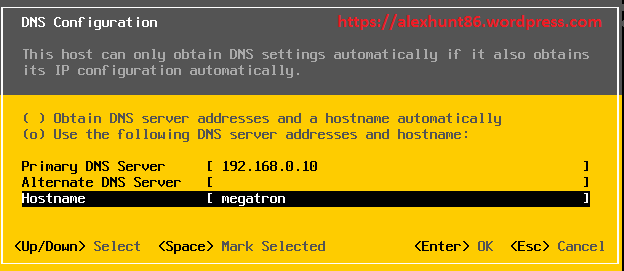
19: Select Use the following DNS Server option and supply the value of Primary DNS Server and hostname etc. Hit enter.
20: Select DNS suffixes and hit enter.
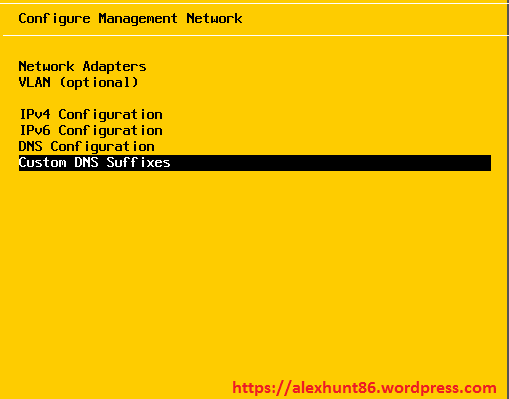
21: Enter your DNS suffix and hit enter.

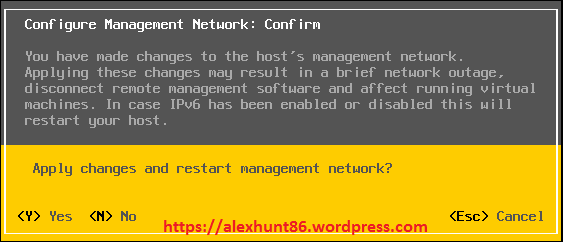
22: Press escape to exit network configuration wizard. It will ask you to restart management network. Press Y to do so.
23: Now test your management network configuration. Select “Test Management Network” from system configuration menu and hit enter.
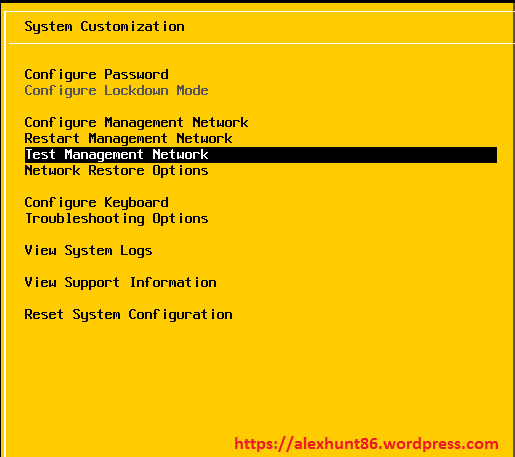
24: If your configuration is correct Management Network Test will pass all checks.

25: Next is to disable IPv6 configuration by selecting this option from Configuration Management Network menu.

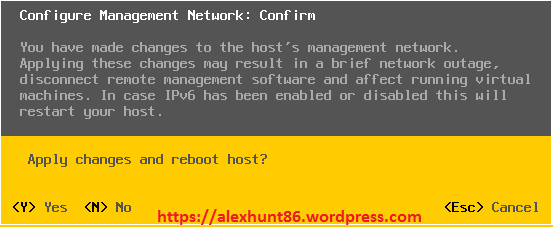
26: Select “Disable IPv6” option and hit enter to disable IPv6. This requires restarting Esxi host for changes to take effect.

27: Press Y for applying changes and reboot host.
28: Wait for host restart to complete.

With this basic configuration of Esxi host has been completed. More can be explored by connecting it using vSphere C# Client and playing around different configuration options.
I hope you enjoyed reading this post. Feel free to share this on social media if it is worth sharing. Be sociable 🙂

what is this ip for 192.168.0.2 , what device are you using for this ??
This IP is serving as gateway for my management network. I am not using any dedicated device for gateway but instead I have configured this IP on VM Net8 network adapter in VMware Workstation.
great one ,keep going on alex
Wow Alex is relay superb. you are doing grate job.
Can u please provide VLAN Configuration Steps.