VMware vCenter Multi-Hypervisor Manager
VMware vCenter Multi-Hypervisor Manager (MHM) is a vCenter component that provides an integrated platform for managing VMware and third-party hypervisors from a single interface.
The list of supported hypervisors can be summarized as below:
- Microsoft Hyper-V Server 2012
- Microsoft Hyper-V for Windows Server 2012
- Microsoft Hyper-V Server 2008 R2
- Microsoft Hyper-V for Windows Server 2008 R2
- Microsoft Hyper-V for Windows Server 2008
MHM supports heterogeneous hypervisors in VMware vCenter Server and it let administrators to choose which hypervisor meets a specific business unit’s needs within an organization. When a third-party host is added to vCenter Server, all virtual machines (VMs) that exist on the host are discovered automatically and added to the third-party hosts inventory. Administrators can modify permissions, adjust server configurations, provision new VMs, migrate VMs from Hyper-V to ESXi and power hosts off and on.
Operations Supported by MHM:
- Manage Hyper-V hosts and virtual machines (VMs) from vCenter.
- Provision new VMs on the managed hosts.
- Edit VM settings and configurations.
- Support integrated privileges, roles and users.
- Auto-discover new VMs.
- Power hosts and VMs on and off.
- Connect and disconnect VM DVD disks and ISO images.
- Migration of virtual machines from Hyper-V to ESXi hosts.
The below image depicts the architecture of MHM
MHM can be downloaded from vSphere 5.5 Download Page.
You’ll need both the server and the client. It is a 90 MB application that creates a Windows service. MHM can be installed on same system where vCenter Server (Windows Based) is installed.
MHM Installation
Installation of MHM is pretty straight forward. Following two binaries need to be installed on the vCenter server that will be managing the Hyper-V hosts.
– VMware-MHM-5.1.0-1958177 for the “server” part
– VMware-MHM-Client-5.1.0-1958177 for the client plugin
The installation of the server part goes as follows:
1: Double click on the server installer exe to start installation.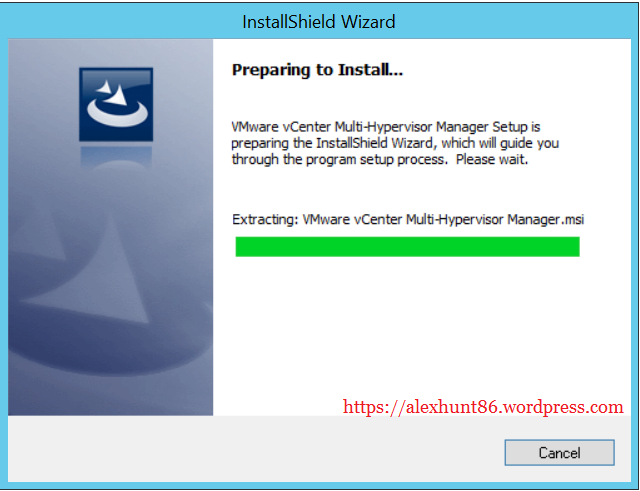
2: Click on Next to start Installation
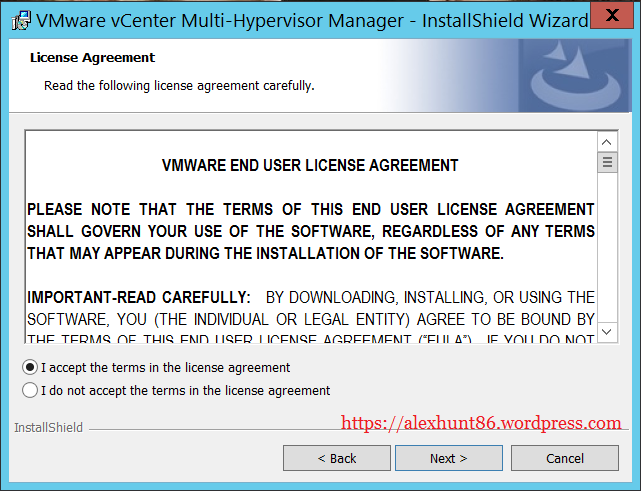
3: Accept the license agreement and hit Next.
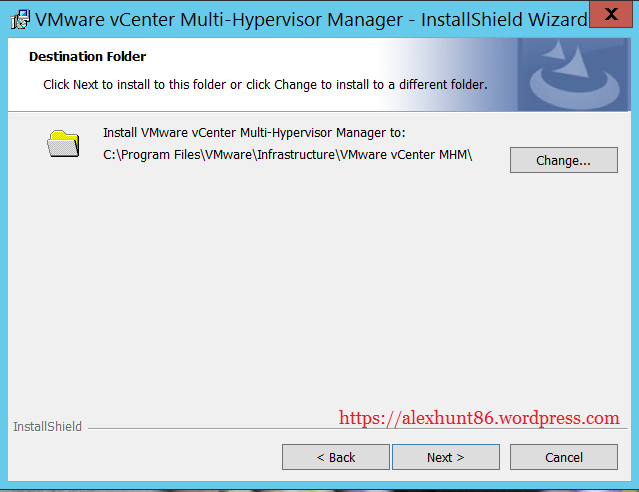
4: Choose your installation directory and hit Next.
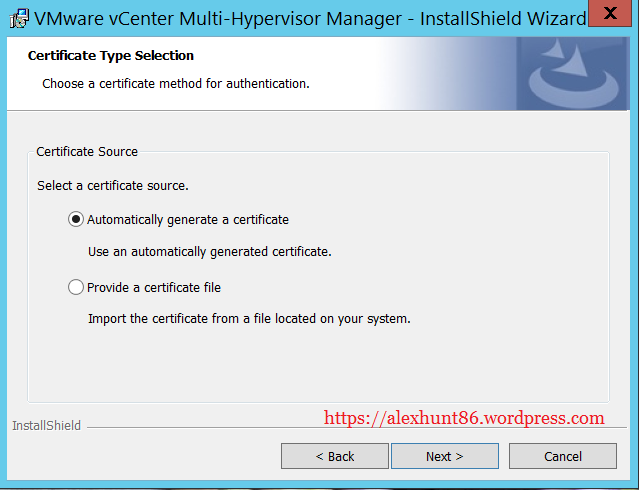
5: Choose Automatically generate a certificate if you want to use self-signed certificates. Hit Next.
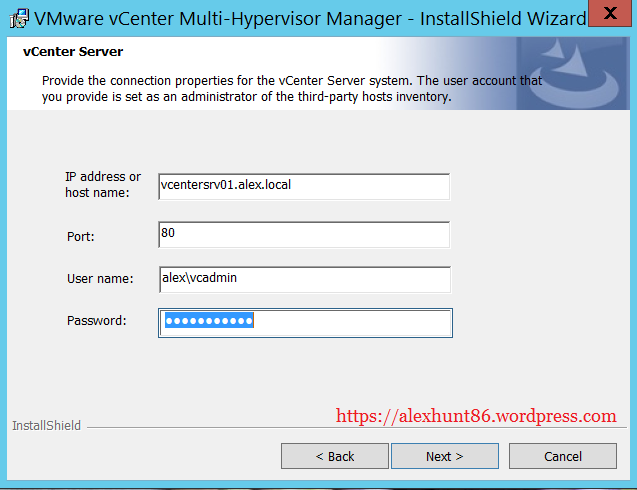
6: Insert the FQDN or IP of the vCenter server that will be managing the Hyper-V hosts.
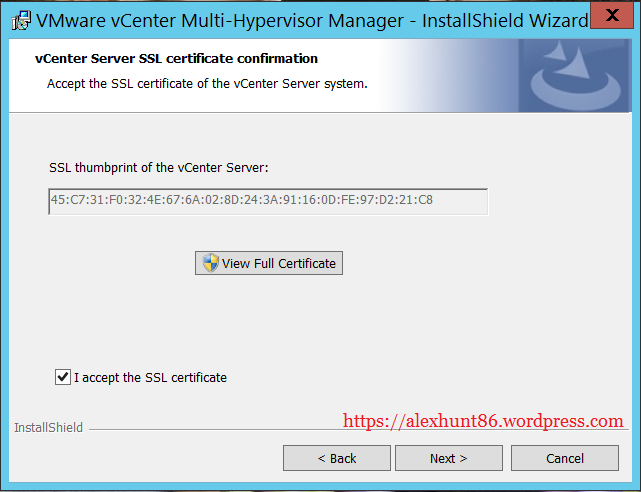
7: Check mark the box “I accept the SSL certificate” and hit next.
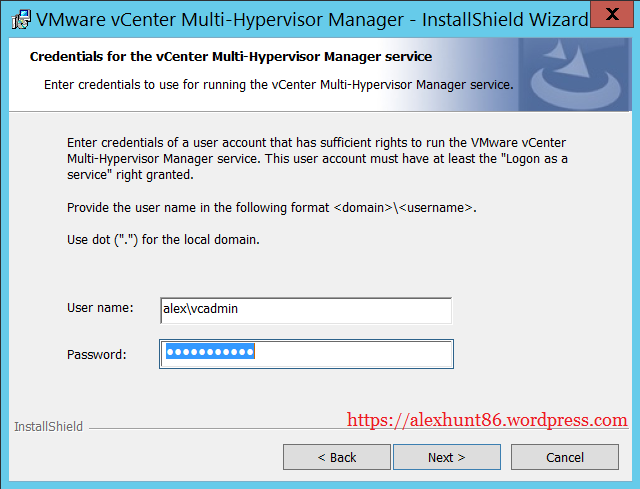
8: Provide the crential information for the user which have run as service rights assigned.
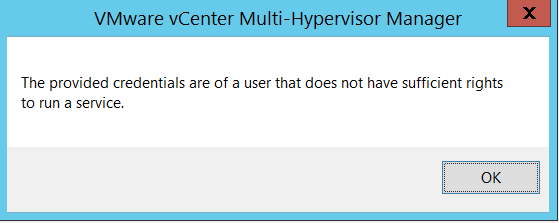
9: If the account information provided in previous page don’t have rights to run as service you will get below error. Don’t loose heart, you can assign the run as service rights from windows group policy editor.
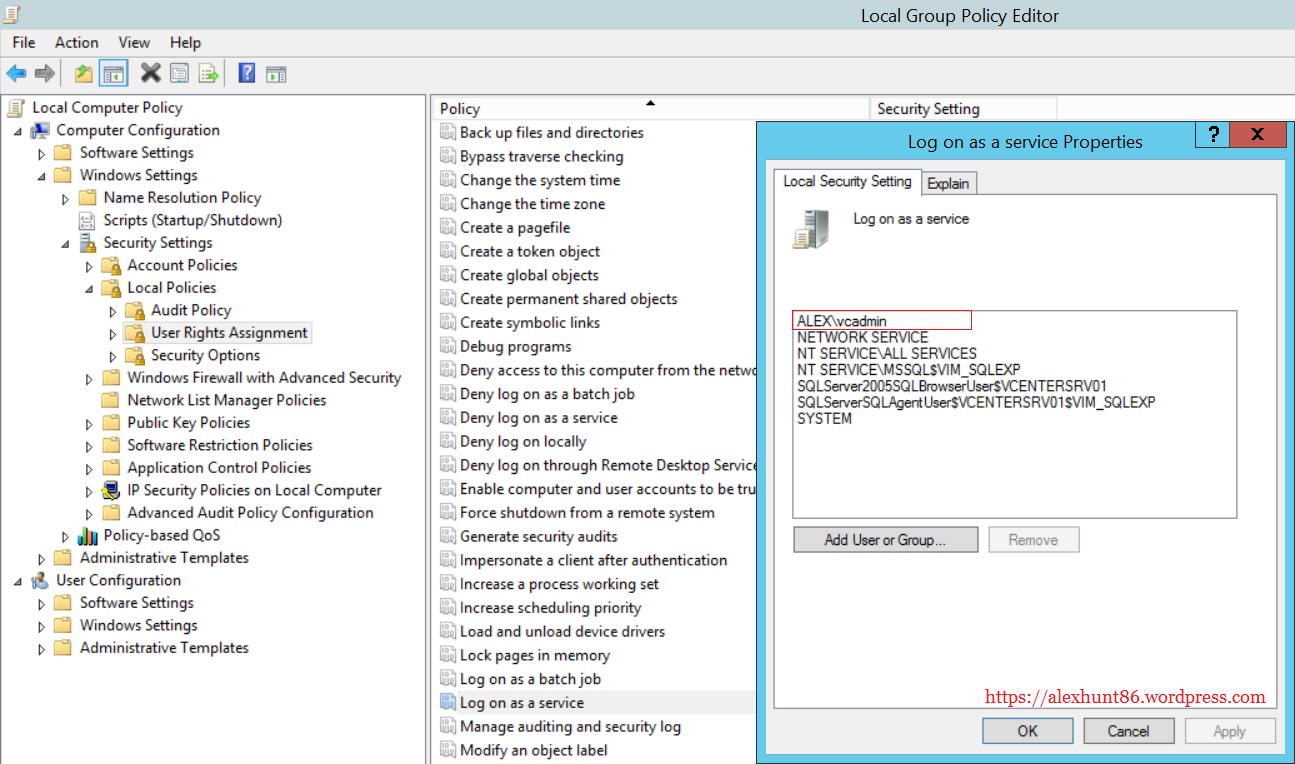
10: Type “gpedit.msc” on run to launch Local group policy editor. Select Local Policies> User Rights Assignment> Select and Right click on Log on as a service and add the user here as shown below.
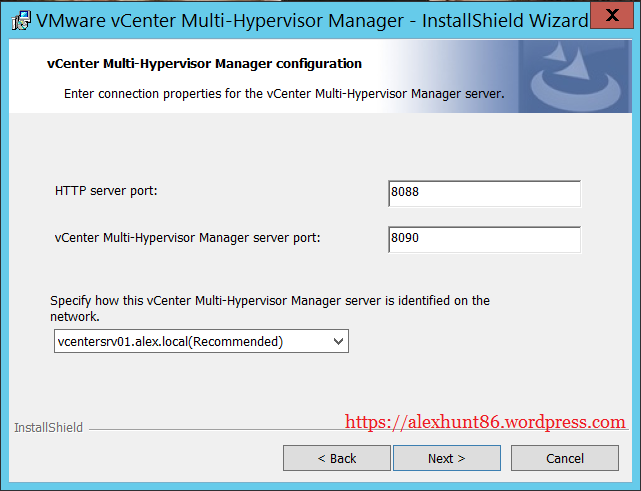
11: Don’t change default port settings if you don’t have any specific use case. Hit Next.
12: Hit Install to start installing the MHM.
13: Hit finish once installation is completed.
Installation of MHM client is very easy. Just few clicks on next next and you are done.
Once the MHM client installation is finished, launch vSphere Client.
14: Under Plug-ins you will see MHM plugin installed.
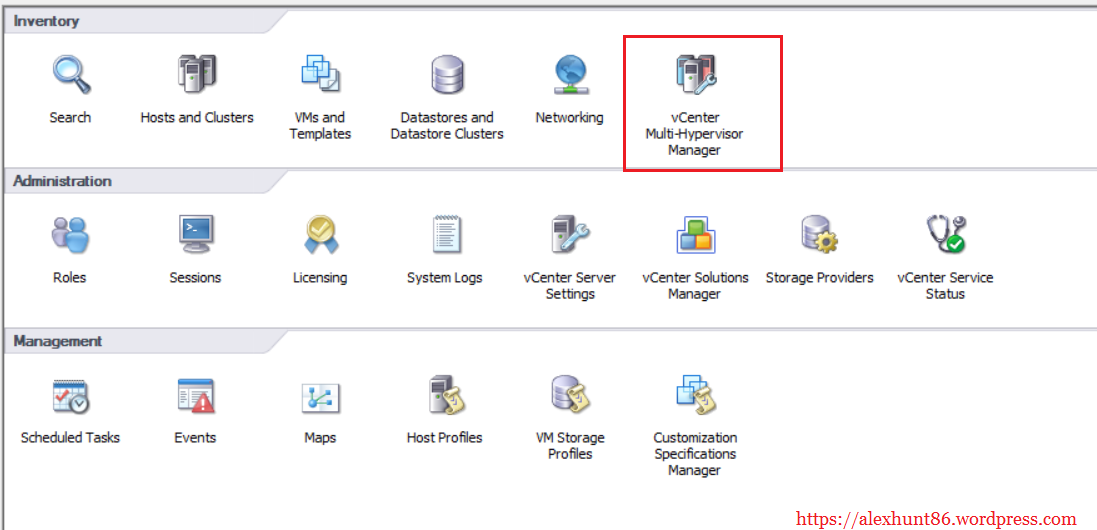
15: On vCenter Home page you will see an Icon for MHM. Double click on it to get started using it.
If you want to see MHM in action I would recommend watching this video:
Additional Resources
You can watch the VMware KB-TV video for MHM installation
Installation and User Guides can be downloaded from below links:
I hope you enjoyed reading this post. Feel free to share it on social media if this post is informational to you. Be Sociable 🙂


