In our last post Configuring vShield Manager we have seen the initial configuration of vShield Manager. Now its time to start doing configuration of the vCloud Director. In this post I will touch down on different configurable options available in vCloud Director. So Lets start.
Open console of the vCloud Director by typing the URL https://vcloud_director_ip
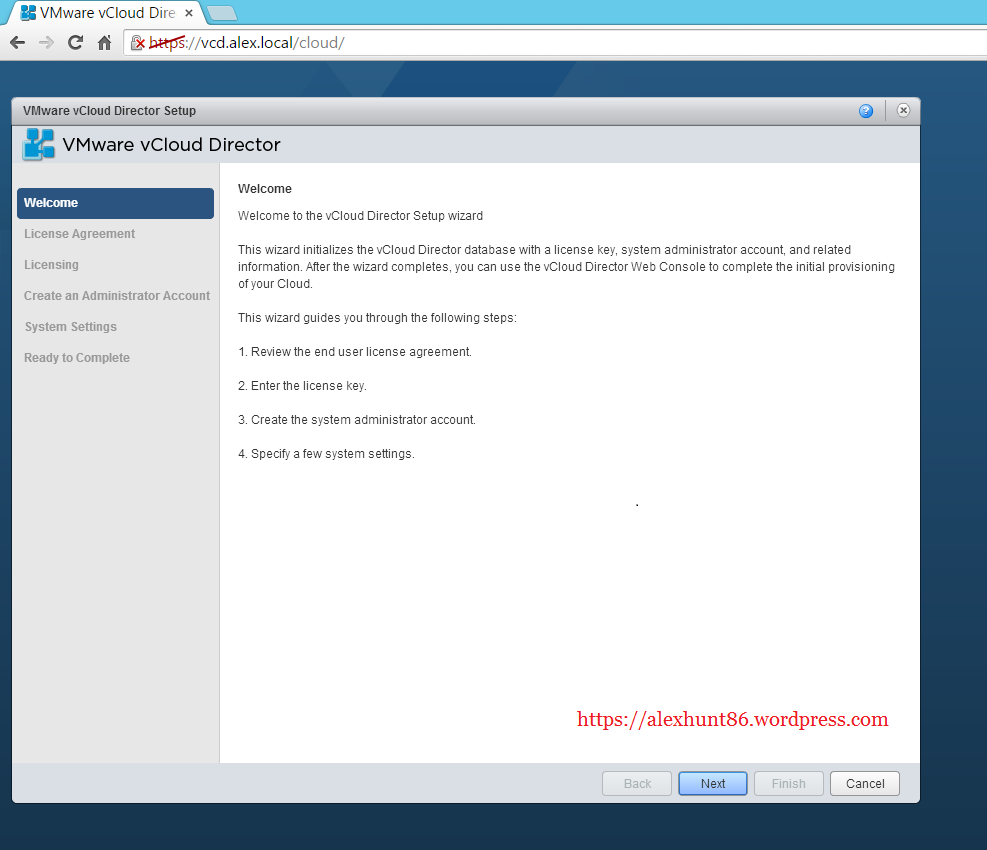
It will present the welcome page listing the initial configuration items.
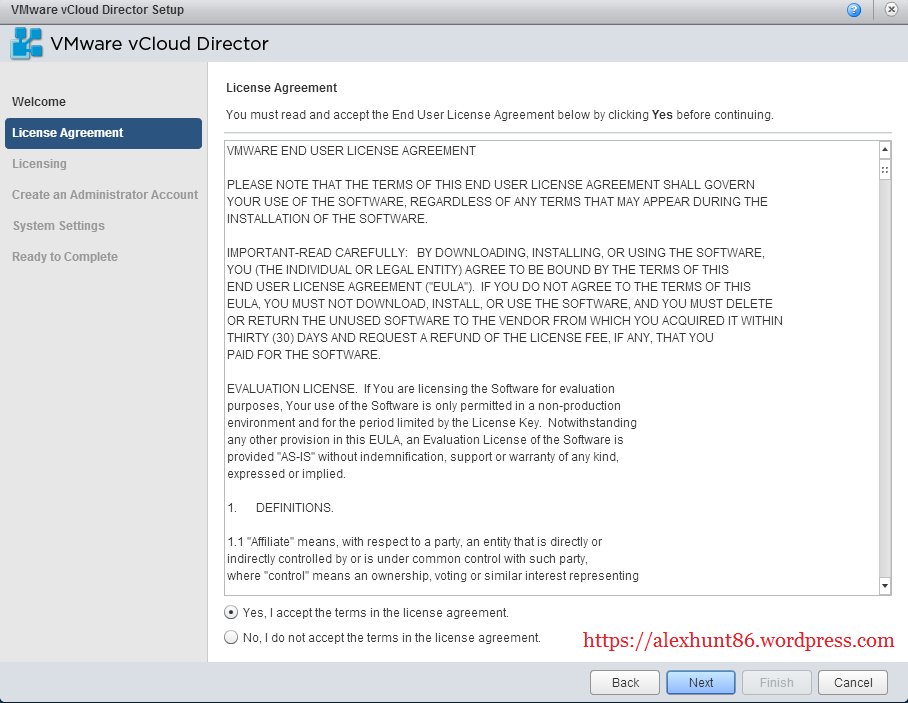
Hit Next to proceed. The very first configuration item is accepting the license agreement.
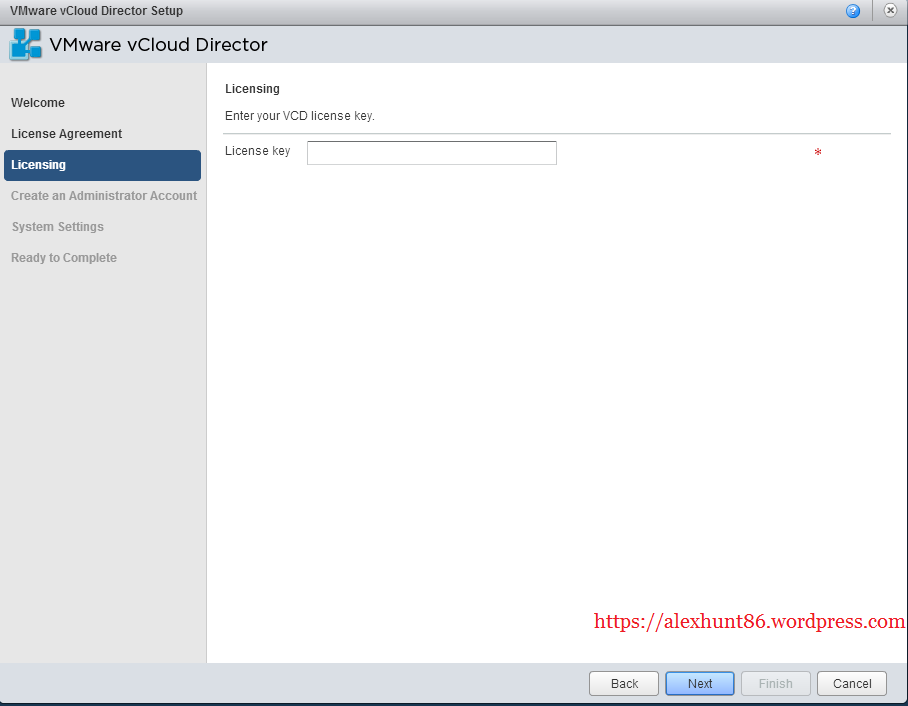
Hitting Next will prompt you to enter the License Key for your vCloud Director instance.
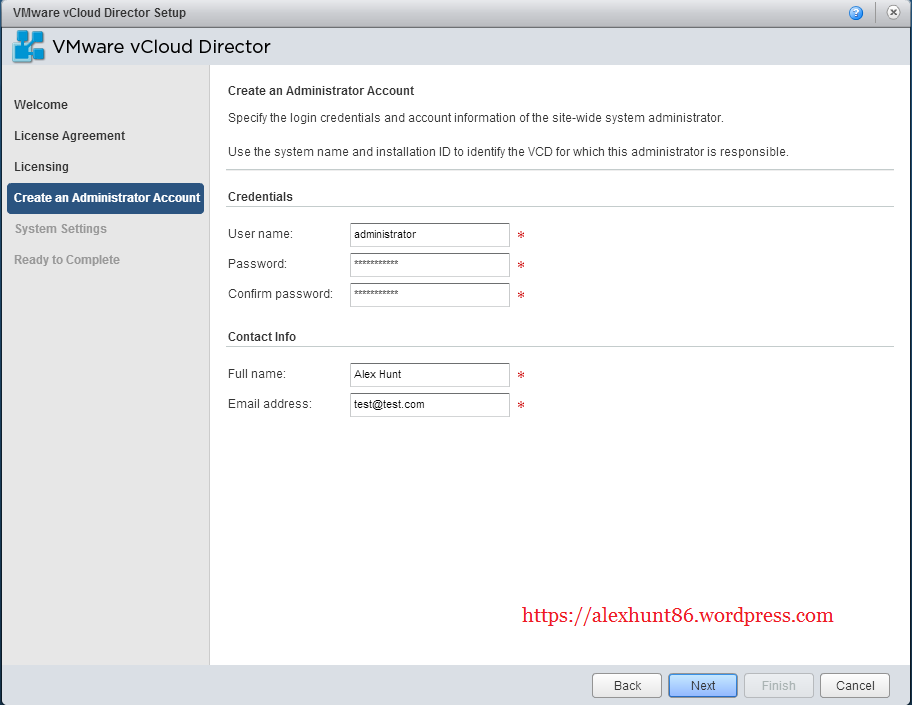
Once you entered your license key hit Next. The next screen will present option to set the administrator username and password and other related options. This username/password will be used for logging onto the vCloud director and perform all the other configurations.
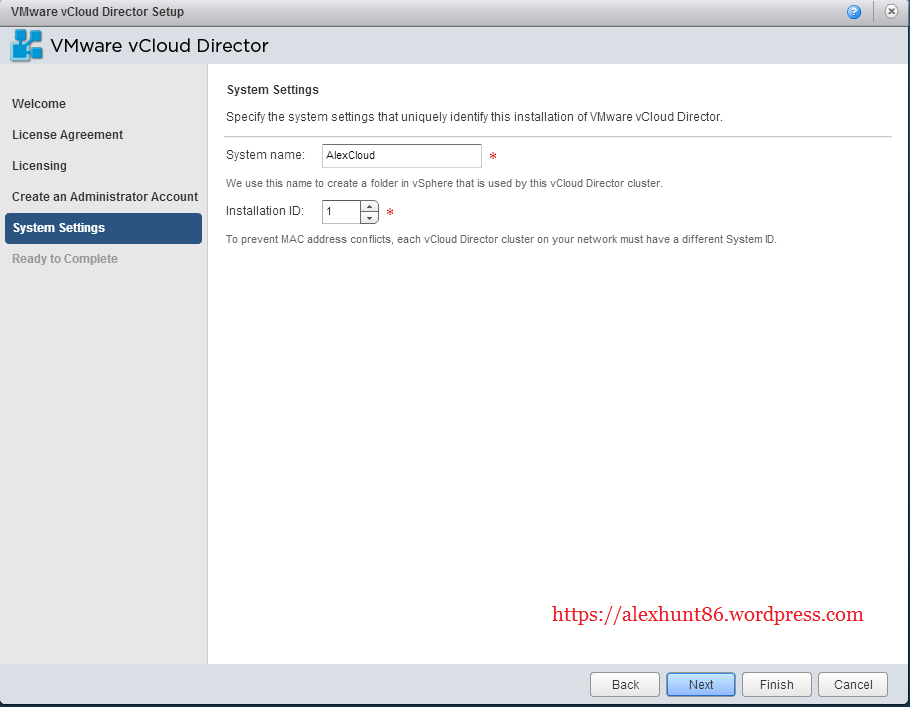
Hit Next to proceed after you have entered the details. Next screen will provide you an option to define the system name. System name is nothing but the name of your vCloud director cell. Enter the installation id. Choose any number of your choice. Each VCD will have a unique installation id associated with it.
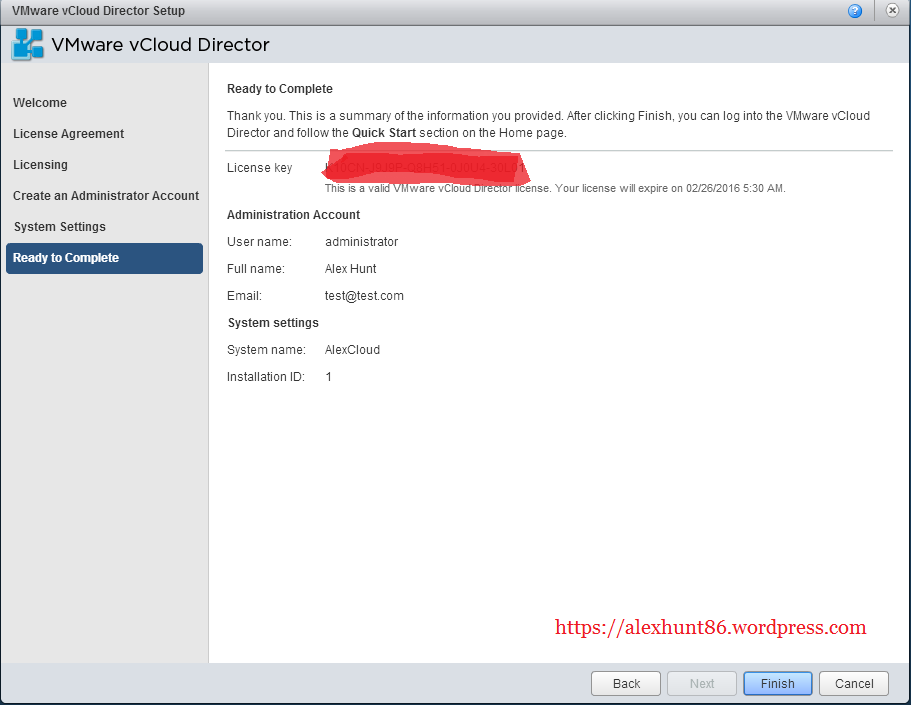
Hitting next will take you to the Ready To Complete page. Review your settings and hit finish.
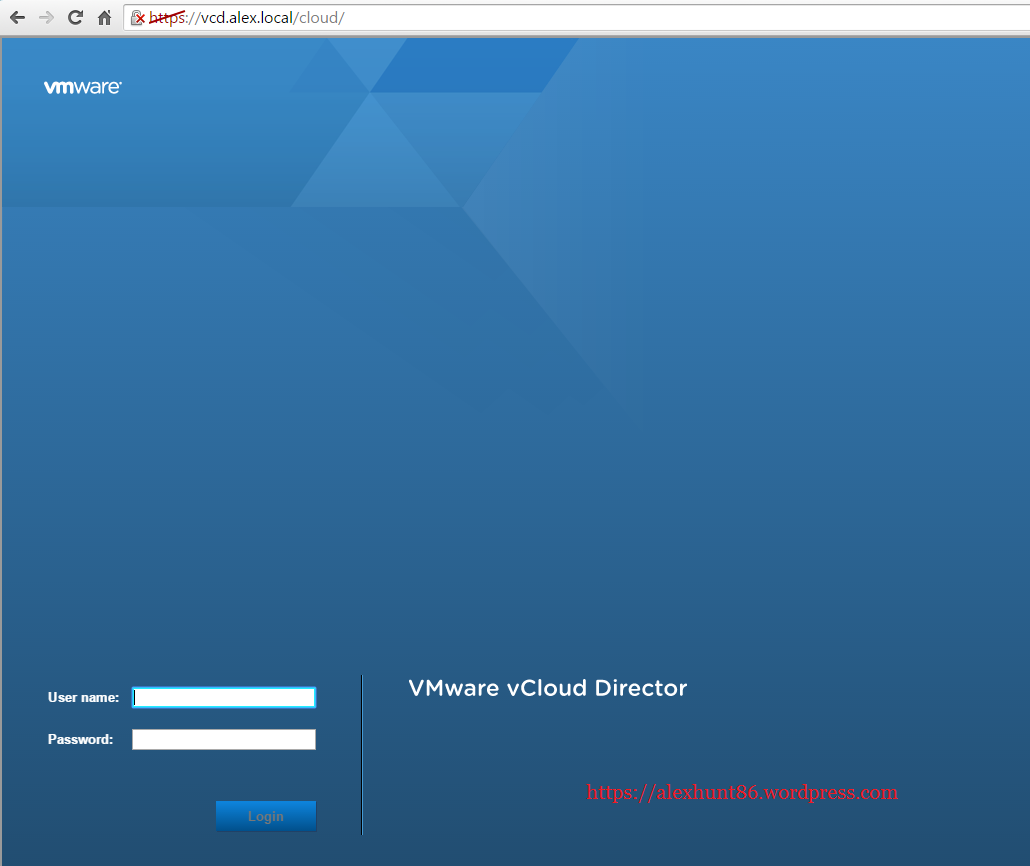
Once you hit finish vCloud Director will present you a login page like as shown below
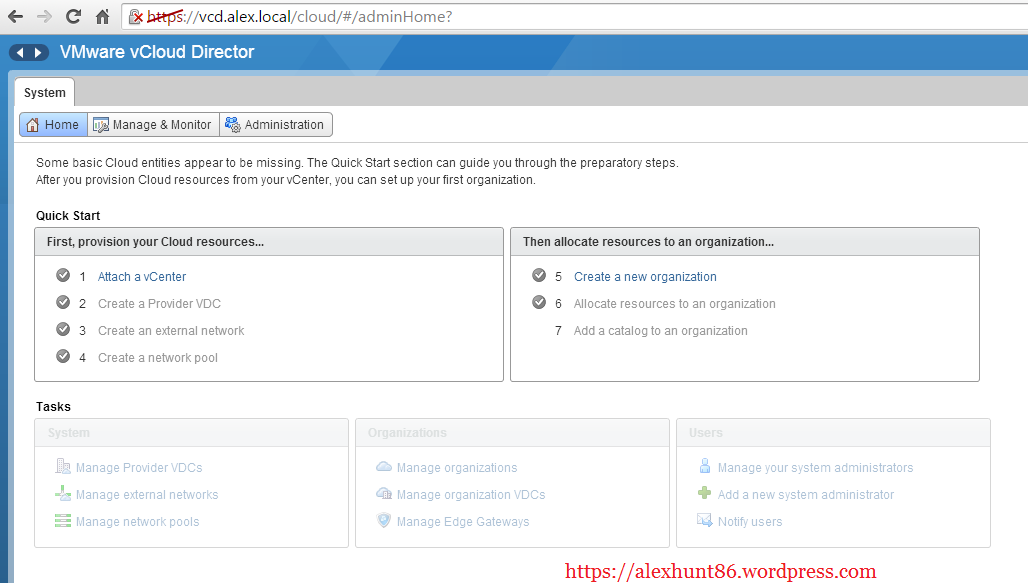
Login with the “administrator” username and password which you set a couple of minutes back to enter the vCloud director console. Once the login is successful you will be presented with below screen where you have options to configure the different components.
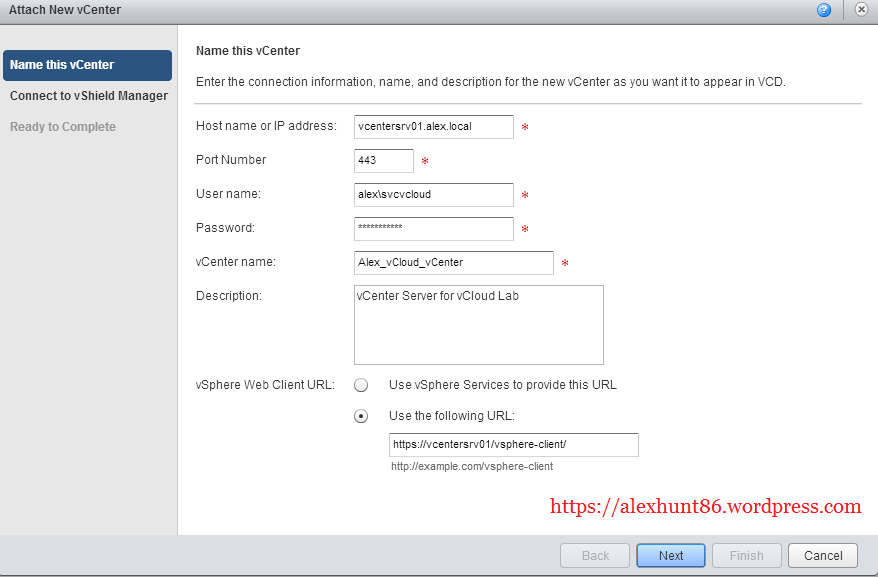
The very first task is to attach your vCenter server here. Your vCenter server contains the resources which will be utilized by the vCloud director. Clicking on Attach a vCenter will ask you the following details”
Hostname/IP Address: Hostname or ip address of the vCenter server
Port: Don’t change the default port settings
Username: Username in the format domainusername
Password: Password of the user
vCenter Name: You can name this according to your own choice. A name which will make some sense to you.
Description:
vSphere Web Client URL: Choose the option “use the following URL” and use the format https://your_vc_name/vsphere-client
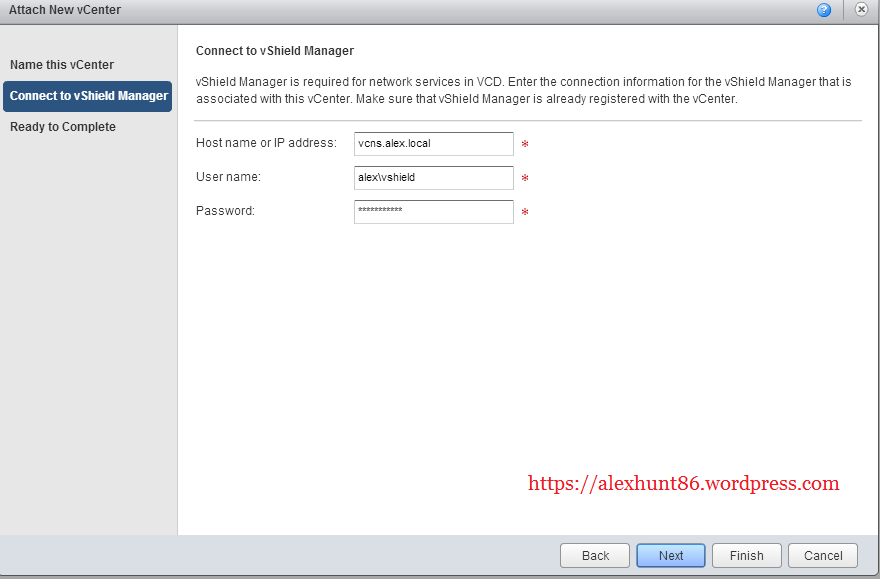
Hit Next after filling all the details. Next screen will ask you to enter the vShield Manager details to connect your vCloud Director to the vCNS.
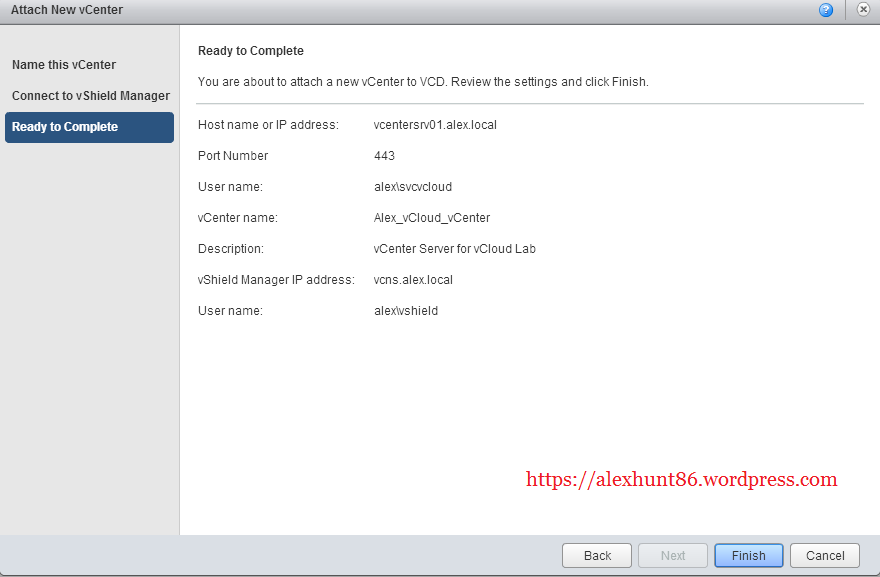
Hit next after providing the relevant details. Review the settings and hit finish
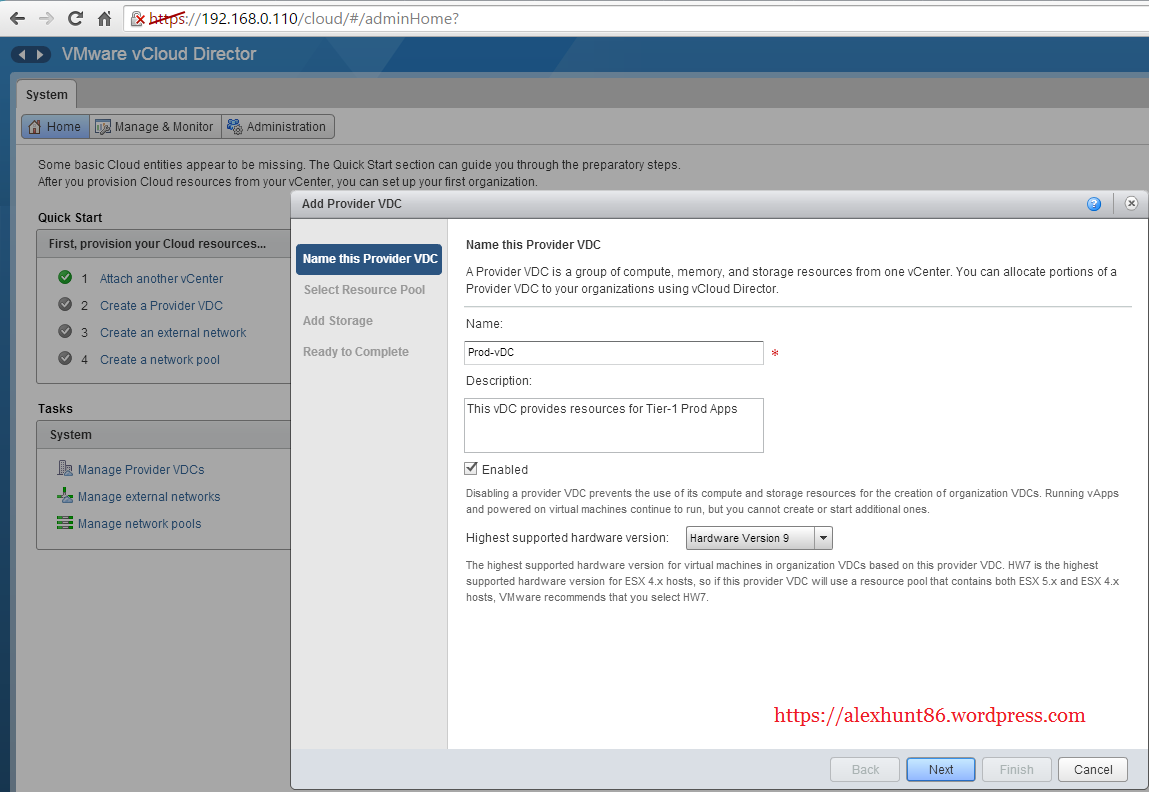
The next step is to create a provider vDC. Click on Create a Provider vDC tab under home section. Provider vDC contains the resources like Esxi host/Storage etc that will be consumed by the cloud VM’s.
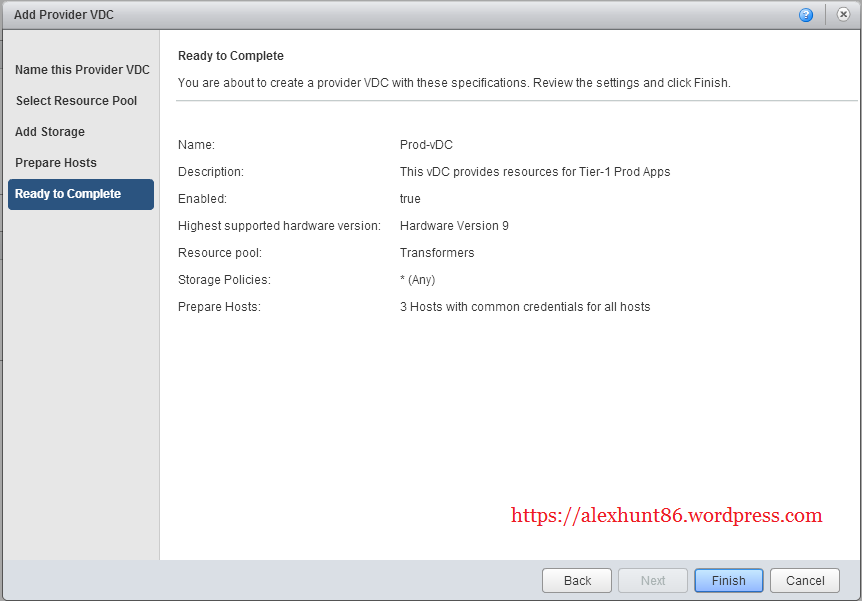
Select a name for the provider vDC and give a description. This screen will also let you choose the highest supported hardware version for the VM’s that will be running on top of cloud.
Since all my Esxi host is version 5.5 so I selected hardware version 9. If your environment has mix of Esxi hosts (5.1 & 5.5 for example) you may choose a lower version of supported hardware version for the virtual machines.
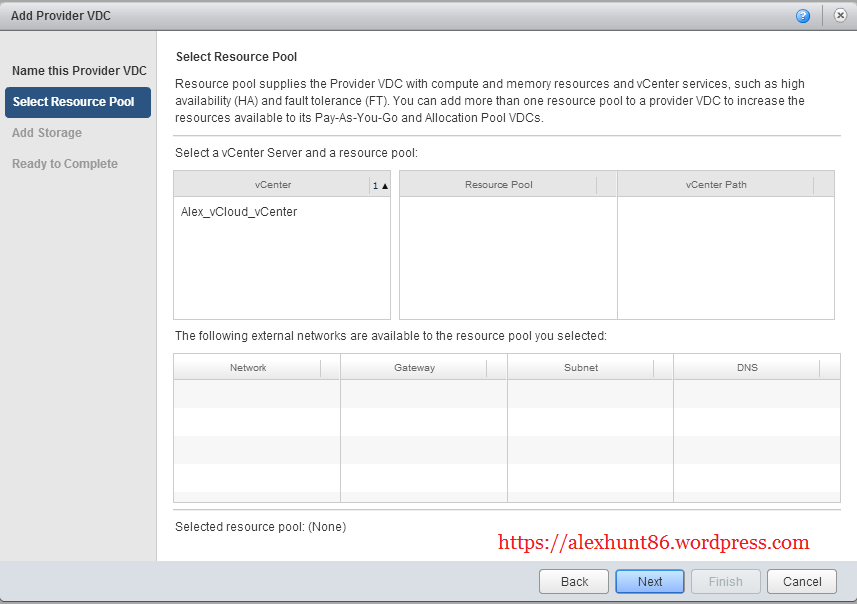
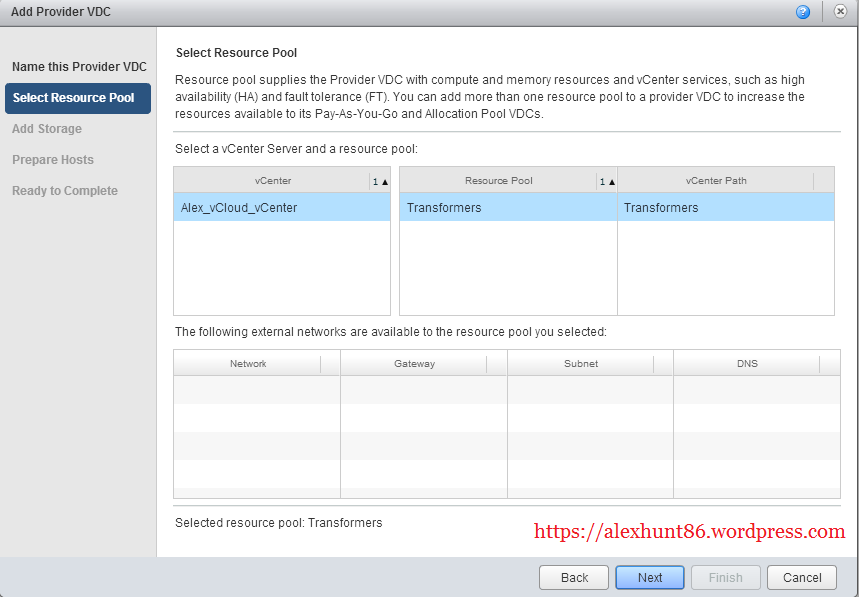
Next screen will ask you to select the vCenter server and the resource pool (if you have created any). Selecting the vCenter Server automatically populates the Resource Pool section and vCenter Path.
Also you need not to worry about the external network section if you have not created any network that will be used by your cloud resources. You can create it any time later.
Hit next when you are done here.
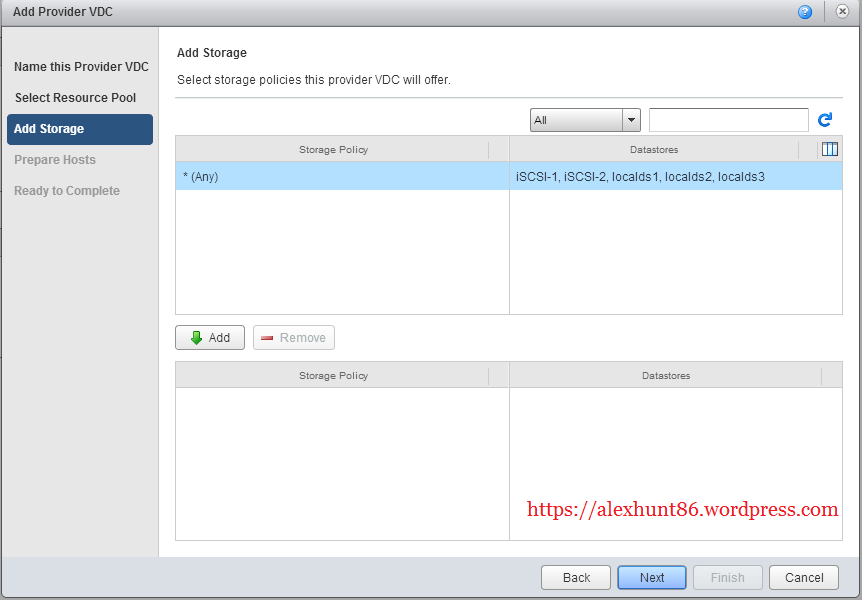
Next is to populate the storage for your vCloud infrastructure. You can select all the datastores or only the custom ones. For my lab I selected all. Hit Next
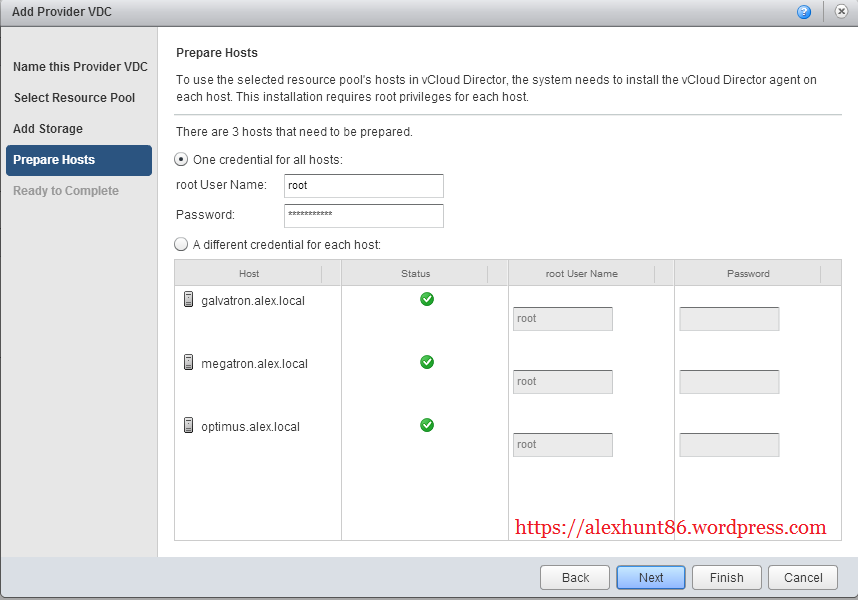
On next screen you can specify whether same credentials will be used for all hosts that are part of the vCloud infrastructure or each host has its own password.
In Ready To Complete page review your settings and hit finish.
After hitting finish vCloud director will start configuring the Esxi hosts for setting up the cloud layer. You can watch the ongoing tasks in Recent Task pane.


2 thoughts on “Building a Private Cloud with vCloud Director-Part 7: Configuring vCloud Director”