Welcome to part-8 of the NSX Multi-tenancy series. The last post of this series discussed how NSX VPC is created and how subnets are carved out from the allocated IP blocks.
In this post, I will discuss how resource sharing works in VPC.
If you are not following along, I encourage you to read the earlier parts of this series from the below links:
1: NSX Multi-tenancy Introduction
2: Multi-tenancy Design Models
4: Distributed Security in NSX Project
5: NSX Virtual Private Cloud Overview
When a VPC is created, a default share is created automatically in the parent project. This share contains the private and external IP blocks, Tier-0 gateway, and edge cluster, which the VPC can consume.
The public block is created in the default space by the Enterprise Admin and shared to the project/vpc. A private IP block is created and shared by the Project Admin.
Custom resources can be shared to a VPC in 2 different ways:
- Resources created in the Default space: This is done by the Enterprise Admin, and it shares resources to all VPCs in the specified project.
- Resources created in the Project’s space: This is done by the Project Admin, and it shares resources either to all or to selected VPCs in the project.
Shared resources are available in read-only mode in the projects or NSX VPCs with which they are shared.
Let’s discuss both options one by one.
Resources Created in the Default Space
The Enterprise Admin has created a security group in the Default space containing the infrastructure repository server. This server hosts all required software binaries that VPC’s workload can consume for day-to-day operations. This security group will be shared with the VPCs running in the Engineering project.
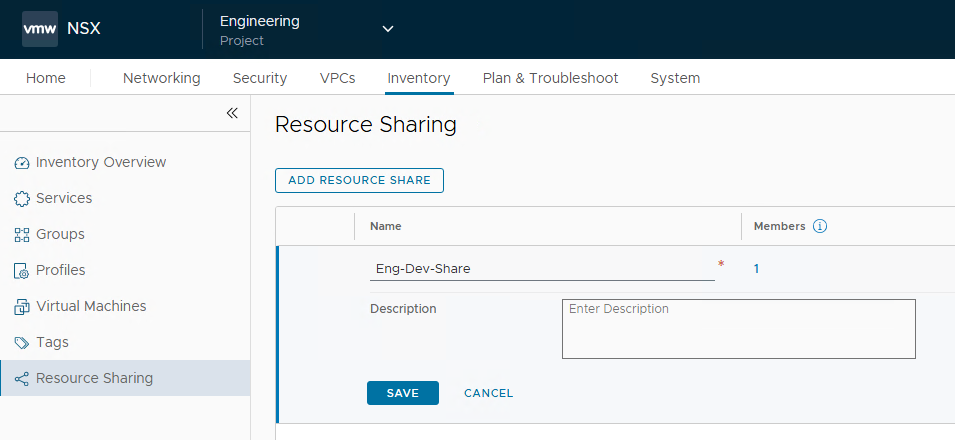
To share a custom resource, navigate to Inventory > Resource Sharing and add a new share.
The security group (Infra-Repo-SRV) created in the previous step is added as the compute member in the share.
Share the resource with the required project.
If the resource sharing with vpc toggle is turned on, it will be shared to all VPCs running in the project that you selected. You can’t select VPCs individually here.
Either the resource will be shared with all VPCs or none. If the toggle is turned off, the resource is shared only with the Project.
The shared resource is visible in the Project’s space under Inventory > Groups. You need to select checkbox “Shared objects” to view the object.
To provide network access to this resource, the VPC admin creates a gateway firewall rule to allow ICMP and HTTP connection to the repo server.
When you select the shared resource in the source/destination of the firewall rule, you will notice the tag on the resource indicating it was created in the Default space.
Resources Created in the Project’s Space
The Eng-Dev VPC in the Engineering project has an in-house developed application called FDI. This is a clustered application and exchanges heartbeats on the port TCP/5886. The project admin is planning to implement micro-segmentation in this VPC.
The Project admin creates a custom service for the FDI app.
This service will be shared with the Eng-Dev VPC.
The custom service is added as the compute member in this share.
The project admin shares this resource with a selected VPC.
When this resource is consumed in a firewall rule, you will notice that the resource is tagged with the Project’s name.
And that’s it for this post.
I hope you enjoyed reading this post. Feel free to share this on social media if it is worth sharing.


One thought on “NSX 4.2 Multitenancy Series – Part 8: Resource Sharing in NSX VPC”