Welcome to part-7 of the NSX Multi-tenancy series. The last post of this series discussed how networking works in NSX VPC and the concept of subnets.
In this post, I will demonstrate how to create an NSX VPC and setup networking for the project workloads.
If you are not following along, I encourage you to read the earlier parts of this series from the below links:
1: NSX Multi-tenancy Introduction
2: Multi-tenancy Design Models
4: Distributed Security in NSX Project
5: NSX Virtual Private Cloud Overview
To recap from the previous post, a VPC can have public and private subnets for workload connectivity.
The Enterprise Admin creates public subnets in the default space and allocates them to the Project, which can then be consumed by the NSX VPC. Also, the Enterprise Admin whitelists the approved subnets for advertising them to the northbound routers.
Creating subnets is the first step in setting up VPCs in NSX.
Create Subnets for Project
Create Public Subnet
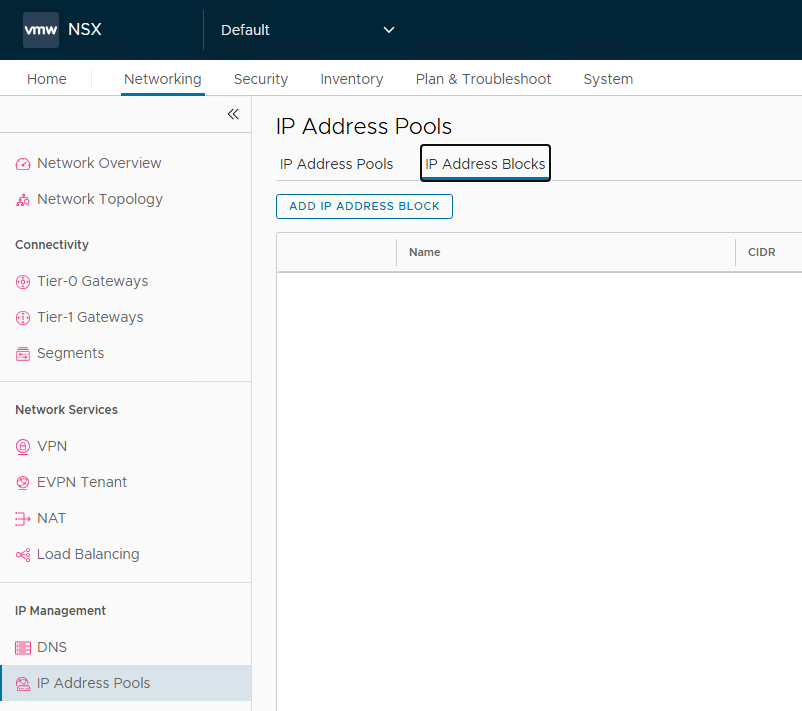
To create public subnets for a project, login to the NSX manager as Enterprise Admin, navigate to Networking > IP Address Pools > IP Address Blocks and click on the Add IP Address Block button.
Enter the name and description (optional) for the subnet and the CIDR for the subnet. Set the visibility type to “External” to make the subnet public.
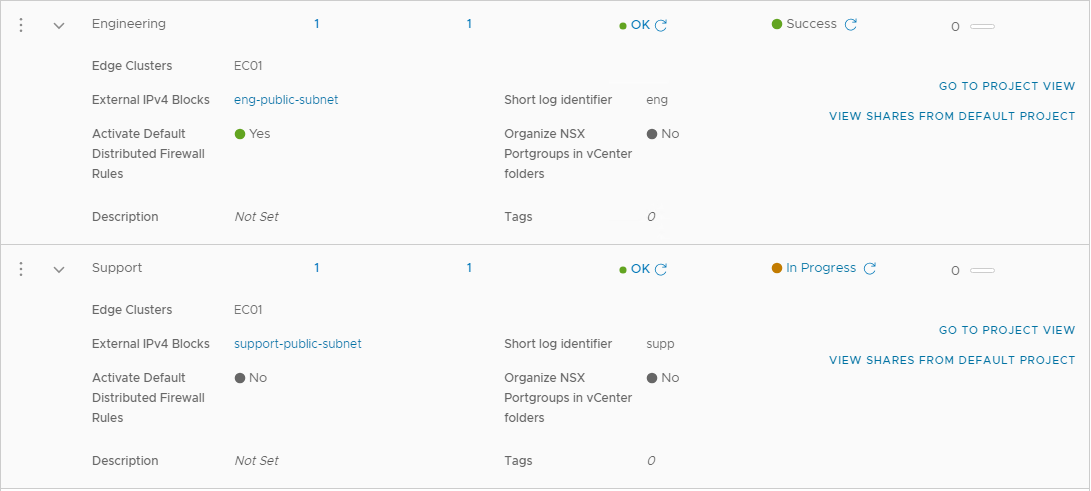
In my lab, I have 2 projects, and I created one public subnet for each.
Allocate the subnets to their respective projects by navigating to the All Projects page and editing the Project.
Create Private Subnet
To create a private subnet, login to the NSX manager as Project Admin and create subnets. The visibility for the private subnet is set to “Private“.
I created a couple of private subnets for the Engineering project.
Whitelisting VPC Public Subnet
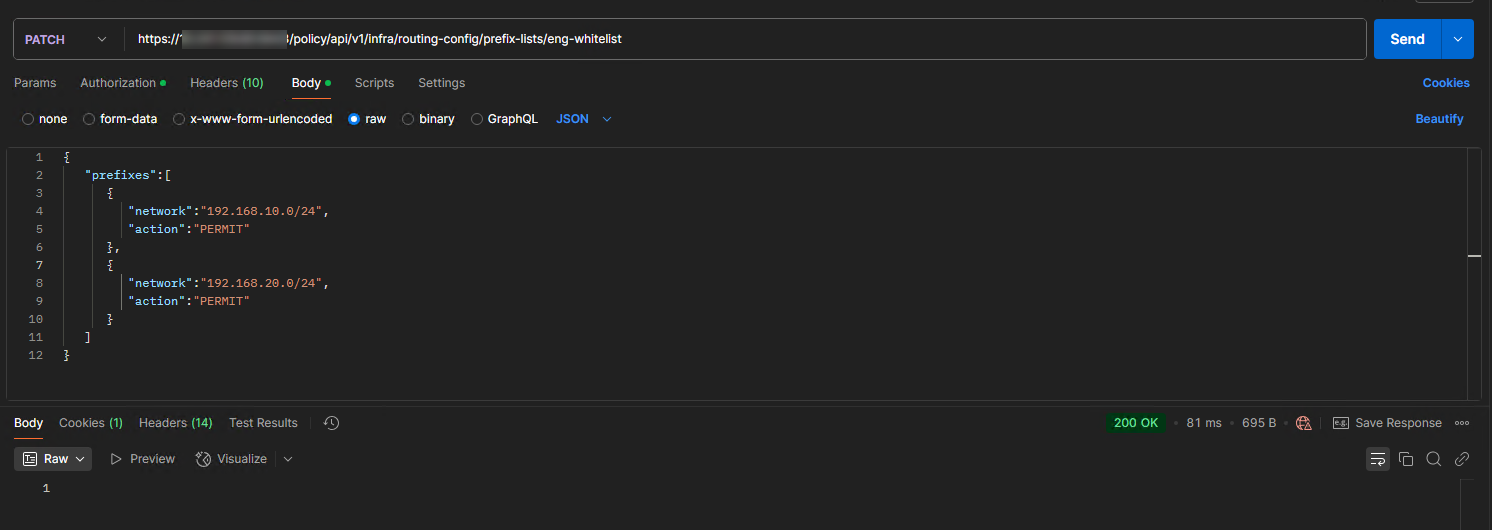
As discussed in the previous post, creating a whitelist for the Project’s subnet is only possible through API as of the NSX 4.2.1 version.
In part-3 of this series, I created a whitelist named “eng-whitelist” for the Engineering project when I created the Project.
I am modifying the same whitelist with the VPC’s public subnet CIDR.
Since the whitelist is associated with the project’s route filter, it will be advertised automatically.
Create NSX VPC
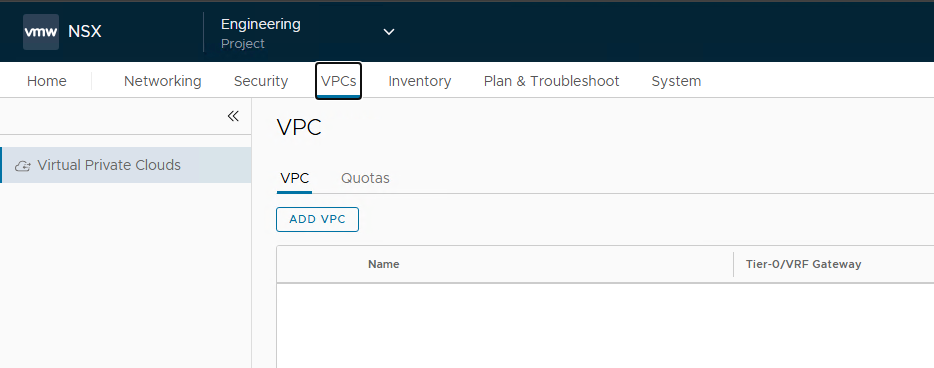
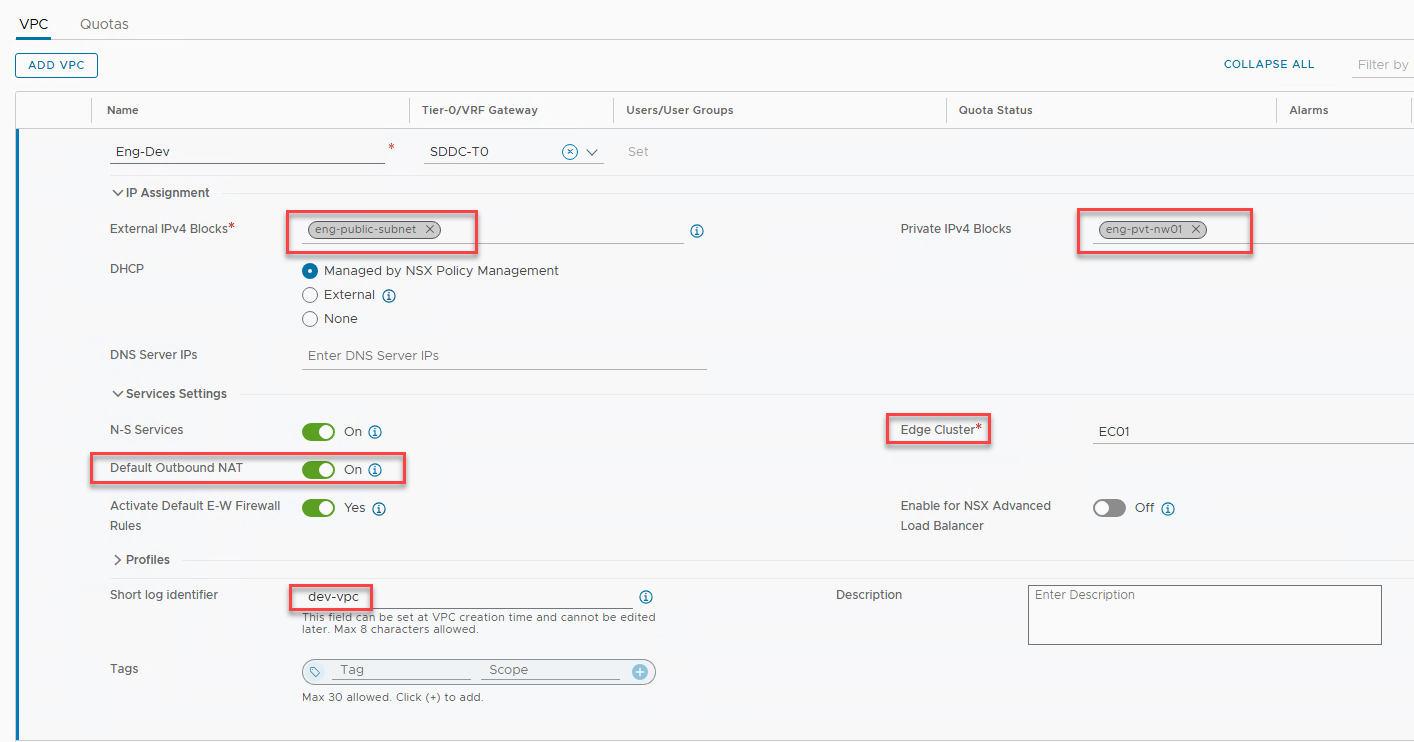
To create a new VPC, login to the NSX manager as Project Admin, navigate to VPCs > VPC, and click the Add VPC button.
- Specify the name for the VPC and select the T0/VRF gateway and the edge cluster (shared by the provider).
- Select the public and private subnets for the VPC that you created in the previous step.
- Turn on the setting “Default Outbound NAT” to allow traffic from the private subnets to be routed outside the NSX VPC.
- For automatic IP assignment for the workloads, set the DHCP mode to “Managed by NSX Policy Management“.
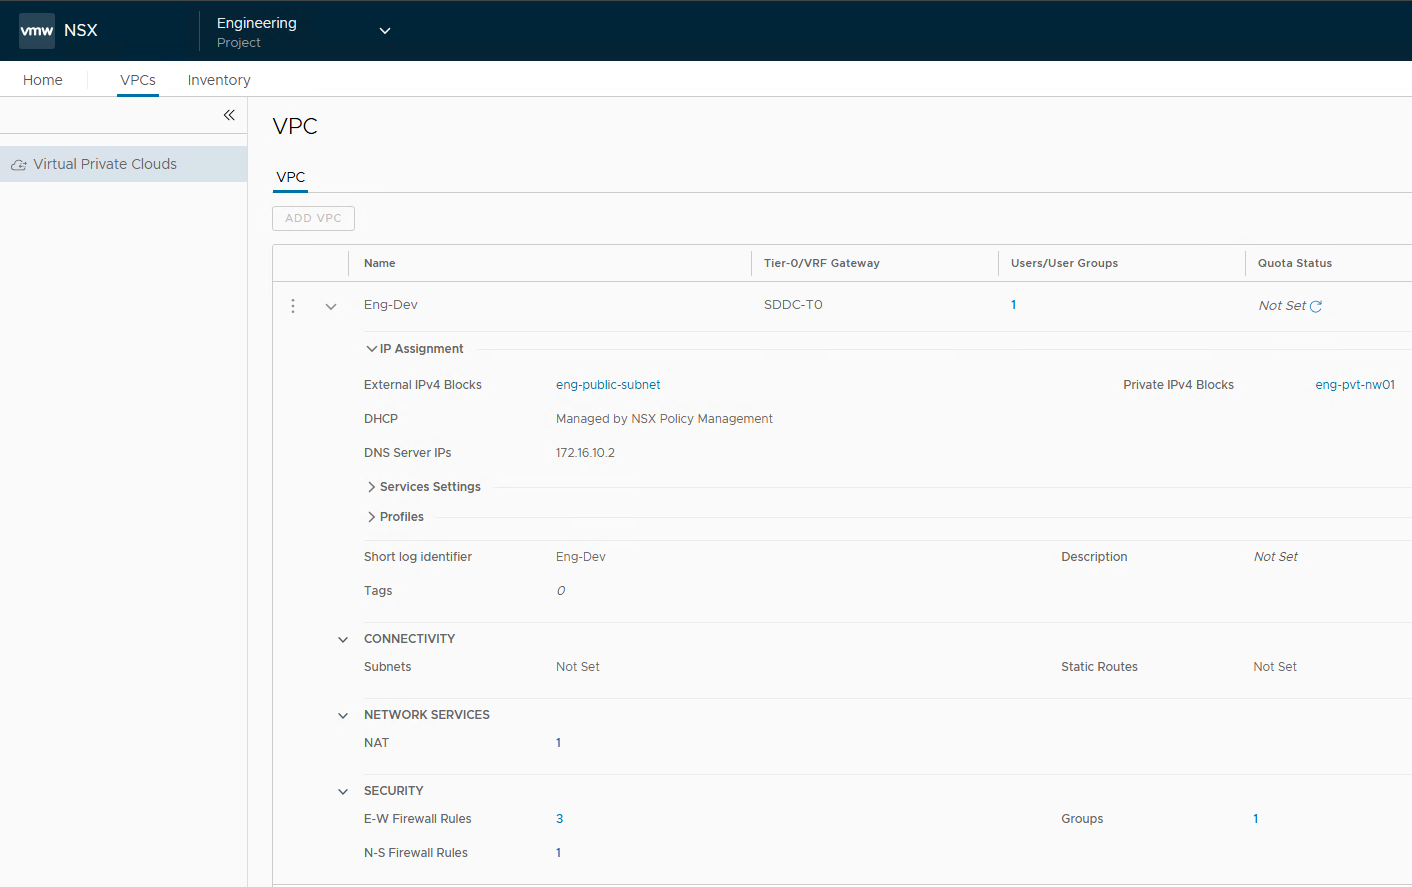
Repeat the process to create additional VPCs if you wish. I have created a couple of them in my lab.
An obscured tier-1 gateway is also created when a VPC is created. The Project Admin has visibility to all tier-1 gateways created for VPCs in a project.
Assigning RBAC Policies to VPCs
RBAC policies are applied to the VPCs by the NSX Enterprise Admin.
I have created a couple of users in my lab for the 2 VPCs created in the Engineering project. The users were Activated by setting the user passwords.
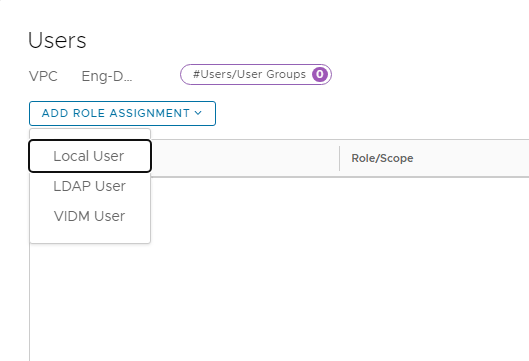
To assign a VPC Admin role to the user, switch to the Project space, navigate to the VPC page, and click on 0 under User Groups.
Select Local User under “Add Role Assignment”.
Select the user that you created earlier and set the scope to the VPC that the user will be administering.
Click the save button to finish the user role assignment wizard.
Repeat the process for assigning the VPC Admin role to other users that you might have created.
Login to the NSX manager as the VPC Admin user. This user has access only to the VPCs that have been assigned to it by the Enterprise Admin.
The VPC Admin user cannot modify the IP blocks assigned to the VPC but can create subnets, onboard workloads, and configure E-W & N-S firewall policies and NAT rules.
The VPC Admin can add users with non-admin roles to the VPC. For this, the Enterprise Admin has to delegate role assignment privilege to a VPC Admin.
Creating VPC Subnets
As discussed previously in the VPC Networking, 3 types of subnets can be created in a VPC:
- Private subnets
- Public subnets and
- Isolated subnets
Subnets are added to the VPC by the VPC Admin. To add a new subnet to the VPC, edit the VPC and click on the set button under Connectivity.
Click on the Add Subnet button.
Provide a name for the subnet and choose the Access mode.
Select the size for the subnet. The selected size dictates the CIDR for the subnet from the public IP block that is assigned to the VPC.
Repeat the process for creating additional public and private subnets. For public and private subnets, you don’t need to specify a CIDR, as it is automatically created by NSX.
This has made life easy for the application owner as they can easily create/allocate networks for the workload without having in-depth knowledge about the networks.
Note: When you create an isolated network for the VPC, you need to manually specify the CIDR for the network. You can choose any CIDR for this network as it’s an internal network that has no gateway connectivity and is reachable only inside the VPC. Overlapping CIDRs can be created for the isolated subnets.
In my lab, I selected the size of 32 for both public and private subnets, so a /27 network is carved out from the CIDR of the public and private IP block.
A project Admin has visibility to all subnets that are created across VPCs in a project.
Assigning Quotas to VPCs
Quotas are similarly assigned to VPCs as it is applied to the projects. Quota prevents VPC Admins from exhausting all resources in a project. Quotas are assigned to VPCs either by the Enterprise Admins or by the Project Admins.
Quotas can be applied to the objects created in a specific VPC or objects created for all VPCs from the default view.
To create a quota policy, login to the NSX manager as Project Admin, navigate to VPCs > Quotas tab and click on Add Quota.
Provide a name for the quota policy and select the VPCs to which this policy will be applied.
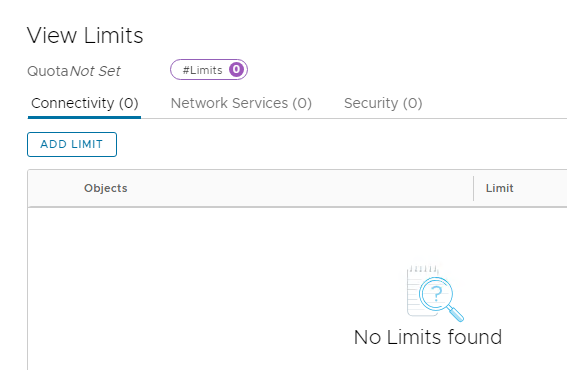
To set the object limits, click on the Set button under the Limits column.
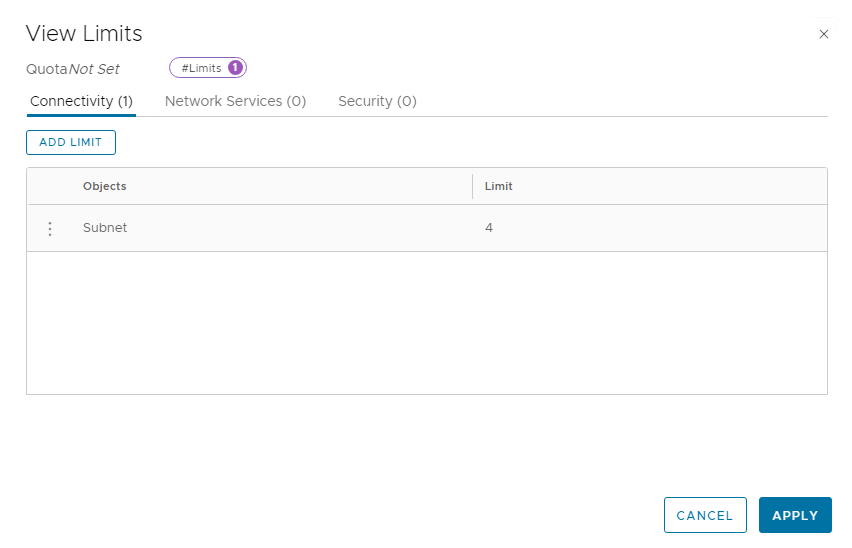
Limits can be enforced for 3 categories: Connectivity, Network Services, and Security.
Select the appropriate category and click on Add Limit.
Select the object and set the limit by specifying the value in the numerical form and click Apply.
To apply quota across all VPCs, login to the NSX manager as Enterprise Admin and switch to the project space and navigate to the Quotas tab.
Provide a name for the quota policy and select the projects to which this policy will be applied. The limits defined in this policy are cascaded to all VPCs created across the projects that you have selected. Click on the set button to define the limits.
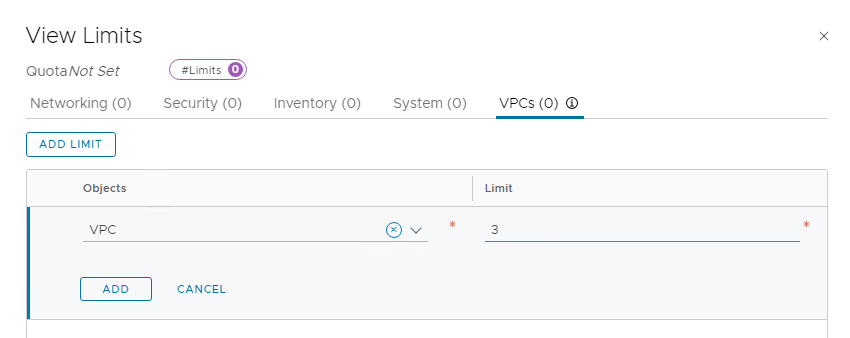
Select the VPC tab and click on the Add Limit button.
Select the object and specify the limit.
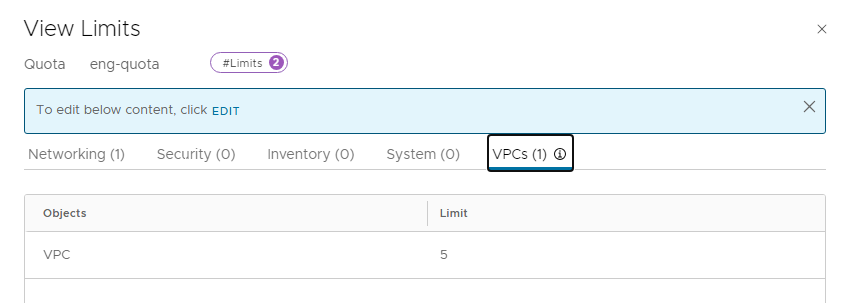
An Enterprise Admin has visibility to all quota policies in the default view and can alter the limits by editing the policy.
Note: If multiple quotas are applied to the same object, the one with a lower value takes effect.
Let’s see the quota policy in action.
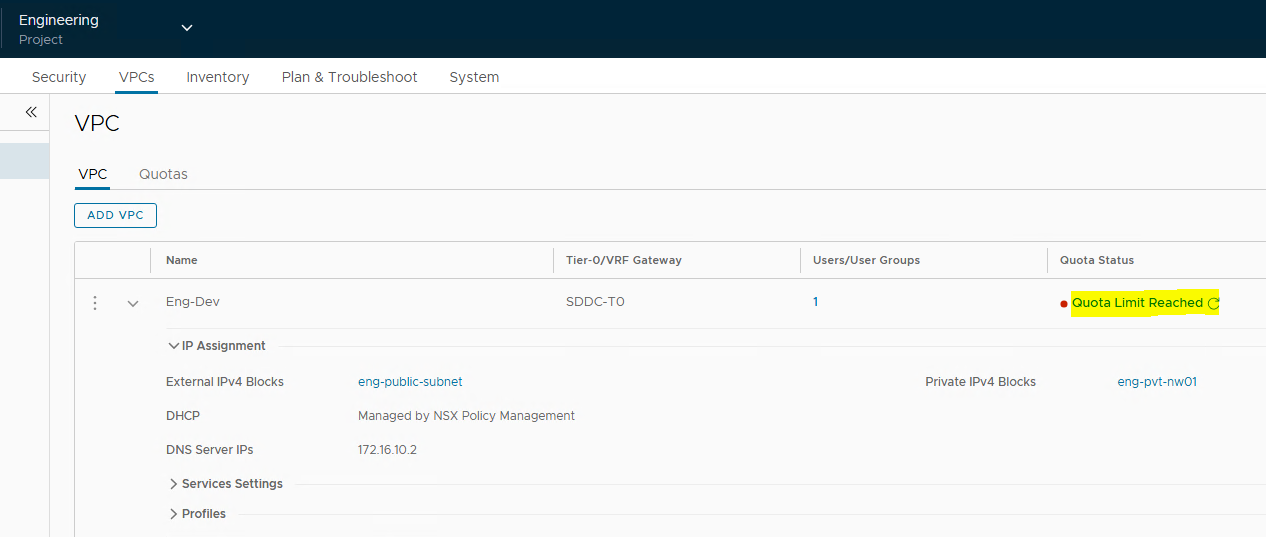
Eng-Dev VPC in the Engineering project has a quota policy that allows the creation of 4 subnets in the VPC. The VPC Admin has created 4 subnets for workload consumption.
When the VPC admin tries creating a new subnet, he gets an error: “Max Quota reached for target resource type.“
Project Admin has visibility to VPCs that have reached quota limits and can alter the policy if required.
Clicking on the Quota status, the VPC admin can view which object has exceeded the quota and the current configured limits for the object.
And that’s it for this post. In the next post of this series, I will discuss the topic of resource sharing in VPCs. Stay tuned!!!
I hope you enjoyed reading this post. Feel free to share this on social media if it is worth sharing.
















One thought on “NSX 4.2 Multitenancy Series – Part 7: Creating NSX VPC’s”