Welcome to part-3 of the NSX Multi-tenancy series. Parts 1 & 2 of this series were theoretical and mainly focused on multi-tenancy architecture and design models. This part focuses on hands-on, with topics such as creating NSX projects, applying RBAC policies, and creating networking constructs within the project.
If you are not following along, you can read the earlier parts of this series from the below links:
1: NSX Multitenancy Introduction
Environment Details
This is a full-fledged NSX deployed environment based on the design documented here; thus, I am not covering the implementation details again.
The lab is deployed as per the below BOM
| Component | Version |
| VMware ESXi | 8.0 Update 3d |
| vCenter Server | 8.0 Update 3d |
| vSAN | 8.0 Update 3d |
| VMware NSX | 4.2.1.2 |
| Backbone Router | vYOS 1.5 |
| AD + DNS Server | Windows Server 2022 |
I am using the multi-tenancy with shared provider tier-0 gateway design for this post, where tenants will share the tier-0 gateway and the edge clusters from the provider.
This environment hosts 2 tenants named Engineering & Support deployed per the architecture below.
Create NSX Projects
Projects in NSX are created from the default space.
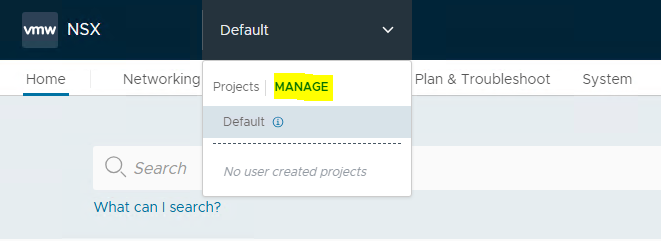
To create a new project, login to the NSX manager as an Enterprise Admin and click the Manage button in the default space drop-down menu.
Click on the Add Project button.
Specify the project’s name and select the tier-0 gateway and edge cluster created by the provider. Turn off the “Activate Default DFW Rules” to disable DFW for the newly created project. I will discuss this in more detail in the Project Security section later in this post.
If you toggle the option “Organize NSX portgroup in Center” to yes, then NSX creates a dedicated folder for each project for storing the networks created inside the project.
Provide a meaningful short log identifier for the project. This identifier helps in troubleshooting scenarios as the log files will be prepended with the identifier name, and it’s easy to filter logs.
Repeat the process to create more projects.
I have created a couple of projects in my environment.
Assign RBAC Policies to Projects
After the projects have been created, you assign users to the projects and apply role-binding. The initial user is assigned a ‘Project-Admin‘ role, and Enterprise Admins can enable project admins to add more users to their respective projects.
You can add Local Users to the project or import from an identity source if NSX is configured for LDAP, etc.
Note: In my lab, I have created local users only.
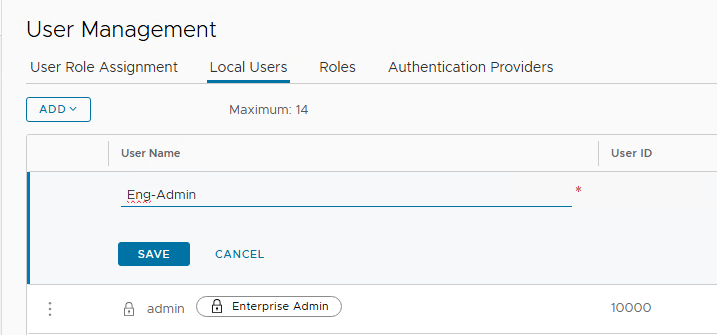
To create a new local user, navigate to System > User Management > Local Users > Add > Local User.
Enter the name of the user and click Save.
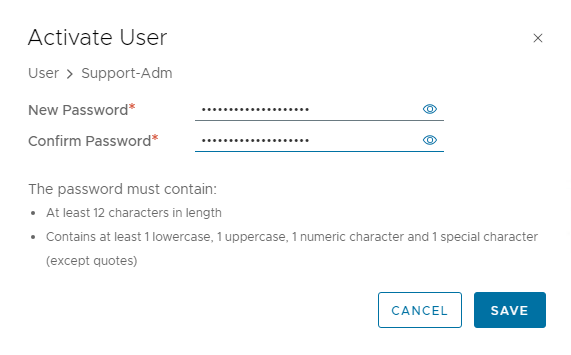
Activate the user by clicking the 3 ellipsis button and selecting Activate user.
Set the password for the user and click Save.
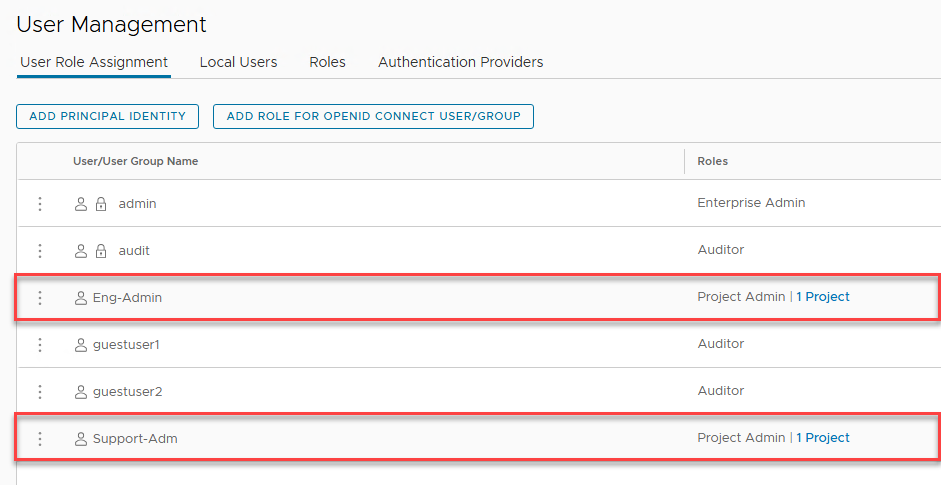
To assign a role to the user, navigate to the ‘User Role Assignment’ tab and edit the user.
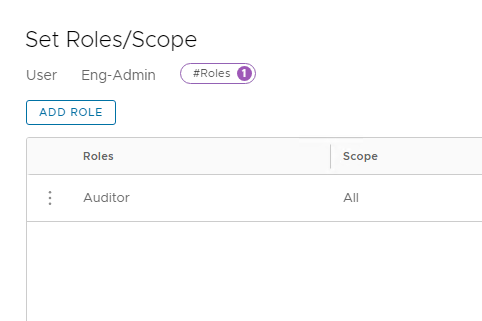
Under the Roles column, click on the number 1.
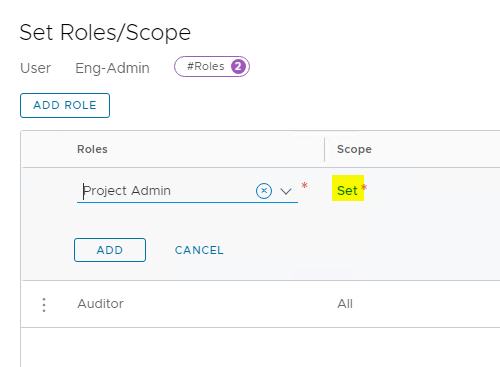
Click on the Add Role button to assign a new role to the user.
Note: By default, any newly created user will have the Auditor role assigned to them.
Select the Project Admin role and click on the set button to define the scope for this role.
Select the Engineering project and click on the Apply button.
Click on the Apply button again to finish the Role Assignment wizard.
Repeat the process to assign the project admin role to the other local users that you might have created. Also, remove the Auditor role for this user.
Create Project T1 Gateways & Segments
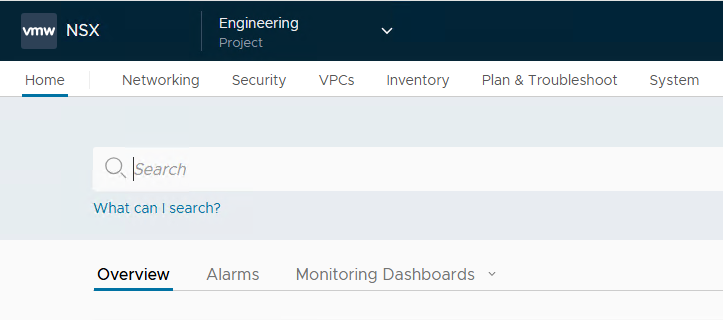
Login to the NSX manager as the Project Admin user.
This user will have access to limited system and networking constructs.
Note: If you forget to remove the Auditor role for the project admin user, you will see the full view of NSX UI upon login, just like a regular user.
To create networking constructs, navigate to the Networking tab. A limited number of networking objects are displayed on this page.
Click the add tier-1 gateway button to add your first tier-1 gateway for the project.
Provide a name for the tier-1 gateway and select the HA mode. If you plan to deploy stateful services, change the HA mode to Active-Active or Active-Standby.
You cannot host stateful services in distributed mode, thus, you are not given the choice of selecting an edge cluster for the gateway.
Configure the Route Advertisement as per your requirement and click Save.
Note: The Tier-1 gateway created inside a project is unique to the project and cannot be shared with any other project. Also, tier-1 gateways configured in the default space cannot be allocated to projects.
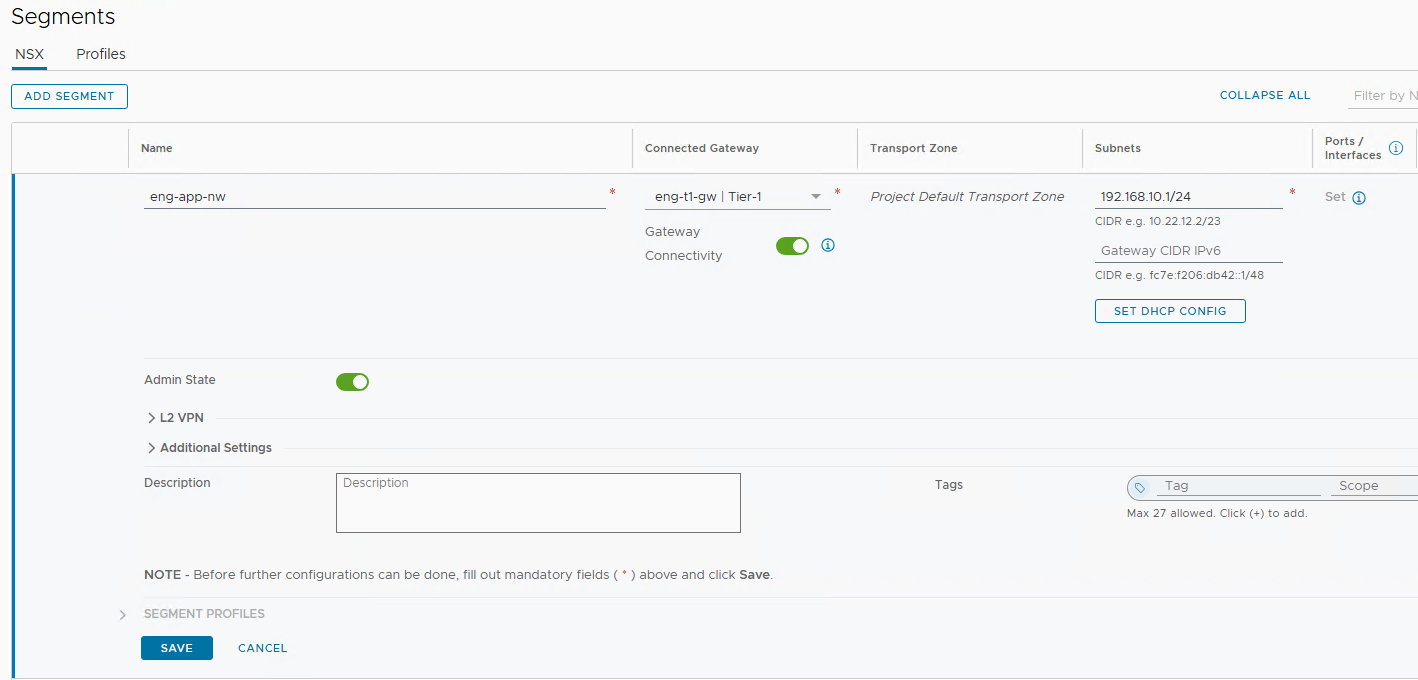
Navigate to the Segments tab to create segments for your project.
Name the segment and select the tier-1 gw you created in the previous step. Set the subnet cidr for the segment.
Note: You can’t specify the transport zone for the segment because only the default overlay transport zone is supported and is allocated automatically.
Repeat the process to create additional tier-1 gateways and segments for the other projects in your environment.
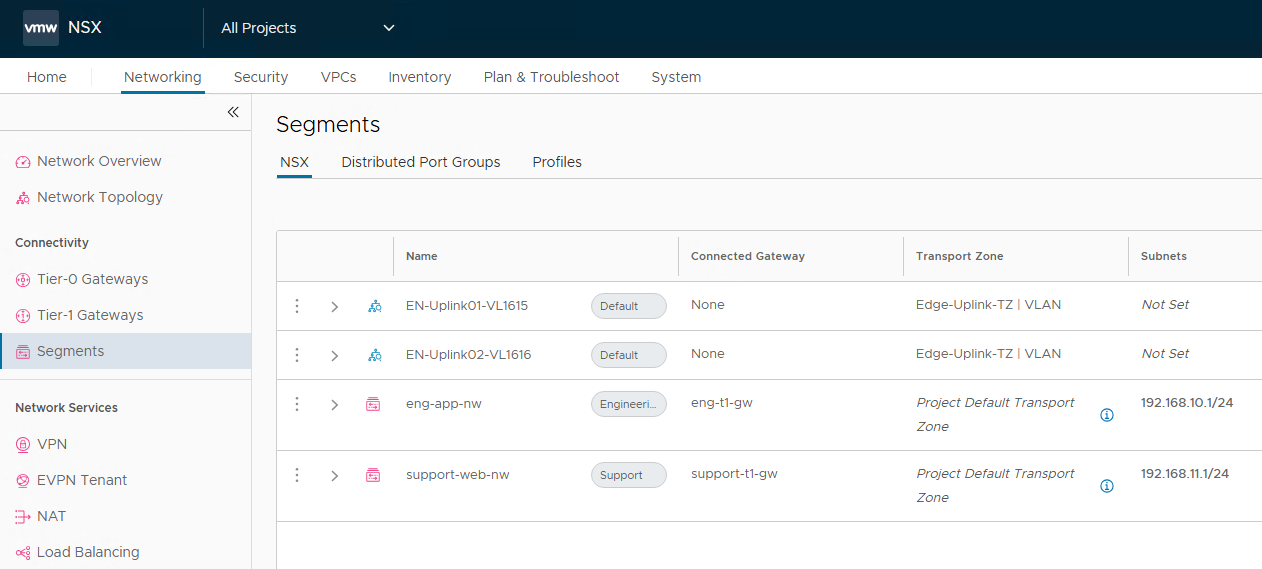
As an Enterprise Admin, you can list networking constructs for all projects from the All Projects view. The project items can be identified using the tag that is automatically issued by the NSX manager.
Onboard Project VMs
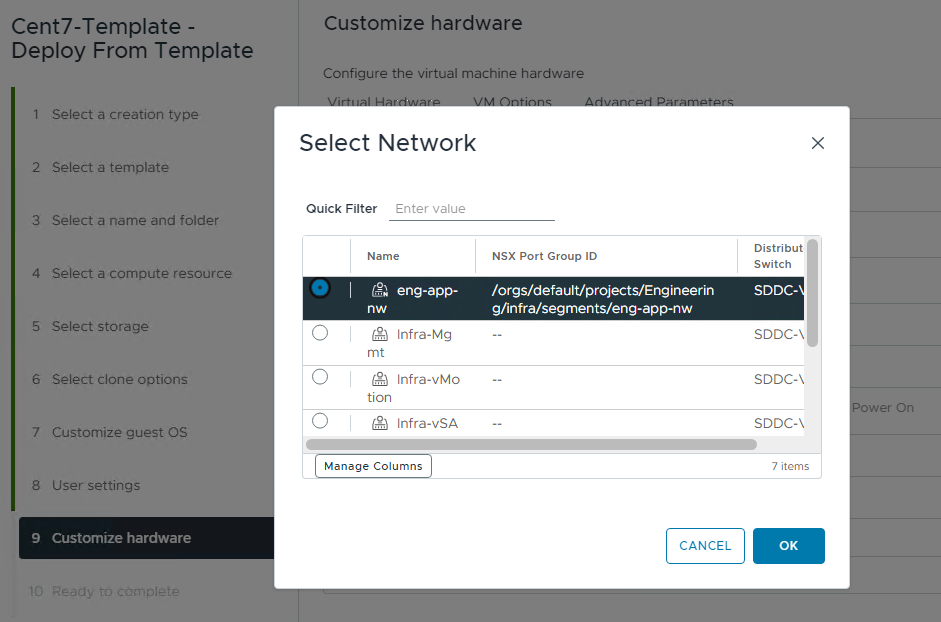
To verify the networking connectivity for the project’s vms, I deployed a VM each in the Engineering and the Support projects and connected the VM to the respective project segments.
After you have onboarded the project vms, the NSX manager is intelligent enough to identify the projects to which the VMs belong to apply the appropriate tags to the vms for easy identification.
The Enterprise Administrator has visibility to all project’s vms.
Project Admins can only view the vms created in their project.
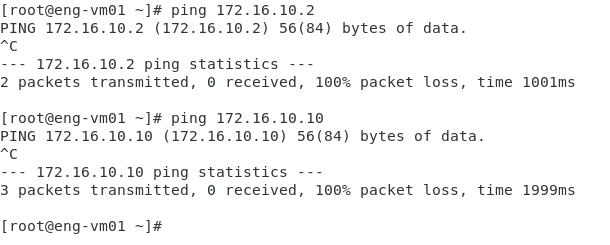
To test the network connectivity, perform the ping test to the default gateway and other project VM.
Now you may be wondering if the whole purpose of nsx multi-tenancy is to provide isolation to tenants, why one project’s VM is communicating with the other project’s VM.
The answer lies in the DFW option when creating the project.
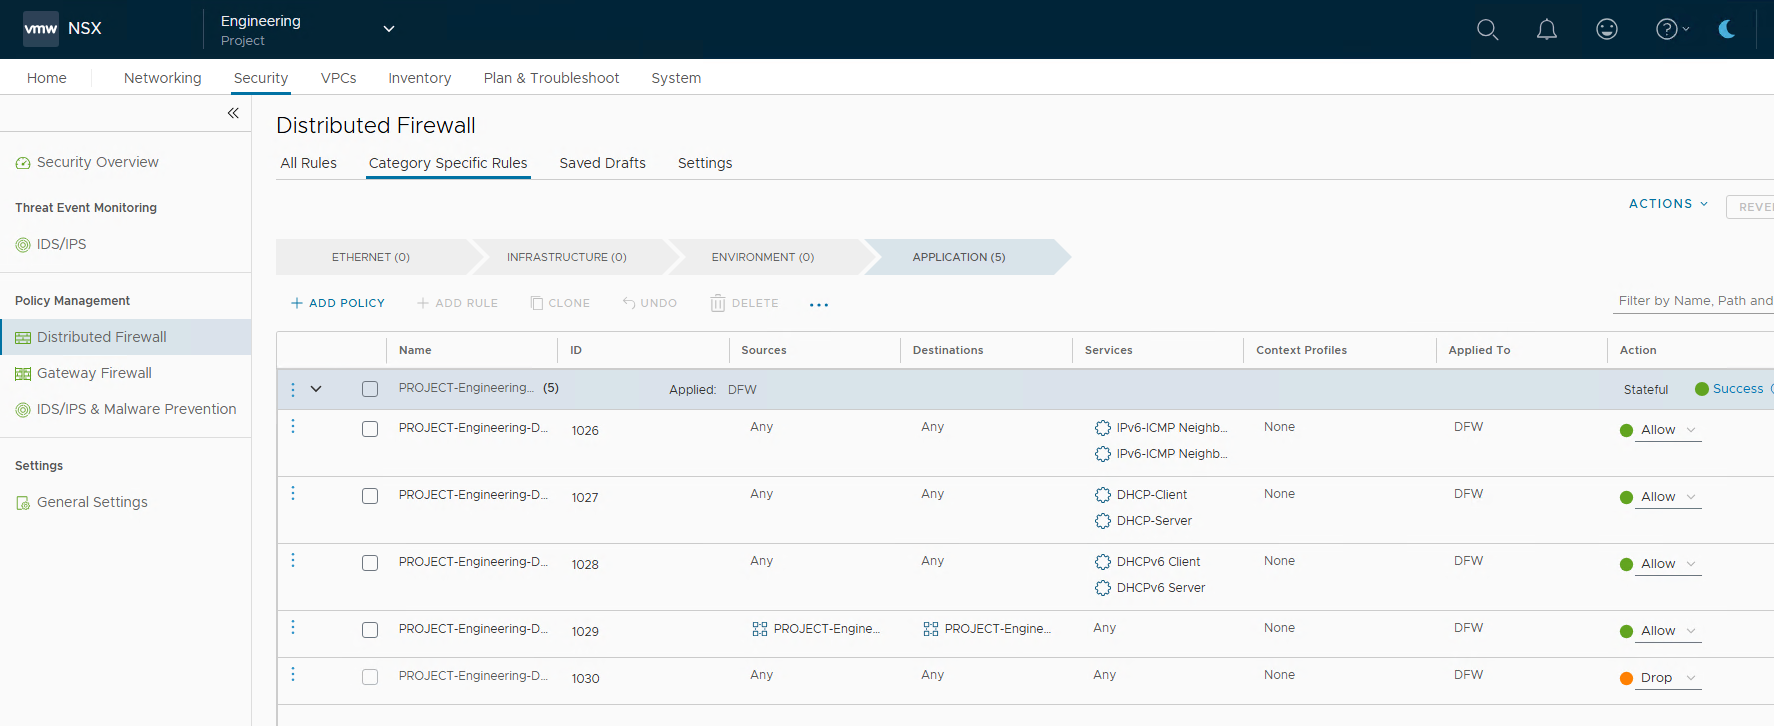
Although DFW rules are created by the NSX manager automatically as soon as a project is created, since the DFW switch was turned off for the project, it allowed the ping request to cross the boundary and reach the other project.
I am not diving deep into the security of the project in this post as I have planned for a separate post on this topic.
Project’s Route Advertisement Control
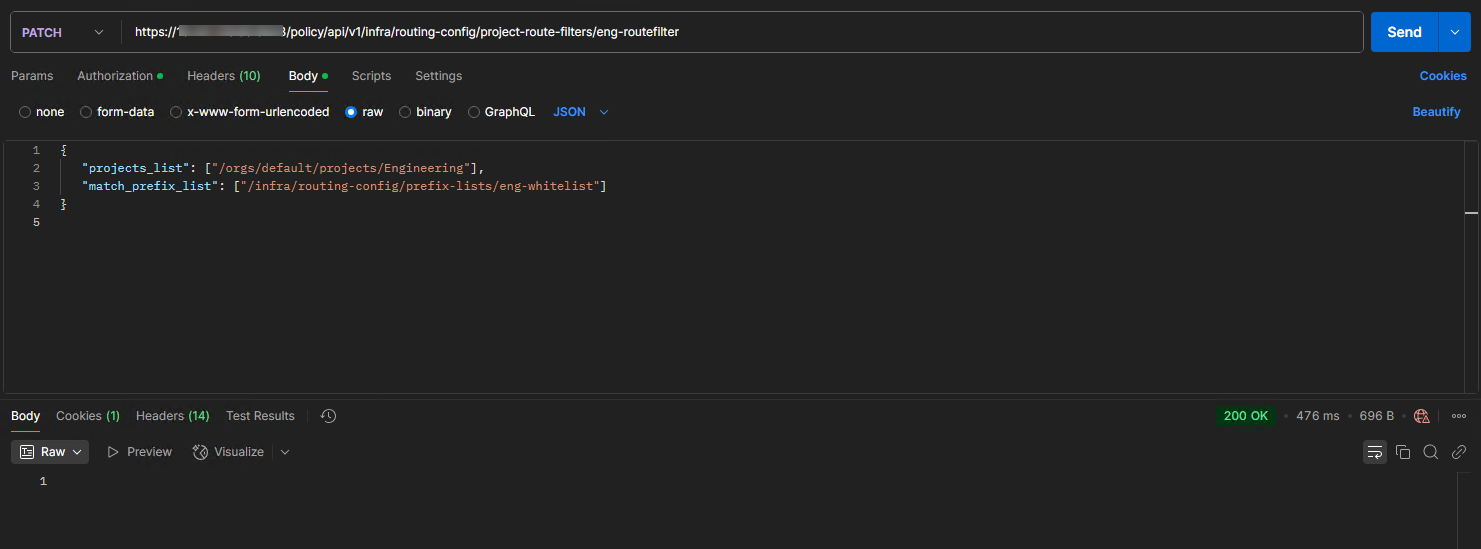
To prevent advertising unapproved subnets from a Project to the T0 gateway, the Enterprise Admin implements route filtering in the Default space. Any subnet that is not whitelisted by the Enterprise Admin is not advertised to the northbound routers. As of NSX v4.2.1, this can only be done via API.
The below screenshots show the creation of a whitelist and allowing it in the project’s route filter for advertisement to northbound routers.
I have created an overlay segment at the project level that is connected to the project’s tier-1 gateway.
To advertise this network, I created a whitelist named “eng-whitelist” for the project Engineering with the CIDR of the overlay segment and set the Action to PERMIT.
As a next step, a route filer for the project is created, and the whitelist is then associated with it. For the Engineering project, I created a route filter named ‘eng-routefiler‘.
I added a new overlay segment to the Engineering project.
When I check the route advertisement, I can see that the gateway has rejected the subnet for advertisement.
As an additional verification step, I checked the routes on one of the northbound routers and found the subnet “192.168.40.0/26” is not being learned via NSX.
Assigning Quotas to Projects
Quotas allow you to create limits for objects in each tenancy. Assigning quotas to tenants is very important as it stops tenants from over-subscribing the resources. It ensures fair distribution of the resources to all tenants while maintaining system limits. Crossing limits can lead to system instability.
To view the NSX multi-tenancy limits, refer to Broadcom’s ConfigMax portal.
Quotas are assigned to the projects by the Enterprise Administrator. To configure quota policies, click on the Add Quota button.
Specify the name for the quota policy and select the project to which the policy will be applied under the column ‘Apply To‘.
Click on the set button to specify the limits for the project.
There are 5 categories under which quotas can be created:
- Networking
- Security
- Inventory
- System
- VPCs
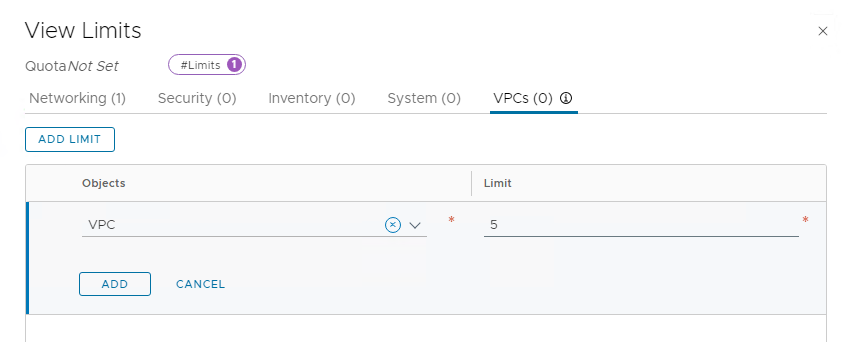
Select the category for which you want to enforce the limit and click the Add Limit button.
Select the object and specify the limit in a numeric value.
In my lab, I enforced the following limits for the Engineering project.
- Tier-1 Gateway: 10
- VPC: 5
Click on the Save button to finish the quota assignment wizard.
Repeat the process for applying quota to other projects in your environment.
Resource Sharing to Projects
Enterprise Admin can share resources from the default space to selected projects, which can be consumed by the project users. The sharing of resources between projects is not supported.
Examples of resources that can be shared from default space are:
- Overlay segments (created in the default overlay transport zone only).
- Services.
- Context profiles.
- Security groups.
Some of the resources are automatically shared with the projects as soon as a project is created. For example, tier-0 gateway, segment profiles, etc.
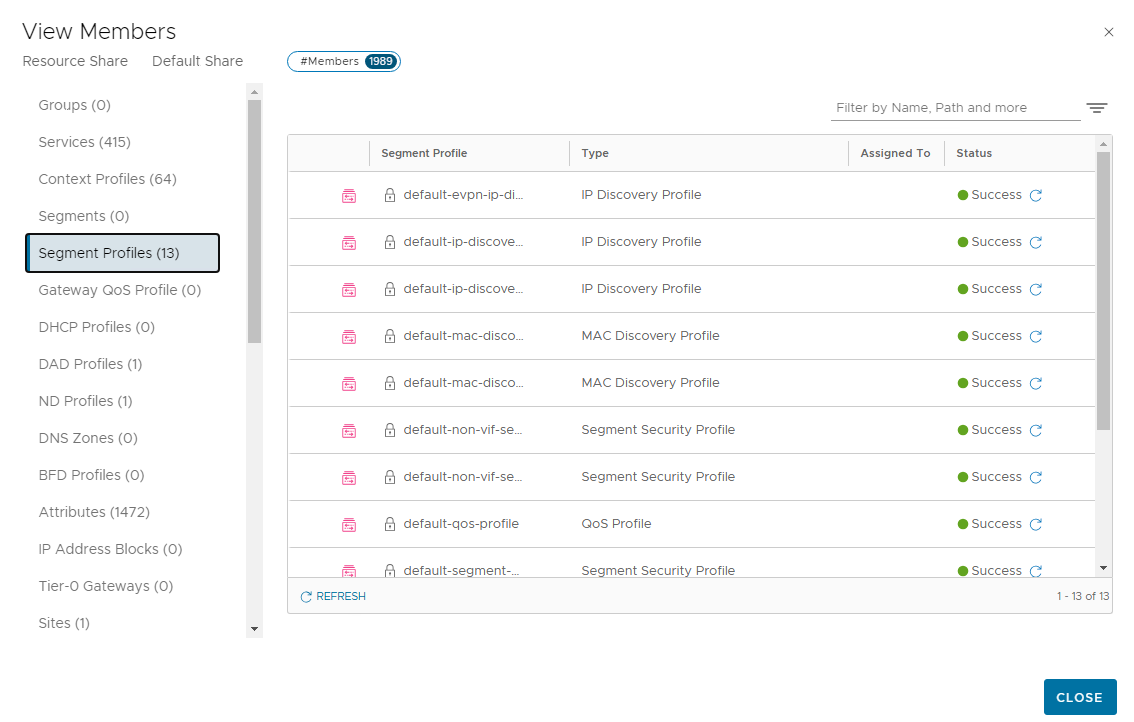
The shared resources can be viewed by the Enterprise Admin by navigating to Inventory > Resource Sharing and selecting “Default Shares of Projects“.
Select the Object under the View Members to see what resources are shared.
Let’s take an example to understand a use case for resource sharing.
The project VMs need access to the infrastructure management network to access corporate DNS/DHCP/NTP servers, etc.
By default, a project VM won’t have access to any VLAN-backed networks that exist on the physical fabric.
In my lab, my infrastructure management network is in VLAN 1610, and the project VM is trying to access the DNS server, which is failing.
To provide access to the infra-management network to the project vm, I created a security group named “Infra-Endpoints”
I added my management network CIDR as a group member.
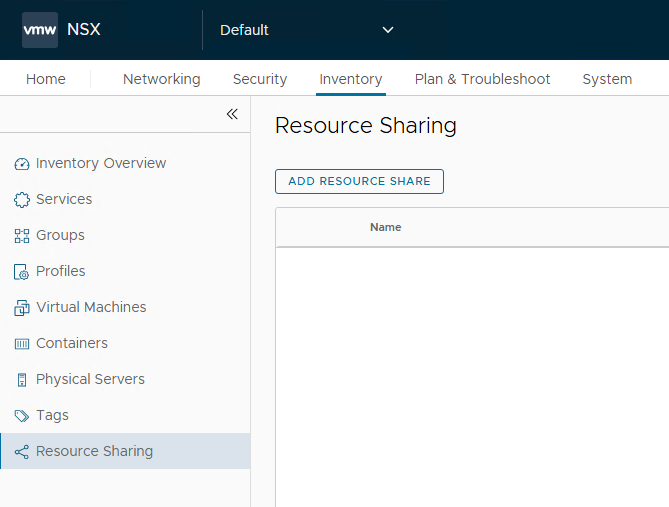
To share this network with the projects, navigate to the Resource Sharing tab and click on the Add Resource Share button.
Provide a name for the share and click on the set button to specify the members.
Select the security group that you created earlier and click Apply.
Click on the Set button under the column “Shared With.“
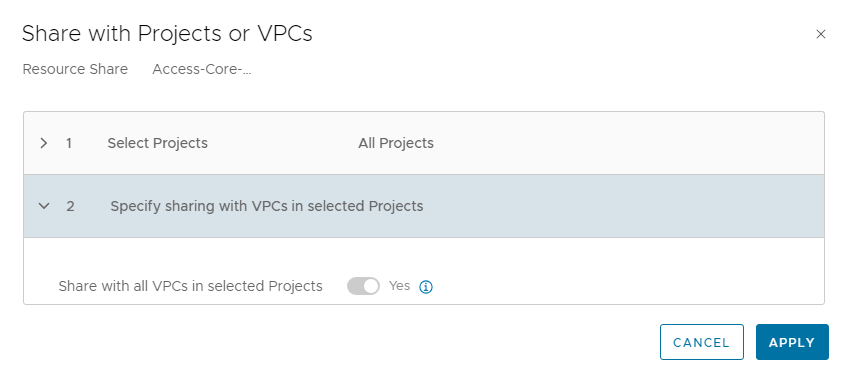
You can choose to share the resource with all projects or only specific projects.
If you are running VPCs inside your project, choose whether to share the resource with all VPC or not. Click Apply
Note: I will cover VPC in the upcoming posts of this series.
Whitelist the shared security group in the DFW.
Under DFW, select the infrastructure category, add the security group as a destination, select the service that you want to expose, and allow the rule.
Test the connectivity from the project VM.
And that’s it for this post. In the next post of this series, I will discuss how distributed security works for projects. Stay tuned!!!
I hope you enjoyed reading this post. Feel free to share this on social media if it is worth sharing.




























2 thoughts on “NSX 4.2 Multitenancy Series – Part 3: NSX Projects”