In last post of this series , I talked about how to configure NSX based load balancer for vRA environment. In this post I will walk through vRA appliance deployment.
If you are not following along this series, then I recommend reading earlier posts of this series from below links:
1: Introduction & Reference Architecture
2: Lab Setup
3: Load Balancer Configuration
Download vRA 7.4 appliance and deploy 2 instances of vRA VM’s.
Once both the appliance boots up, connect to the vami of first appliance by typing https://<vra1-fqdn>:5480/
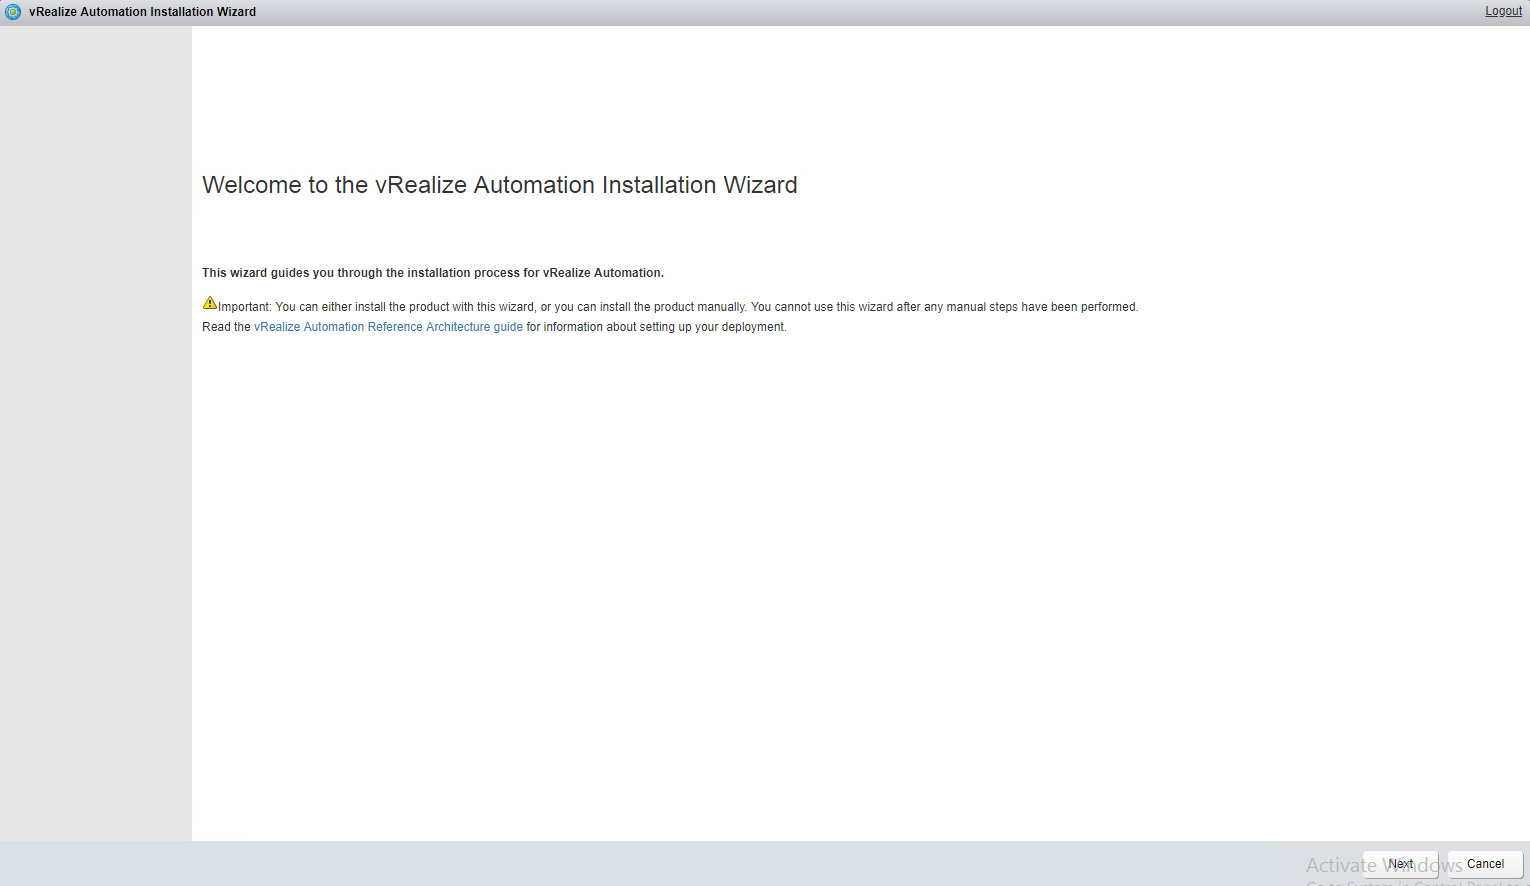
At first login, the deployment wizard will automatically launch in the UI. Hit Next to continue.
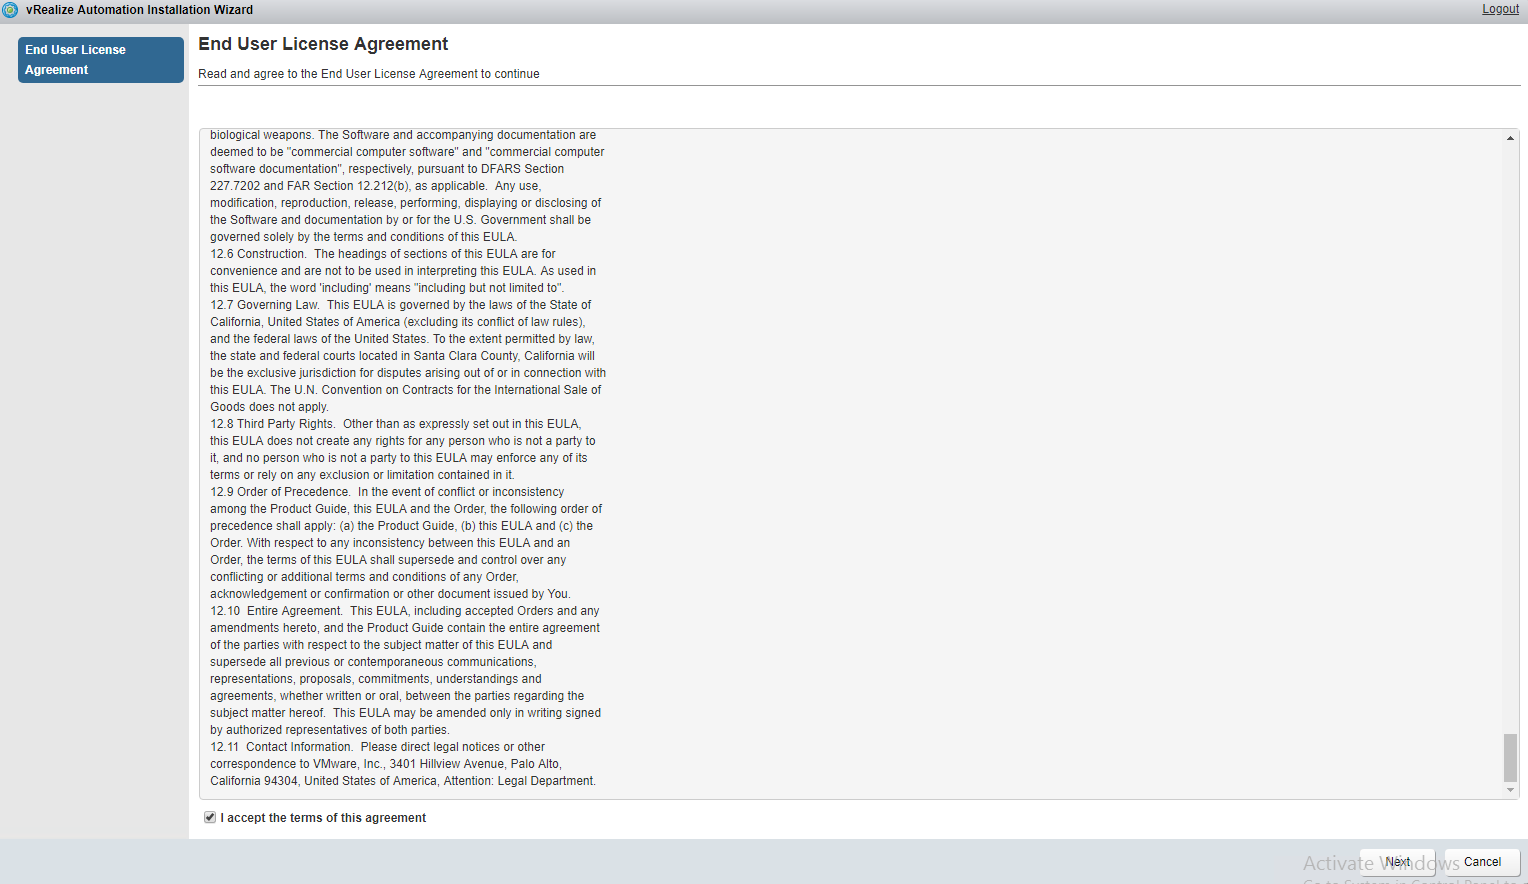
Accept EULA and hit Next.
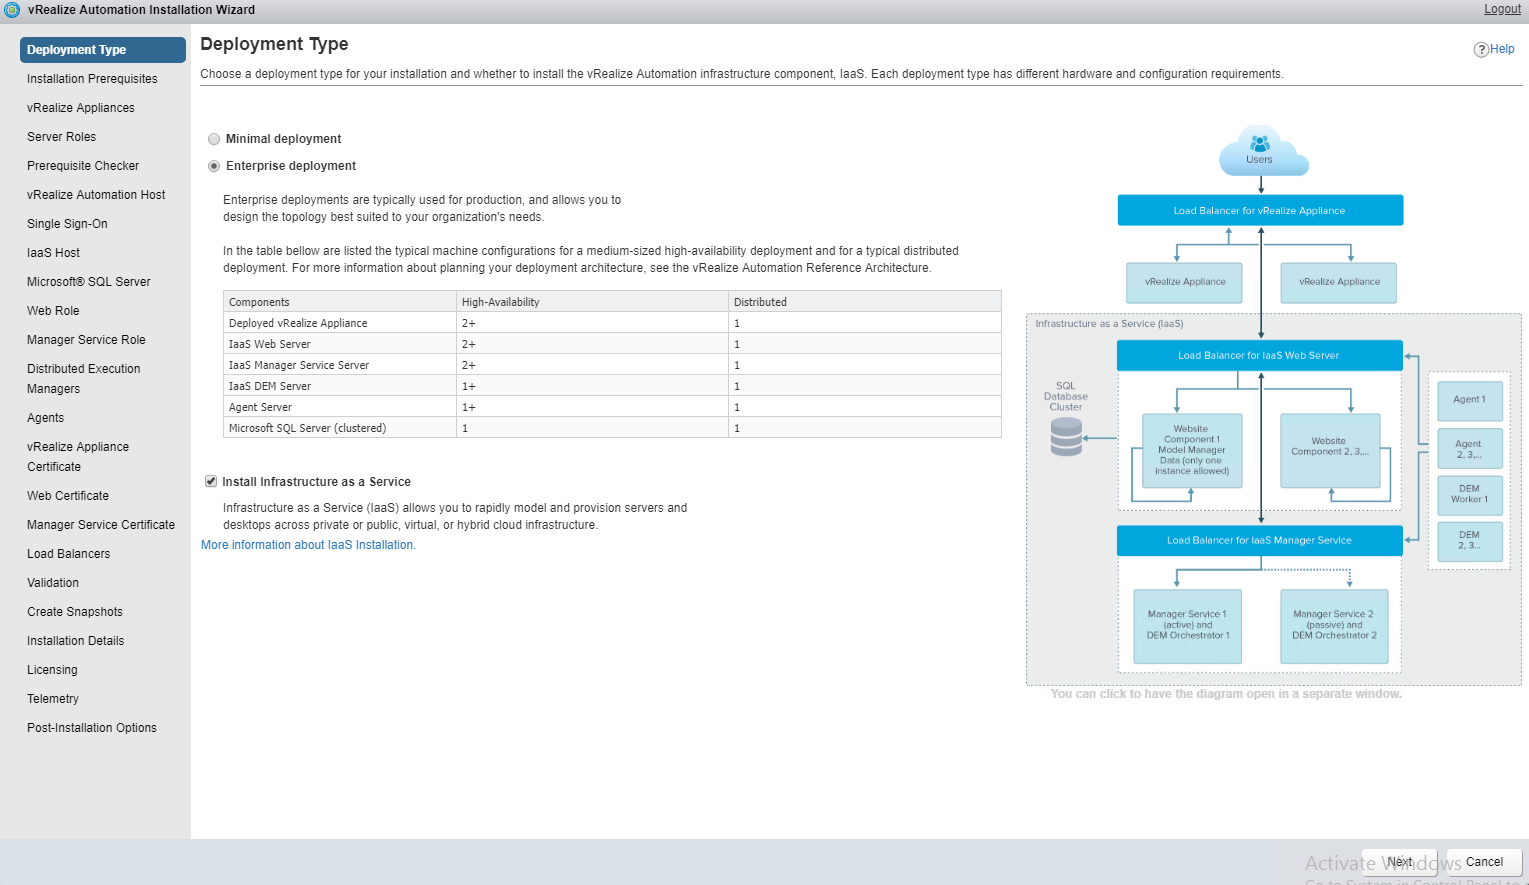
For distributed install, select the type as Enterprise deployment model.
Installation wizard provides recommendation for minimum number of vm’s needed for each service.
If you are planning to include IaaS along with vRA then make sure Install Infrastructure as a Service box is selected.
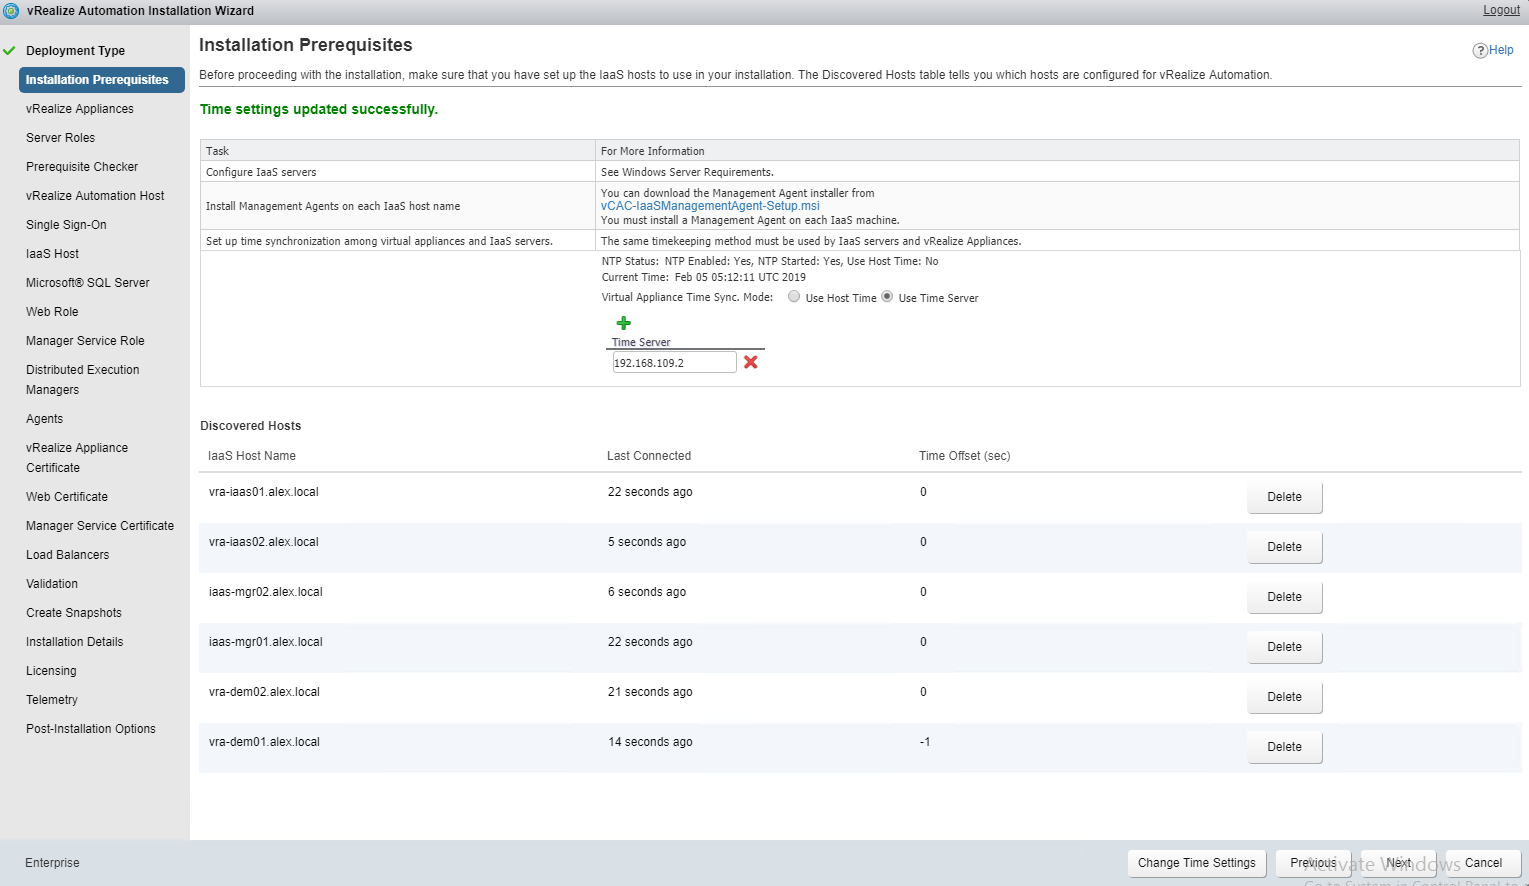
On installation Prerequisites page, first change the time source of vRA appliance to your NTP server. Select “use Time server” and enter your NTP Server IP and click on “Change Time Settings” button. Do not click Next yet.
We need to grab the Iaas management agent from this page and install it on all the IaaS windows vm’s so that installation wizard can auto discover the registered host.
Right click on the vCAC-IaaSManagemntAgent-Setup.msi and copy the hyperlink.
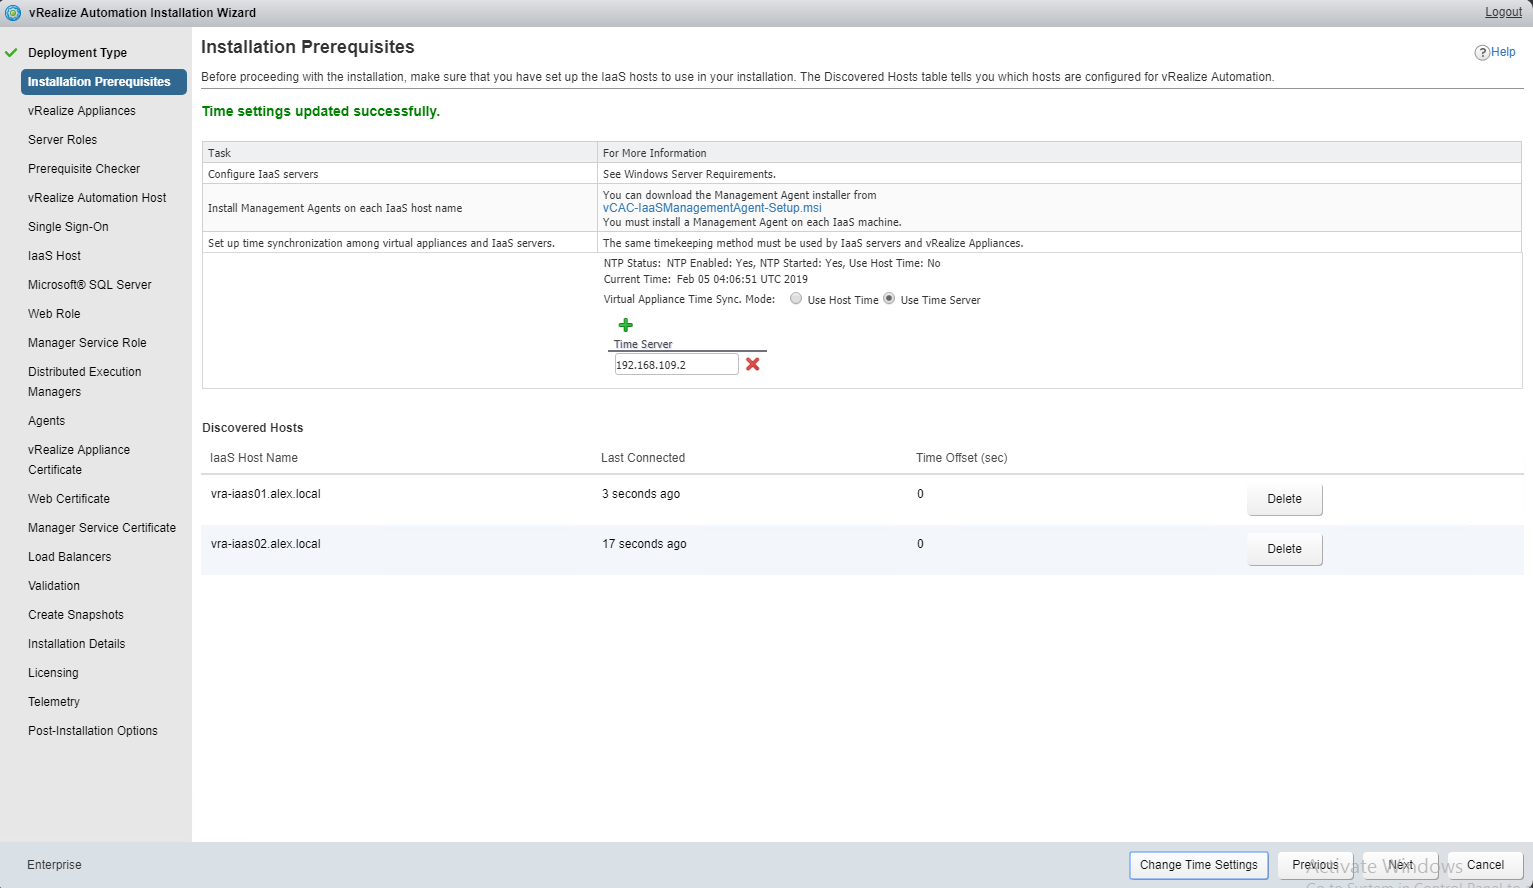
Login to each IaaS windows VM and install the vRA agent. Once you finished installing the agent, go back to the vRA installation wizard and make sure all the windows vm’s are auto discovered and time offset is not more than +/- 1.
Hit Next to continue.
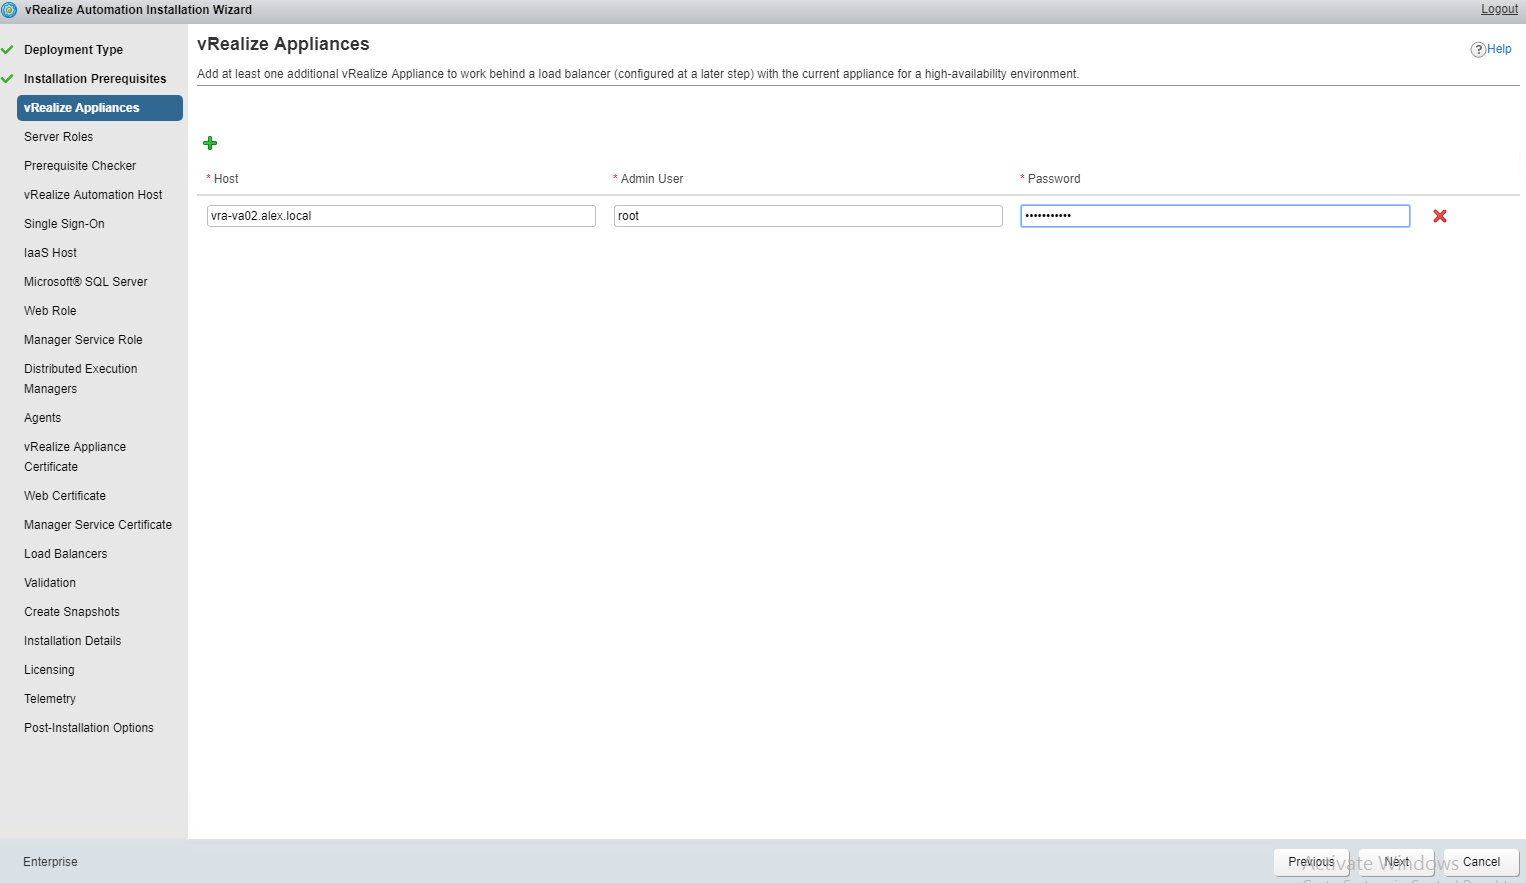
On vRealize appliances page, add all your secondary vRA by providing the FQDN of vRA appliance and the root password. Hit next to continue.
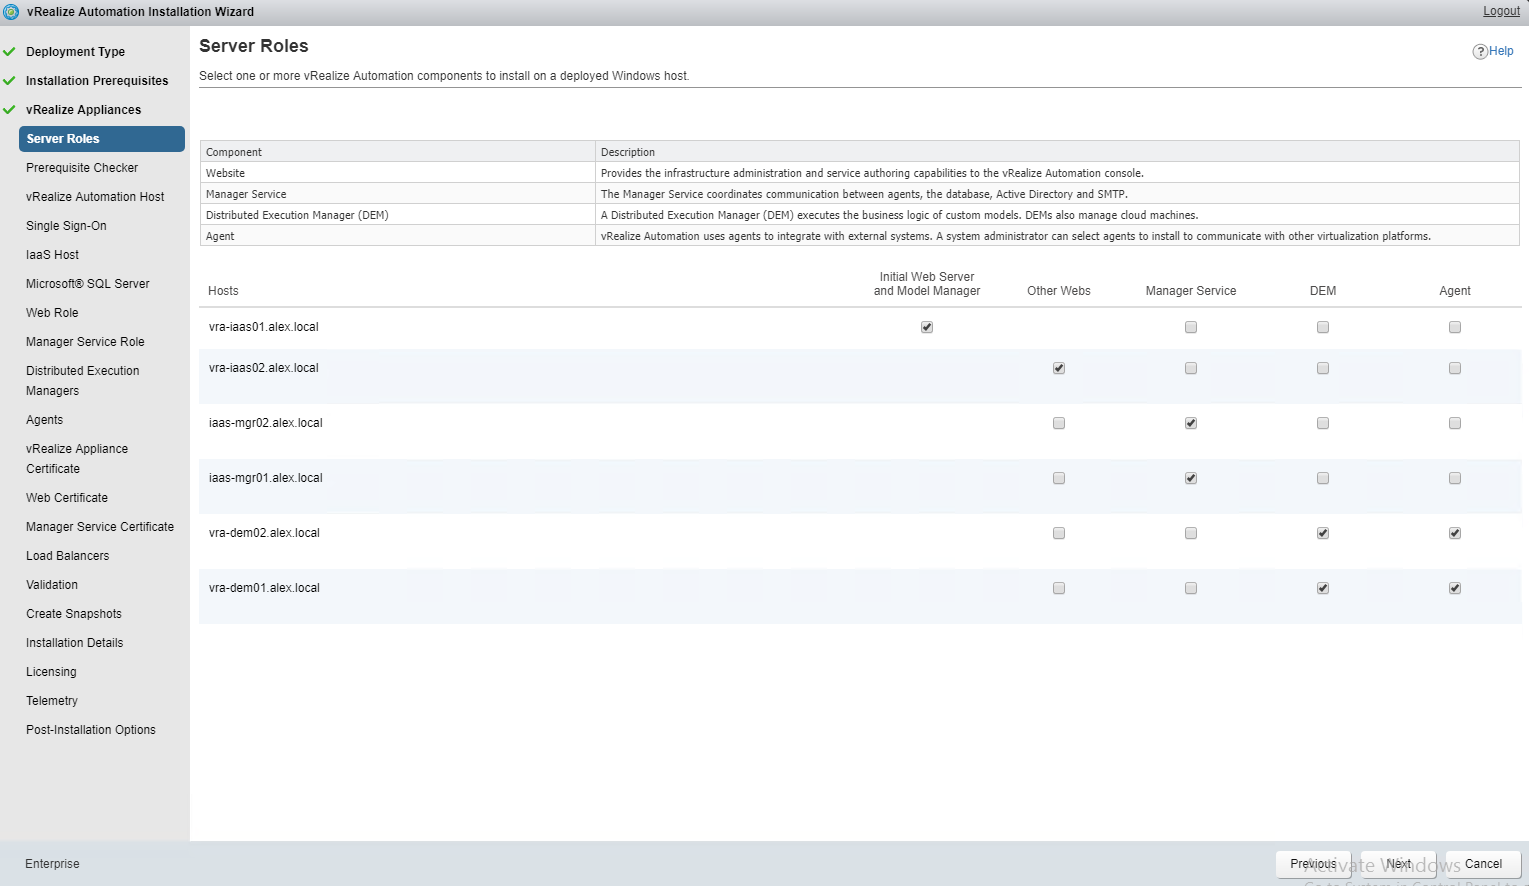
Select the server roles by check marking appropriate boxes in front of the windows vm’s hostname.
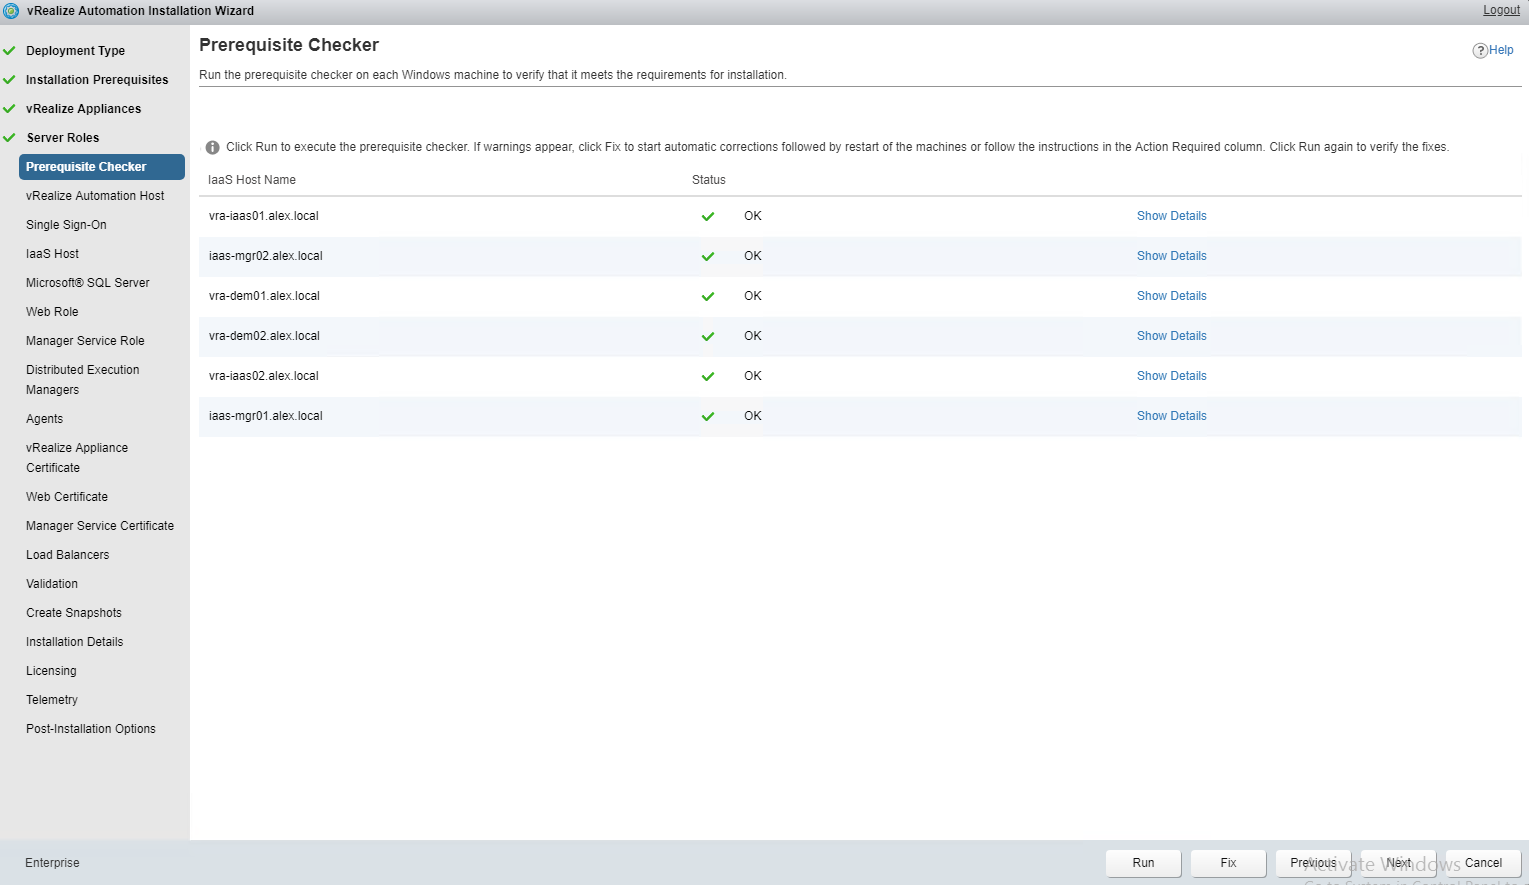
On the Prerequisite Checker page, click on Run button to launch the checker. Wizard will check whether the backend vm’s are configured properly for vRA. If something is missing, it will be reported here and you need to fix them before you can go ahead.
Click on Fix button to fix the issues. Most of the configuration issue is fixed by installer wizard by itself. But there might be one or two issues which may need manual intervention.
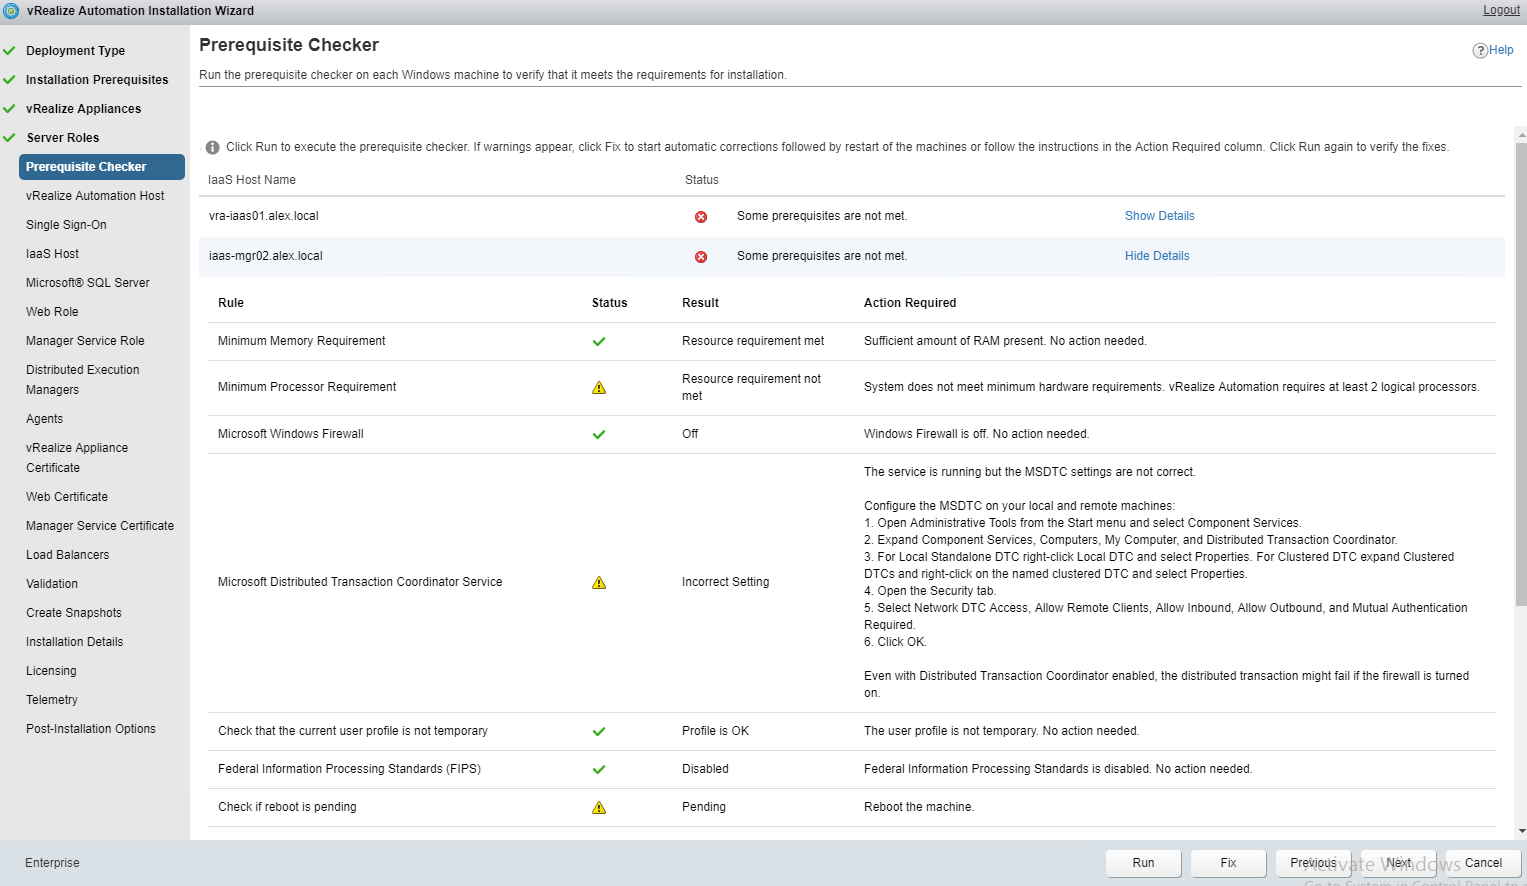
Once all issue is fixed, click on Run button again and this time all checks should pass and status OK for each vm.
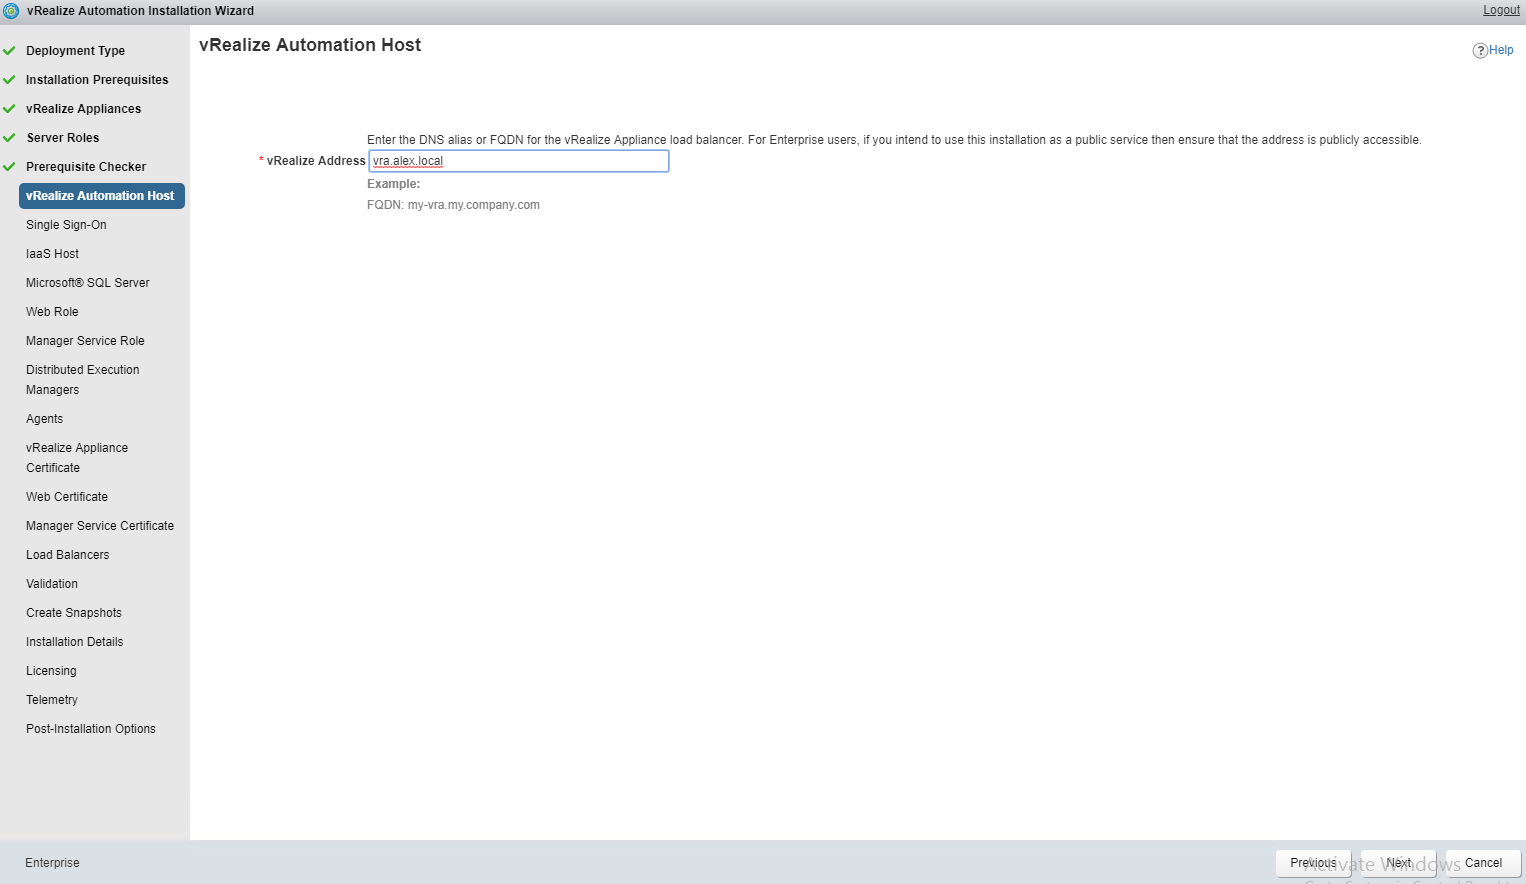
Enter the fqdn for the vRA VIP here. At this time you should have a proper CNAME configured in DNS and pointing to first vRA node. For more info on this, please see DNS requirements section in my Lab Setup post.
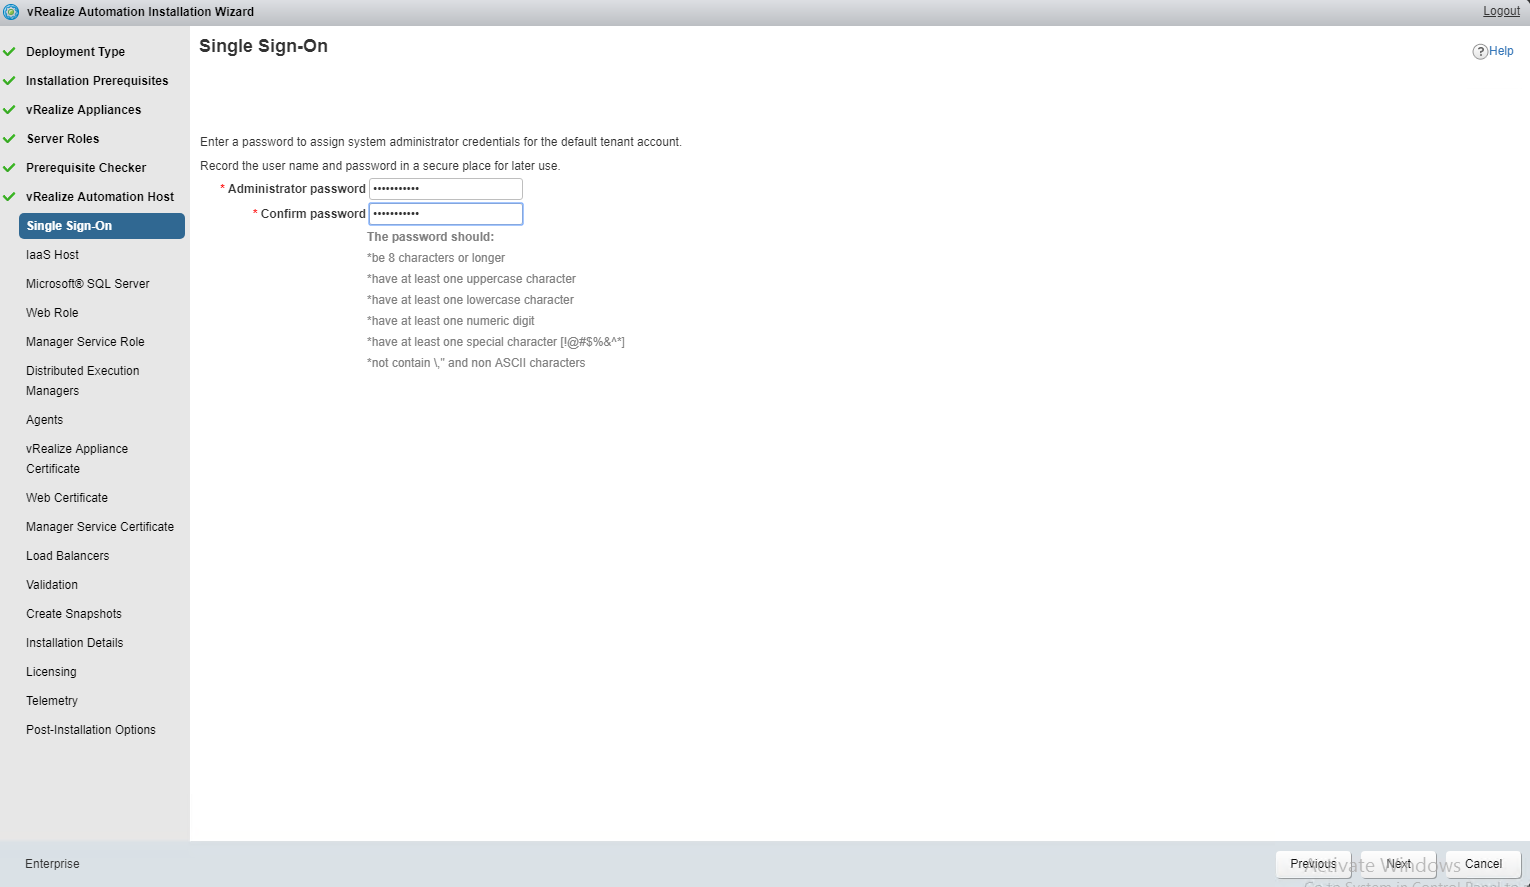
Provide the password for vRA SSO. An instance of vIDM is integrated in vRA itself and it fulfils the need of SSO for vRealize suite products.
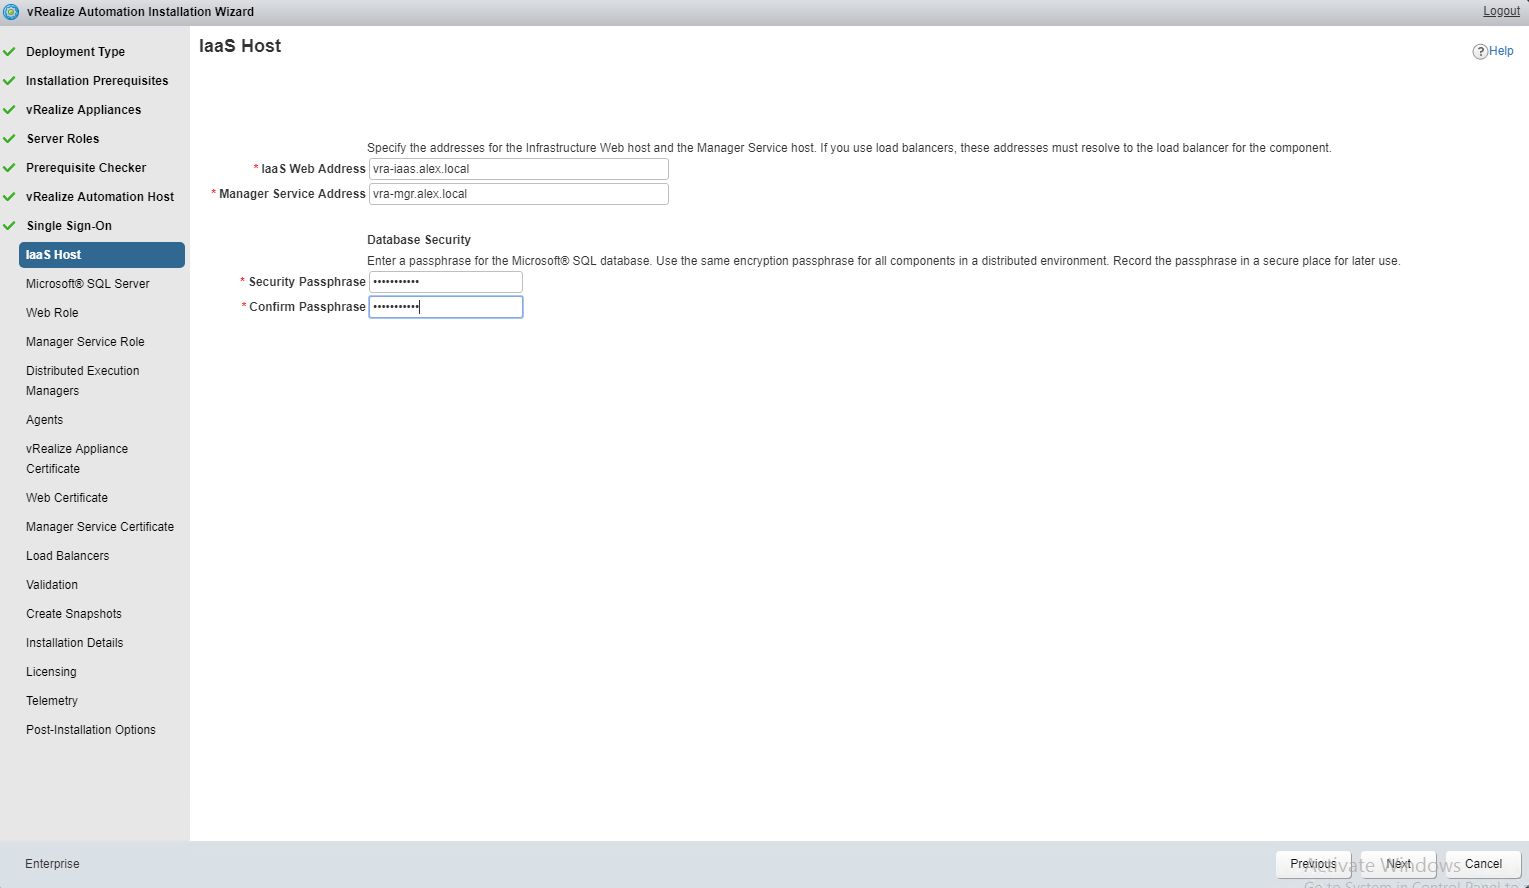
On IaaS Host page, enter the fqdn corresponding to VIP of IaaS-Web and IaaS-Manager servers. Also specify security passphrase for your IaaS DB here.
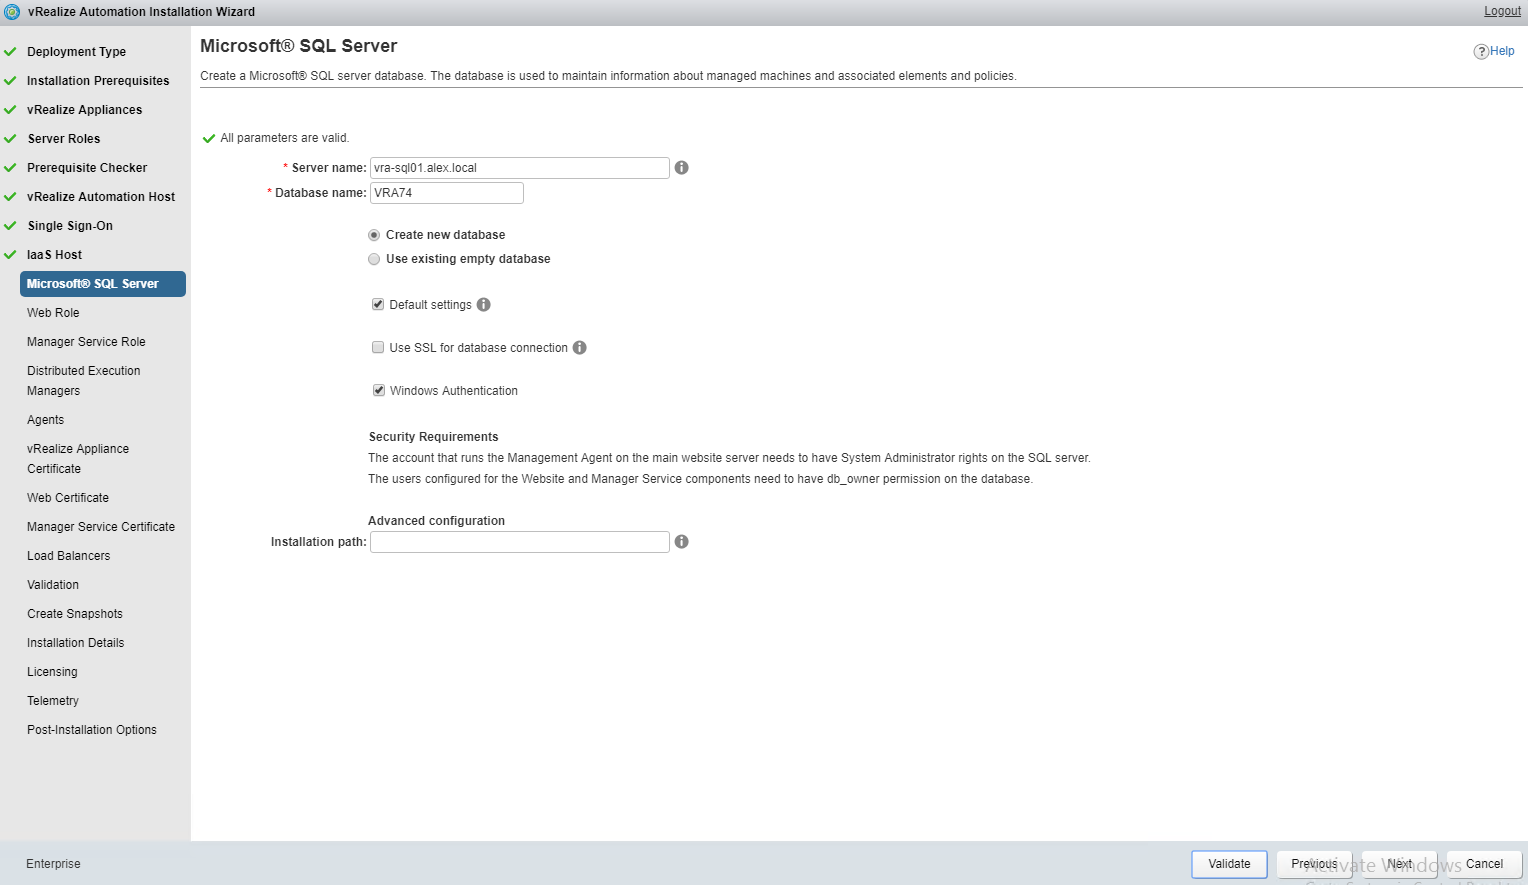
On SQL Server page, enter fqdn of the server where you have installed IaaS database. Also provide name of the database.
if you have just installed the sql server and have not created any database, then select “Create new database” and select the method (SA/Windows auth) to connect to your database.
If you created database using the database installation script of vRA, then select use existing empty database and provide the relevant details.
Hit validate button and don’t proceed to next page until validation is successful.
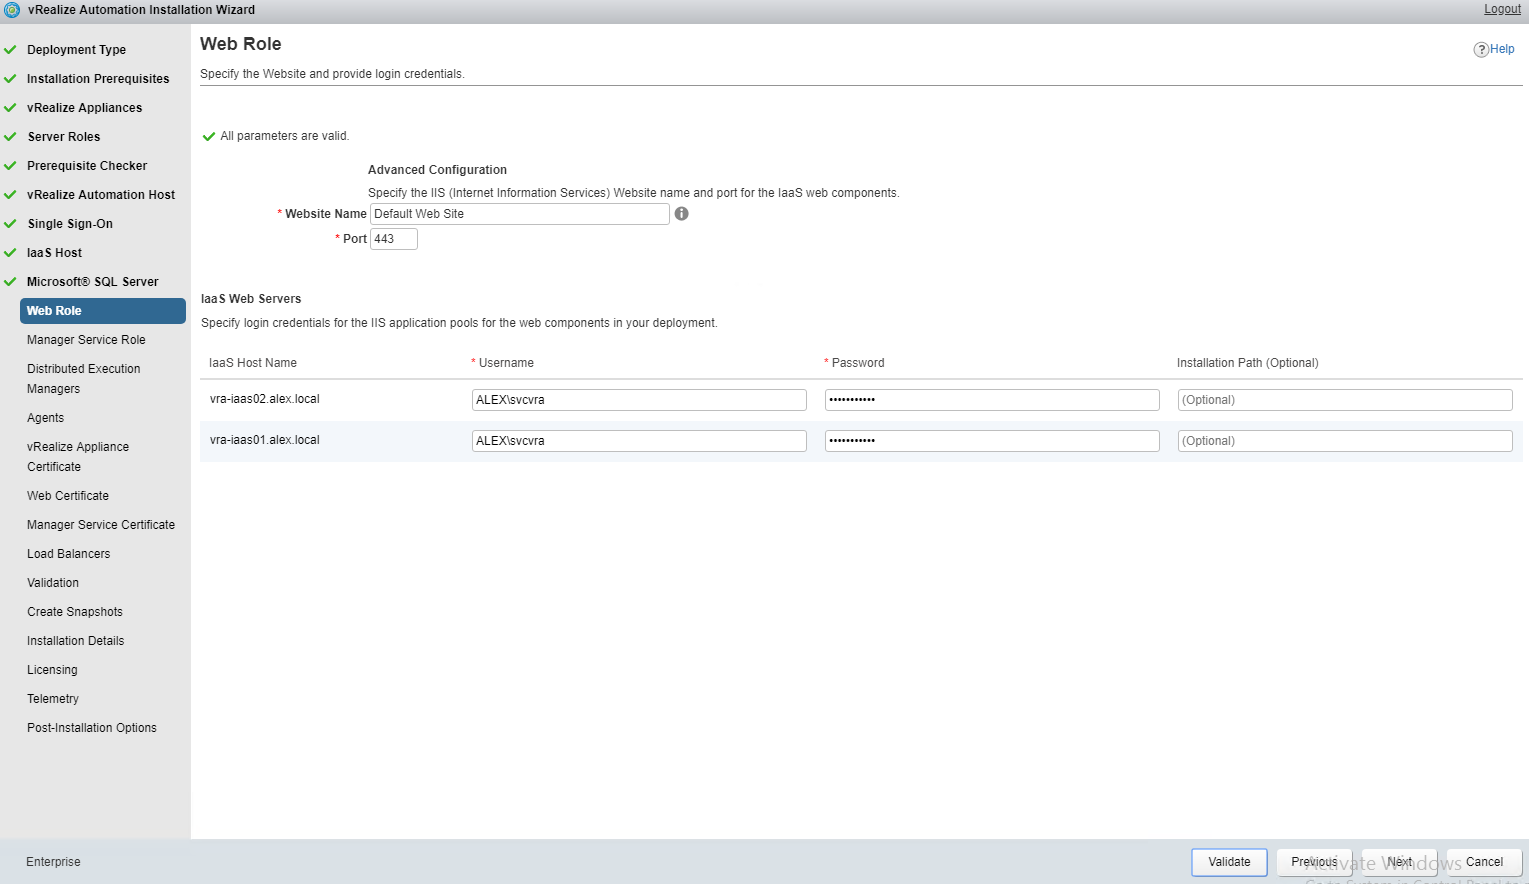
On the Web Role page, leave the default website name and port to default. Provide service account details using which vRA will communicate to the Iaas-Web servers.
Hit validate button and click next when validation is successful.
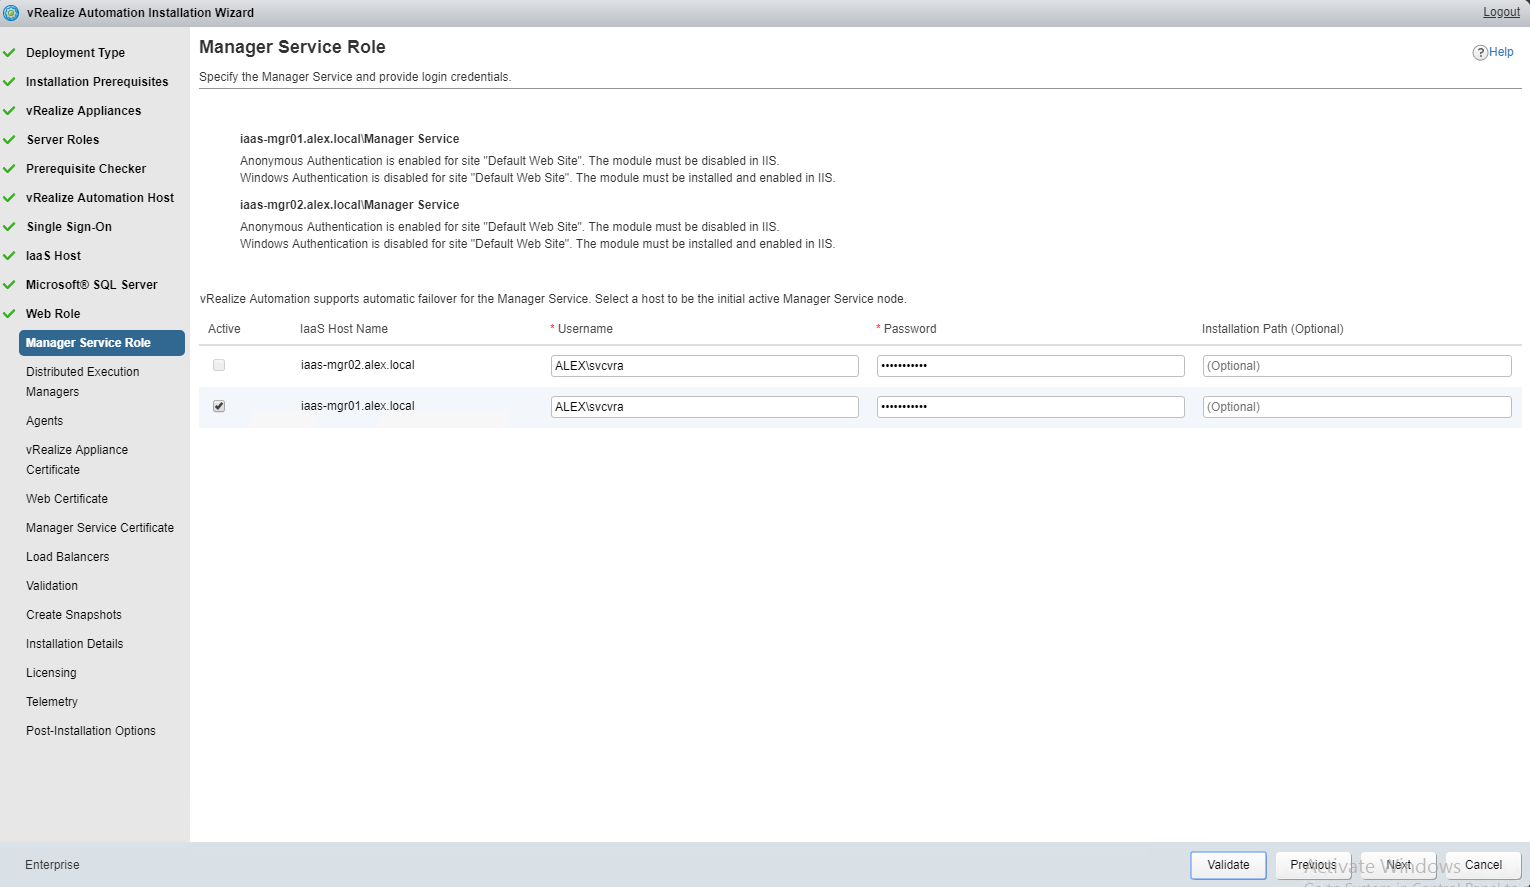
On Manager service role page, select the node which will be active manager. The other node will become passive. Provide service account details for both the nodes and proceed to next page when validation passes.
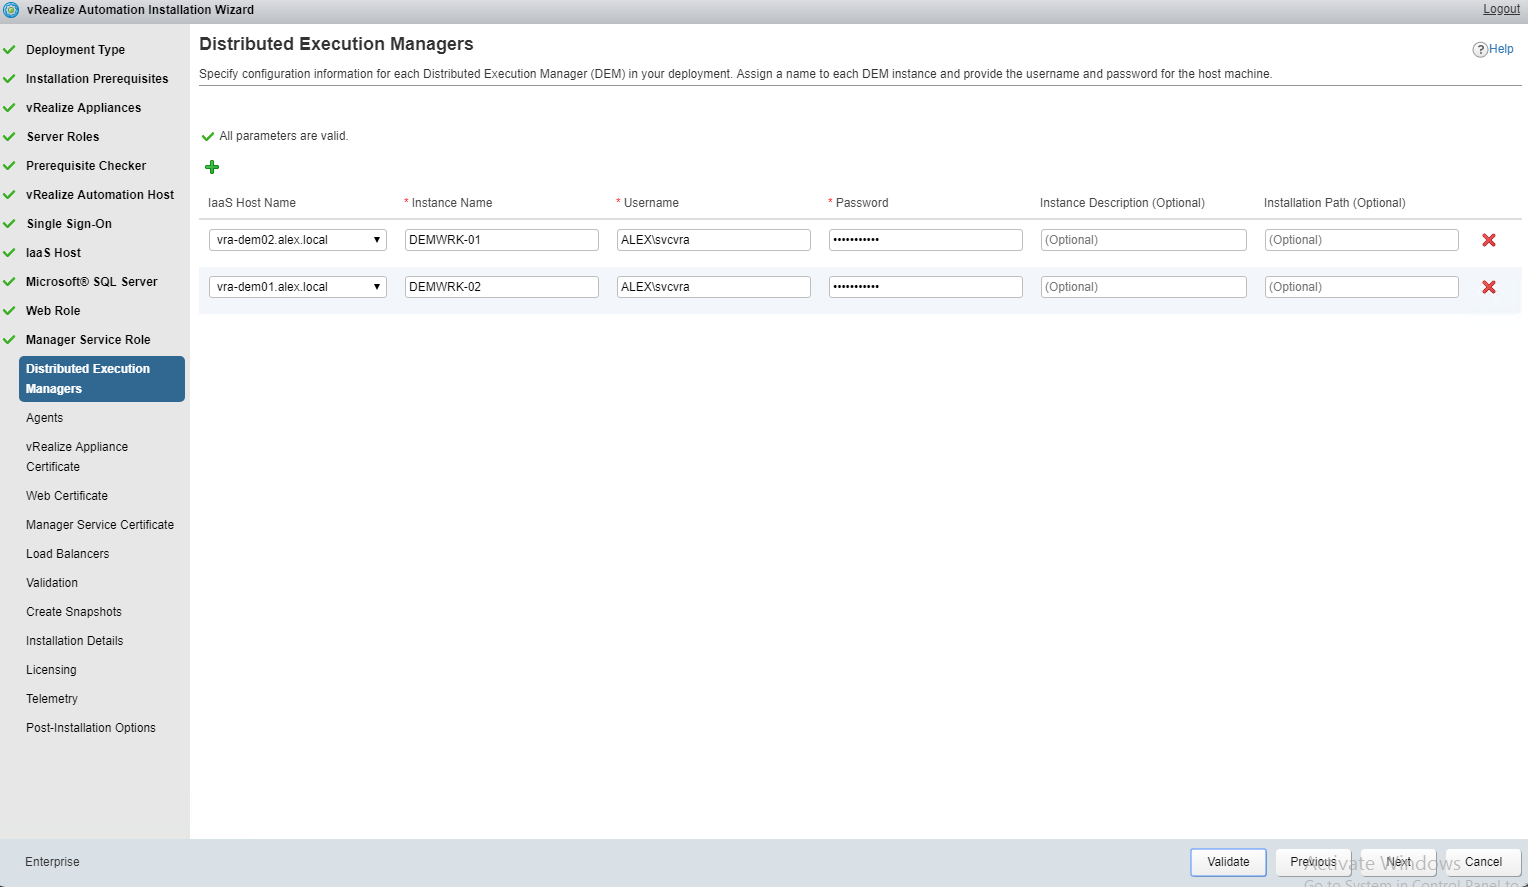
On DEM’s page, provide the instance name for the DEM’s and the credentials using which vRA will connect to DEM servers. Post validation hit next to continue.
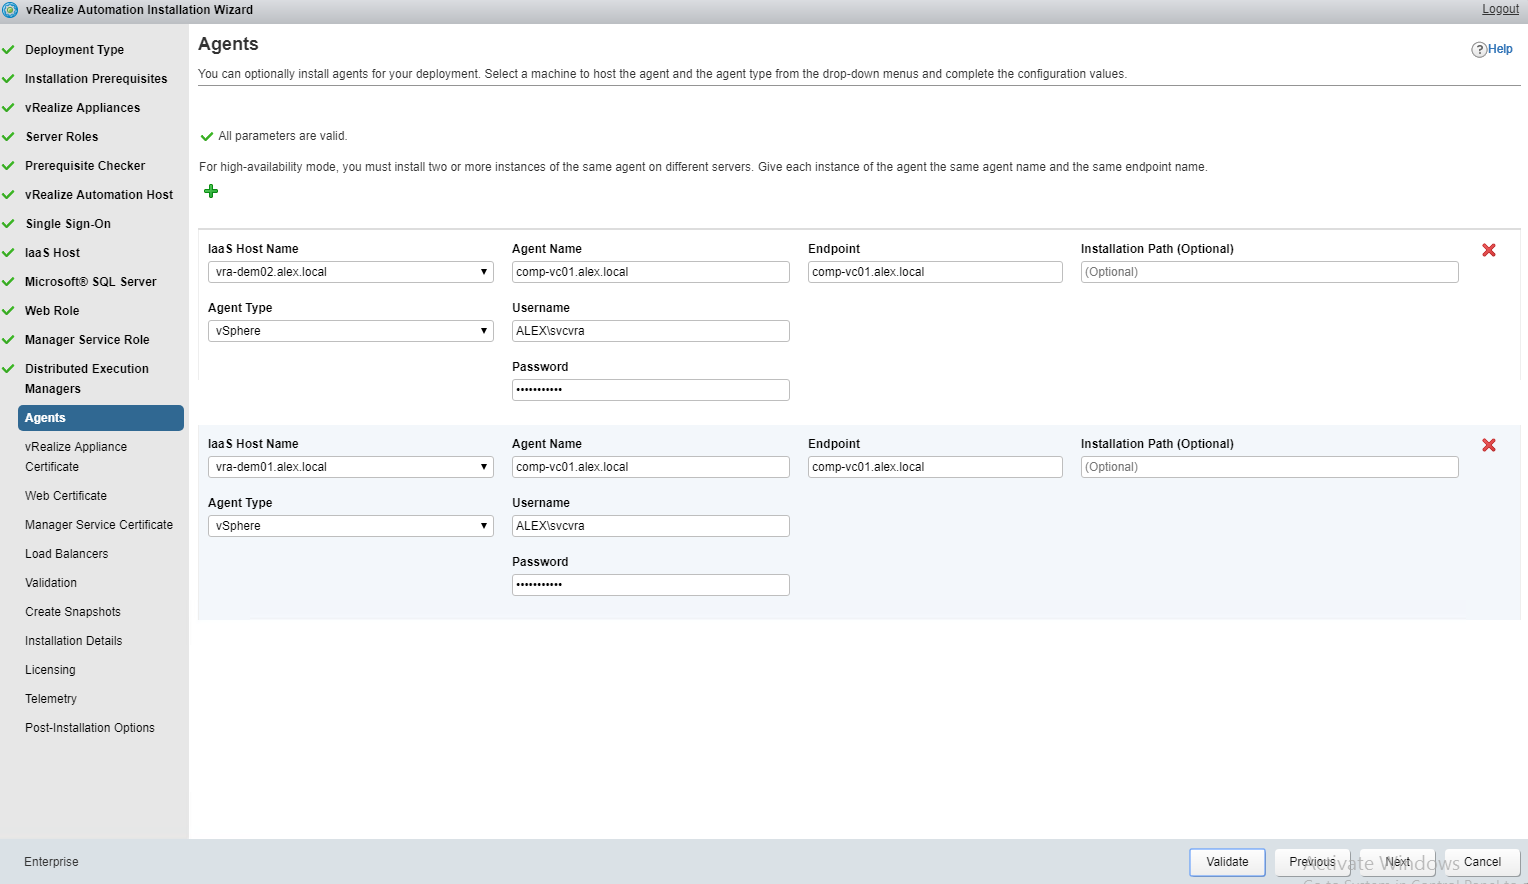
On the Agents page, select the nodes where agents will be installed and specify the Agent name and the endpoint name. Also select the Agent type.
In my case I only have vSphere that I will be integrating with vRA initially.
For sake of simplicity, I selected the name of my vCenter where workloads will be provisioned via vRA.
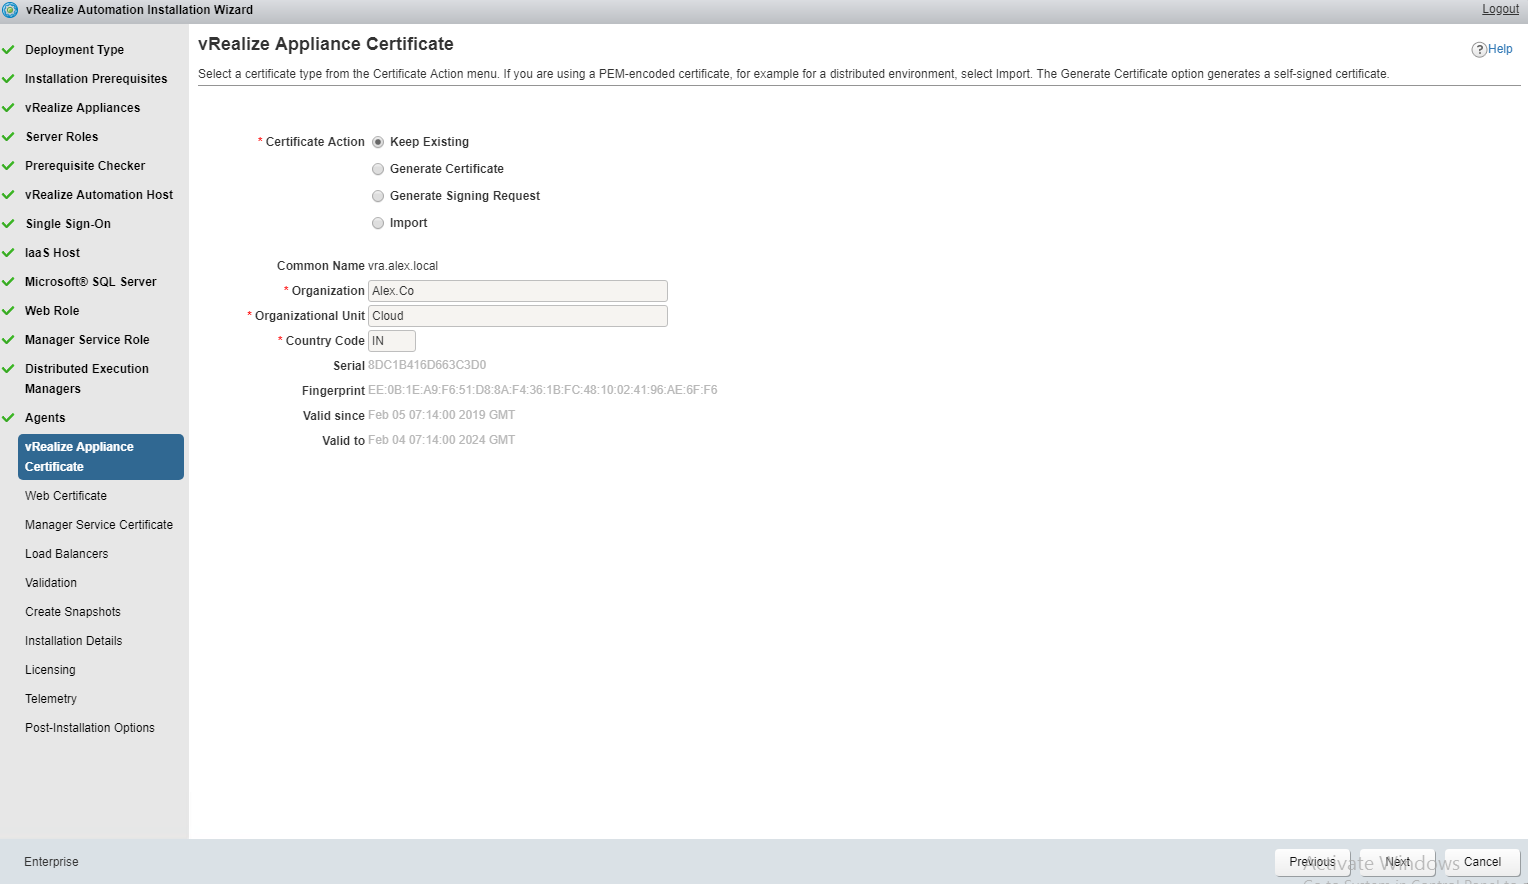
On certificate page, select “Generate Certificate” and fill in the Org, Org unit and country details to generate a new self-signed certificate for vRA appliance.
Note: If you want to use the signed certificates, you can import them here.
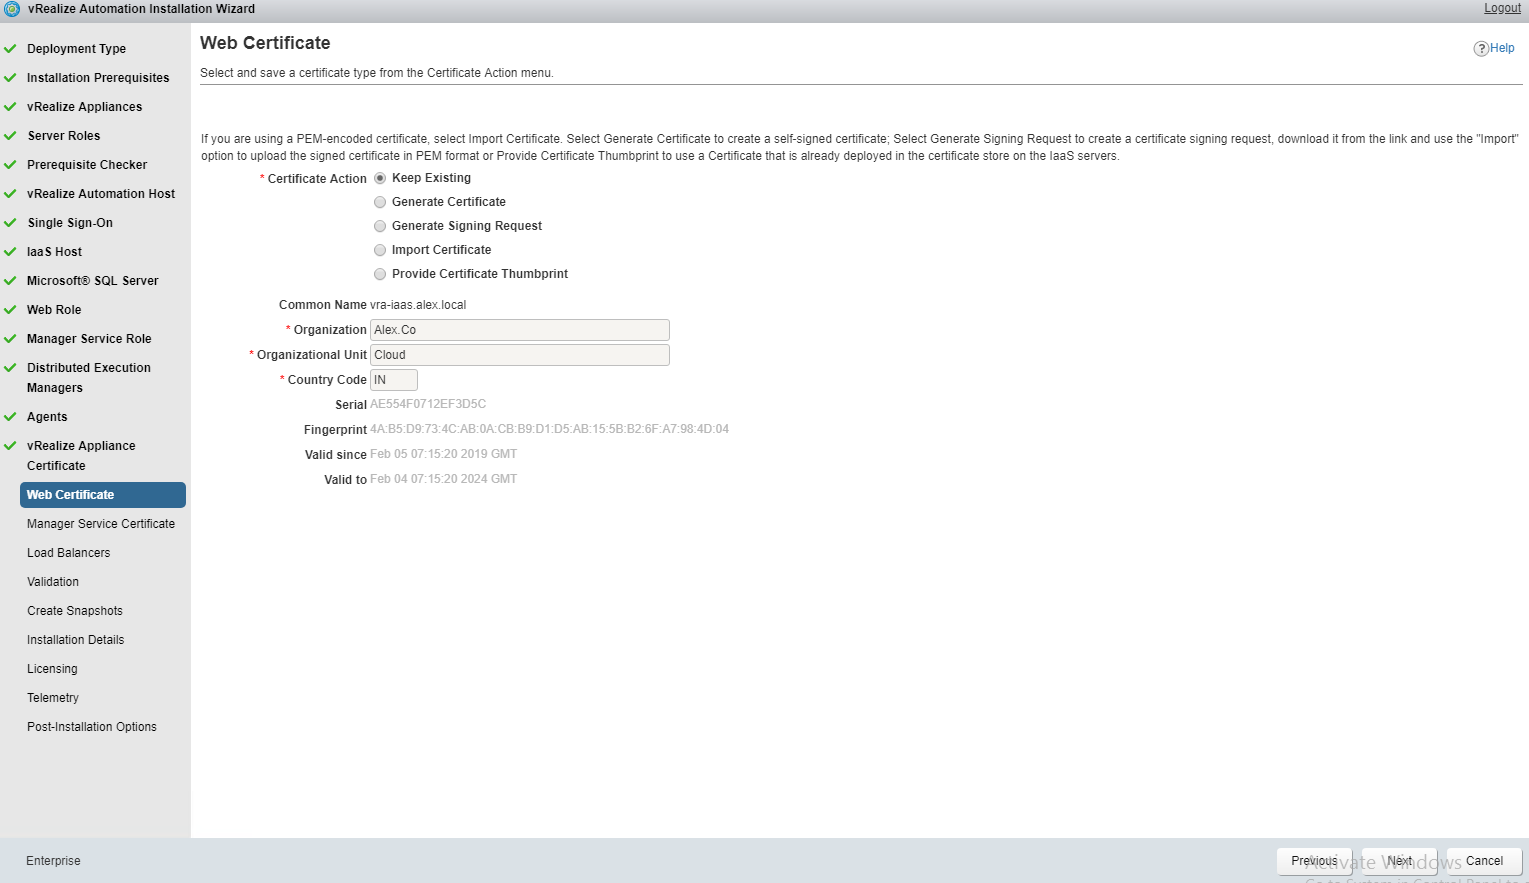
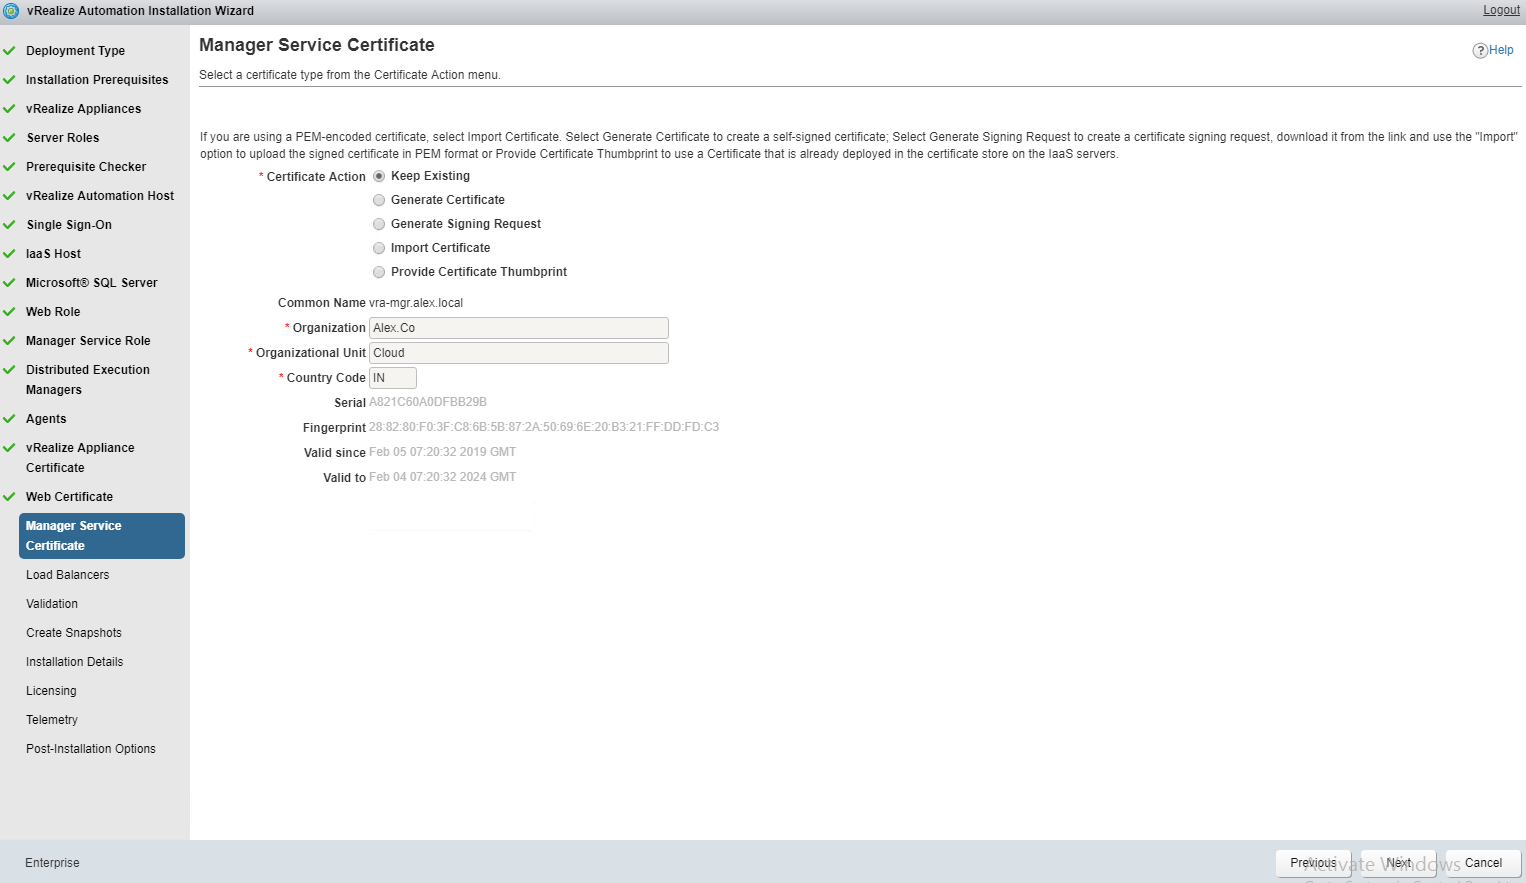
Repeat the certificate generation process for the IaaS-Web and IaaS-Manager servers.
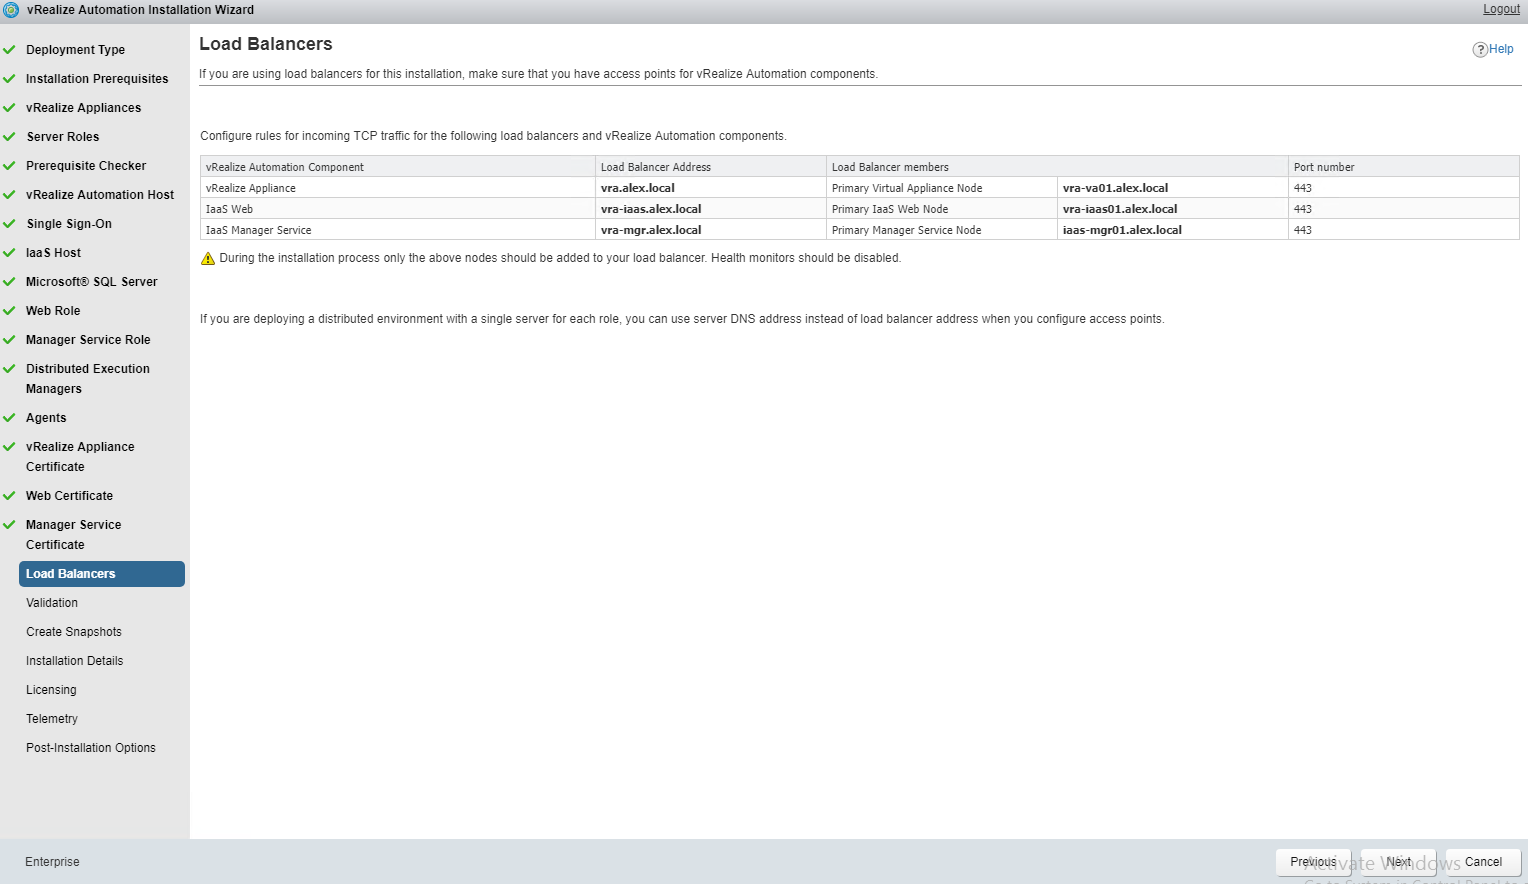
At this point your load balancer should have been pre configured as per vRA load balancing documentation.
Please see my earlier post on how to configure load balancing for vRA distributed install.
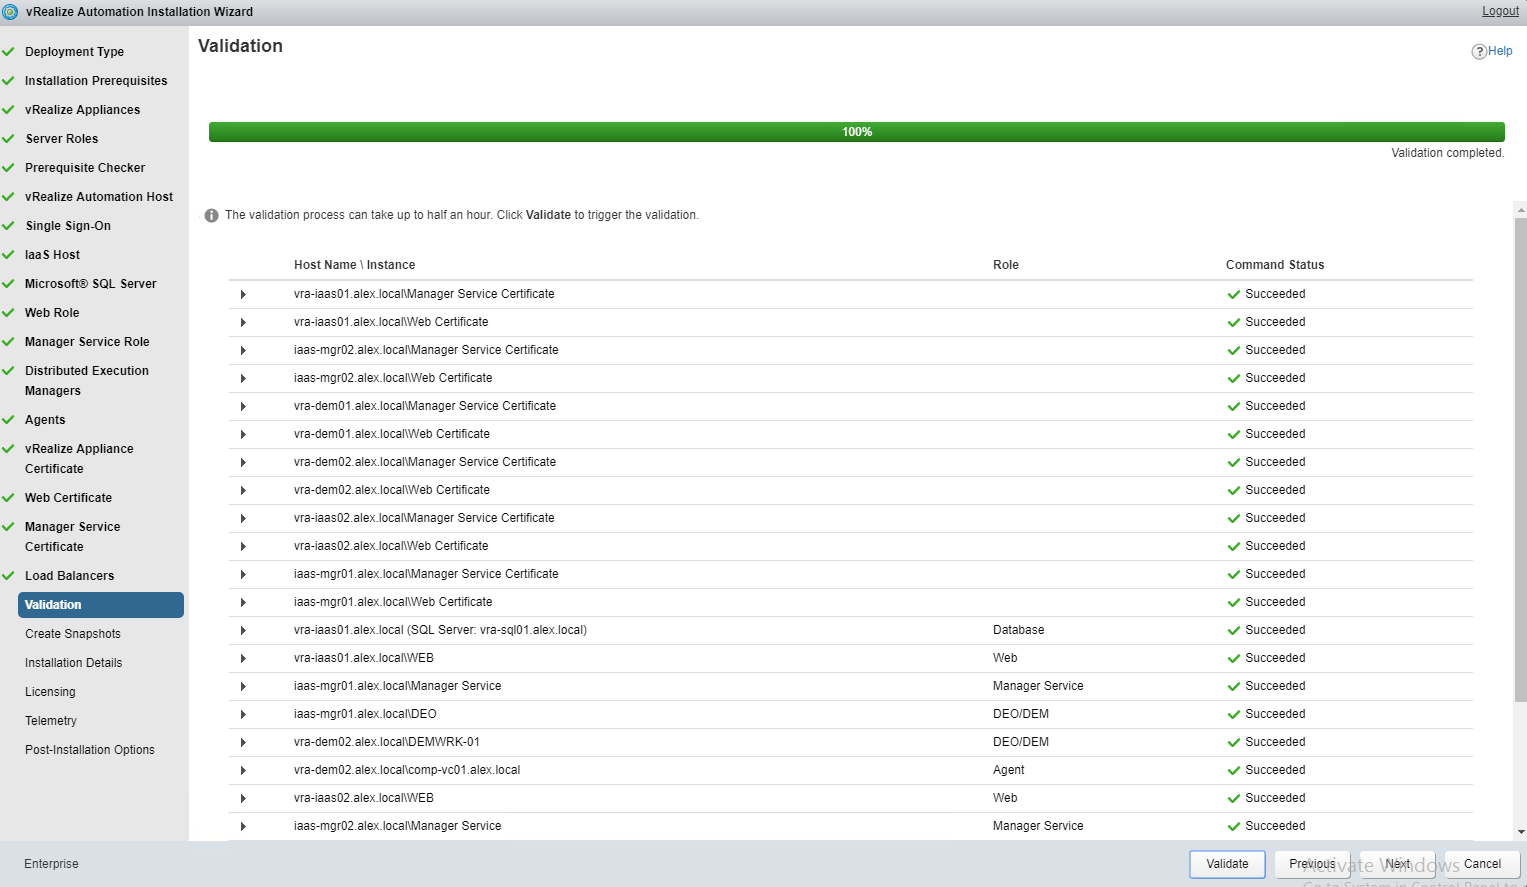
On validation page, click on validate button to verify all prerequisite have been met for vRA distributed install.
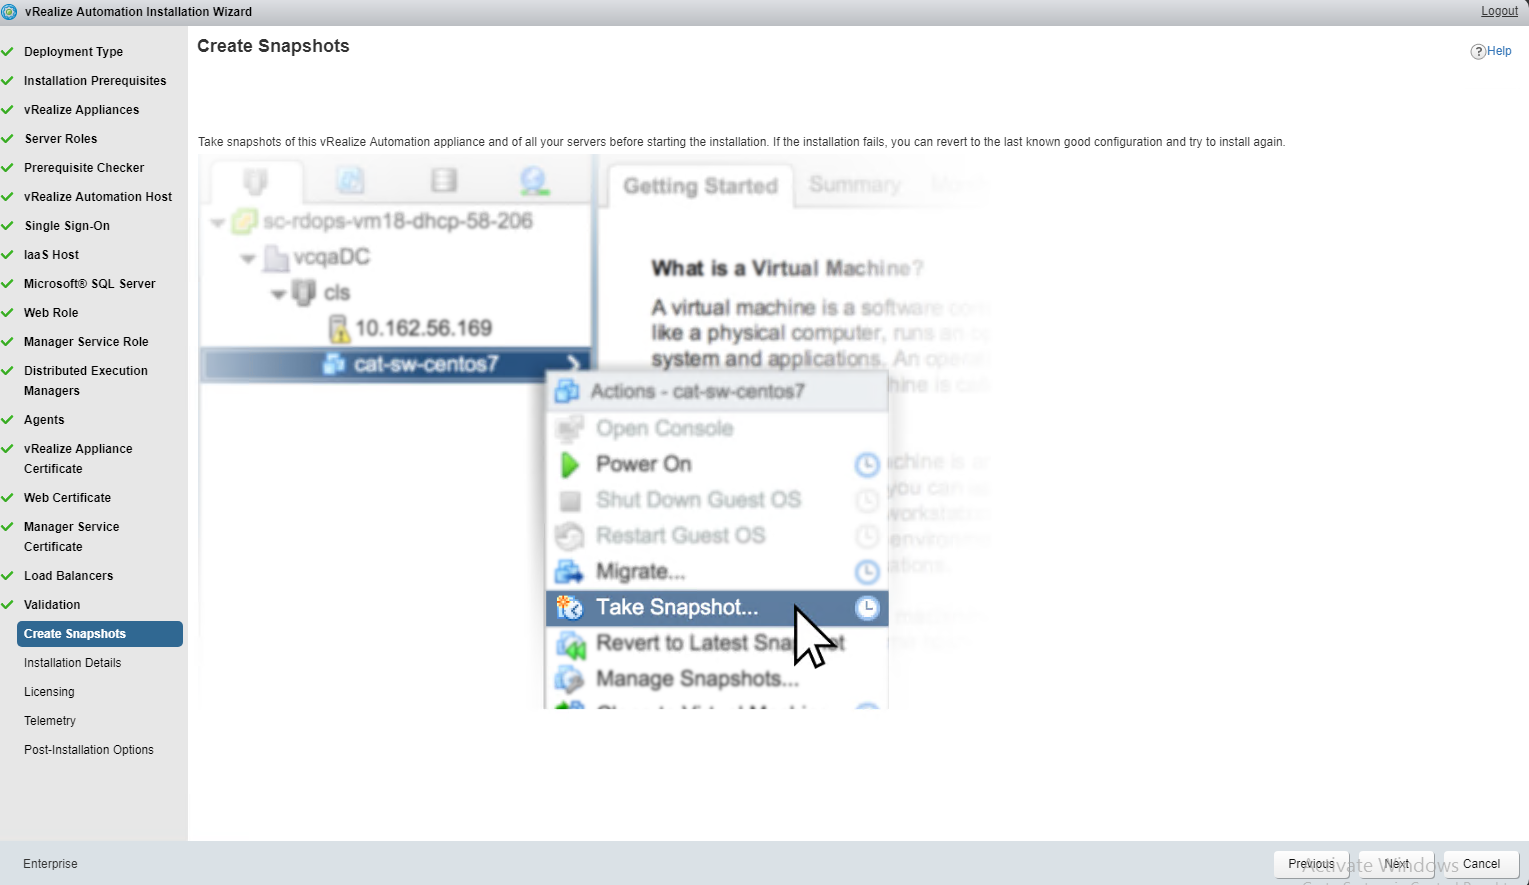
Before kicking install process, make sure you have snapshotted all the vRA related vm’s. Installer s kind enough to remind you of that.
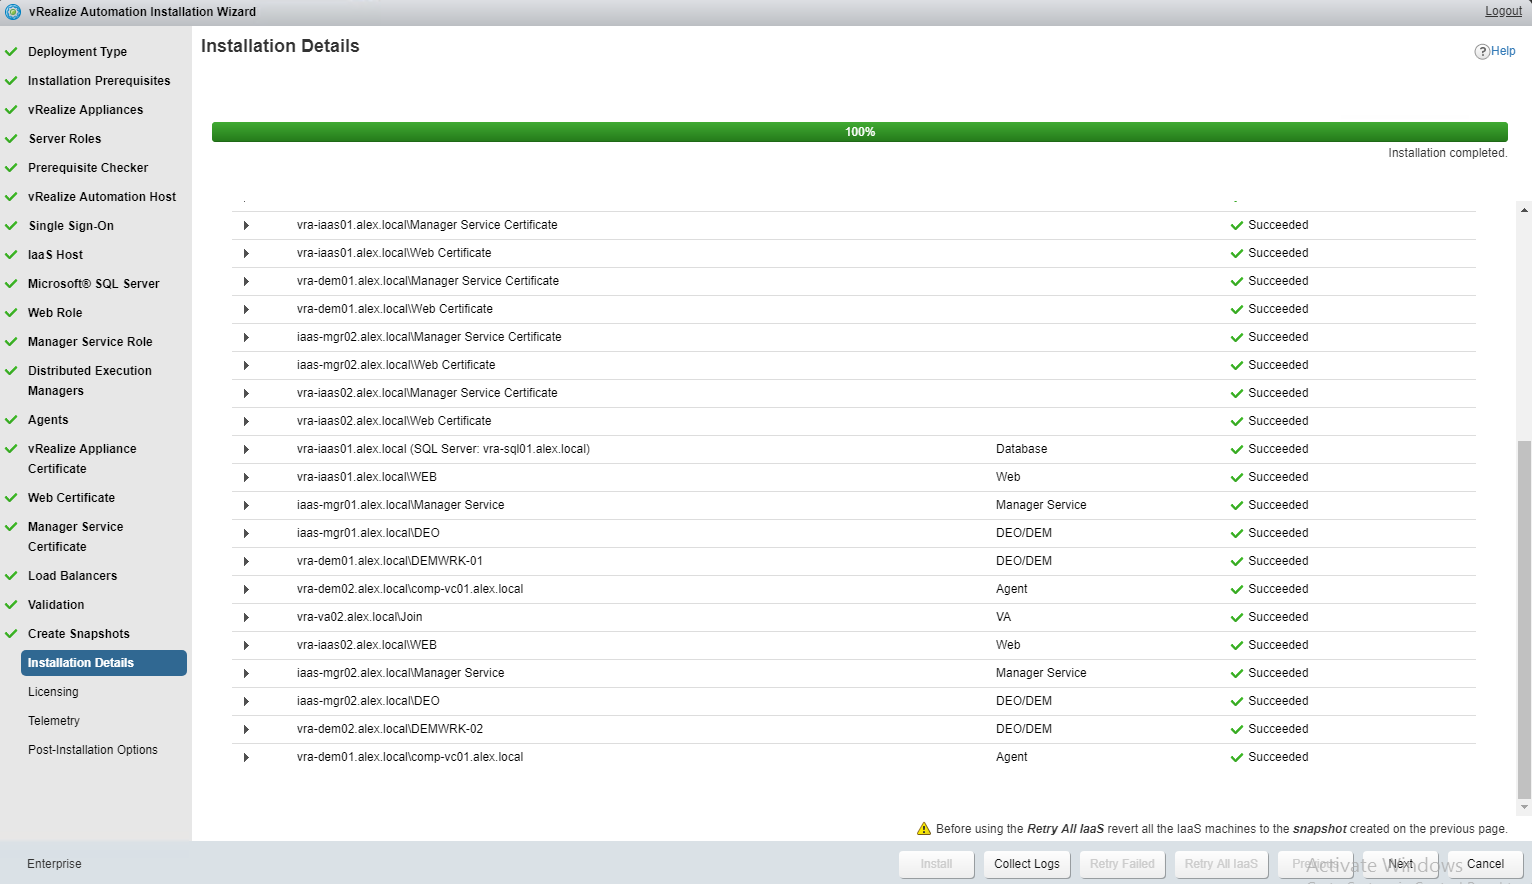
Hit install button to start the actual install process.
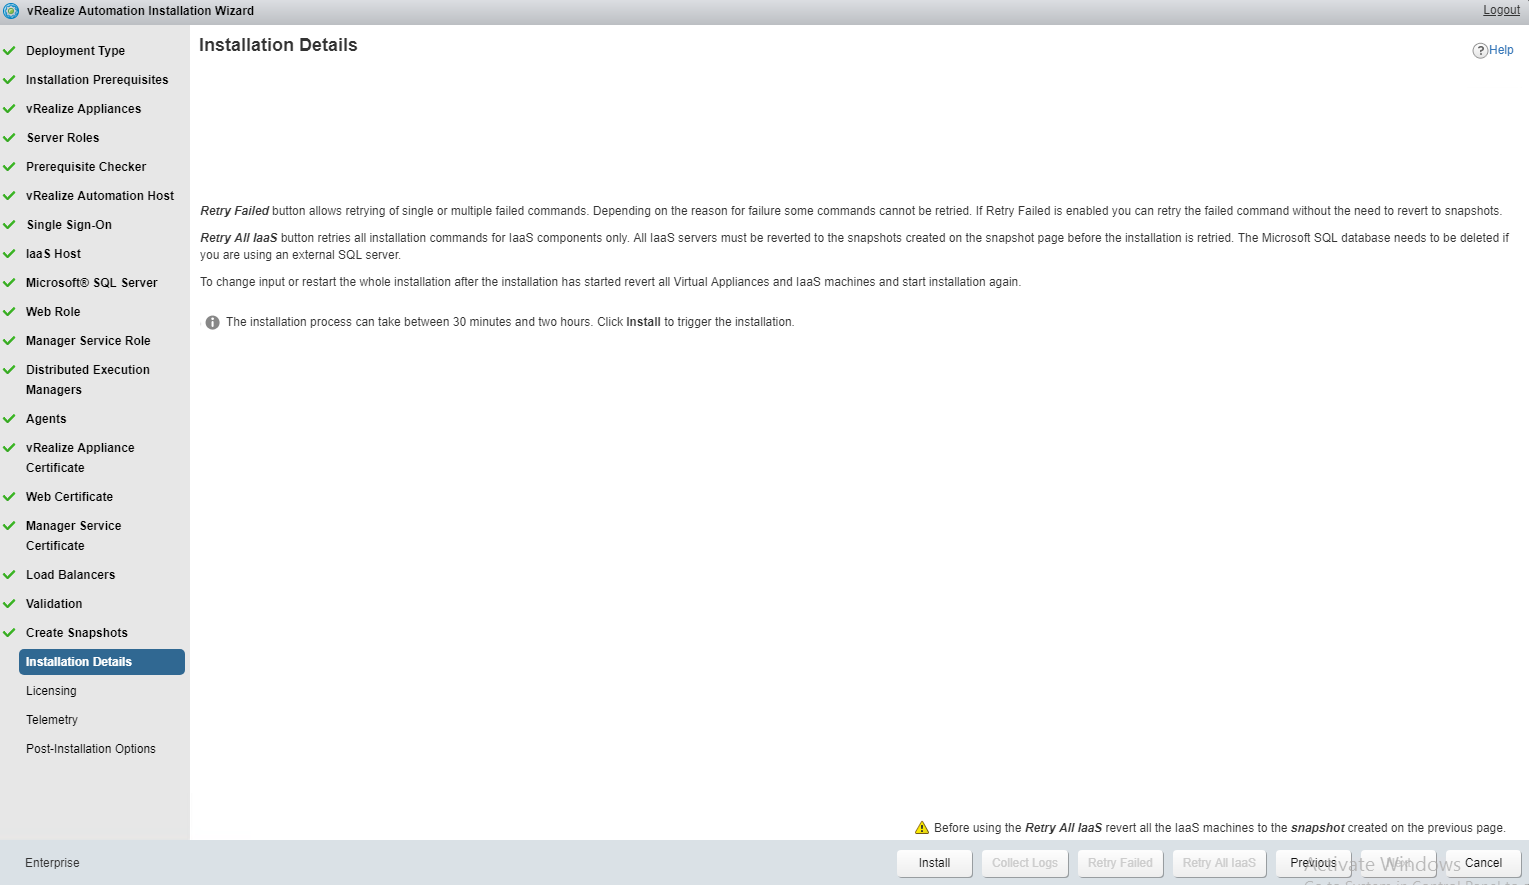
For me it took a couple of hours for installer to finish the installation. Sometime installer fails in between and reason for failure are displayed on screen.
Fix the issue and click on Retry failed button if you encounters any such issue.
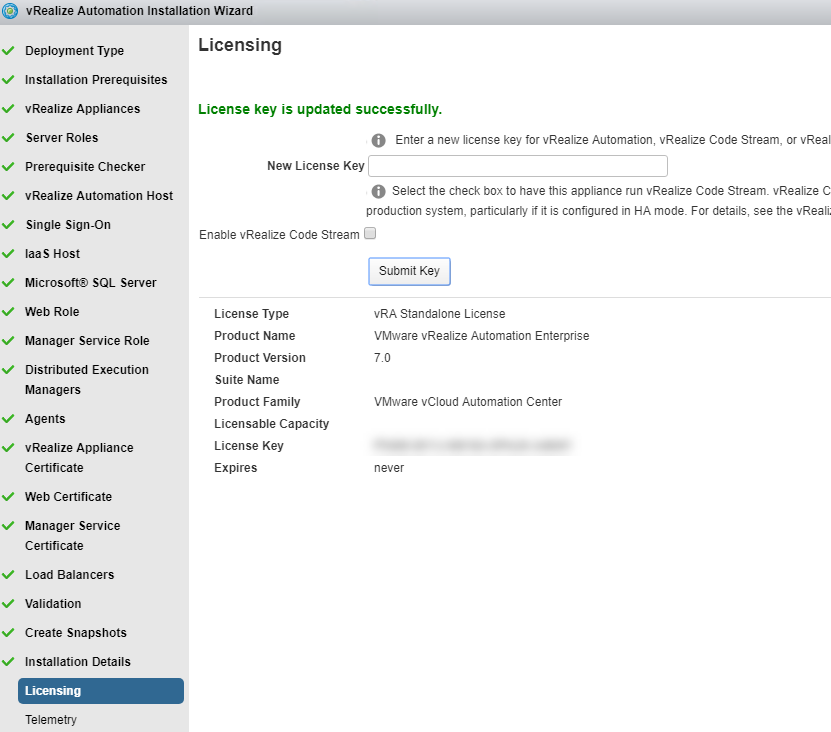
On licensing page, punch in your license key and click on submit key button.
Hit next to continue.
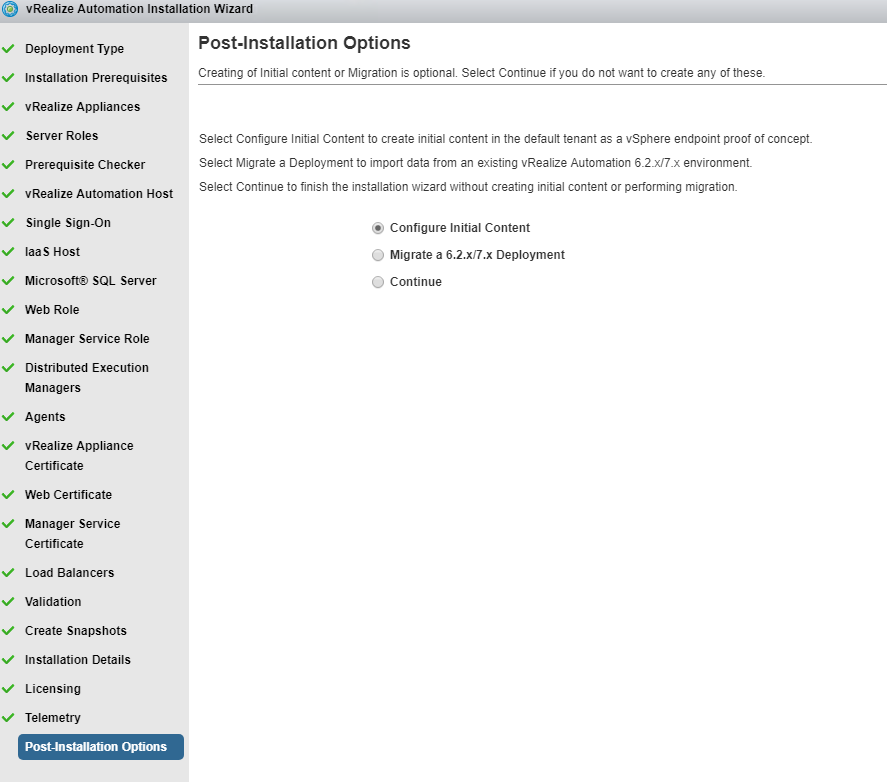
On Post-install page, select “Configure Initial Content” and hit next.
Provide password for the “configurationadmin”user and click on create initial content button. This will create a configuration admin and install an XaaS service that walks you through setting up initial tenant logic.
It takes a couple of minutes for configuration to complete.
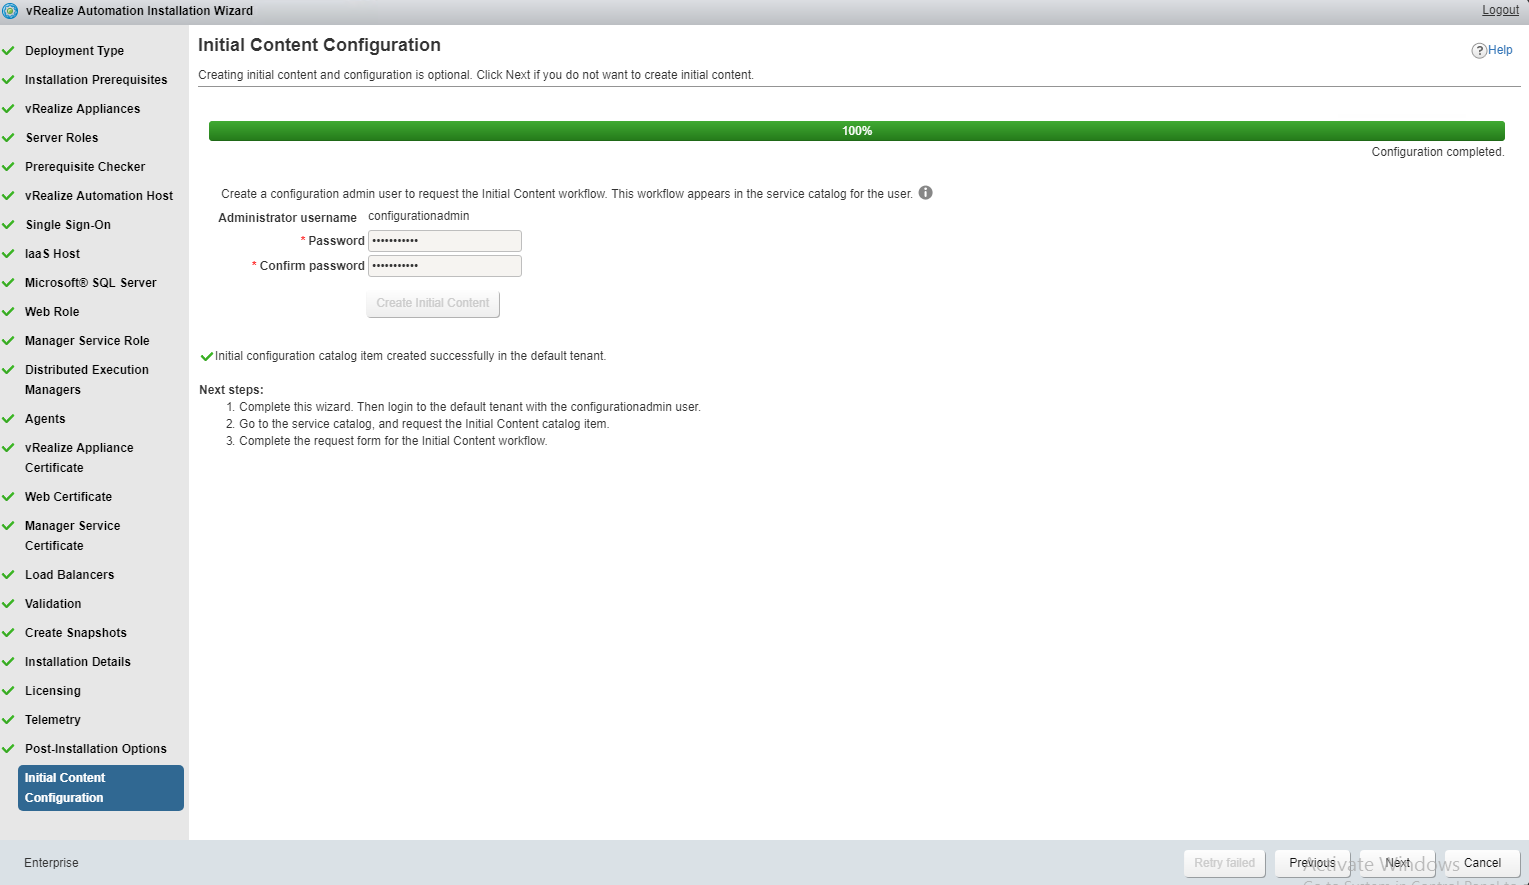
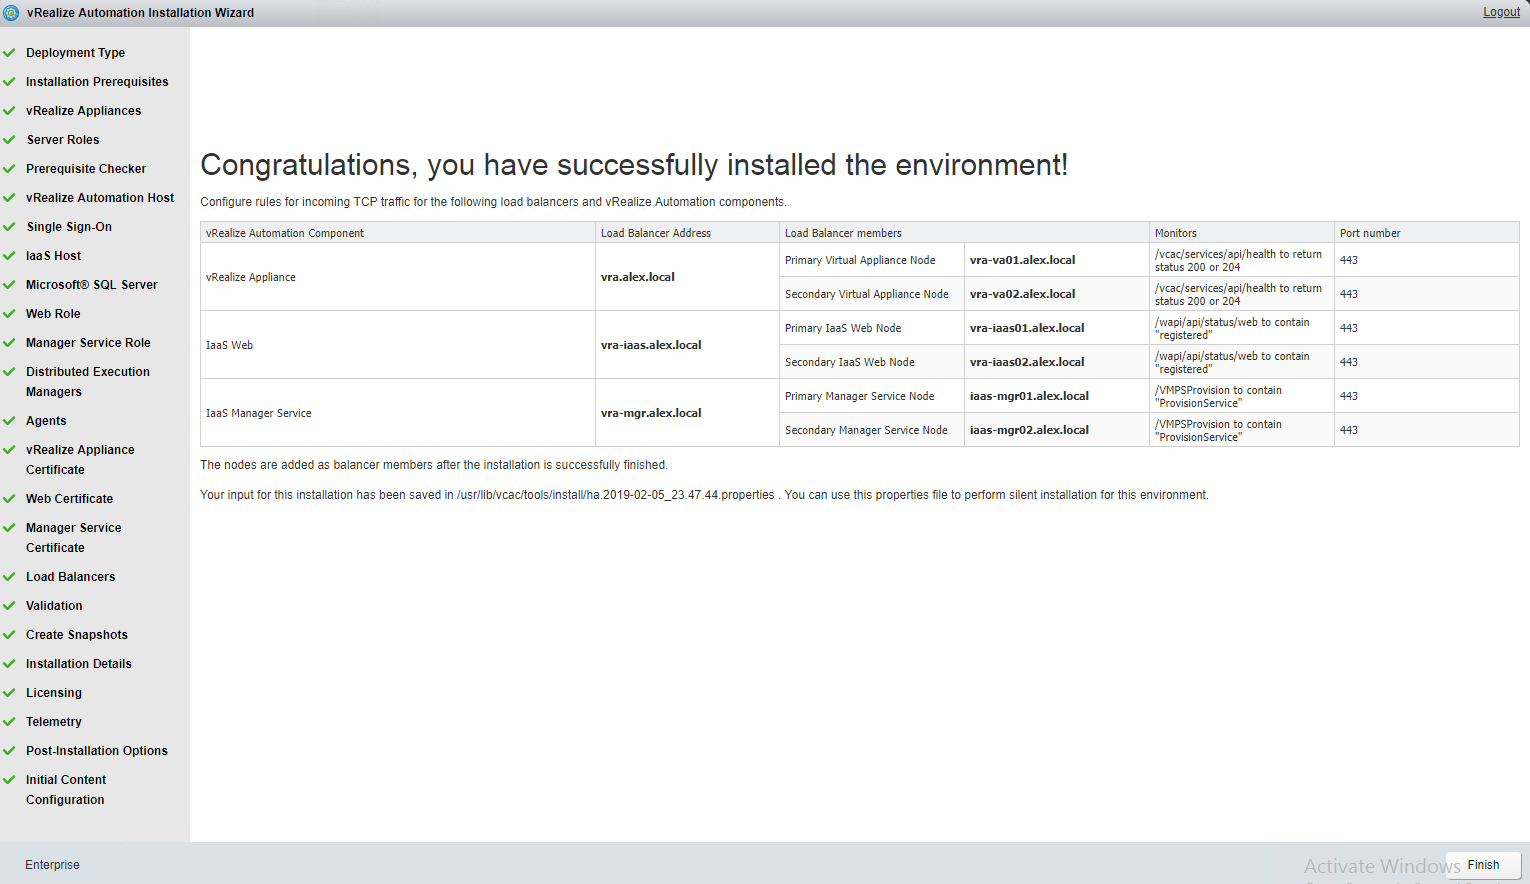
And wohoo!! distributed vRA setup has been successfully completed.
The wizard will display important load balancer information. if you have not configured the load balancer yet, you can use this info to do so.
And that’s it for this post.
I hope you enjoyed reading this post. Feel free to share this on social media if it is worth sharing
