In last post I demonstrated the Prism Central 1-Click installation process. In this post I will walk through the 1-Click upgrade process.
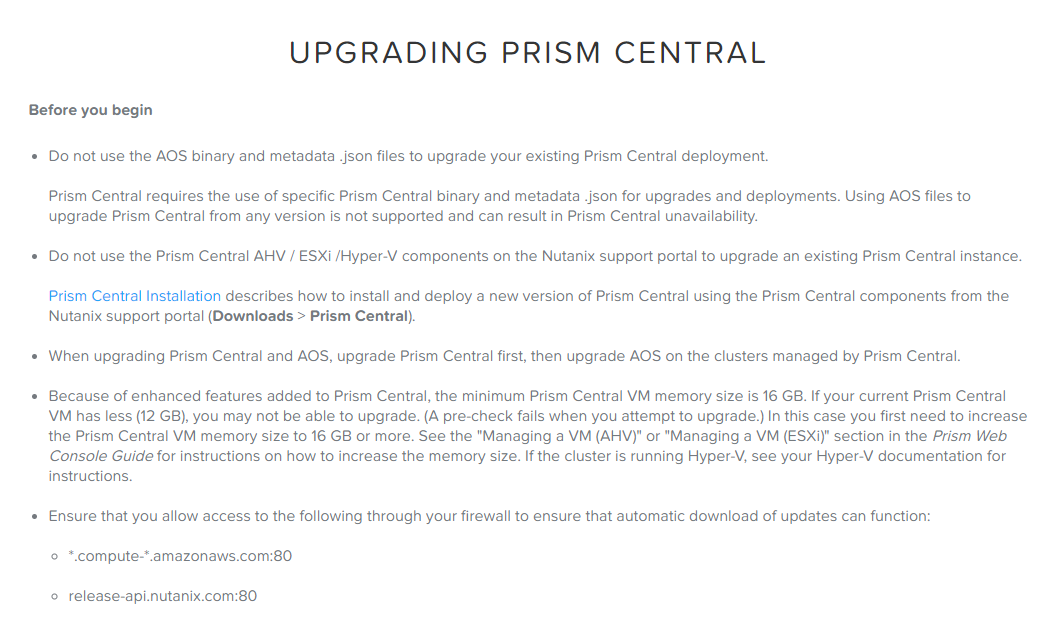
Before you start your Prism Central upgrade, there are few pre-requisites that needs to met. Below screenshot taken from Prism Central Admin guide lists the requirements.
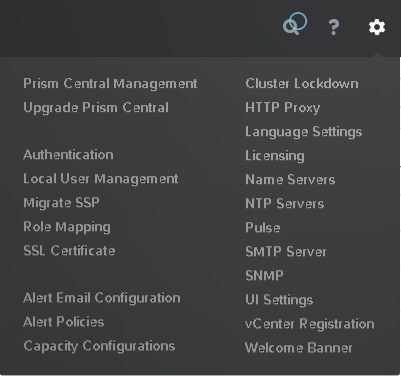
To upgrade Prism Central to a higher version, Login to Prism Central and click on gear icon and select “Upgrade Prism Central”.
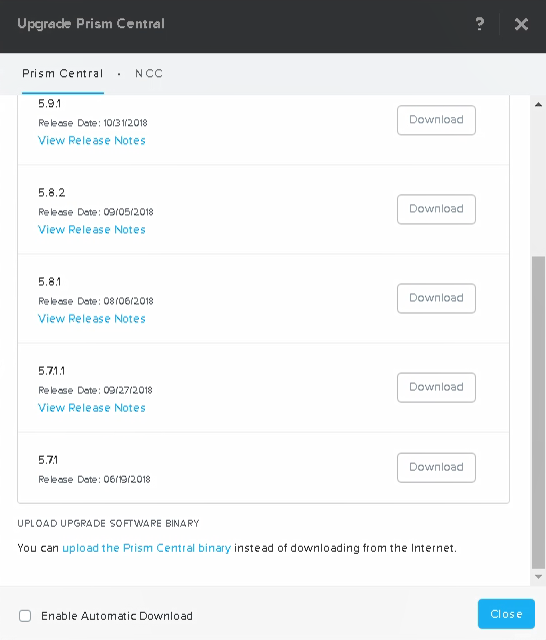
If your Prism central have access to internet, you can download the upgrade directly from support portal.
If Prism Central is not connected to internet, then you need to manually provide the upgrade binaries. Upgrade files are available here
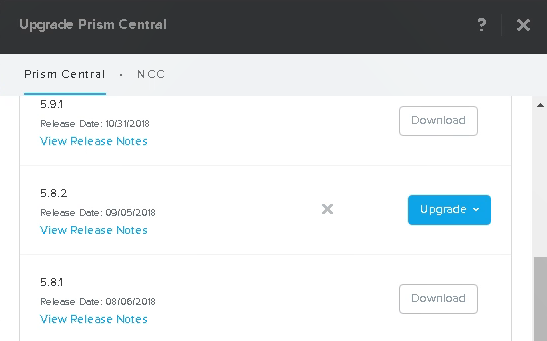
Once upgrade binaries have been downloaded and staged, hit Upgrade button to start upgrade.
Click on yes to proceed.
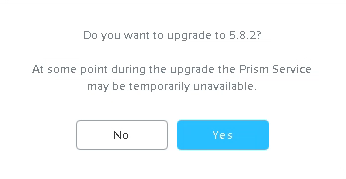
Sit back and relax. Prism central upgrade is going to take 15 minutes at least.
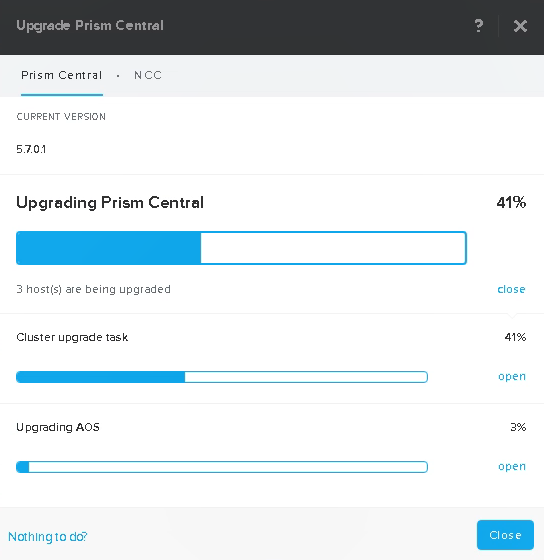
If you are curious whats happening behind the scenes, then you can monitor the backend tasks from Task page.


You will be logged out of Prism Central temporarily as the backend vm is rebooted during the upgrade process. But don’t worry it will not impact the overall upgrade process.
Once the backend vm is back online and Prism services have been initialized, login back to Prism Central and verify the current version to make sure upgrade completed successfully.
And that’s it for this post.
I hope you enjoyed reading this post. Feel free to share this on social media if it is worth sharing
