In the last post of this series, we paired the two vCloud based cloud instances. Now it’s time to test the DR capabilities offered by vCAV-C2C.
If you are not following along with this series, then I recommend reading earlier posts of this series from the links below:
1: Introduction to vCloud Availability for Cloud-to-Cloud DR
3: Site Pairing
To start testing DR operations, connect to https://VCAV-FQDN:8443 and login with tenant credentials (uname@orgname) and navigate to Paired Clouds.
By default, your Site-B will show as unauthenticated. Click on the gear button to enter credentials.
Enter the org name of Site-B and the org user credentials. Click on Authenticate.
Now both sites will show as authenticated.
Perform the same operation by connecting to the VCAV appliance of Site-B, adding the Org/User details of Site-B, and making sure both sites are showing as authenticated.
Once both sites are authenticated, navigate to the DR-Workloads tab and click on Discovery
Select the source site from where replication will be initiated. You can select any site from here as a source. No need to login to the Site B appliance to use it as a source.
Select the vApp/VMs that you want to replicate and click Next.
Select the destination site and hit Next.
Select the RPO and other settings for replication, and click on Protect.
The protection setup task will be triggered. Wait for the completion.
The VM status changes to Protecting.
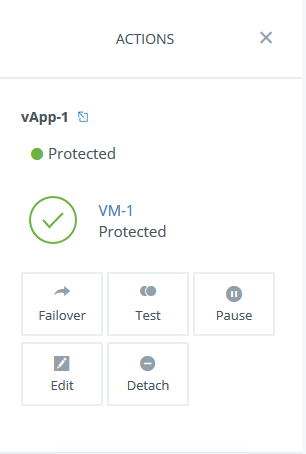
After a while, the VM status will change to protected.
From the Actions tab, you can perform various operations like Failover, Test replication, Pause replication, etc.
The following events will be triggered in the vCenter of both sites.
The replicated VM is created as a shell VM in the destination vCenter and is not visible in the destination vCloud Director.
Perform Test Failover
To perform a test failover, select Test from the Actions tab and select if you want to sync the deltas to the destination site before the VM can be test-failed over. You can also choose to power on the VM at the destination site so that the OS/app integrity can be checked when the VM boots up.
Click on the Start button to start the test failover.
Wait for a couple of minutes for the process to complete.
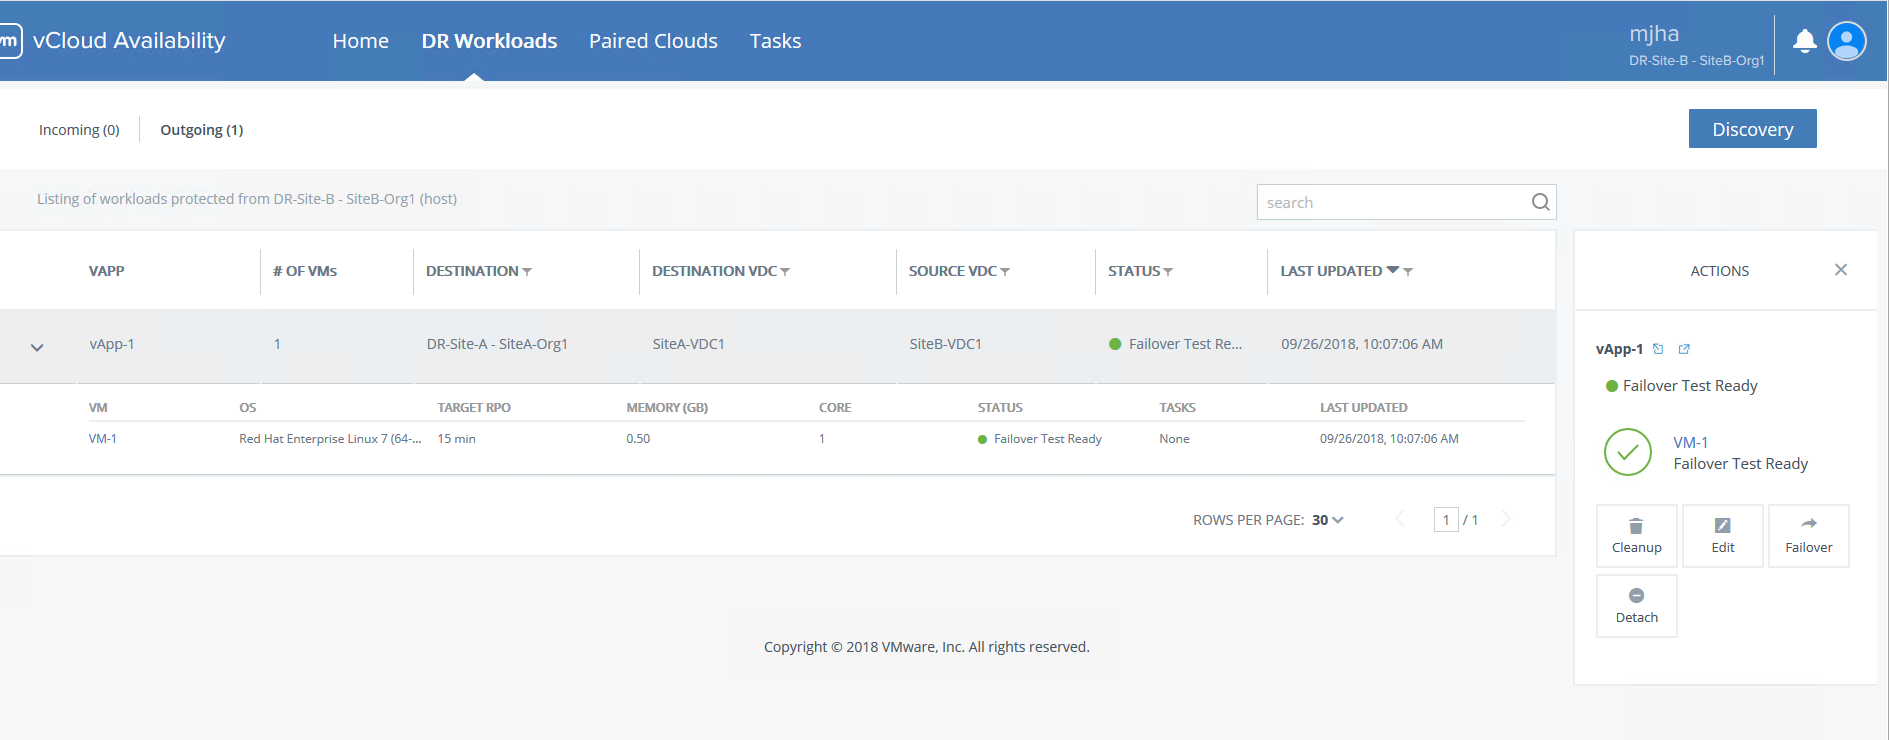
Once the test is completed, you will see the message “Failover Test Ready.”
At this moment, the replicated VM will be registered as a regular VM in vCenter (not as a shell VM) and also in vCloud Director.
Perform Test Cleanup
To perform the test cleanup, select the Cleanup option from the Actions tab and click OK.
All changes made during the test failover will be discarded, and the VM will be registered again as a shell VM in vCenter.
Performing Failover
To perform a permanent failover of a VM from the source site, select the failover option from the Action tab. You can choose to consolidate VM disks (if PIT is enabled) and resync (to sync all deltas).
Hit the Start button to initiate failover.
Wait for some time while the VM is failing over.
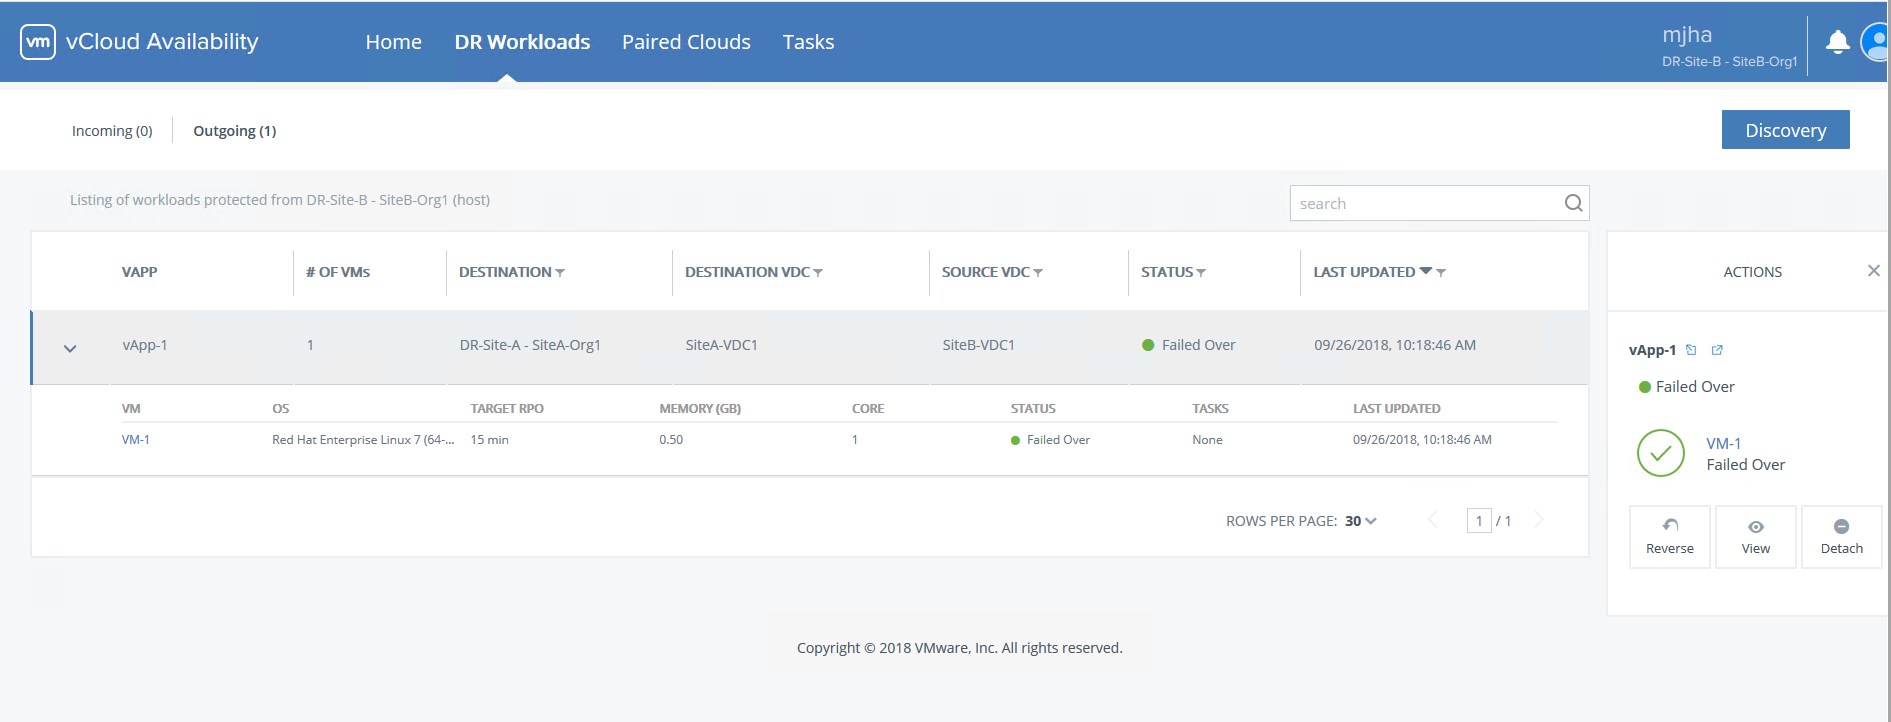
When this process completes, the VM status will change to Failed Over.
Under the home page, you see the details of replication.
Perform Reverse Replication
If you have permanently failed over a replicated vm from source to destination site, you can reverse the direction of replication for that vm from Destination <– Source
From the Actions tab, select Reverse.
Click OK to start reverse protection.
Wait for some time for the reverse protection process to complete.
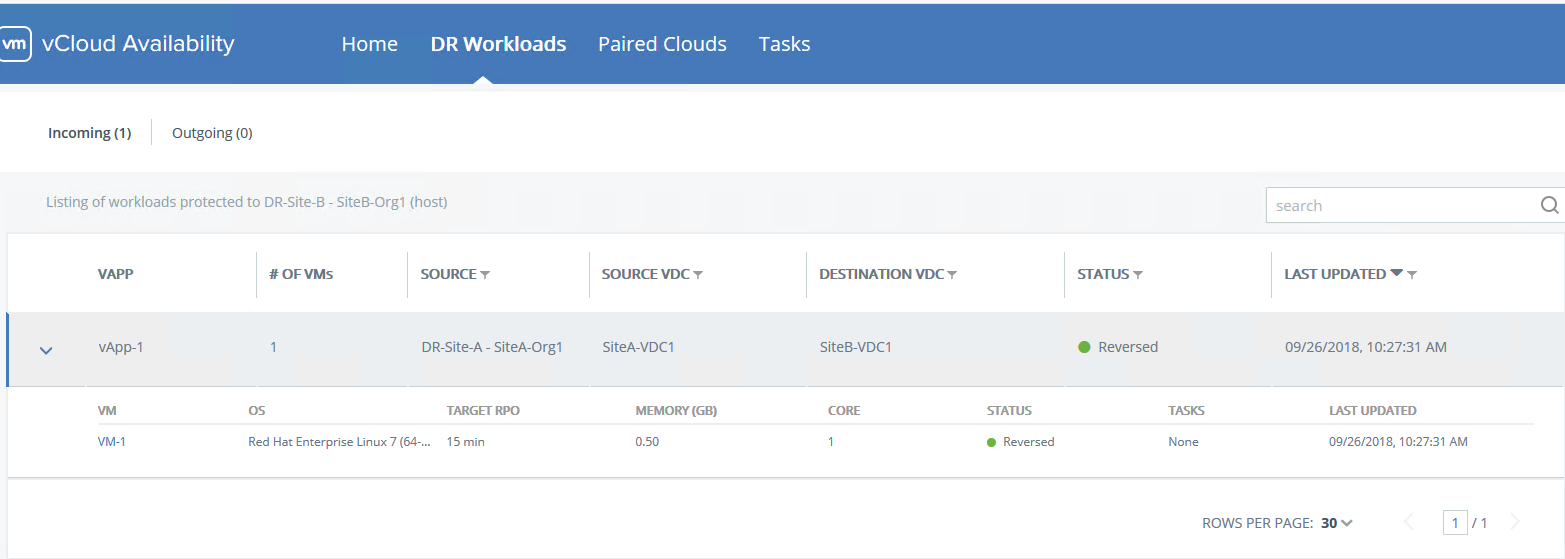
VM replication status will show Reversed.
In the source site, VM will now show as an empty shell in vCloud Director.
And that’s it for this post.
I hope you enjoyed reading this post. Feel free to share this on social media if it’s worth sharing.


