In this post we will see how to deploy vCloud Connector and use it to facilitate a hybrid cloud architecture. Before going into installation and configuration part first lets see what is vcloud connector
What is vCloud connector?
The VMware vCloud Connector is a tool that facilitates hybrid cloud computing for organizations. The vCloud Connector essentially helps to orchestrate and administer the migration of VM’s across different data centers and clouds.
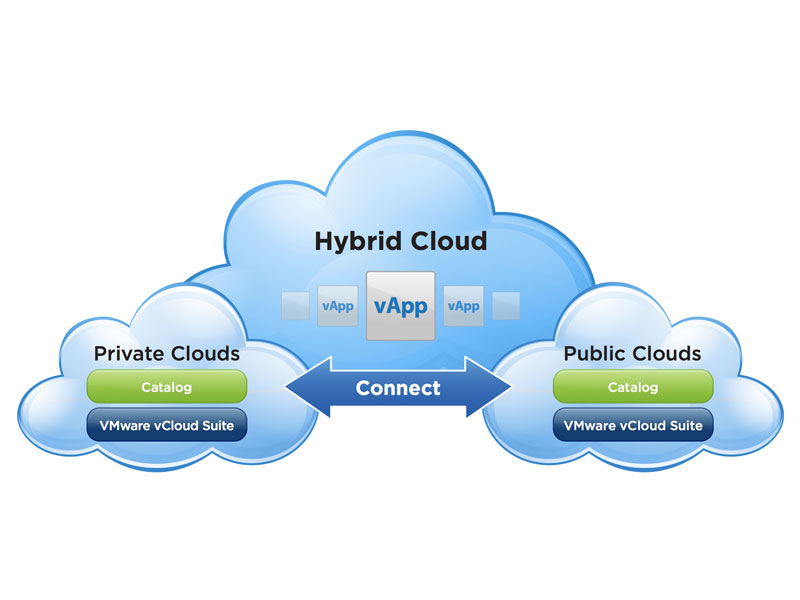
VMware vCloud Connector links your internal private cloud with public clouds, so you can manage them as a single hybrid environment and transfer workloads back and forth.
vCloud Connector also provides the following key features.
- Content Sync lets you set up a Content Library to distribute and synchronize templates across clouds.
- Datacenter Extension (Stretch Deploy) lets you extend your private data center to a public vCloud.
- Offline Data Transfer enables you to transfer large amounts of data from your private data center to VMware vCloud® Air™.
Graphic Thanks to VMware.Com
Components of vCloud Connector
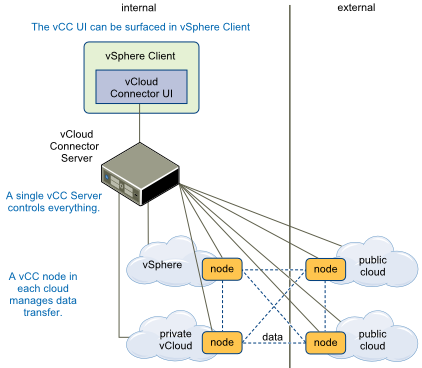
The vCloud Connector product features the vCloud Connector UI, the vCloud Connector server and vCloud Connector nodes. The server and nodes are virtual appliances.
Graphic Thanks to VMware.com
vCloud Connector User Interface:The vCloud Connector user interface appears as a plug-in in the vSphere Client to which it is registered. The vCloud Connector icon appears in the vSphere Client Home page, under Solutions and Applications
vCloud Connector Server: The server appliance maintains the nodes, oversees the state of vCloud Connector and displays the vCloud Connector UI.
vCloud Connector Nodes: The node appliance coordinates the relocating of VMs between clouds.
How vCloud connector Works?
The workflow in vCloud Connector can be summarized as below:
1: The virtual machines or vApps to be copied are powered down
2: The vCloud Connector at the source cloud copies the source VMs or vApps as vApp templates
3: The copied VMs or vApps are deployed at the target cloud
4: The copied VMs or vApps are powered on after deployment
Datacenter Extension using vCloud connector
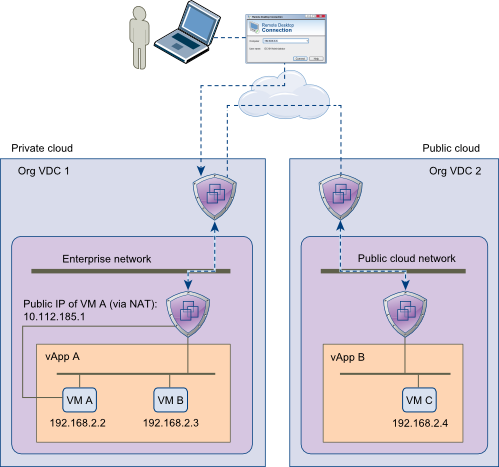
If you have a private cloud (running on vCloud director) in your environment and have your public cloud hosted in service provider datacenter then you can stretch your datacenter by creating a layer 2 SSL VPN tunnel between your private cloud’s vShield Edge instance and a public cloud provider’s vShield Edge instance.
The VMs or vApps that are running in private cloud are copied over the SSL VPN tunnel (encrypted) which helps in extending the user’s private network boundary to the provider’s public cloud, so that the copied VMs will retain their MAC and IP addresses, as well as the same NAT and firewall rules.
At high level this can be summarized as below:
- vCloud Connector verifies that the network of the VM or vApp on the private datacenter can be extended.
- A new Routed vApp network is created in your Organization VDC in the public vCloud.
- Creates NAT and firewall rules in the public network, if required.
- Creates NAT and firewall rules in the private network, if required.
- Creates an SSL VPN tunnel from the vShield Edge of the private network to the vShield Edge of the new Routed vApp network in the public vCloud
- VM or vApp are copied and deployed into the new Routed vApp in the public vCloud.
So Enough of theory now. Lets jump into installation configuration of vCloud Connector now
Deploying vCloud Connector Server
vCloud Connector Server is available in the form of ovf. You can download the vCC server/node setup from VMware vCloud Connector Download Page
I am using vCloud connector in my lab to transfer VM’s from vSphere infrastructure to vCloud Director.
The installation process is fairly simple. We have to deploy the ovf template in our existing vSphere infrastructure
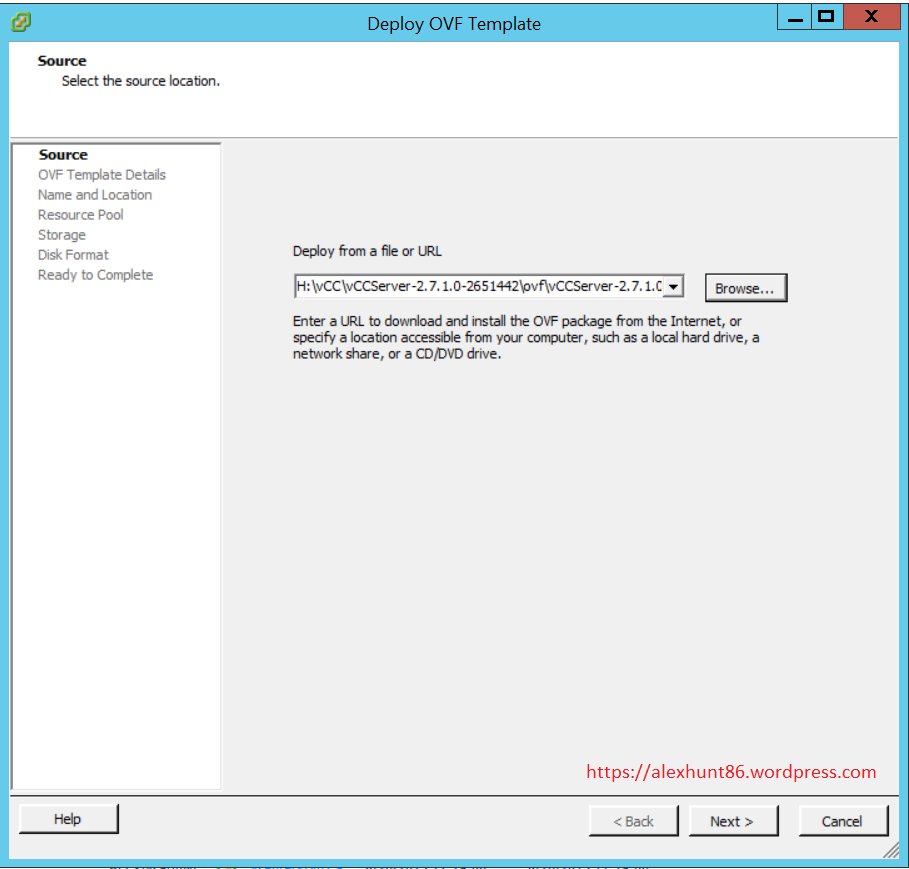
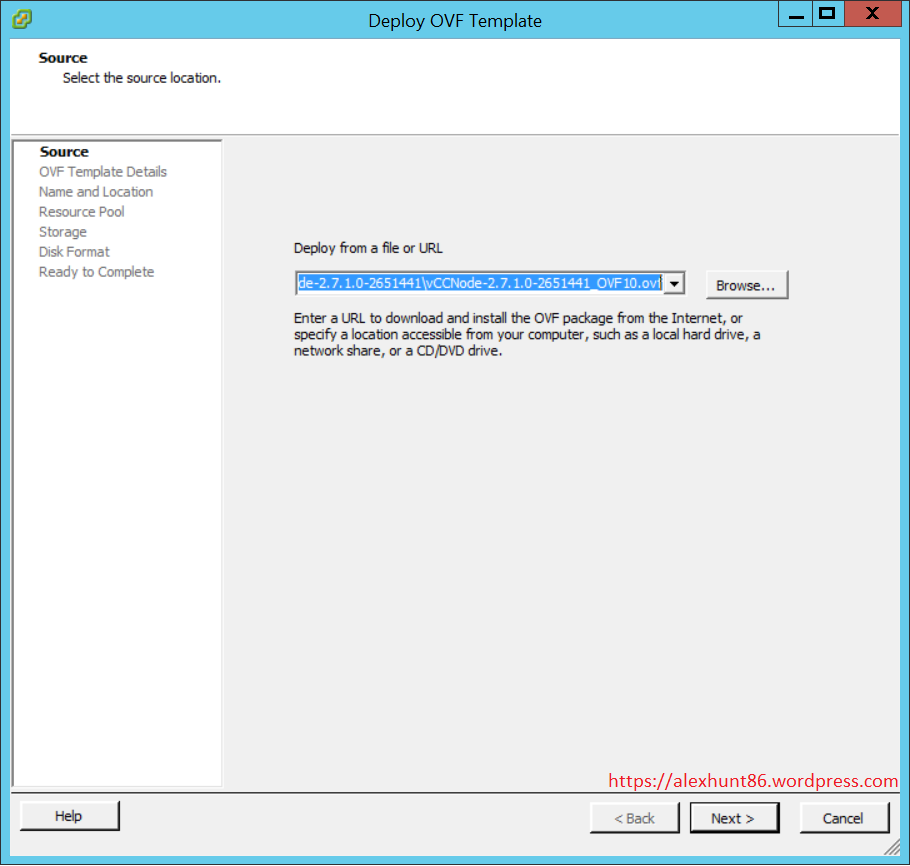
Browse to the path where your ovf file is located.
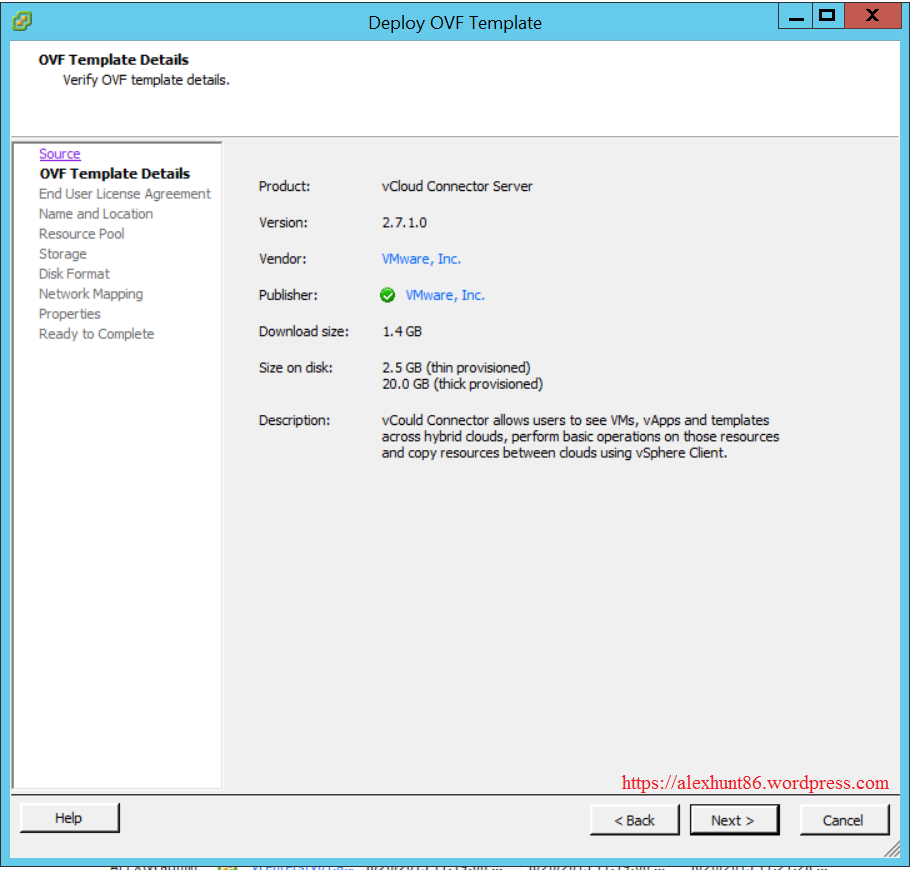
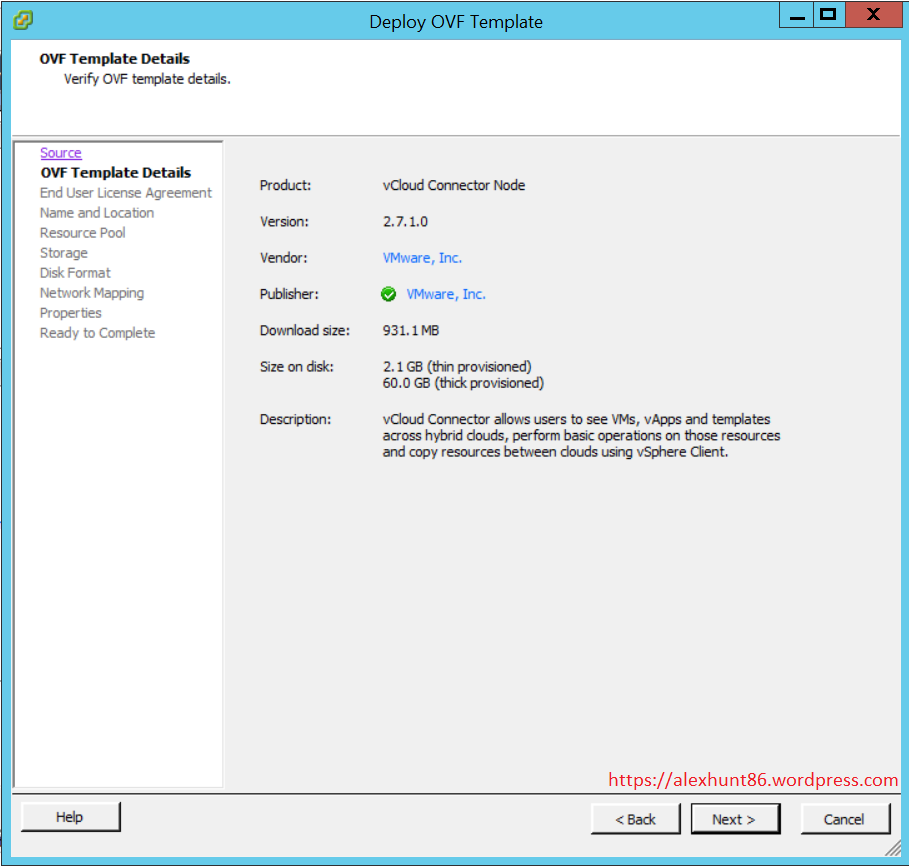
Check the template details and hit next.
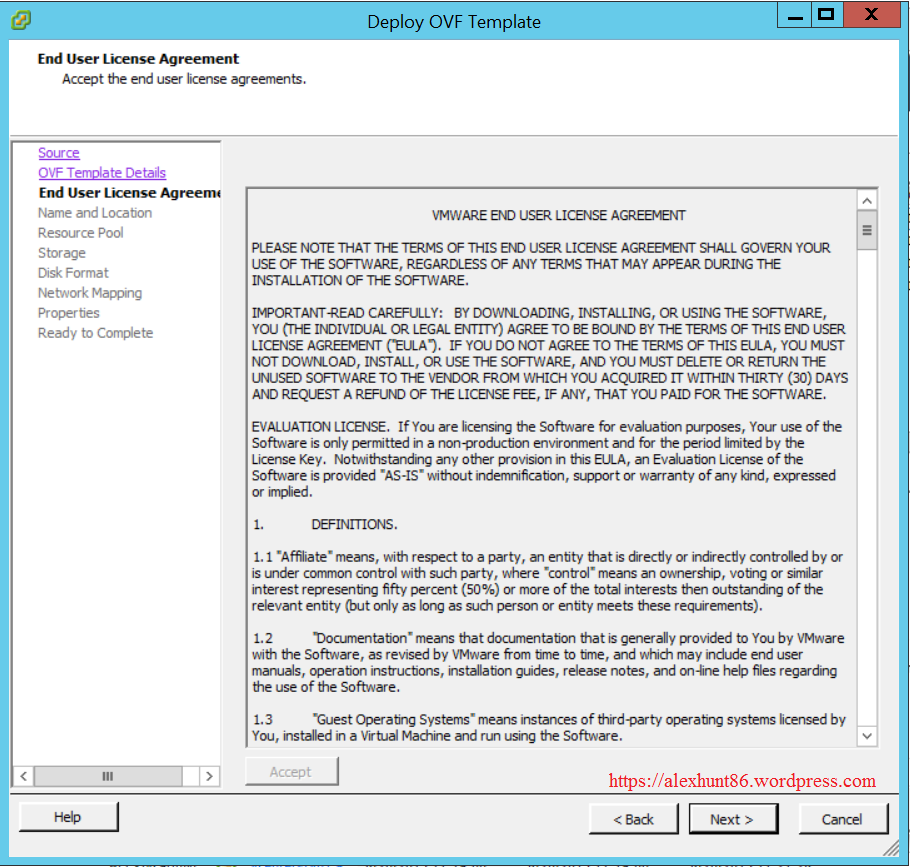
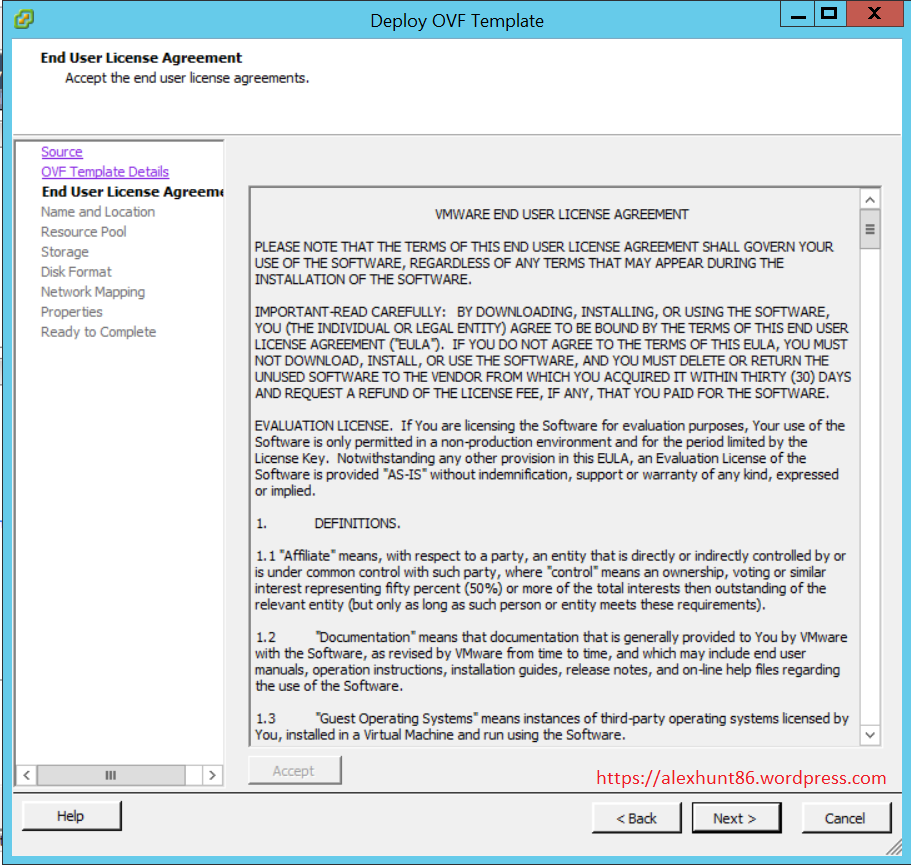
Accept the License agreement and hit Next
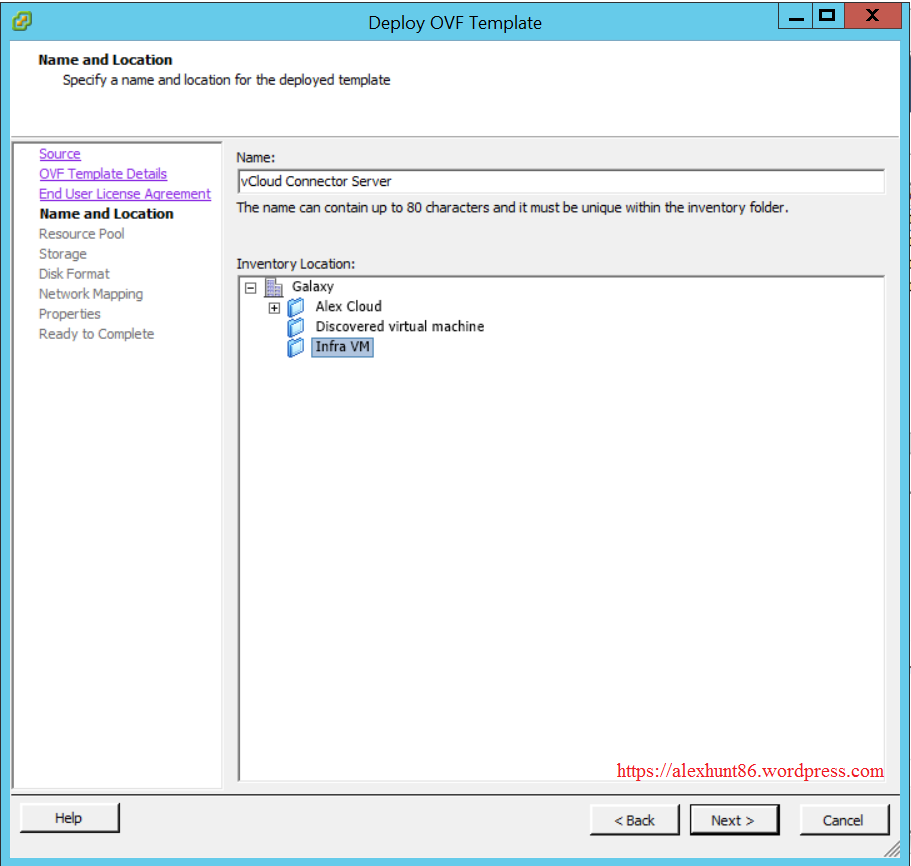
Specify the name for this template and choose the folder where you want to store this VM and hit next
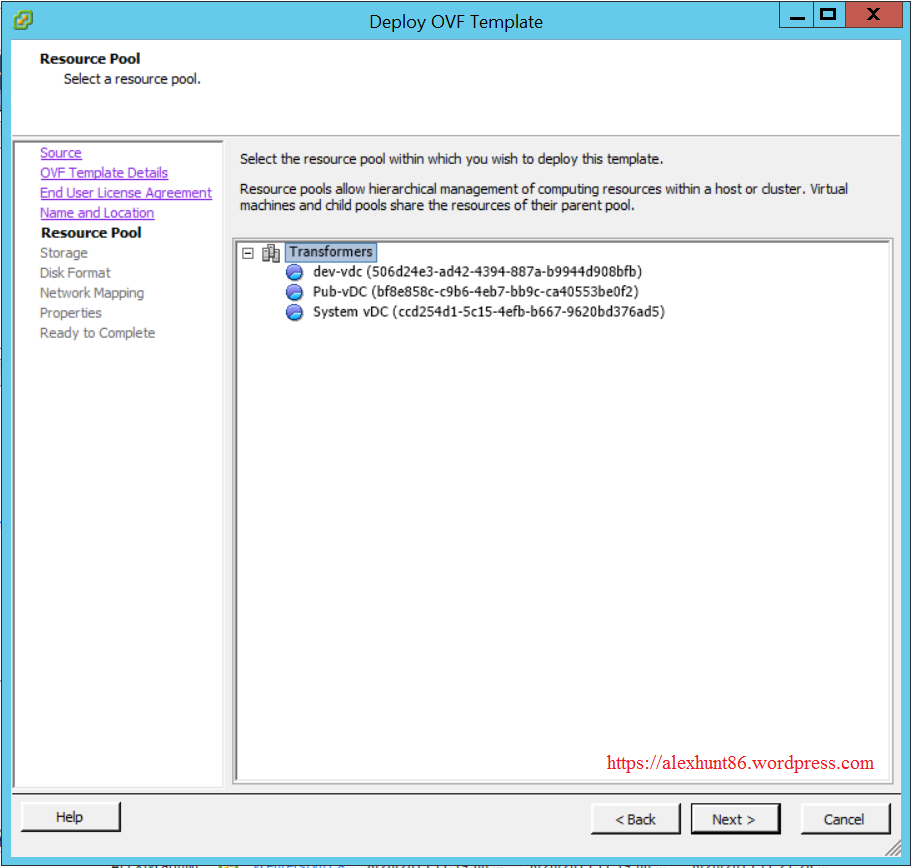
Select the cluster and hit next.
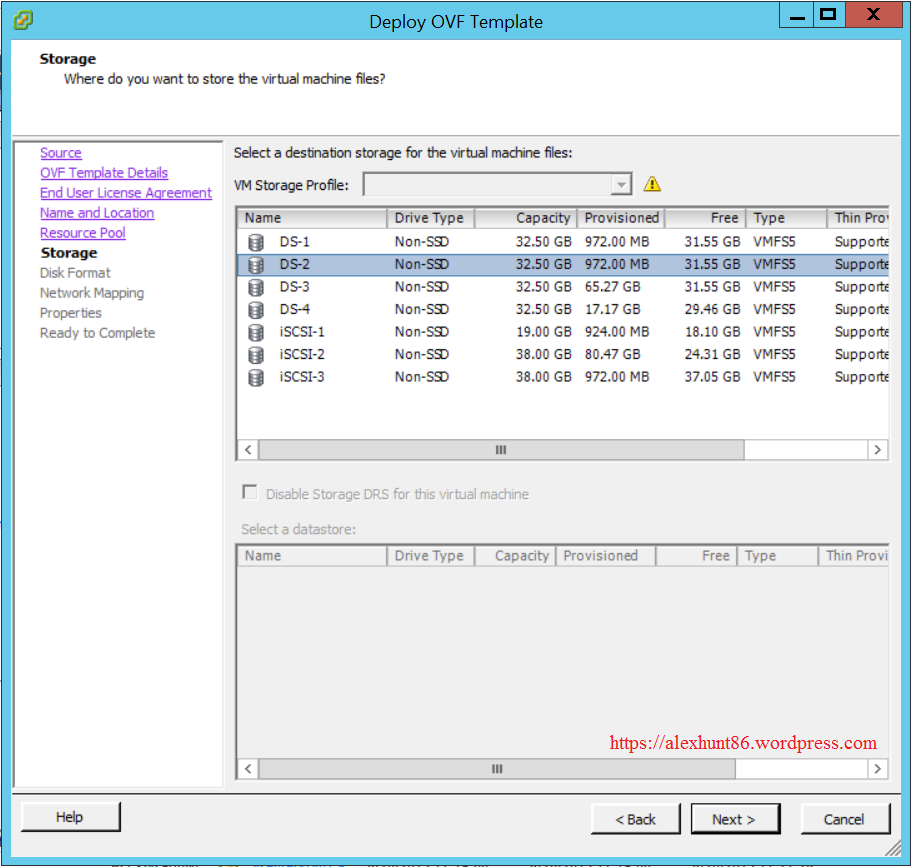
Select the datastore where disk files will be stored and hit next.
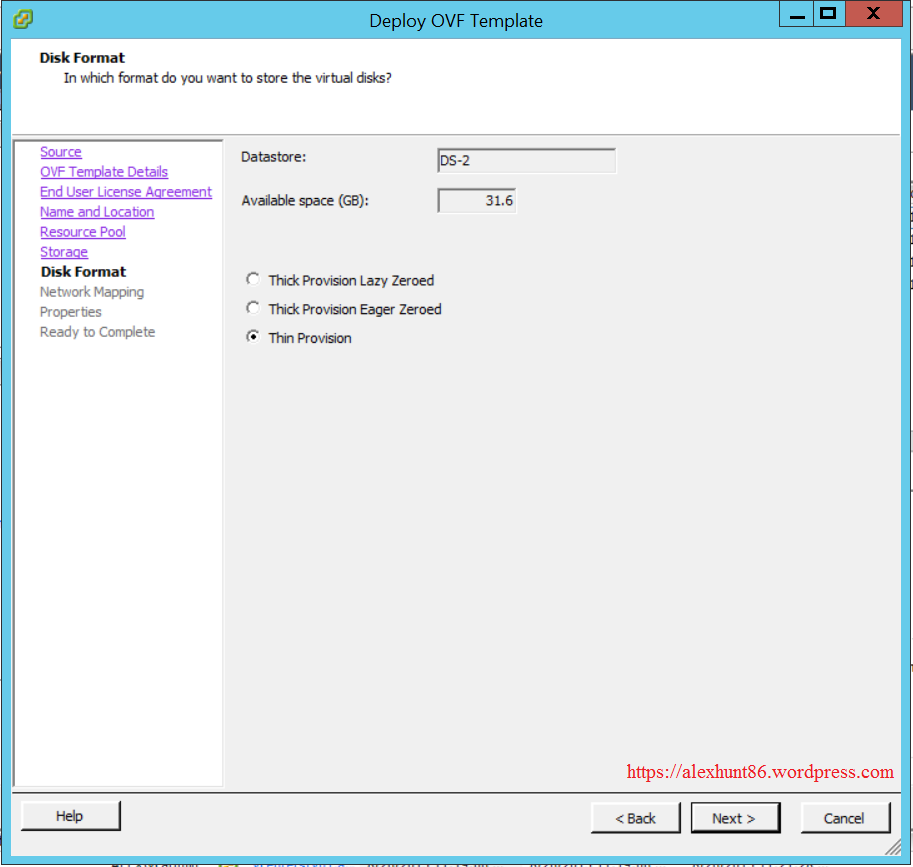
Select the provisioning type for the disk files. In my home lab I don’t mind selecting thin provision, but in production you may consider selecting Thick Provision.
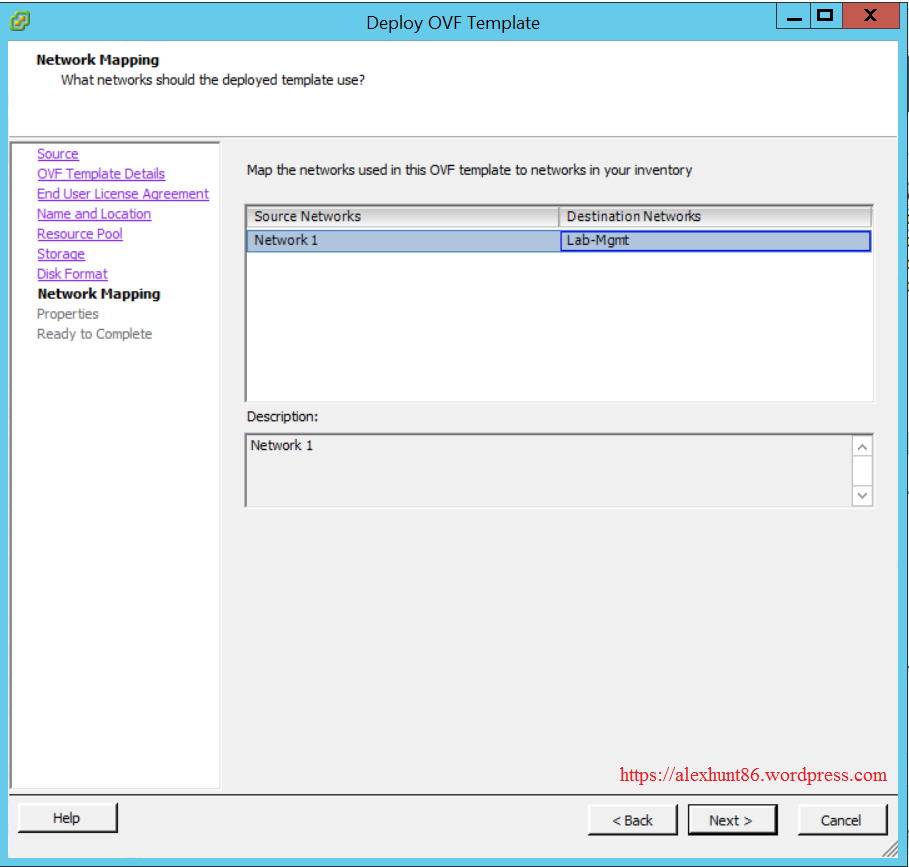
Select the appropriate portgroup for networking and hit next
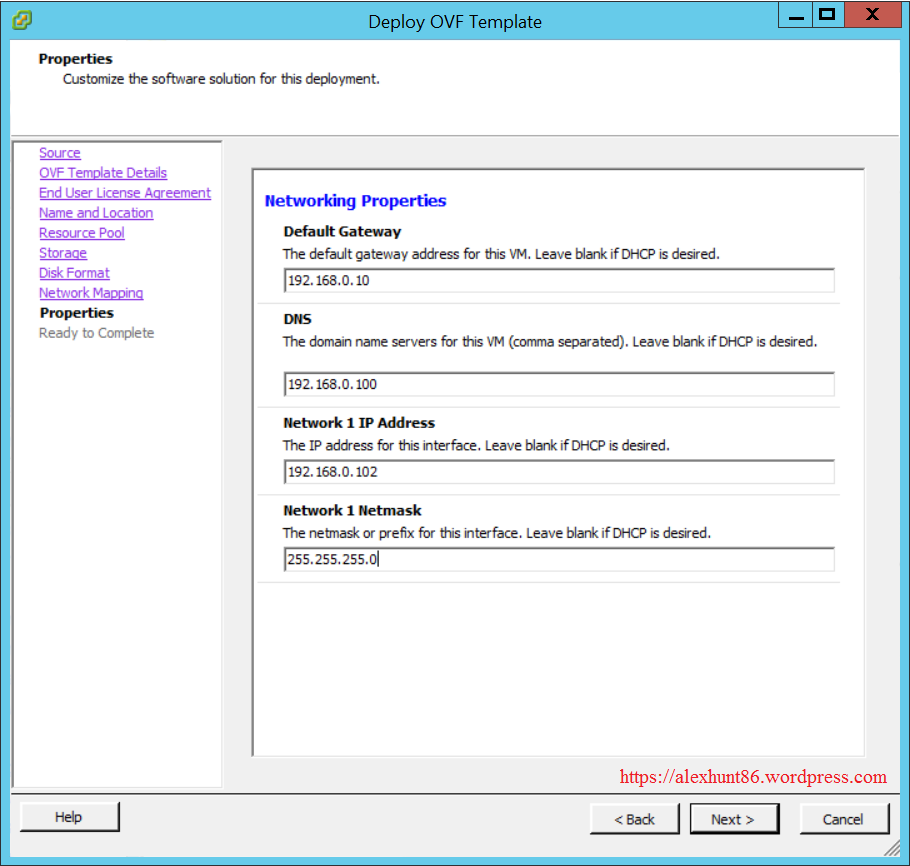
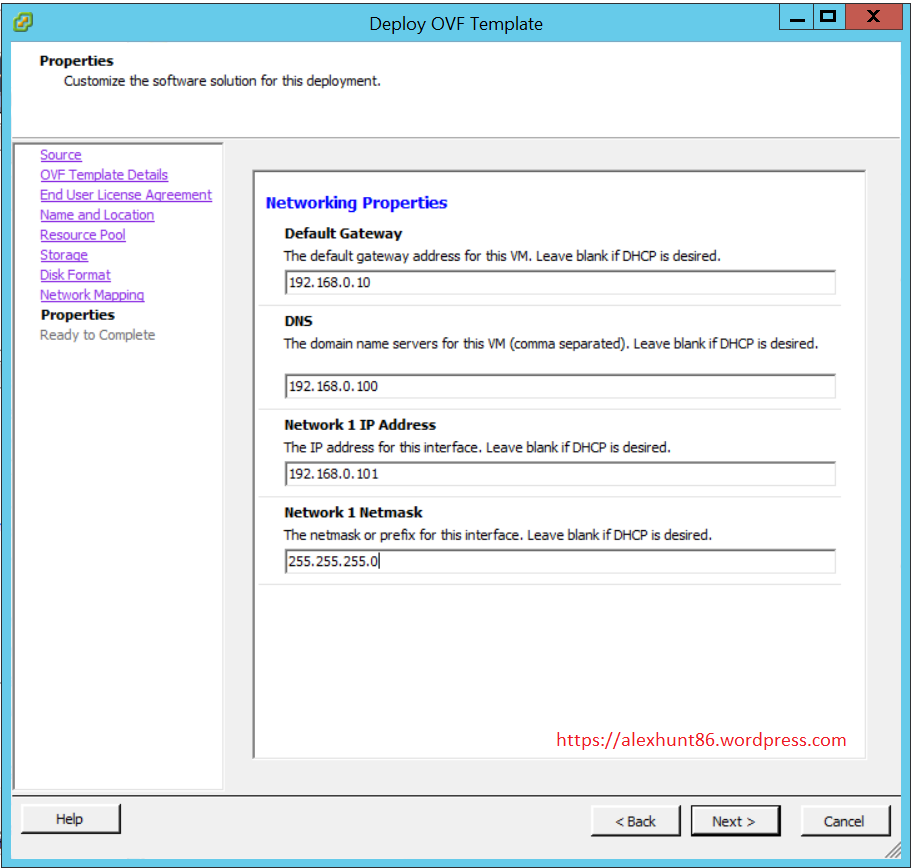
On the Next page configure the network settings by setting the IP address/Netmask, DNS and default gateway.
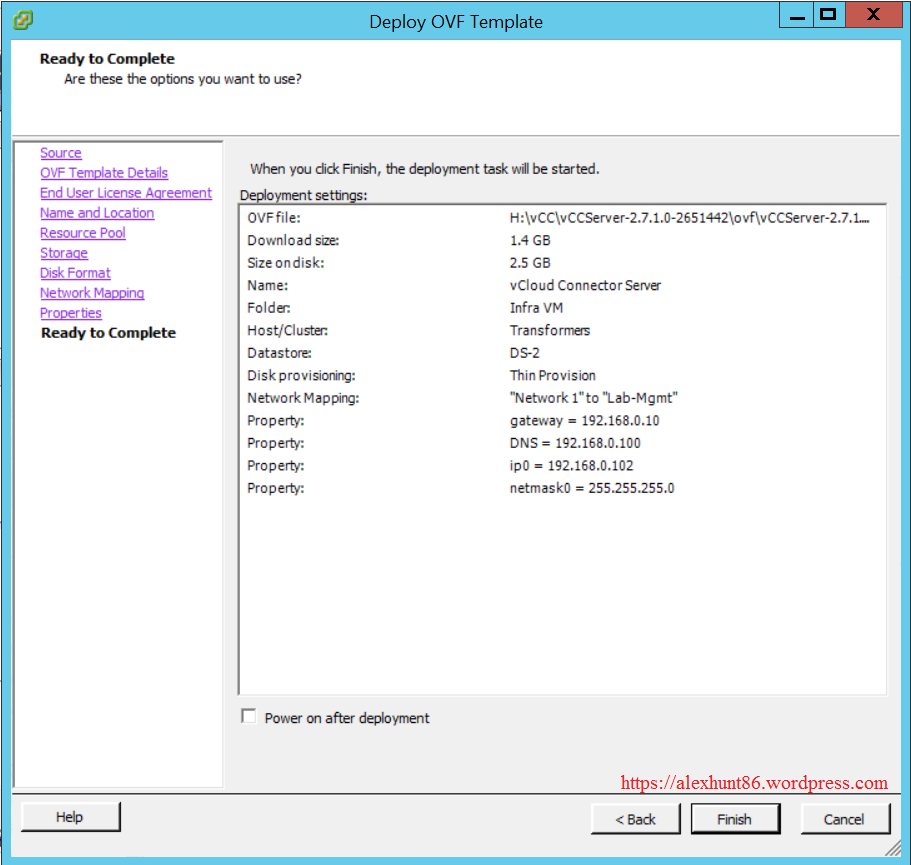
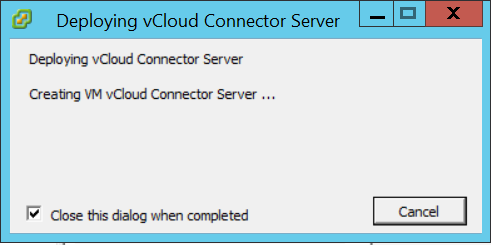
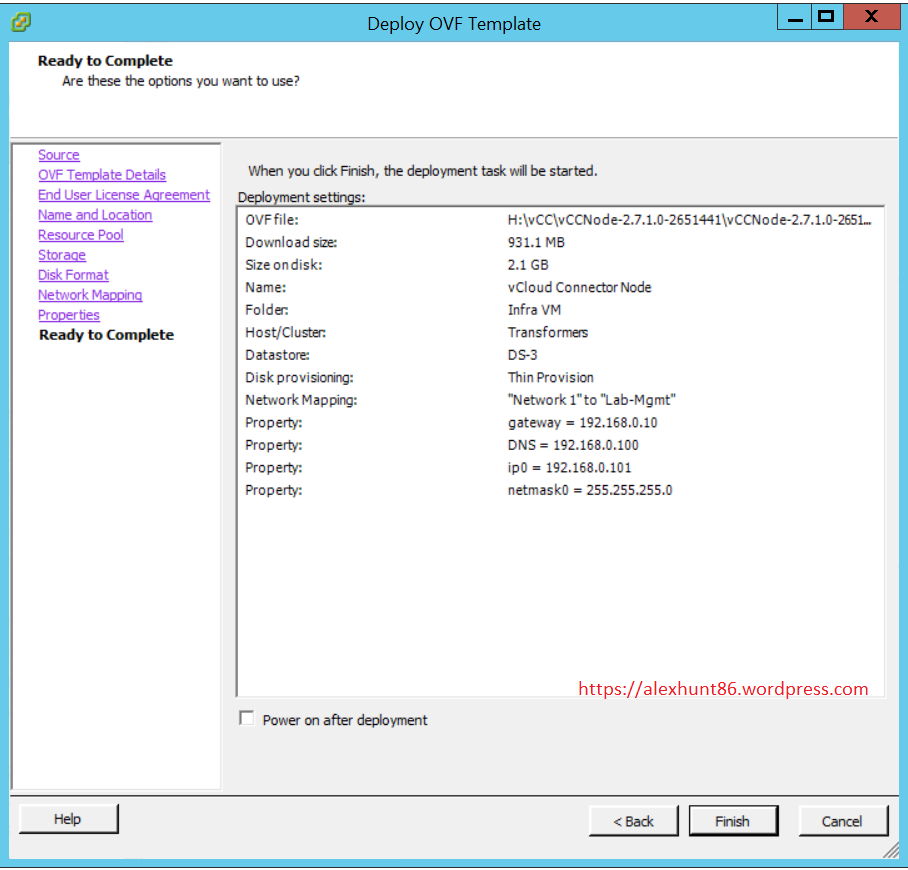
On Ready to complete page review your settings and hit finish to start deploying.
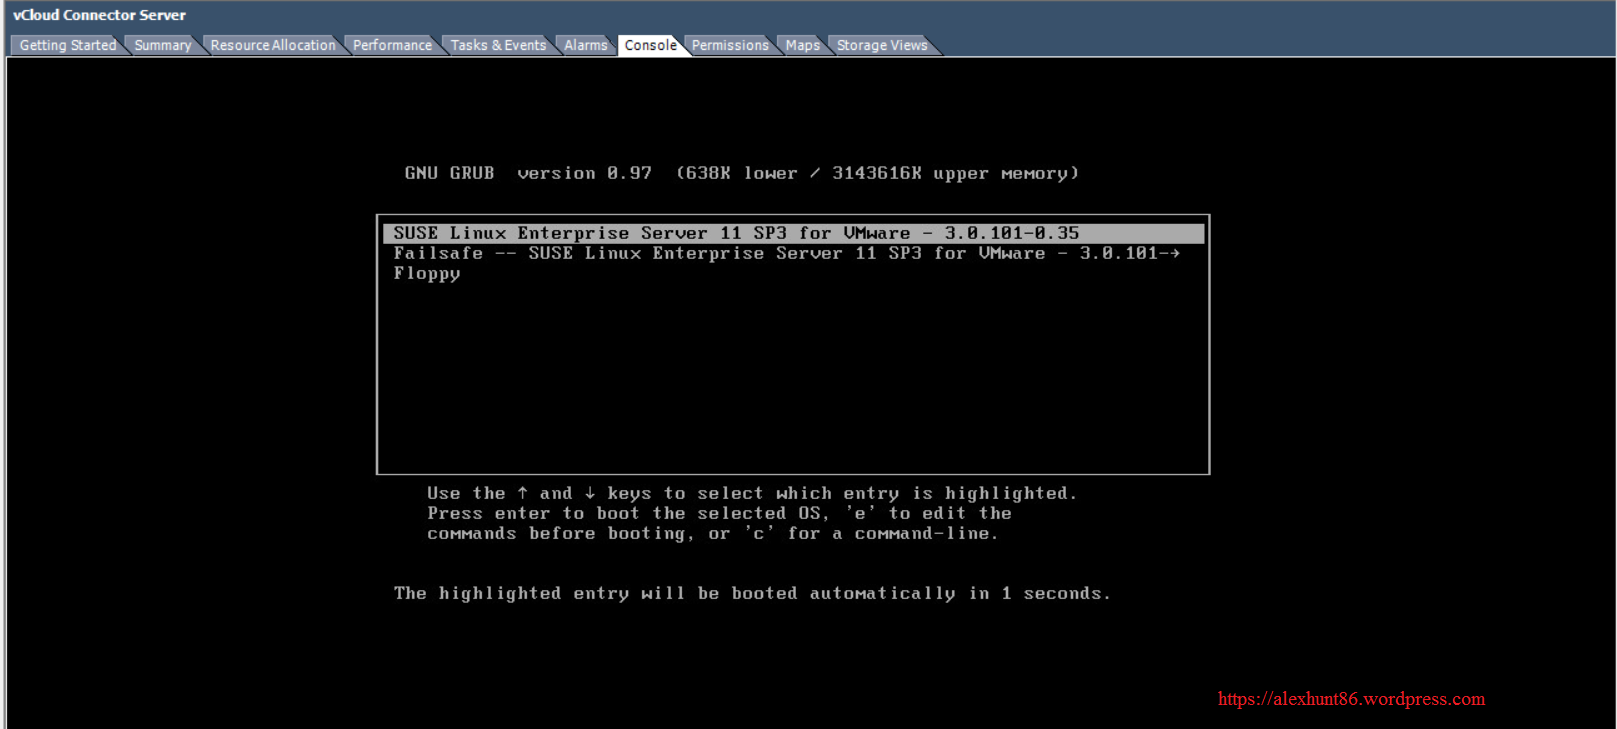
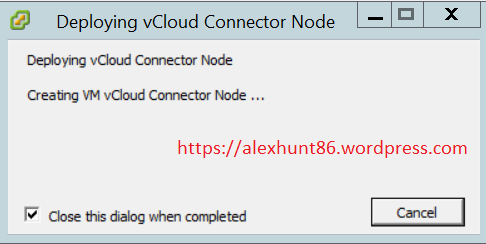
Once the deployment is finished power on the deployed VM. You can launch the console and can watch the VM while it is booting. vCloud connector server and Node are deployed on a SUSE Linux.
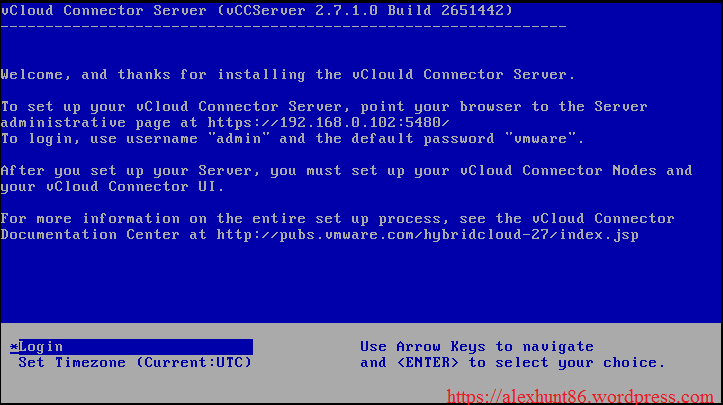
Once the booting process is finished you will be presented with below screen.
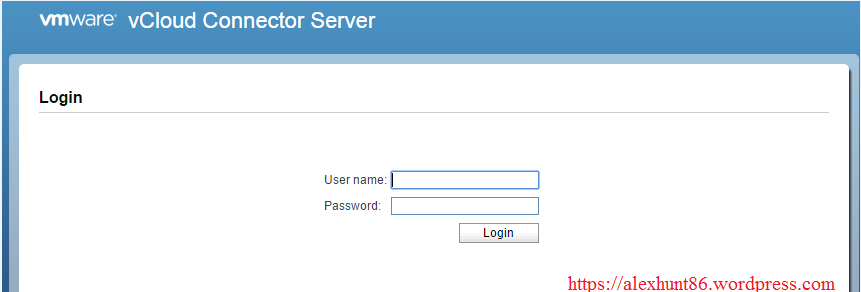
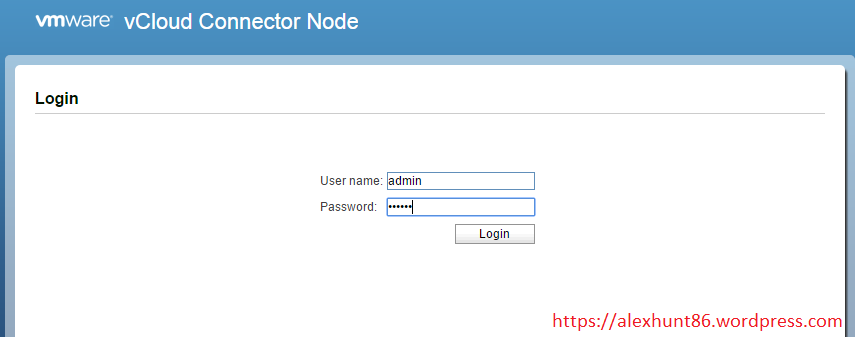
Open web browser of your choice and enter the URL https://connector_server_ip:5480 to access the web console. The default username is admin and password is vmware
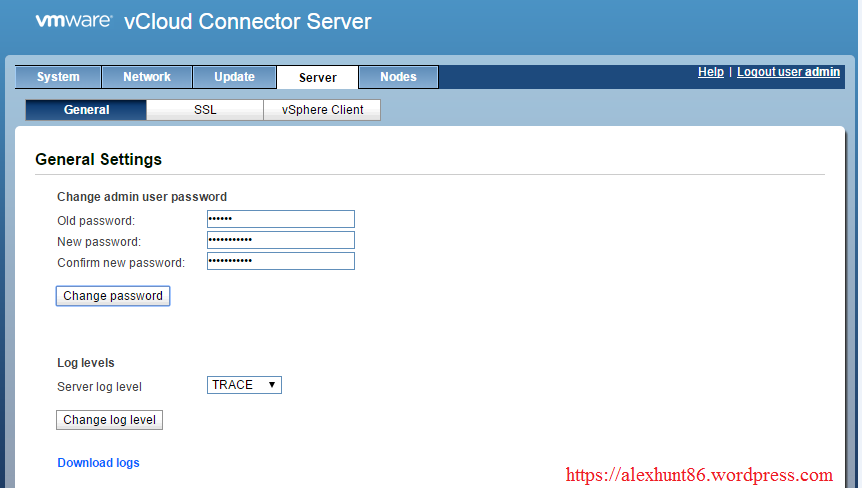
After logging in the very first thing which I did was changing the default password.
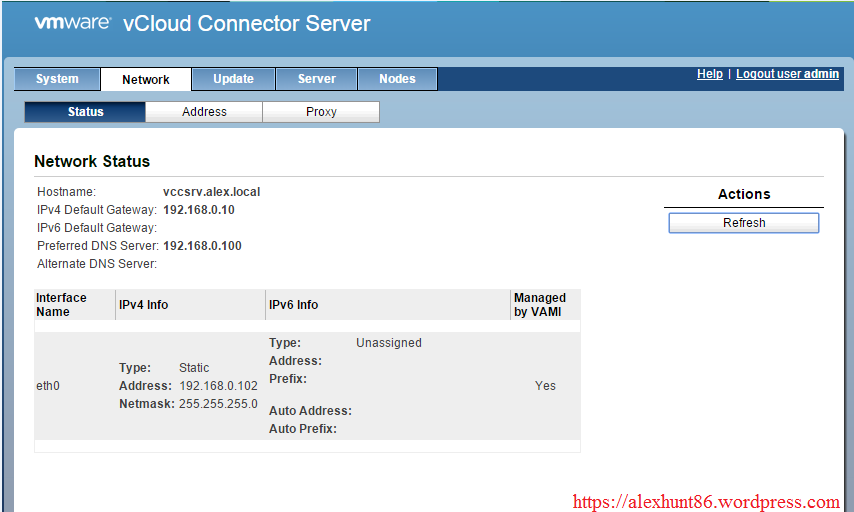
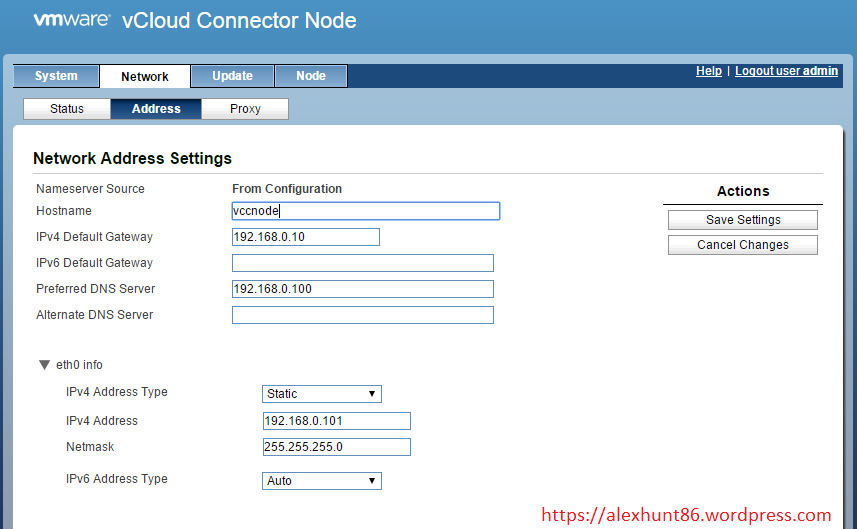
You can also verify the network settings by selecting the Network tab
Now before doing any configuration in vcloud connector server lets see vcloud connector node deployment first.
Deploying vCloud connector Node
vCloud Connector Node is also available in form of ovf template.
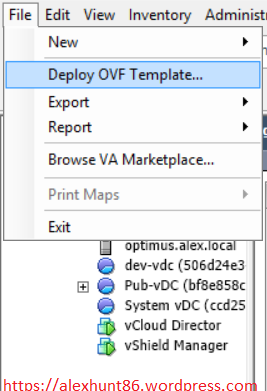
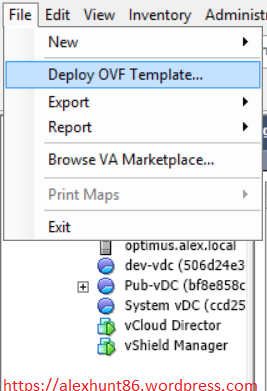
Login to vCenter Server and select Deploy OVF Template from file menu.
Browse to the path where the ovf template is stored and hit next.
Verify the template details and hit next
Accept the license agreement and hit Next.
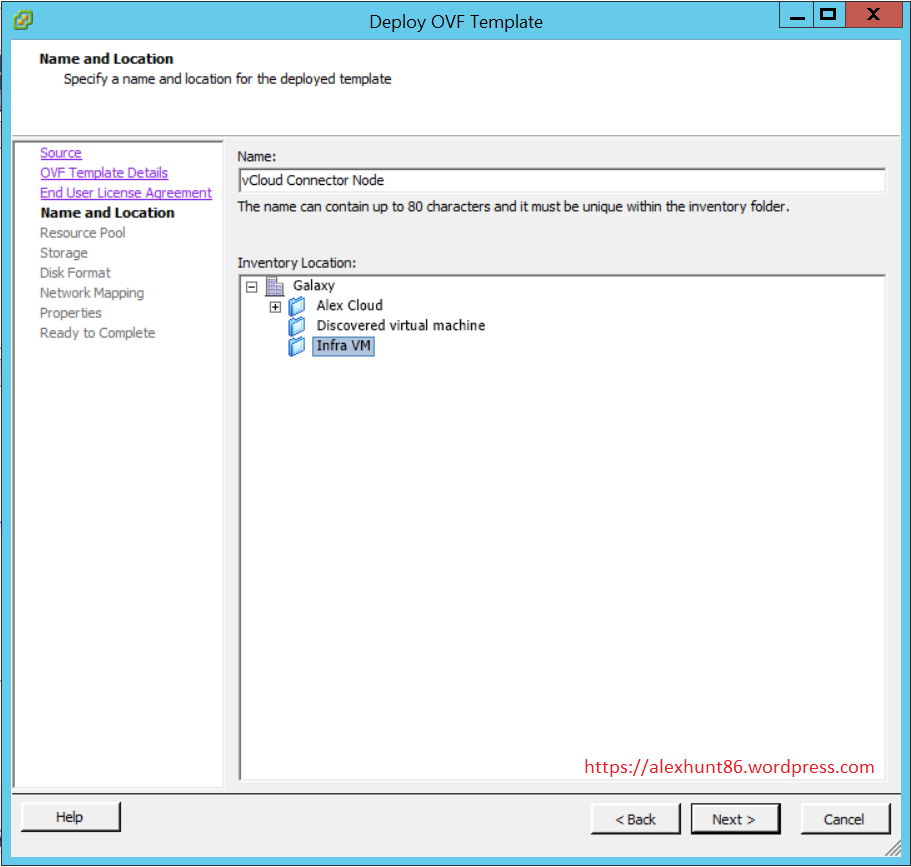
Provide appropriate name and select the folder where you want to store the Node Vm
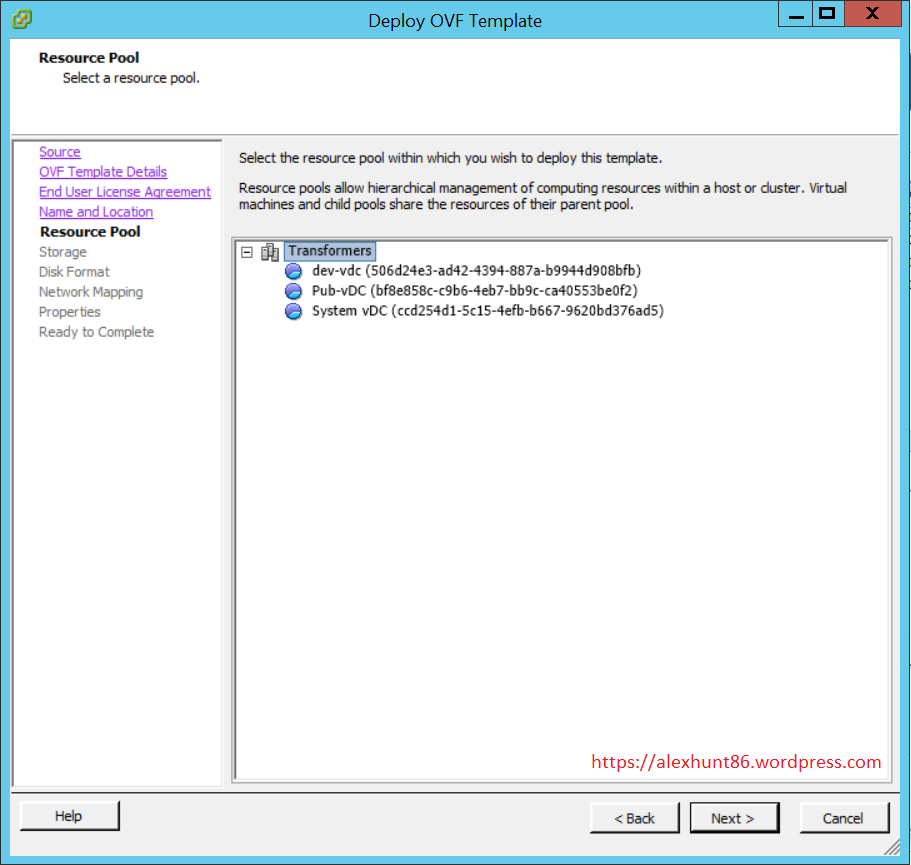
select the cluster and hit Next.
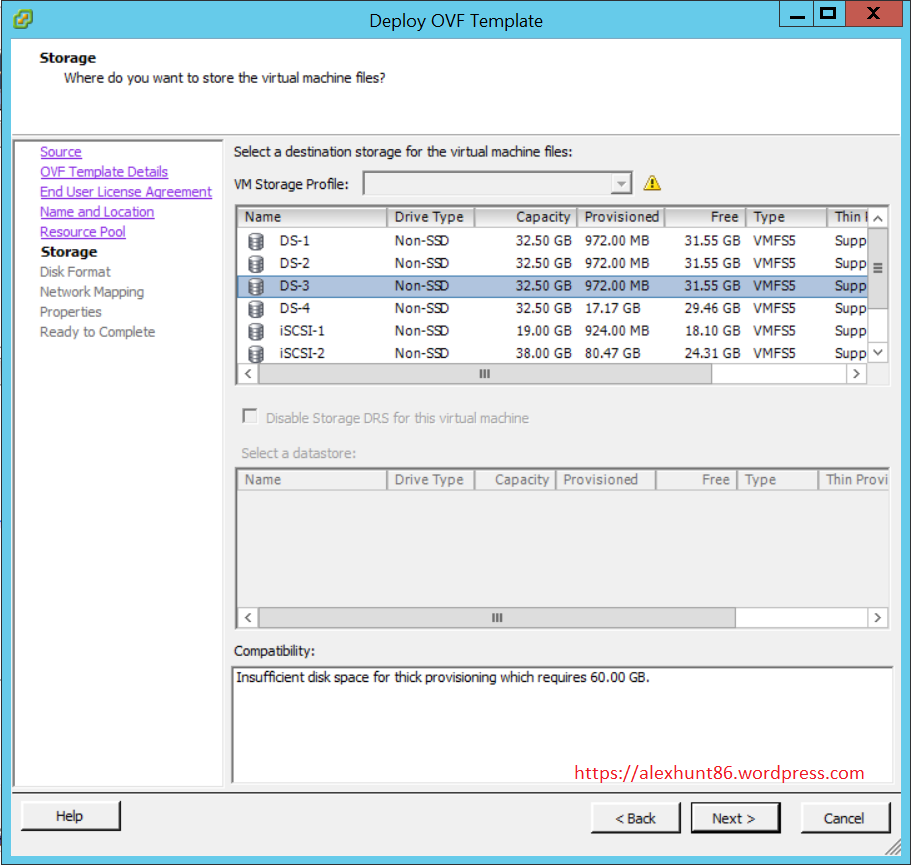
select the datastore and hit next.
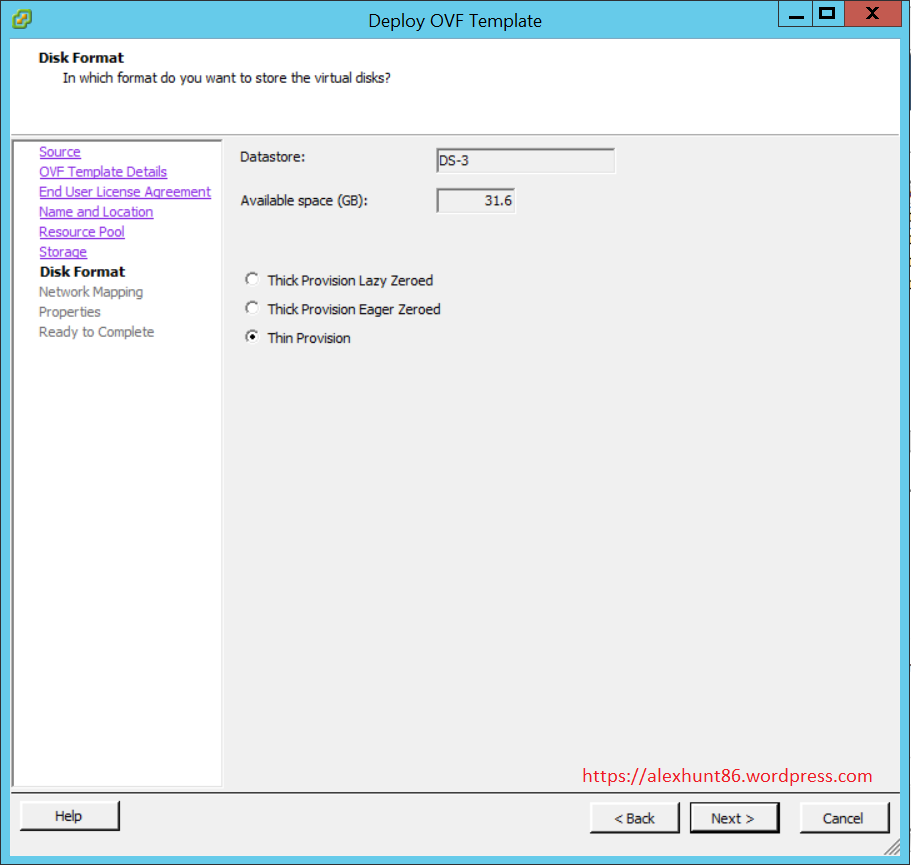
Select the provisioning type for disk and hit Next.
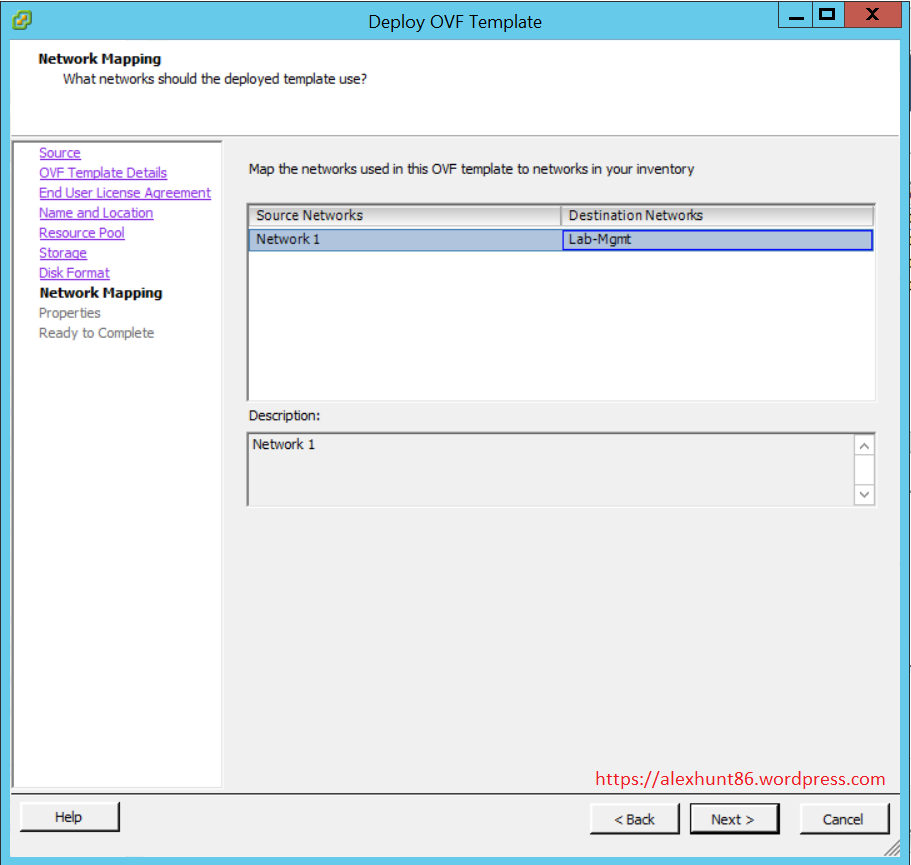
Select the correct mapping for the Network and hit next.
Supply the network details and hit Next
On Ready to Complete page review your settings and hit Finish.
Once the deployment of Node VM is finished power-on the VM and after successful boot open your web browser and type https://node_ip:5480 to login to the web-interface
Verify the network settings from Network tab
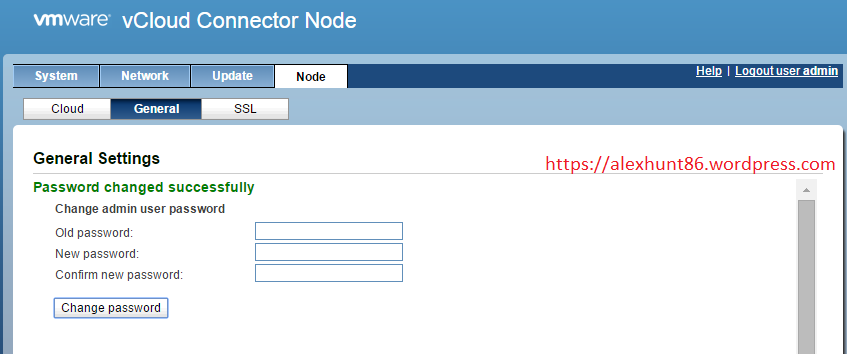
Change the default password by Selecting Node> General tab.
Configure vCloud Connector Server
Now we will configure vCloud Connector server and Node. First we will have a look at server config
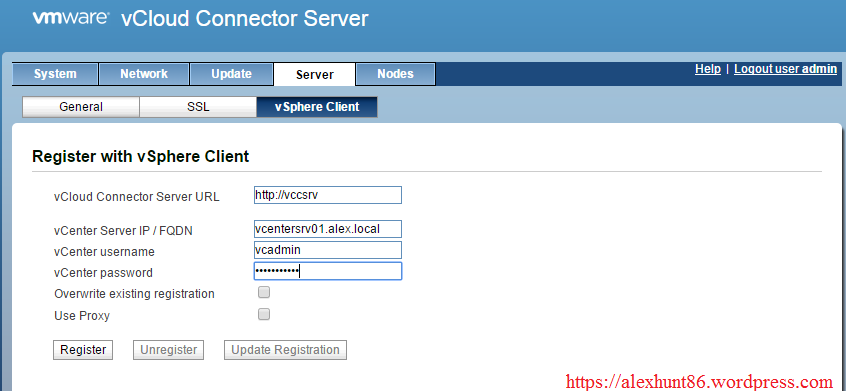
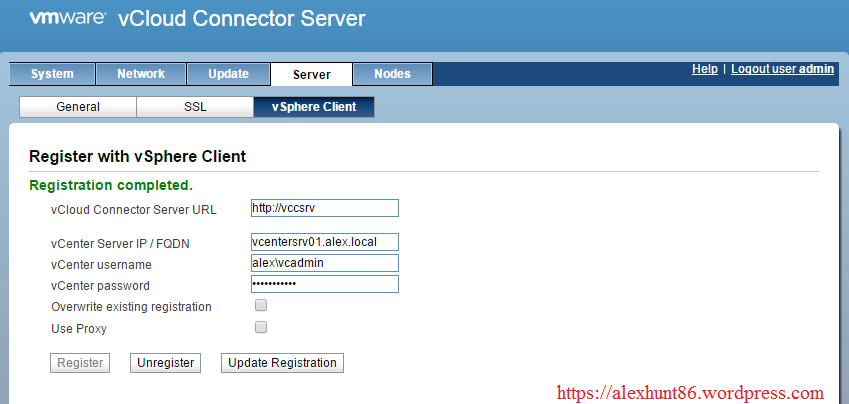
Login to web interface of Connector Server and navigate to Server> vSphere-Client tab and enter the details of connector server and the vCenter server and click on Register button.
You will see the below screen after successful registration of connector server with vCenter server.
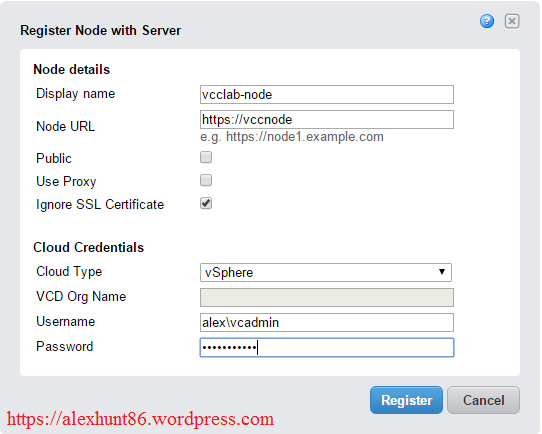
Now click on Nodes Tab and hit Register Node button
A new window will pop-up and you will be asked to enter details of node and vSphere. In Cloud Type you can also select vCloud Director if you have a private cloud.
With this vCloud Connector Server configuration is completed. Lets see the Node configuration now.
Configuring vCloud Connector Node
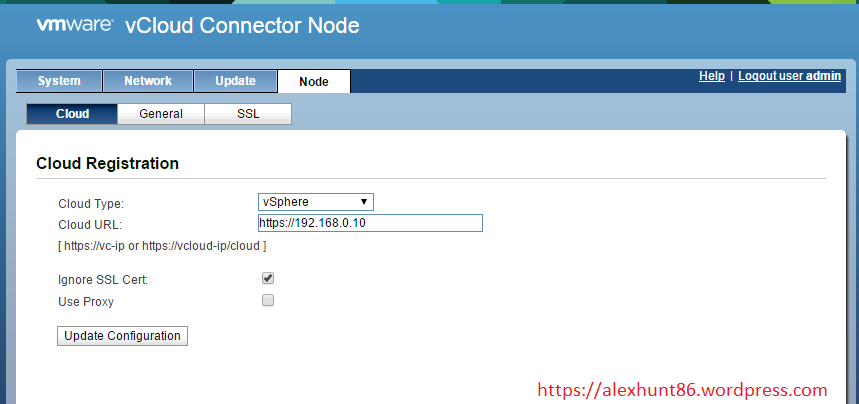
Login to web interface of vCloud connector node and navigate to Node > Cloud tab and enter the details and click on Update Configuration button.
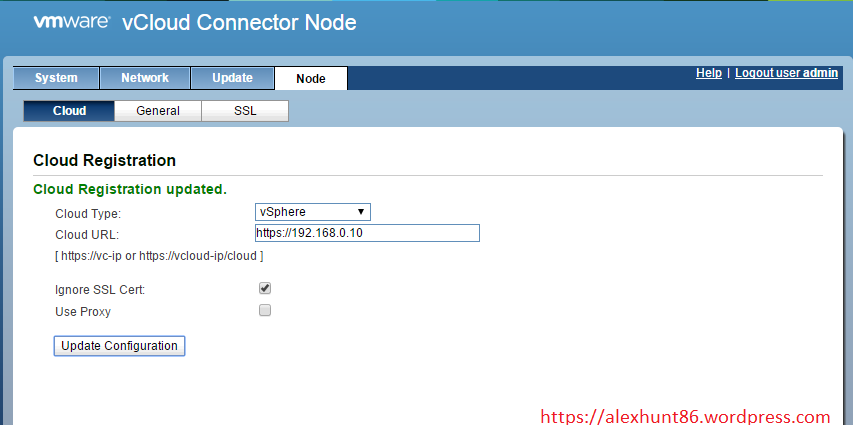
Once the configuration is updated you will see the below screen.
In next post of this series we will look into how to migrate VM from vSphere Infrastructure to vCloud director using vCloud connector.
Hope this post is informational to you.


2 thoughts on “Building a Private Cloud with vCloud Director-Part 13-Installing and Configuring vCloud Connector”