In the last post of this series, we discussed uplink profiles. In this post, we will be learning about transport zones and their types.
If you are not following along with this series, then I recommend reading earlier posts of this series from the links below:
4: NSX Controllers Automated Deployment
5: NSX Controllers Manual Deployment
6: Prepare Esxi host to form NSX-T Fabric
What is a transport zone in NSX-T?
As per vmware documentation
A transport zone is a container that defines the potential reach of transport nodes. Transport nodes are hypervisor hosts and NSX Edges that will participate in an NSX-T overlay.
What is meant by the above is that if two or more ESXi hosts that are configured as transport nodes participate in the same transport zone, then VMs on these different hosts using the overlay network can communicate with each other. The separation of traffic is achieved by the use of the N-VDS.
What is N-VDS?
N-VDS stands for NSX Managed Virtual Distributed Switch. The main function of the N-VDS is to forward the traffic of the VMs running on transport nodes. N-VDS forms the data plane for the transport nodes. When you add a transport node to a transport zone, the N-VDS associated with the transport zone is installed on the transport node.
On ESXi hosts, N-VDS is implemented via the NSX-vSwitch module. This module is installed and loaded in the kernel when you configure ESXi hosts as fabric nodes.
|
1 2 3 |
[root@esxi-08:~] esxcfg-module -l | grep nsx-vswitch nsx-vswitch 3 344 |
The pNICs that you can attach to an N-VDS must not be shared with any other components, such as vSS, vDS, or any other N-VDS.
Let’s get back to transport zones and discuss the types of transport zones.
- Overlay Transport Zone: This transport zone can be used by both transport nodes and NSX edges.
- VLAN Transport Zone: This can only be used by NSX Edges and is deployed on the Edge when the Edge is added to the VLAN Transport Zone.
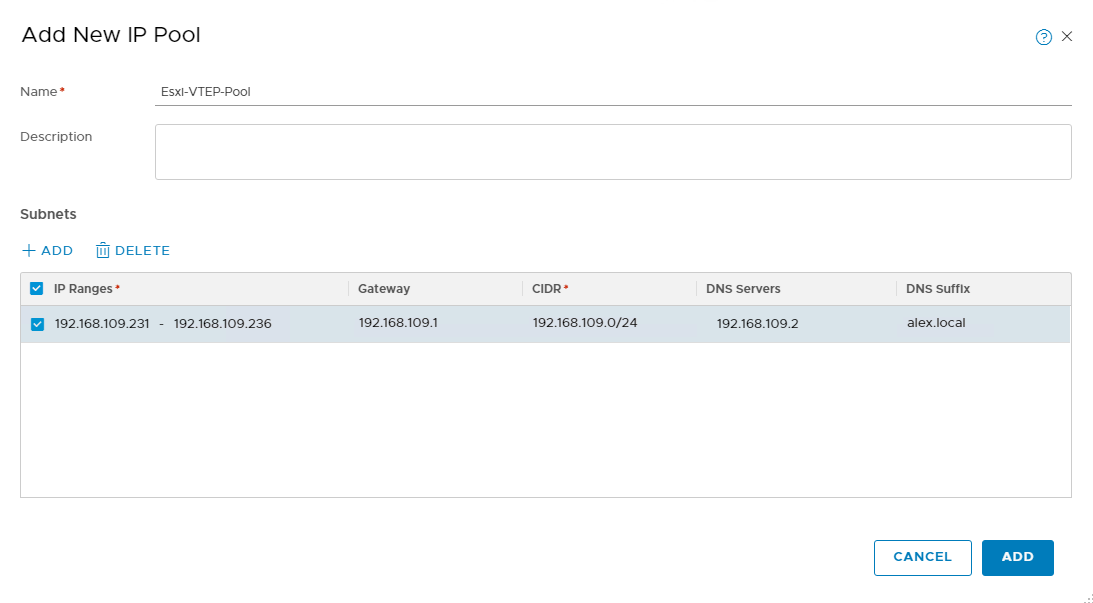
Before creating a transport zone, we need to create an IP pool that contains a range of IP addresses that will be assigned to the Tunnel Endpoints (TEPs). TEPs are used on the overlay network to identify the transport nodes. Remember VTEPS in NSX-v?
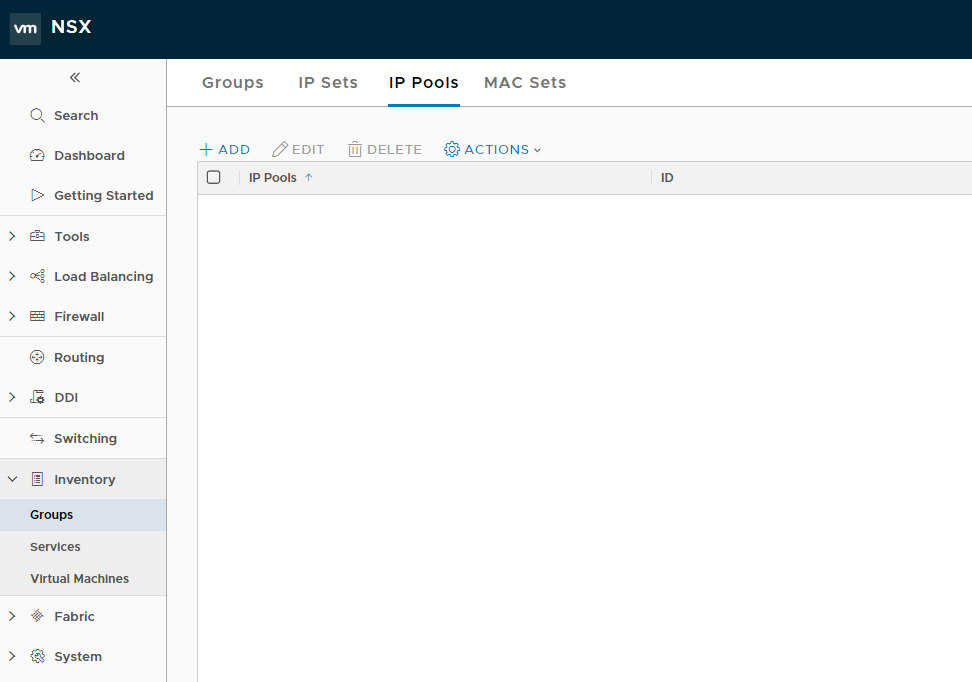
To create an IP pool, navigate to Home > Inventory > Groups > IP Pools and click on the + button to create a new IP pool.
Provide a name for the pool and range of IPs for TEPs. Hit the Add button to complete the wizard.
The next thing that you need is an uplink profile, which we already created in the last post of this series.
To create a new transport zone, navigate to Home > Fabric > Transport Zones and click on the + button to add a new transport zone.
![]()
- Provide a name for the transport zone and the N-VDS.
- N-VDS Mode: There are 2 modes for N-VDS: Standard or Enhanced Datapath. Enhanced datapath N-VDS has the performance capabilities to support NFV workloads and supports both VLAN and overlay networks.
- Select the traffic type as an overlay.
Click the Add button to complete the transport zone creation wizard.
![]()
Validate that the status of the transport zone reports as up post creation.
![]()
Now we need to add transport nodes to the transport zones. I have not deployed any NSX-T edges yet, so the only transport nodes I have at the moment are my ESXi hosts.
To add transport nodes, navigate to Fabric > Nodes > Transport Nodes and click on the + Add button.
![]()
Under the General tab, provide a name for the host and select the ESXi host by clicking on the down arrow button for the node option.
Select the transport zone where you want to add this host and move it under the ‘selected’ window. Do not hit the Add button yet.
![]()
Switch to the N-VDS tab.
- For the N-VDS-Name, select the N-VDS that you created during transport zone creation.
- NIOC Profile: I selected the default profile available within NSX-T
- Uplink Profile: That you created earlier.
- IP Assignment: Select the IP pool created by you earlier.
- Physical NICs: This is where you do the actual mapping of the physical NIC with the uplink identifier, which you created during transport zone creation.
![]()
Repeat the process to add all hosts as transport nodes. Make sure that the configuration state reads as “success” and the status as “up.”
![]()
Now, if we SSH into one of the ESXi hosts, we will see that there is a new internal switch, which allows all the VMs on the hosts that are part of the transport zone to communicate over the overlay network.
To verify the existence of a new switch, run the command: esxcfg-vswitch -l
![]()
Also, a new VMkernel port is added on the hosts.
![]()
Now, if you try to ping the tunnel endpoint of the 2nd transport node (Esxi-09 in my case) with a VXLAN packet, it should ping if the overlay network is set up correctly.
|
1 2 3 4 5 6 7 8 9 |
[root@esxi-08:~] vmkping ++netstack=vxlan 192.168.109.232 PING 192.168.109.232 (192.168.109.232): 56 data bytes 64 bytes from 192.168.109.232: icmp_seq=0 ttl=64 time=0.850 ms 64 bytes from 192.168.109.232: icmp_seq=1 ttl=64 time=0.381 ms 64 bytes from 192.168.109.232: icmp_seq=2 ttl=64 time=0.408 ms --- 192.168.109.232 ping statistics --- 3 packets transmitted, 3 packets received, 0% packet loss |
And that’s it for this post. We have now tested the VXLAN connectivity between the 2 transport nodes; it’s time to do logical switching, which I will be covering in the next post of this series.
I hope you enjoyed reading this post. Feel free to share this on social media if it is worth sharing.